
Face makeup
Where to apply highlighter: a free placement test
Compare a few intentional glow placements on one portrait, then check the winner with real product in daylight.
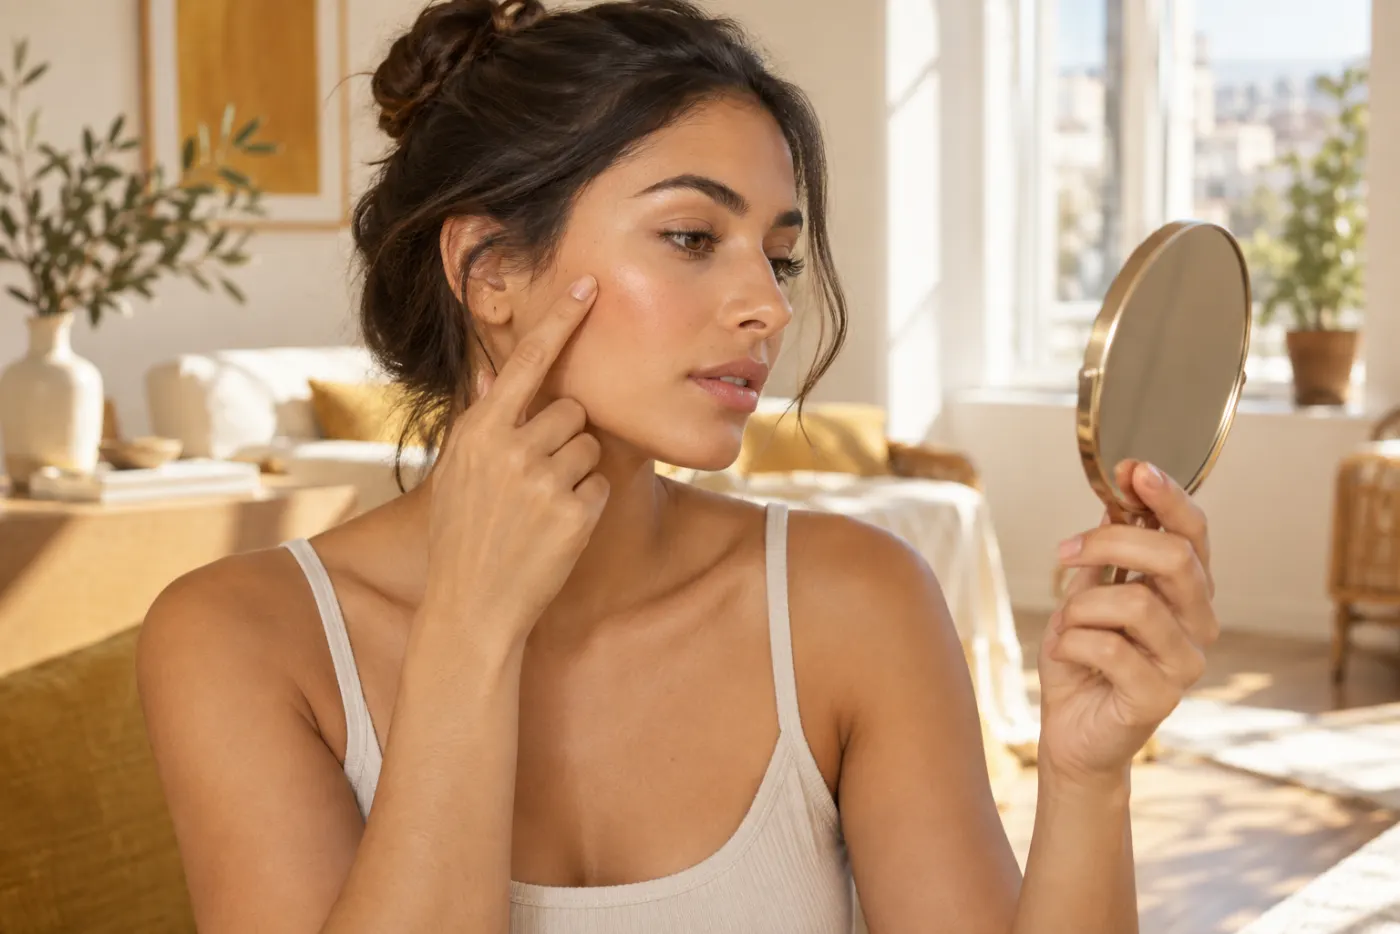
Wondering where to apply highlighter without turning your whole face shiny? A free placement test can answer that more honestly than a fixed face-shape diagram. A small sheen high on the cheek, a point at the inner eye and a little light at the center of the face all pull attention differently. Start by deciding which effect you want, then compare the locations separately. You need no purchase to draw a simple placement map or test products you already own.
MaqAI can help you preview the overall direction on one clear portrait, but the useful experiment is deliberately narrow: keep the face, light and other makeup constant while moving one restrained highlight. Save at most two finalists, then try the closest real product in daylight. A generated image cannot prove reflectivity, particle size, skin texture, formula compatibility, oxidation, wear or an exact result. The physical test is the decision maker; the preview helps you avoid applying sparkle everywhere before you know what you are trying to achieve.
Where to apply highlighter depends on the effect
Think of highlighter as a point of visual emphasis, not a compulsory step on every high point. Upper cheek placement can make the outer face look softly lifted. An inner-eye point can brighten the eye area. A narrow touch on the bridge of the nose draws attention inward. A mark above the lip emphasizes the mouth. Those are different designs, and adding all of them at once makes it difficult to know which one actually improved the look.
Choose one question for the first round: do you want a subtle cheek glow, a more awake eye or an editorial center-face reflection? Note the setting too. A soft workday look may need a broad low-sheen cheek area, while a photograph at night can tolerate a more visible pinpoint. Neither a universal face-shape rule nor a social-media map accounts for your base, expression, lighting and taste. Treat each zone as an option, not an obligation.
Build a clean baseline before comparing positions
Use a front-facing photo in diffuse daylight, preferably near a window rather than beneath a warm overhead bulb. Relax your expression and keep hair away from the cheeks. If you already wear blush, bronzer or contour, keep them exactly the same in every comparison. Do not retake a different selfie for each placement; changing the camera angle or exposure can move apparent light across the face more than the highlighter itself.
Make a three-column note headed upper cheek, inner eye and center face. For each column, define a small application area and an approximate intensity such as soft satin rather than wet metallic. Do not compare a tiny cheek tap with a dramatic reflective nose stripe. Your test should isolate location. If one version also changes lip color, brow shape, skin smoothing or hair in a generated preview, ignore those extras when judging the placement.
Before using a new product on skin, read its directions and check whether it is intended for the area you plan to use. In particular, do not assume a cheek product belongs near the eyes. The FDA's general cosmetic safety guidance advises reading labels, following warnings, washing hands and keeping products clean. Those ordinary precautions matter more than completing a fashionable placement map.
Compare the upper cheek without making a stripe
For the first option, imagine a short band on the upper cheekbone, beginning outside the iris and ending before the hairline. It can sit just above the main blush area, but there is no need to chase the highest possible point. If your blush is already luminous, adding another reflective layer may make the cheek look wider or wetter rather than more defined. In that case, compare a smaller accent at the outer third with no extra highlight at all.
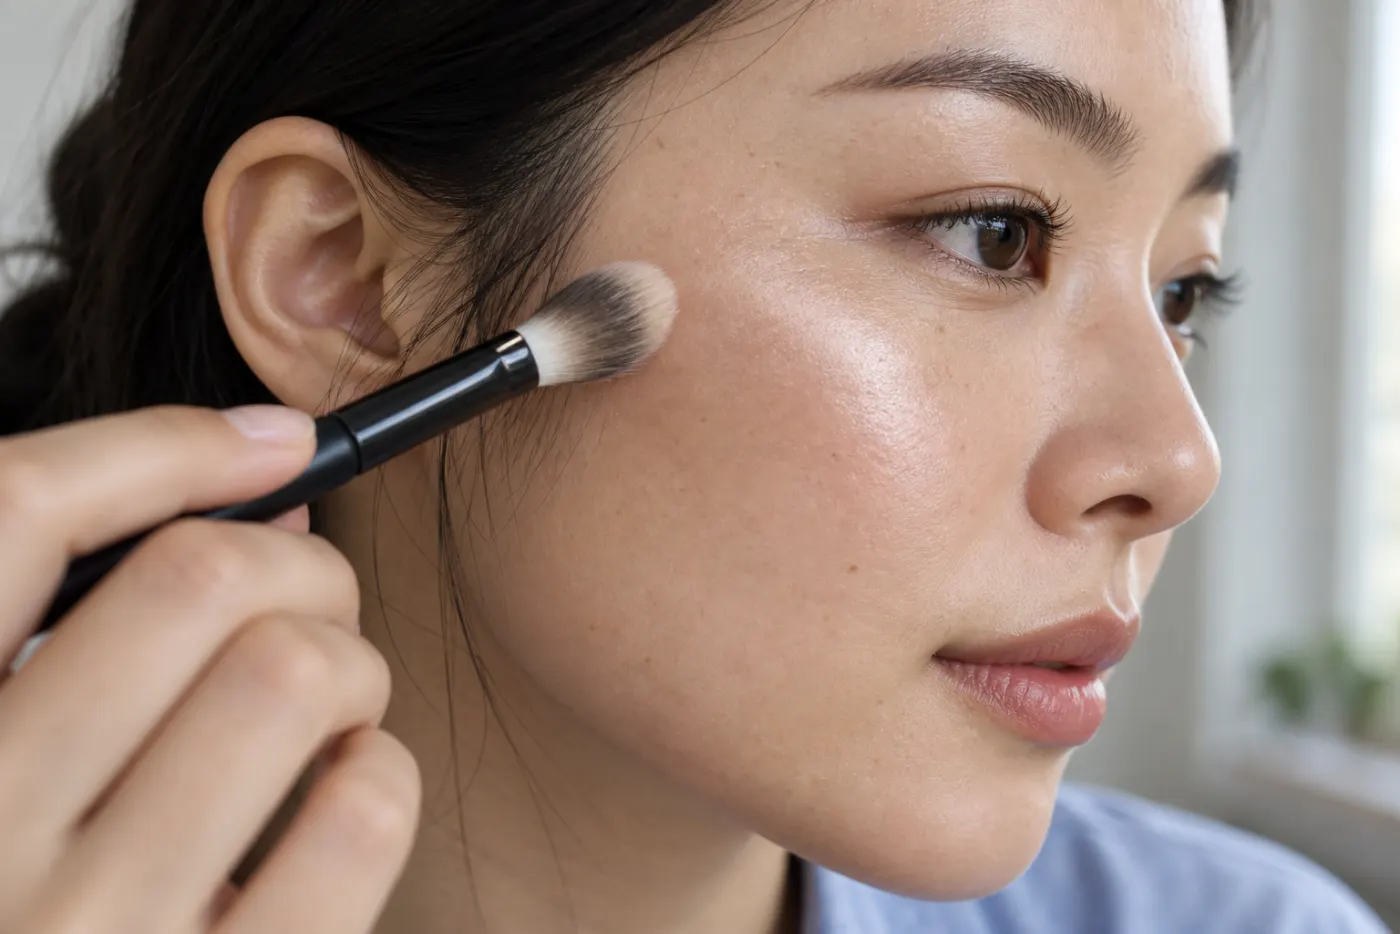
Apply the real product with a small brush or fingertip in a thin layer, then soften its lower edge into the blush or base. Turn your head slowly instead of inspecting only straight on. The sheen should appear as light moves, while the powder or cream edge stays hard to see. If you can trace a pale line from ear to nose, reduce the amount, shorten the band or choose a finer finish rather than moving it around randomly.
Test an eye or center-face accent separately
An inner-corner highlight makes the eye area a focal point without adding shine to the cheeks. Use only an eye-safe product and a tiny clean tool. Keep the sparkle away from the waterline and do not share eye products. If the eye area is irritated, skip this option. A brow-bone accent is another possibility, but a strong one can compete with a softly blended lid; compare it separately instead of including it automatically.
A center-face point is easier to overdo because the nose and forehead already catch light and may also become oily. Try a short, narrow touch on the upper bridge, not a wide bright line down the entire nose. The tip can be a separate test if you like that effect. The cupid's bow can add lip focus, but it may disappear or look misplaced under an opaque lip color. Let the full face, not a close-up crop, decide whether the detail belongs.
Use MaqAI for a controlled placement test
Use the same clear portrait for three restrained MaqAI directions: upper-cheek sheen only, inner-eye brightness only, and a small center-face touch only. Ask for comparable intensity, color family and finish each time. Keep blush, complexion, lips, liner, brows, hairstyle and lighting unchanged in your brief. If the model edits one of those anyway, make a note and discount that change. The app is useful for arranging a visual shortlist, not certifying a literal physical result.
Judge each version twice. First view the entire portrait at normal phone size and name where your eye goes. Then inspect the highlight edge, whether it crosses textured skin and whether it looks consistent with the surrounding finish. A good note sounds like 'outer cheek gives shape but is slightly too bright' or 'inner eye adds light without making the skin glossy.' Avoid saving ten nearly identical outputs; keep one winner and one contrasting backup so you have a real-world experiment to perform.
If none works, change just one control in the next round. Reduce reflectivity, move the cheek point a little farther outward or remove the nose accent. Do not change product color, amount and placement simultaneously. The broader MaqAI guide to comparing makeup finish helps when the issue is not location at all but the difference between dewy, satin and soft matte. Once you know that, return to the placement question with the finish held steady.
One portrait, one highlight zone at a time, two saved finalists, then a real-product check.
Pick texture and tone after choosing location
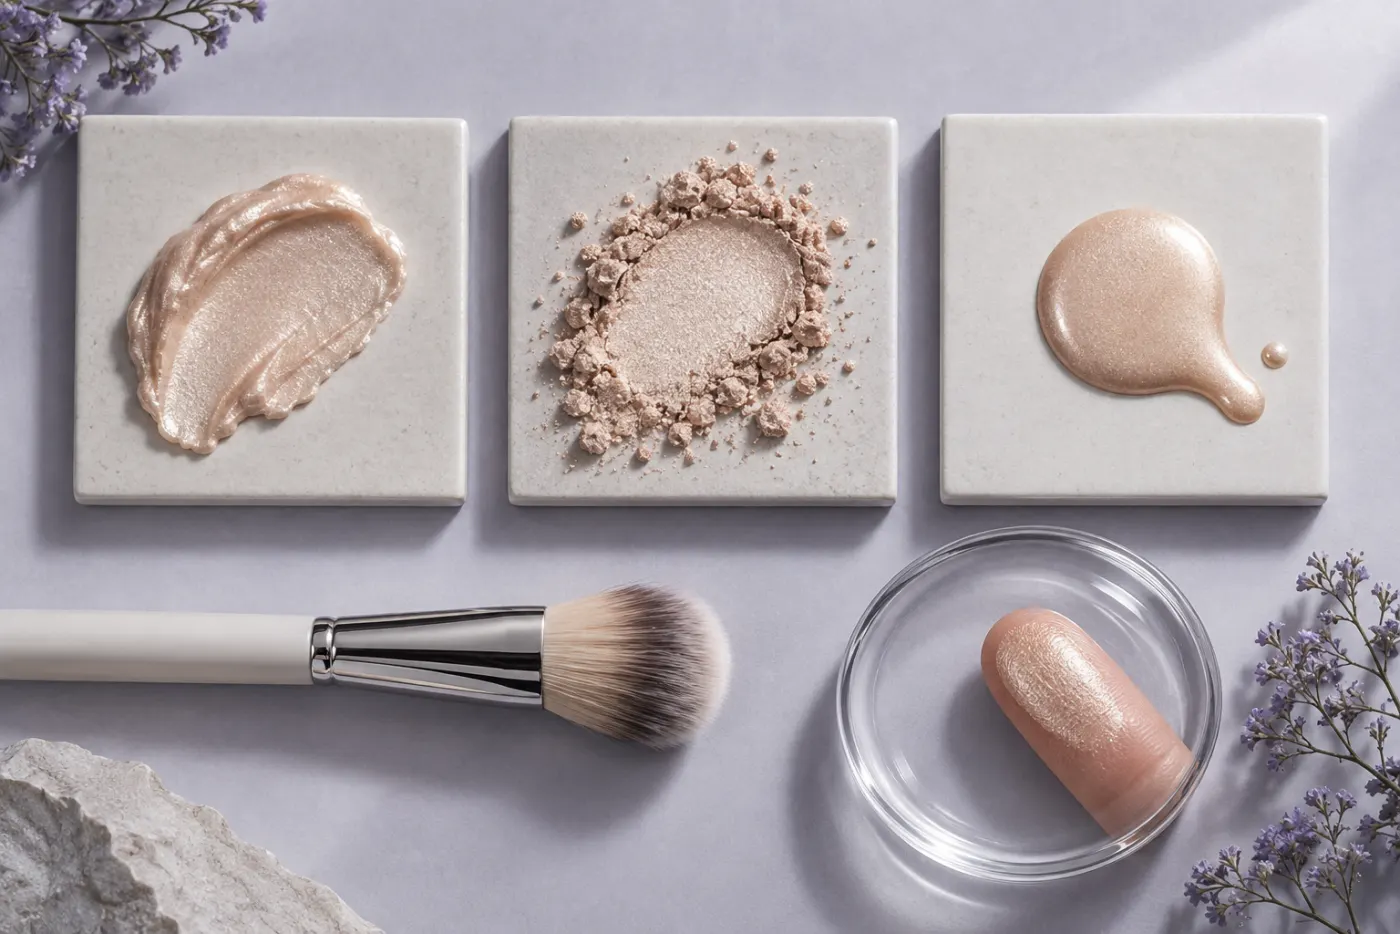
Cream, liquid and powder can create similar-looking previews yet behave very differently over a real base. A cream may blend into skin tint if tapped gently, while dragging it over a set powder base can disturb coverage. A fine powder can be easier to place precisely, but too much can emphasize dryness. Liquid can spread beyond the original mark before it sets. Match the product to the base and tool you actually use, rather than assuming the generated sheen proves a formula will work.
Color also matters. A silvery or pale pink reflection can look chalky on a deeper complexion, while a deep gold can create a colored stripe on very light skin. Choose a subtle reflect that stays close to your skin at rest and appears mainly when light hits it. If you want an obvious editorial color, make that a conscious second experiment. Keep the first trial neutral enough to tell whether placement itself is helping.
Check daylight, photographs and changing expression
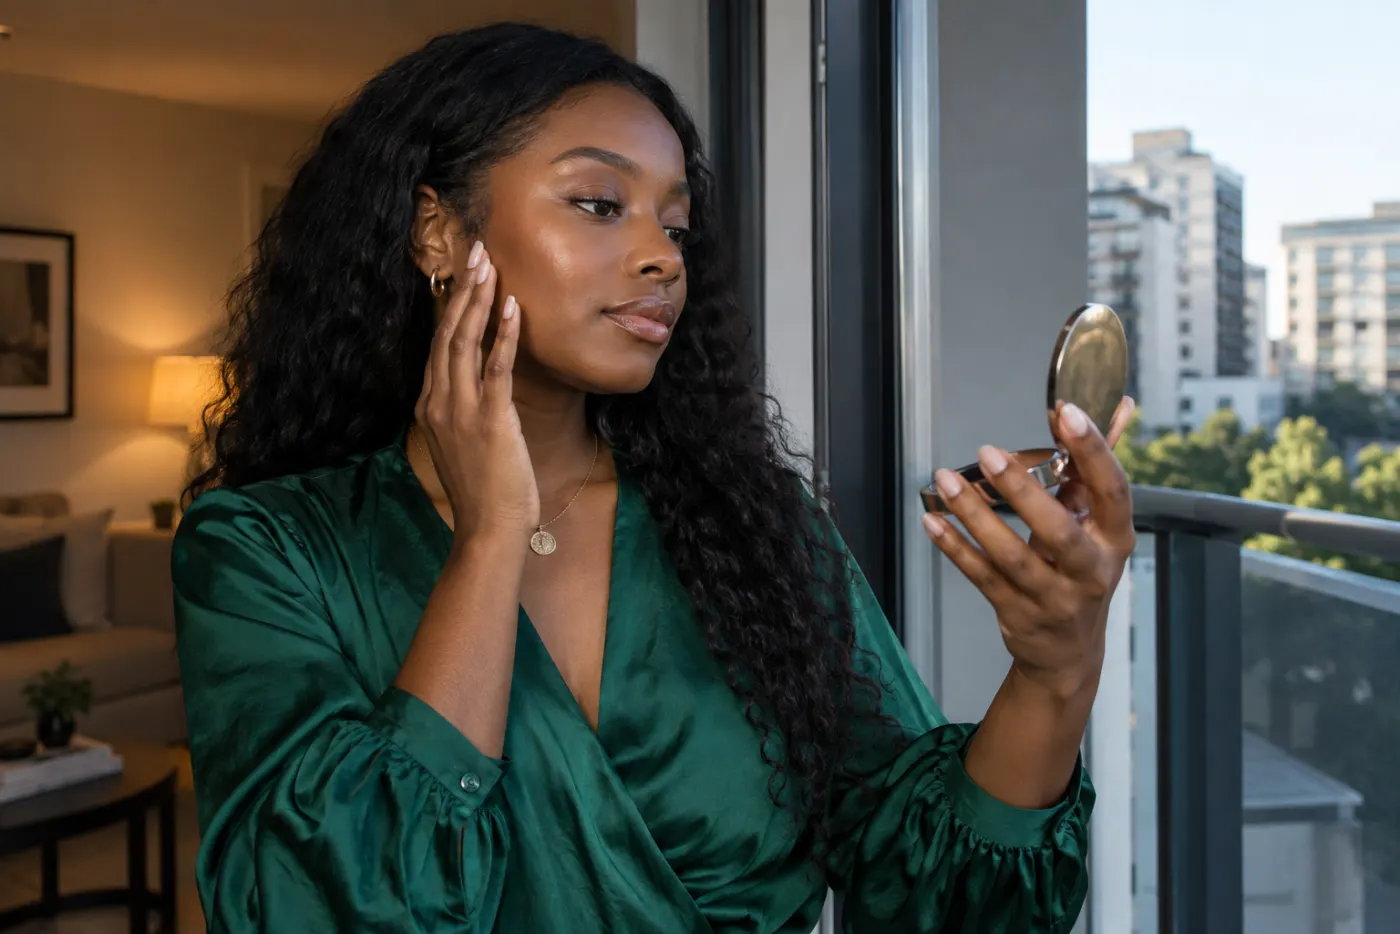
A bathroom mirror is rarely enough. Look near a window, in open shade and under the indoor light where you will wear the makeup. Keep the application unchanged while you move between conditions. Direct sun can turn a modest shimmer into a bright patch; flat overhead office light can make a soft cheek sheen disappear. Take a normal-distance photo and a closer one, but make the normal-distance view your primary vote.
Turn your head left and right, smile and relax. Cheek tissue moves with expression, so a line that looks perfectly placed while posing may cut across blush when you laugh. An inner-eye point can look clean when facing forward but gather unevenly as you blink. A physical trial reveals those interactions. If the winner only looks good in one angle or one lamp, change the area or finish before you commit it to an everyday routine.
The lighting guide on MaqAI explains why a single warm bulb is a weak basis for color decisions. Here the same principle applies to reflection. Write down the light in which the effect mattered most: open shade for work, window daylight for casual wear or flash photography for an event. Avoid calling a shade 'wrong' when only the light changed; a different texture or lower intensity may rescue the preferred placement.
Reduce shine without erasing your intended glow
After a few hours, inspect whether reflection remains limited to the planned zone. If the forehead, nose and inner cheeks have become shiny, blot those areas with clean tissue before adding more powder. Press rather than rub so the base stays in place. Then compare the highlighter to the now quieter surrounding skin. Sometimes the product was fine; uncontrolled shine elsewhere simply blurred the intended contrast.
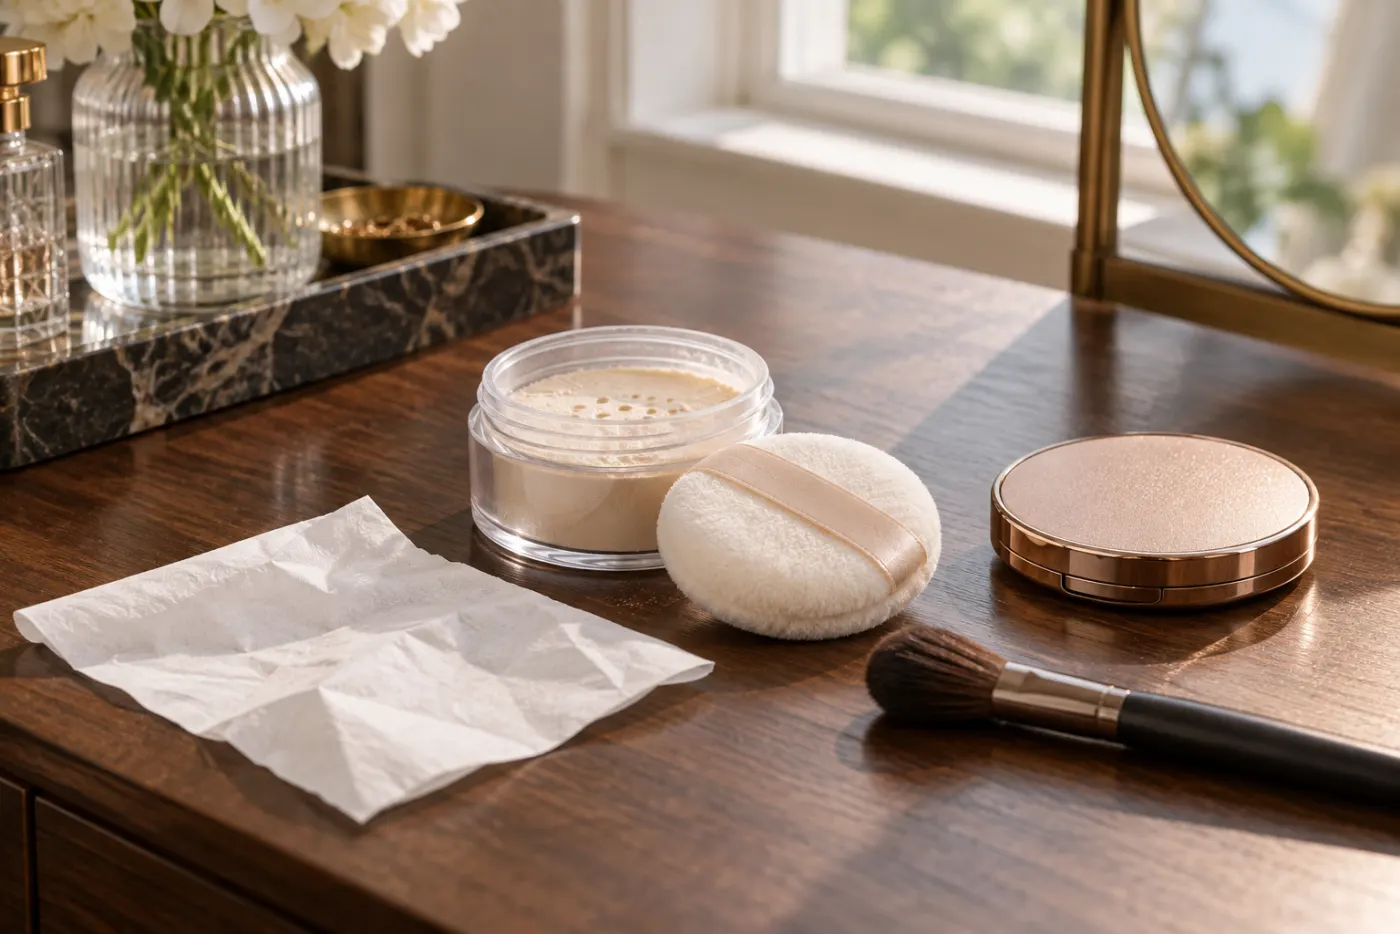
A little powder around, rather than directly over, the highlight can restore definition. If the cheek itself looks metallic or textured, lift excess with a clean brush or a barely damp sponge and use less next time. Do not stack repeated cream layers onto broken foundation. The still life shows a compact, puff and tissue as tools for editing the finish, not a mandatory collection to buy. Start with what is clean and already available.
If a new product stings, itches or causes a rash, stop using it. The American Academy of Dermatology explains how to test skin-care and cosmetic products before adding them to a routine; a digital preview cannot test skin response. Seek professional advice for persistent or severe reactions. Beauty planning is useful only when the real application remains comfortable and safe.
See dermatologists' advice on testing a new cosmetic product
Turn the winner into a repeatable small routine
Record four details: zone, size, finish and tool. For example, 'outer upper cheek, short finger-width area, fine satin reflect, small soft brush.' Add the base you used and the lighting condition that confirmed it. This is more useful than a saved image alone, because it explains how to recreate the effect with a different product. If you use two accents, decide which one is dominant and make the second quieter.
On rushed days, keep only the winning point. A one-zone routine can look more polished than a full face map executed in a hurry. For photographs, run one rehearsal with the outfit and base you expect to wear; reflective fabric, jewelry and flash can change what looks balanced. For everyday use, check after several hours rather than at the moment of application. Consistency, comfort and a clean edge matter more than maximum shimmer.
The free test succeeds when you can answer where to apply highlighter for your intended effect, with your real product and real lighting. It need not produce one permanent rule. A subtle cheek point may work for work, an inner-eye point for a quick morning, and a brighter cheek for an evening. Keep your saved shortlist small and revisit it when the base, hairstyle, setting or desired focal point changes.