
Eye makeup
Apply cream eyeshadow in 5 controlled steps
Control a small first layer, soften its boundary and check the actual film before adding intensity or other eye details.

Apply cream eyeshadow in a small first layer, soften only the edge that needs it, and check how the real film behaves before adding more. The useful skill is controlling the amount and the contact, not completing a whole lid in one hurried swipe. A cream in a pot, a pencil-shaped stick and a liquid-looking cream can require different handling, so the directions of your actual product come first.
This guide takes you through preparation and five practical application steps, followed by small corrections and a real wear check. You can use a familiar neutral or a color you enjoy. MaqAI publishes the guide; Hair Muse remains an optional place to organize makeup inspiration. A generated look cannot prove shade, texture, setting time, comfort or wear, and you do not need a preview to follow this physical routine.
Identify the product before choosing the gesture
Read the label to confirm that the cosmetic is intended for the eye area and how its maker describes application, layering, storage and removal. The word cream describes a broad texture family, not one universal formula. A soft pot may transfer easily onto a brush, while a firmer stick may need a different permitted contact. Do not copy the pressure or working time from a tutorial using another product simply because the colors look alike.
Choose one manageable upper-lid area for the first attempt. You can make a simple wash without adding a dark crease, lower-lash color or a bright inner corner. Those are separate design choices. At a stationary mirror, locate the external moving lid while your eye is relaxed and then look forward to see what remains visible. No particular eye shape requires a prescribed height or an identical outline on both sides.
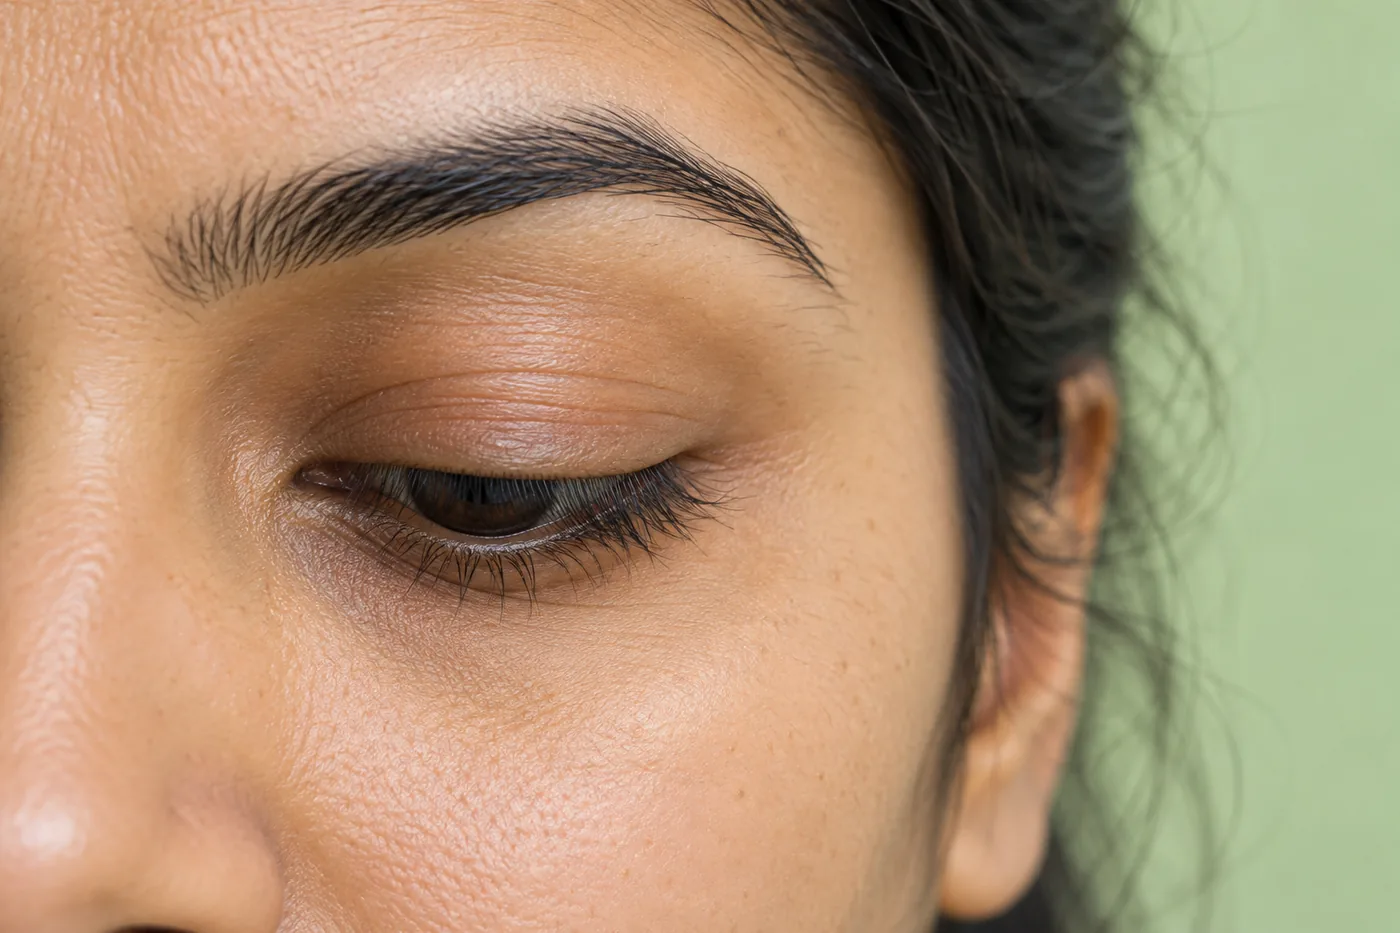
Compare eye-makeup shapes as choices rather than fixed rulesFDA advice on product directions and storage
Prepare a comfortable, stable starting surface
The FDA's eye-cosmetic guidance emphasizes clean hands and instruments, personal rather than shared products, appropriate eye-area use and keeping still during application. Stop using a cosmetic that irritates. These basics apply to the real product, regardless of how polished a tutorial looks. Sit securely and keep the mirror easy to see without stretching into an awkward position.
Follow your familiar preparation routine and the shadow's instructions. You do not automatically need concealer, primer, powder and cream stacked together. If a permitted base is still sliding, allow it to become workable before adding pigment. There is no single waiting time or base combination that suits every cream. A comfortably prepared surface should let you see what the first small contact does rather than hide it under several moving layers.
Keep the lid relaxed instead of pulling it into a stretched shape that disappears when released. If you need to move closer to understand the boundary, return to ordinary distance before deciding on the amount of color. Useful preparation is repeatable: the same familiar products and a steady posture give the subsequent application steps something consistent to build on.
1. Apply cream eyeshadow with a modest tool load
Take a small permitted amount onto the tool, then inspect the contact surface before moving toward the eye. You want to understand where the product sits: a thin coating across the brush face behaves differently from a lump concentrated at one corner. Follow the maker's method for reducing excess. Do not add water, saliva or another cosmetic to change a product that feels too firm, and do not heat the container to imitate someone else's texture.
With a stick, expose only the amount needed for comfortable handling and follow its directions for direct or tool application. With a pot, close it when you have finished taking the portion. The package's format does not tell you that a large load is necessary. A first light pass is easier to assess and repeat than a thick deposit that already demands removal.
If the brush seems to leave nothing, check the actual surface and light before taking substantially more. Some colors are close to natural skin tones and some reflections disappear from one angle. Change the viewing angle briefly; do not assume that every subtle deposit is a failed application. The next step should answer where the color goes, not compensate for uncertainty with a larger quantity.
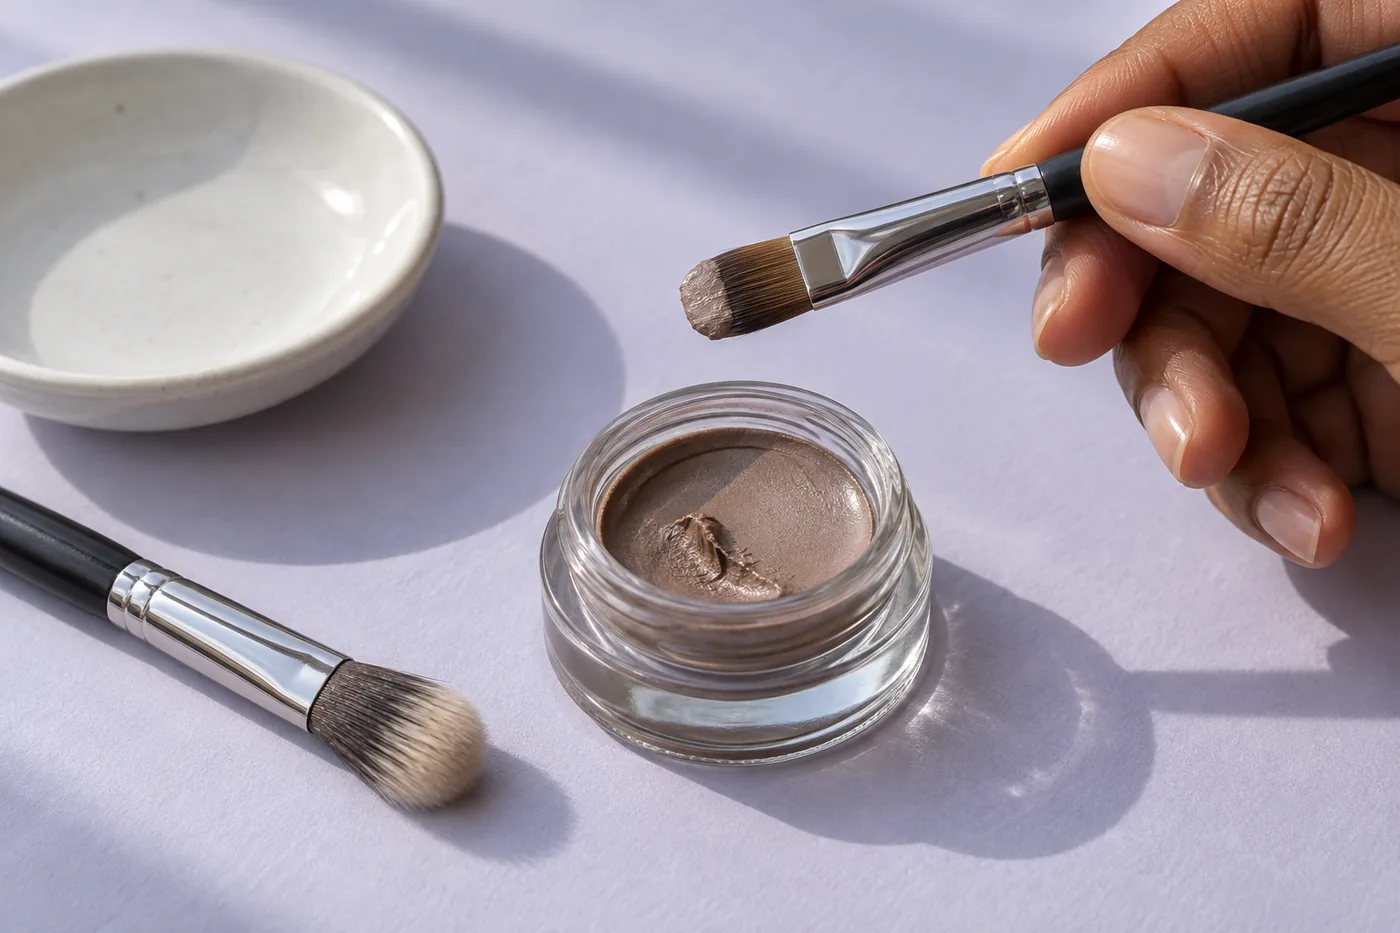
2. Place the first contact inside the planned area
Gently lower the eyelid enough to see the working surface. Place the loaded tool within your intended upper-lid area, leaving room to soften the boundary rather than starting directly at its outermost limit. Use a small, controlled contact appropriate to the product. Do not drag the tool over the eyeball, enter the waterline or chase the lash roots as part of this simple lid wash.
Look at the first mark. Has the tool deposited color, moved the base or skipped over a fold? A short second contact beside a successful one may be useful. Repeatedly scrubbing the same spot is a different action and can make the film harder to interpret. Support your posture at the table if that helps, without pressing on the eye or pulling the lid taut.
Work on one eye long enough to understand the deposit before adding a second color. You can then repeat a similar amount on the other side and compare both at rest. Similar intention is more useful than forcing matching shapes onto lids that move differently. Keep the starting patch modest; the next step handles its boundary without requiring the whole area to become larger.
3. Soften the edge while preserving the center
Use the working time and method allowed by your product. With a clean appropriate brush, make a few light contacts at the edge you actually want to soften. Keep the motion limited to that transition instead of sweeping repeatedly through the entire colored area. The center and the boundary have different jobs: one holds your chosen color, while the other determines how it meets the surrounding skin.
Check with the eye open, then gently lowered. If the edge already feels right, stop. A softer transition does not have to travel all the way to the brow or spread the same distance around every side. Moving pigment outward can enlarge the footprint even while it makes the border less obvious. Notice that change before deciding that more blending must always improve the result.
If the cream has become resistant, do not force a dry brush through it until it breaks. Another formula's demonstration cannot tell you how long your own product stays workable. Leave an acceptable small wash alone or plan a local correction after reviewing the film. The aim is a controlled transition, not an endlessly worked surface with a thin center and a widening halo.
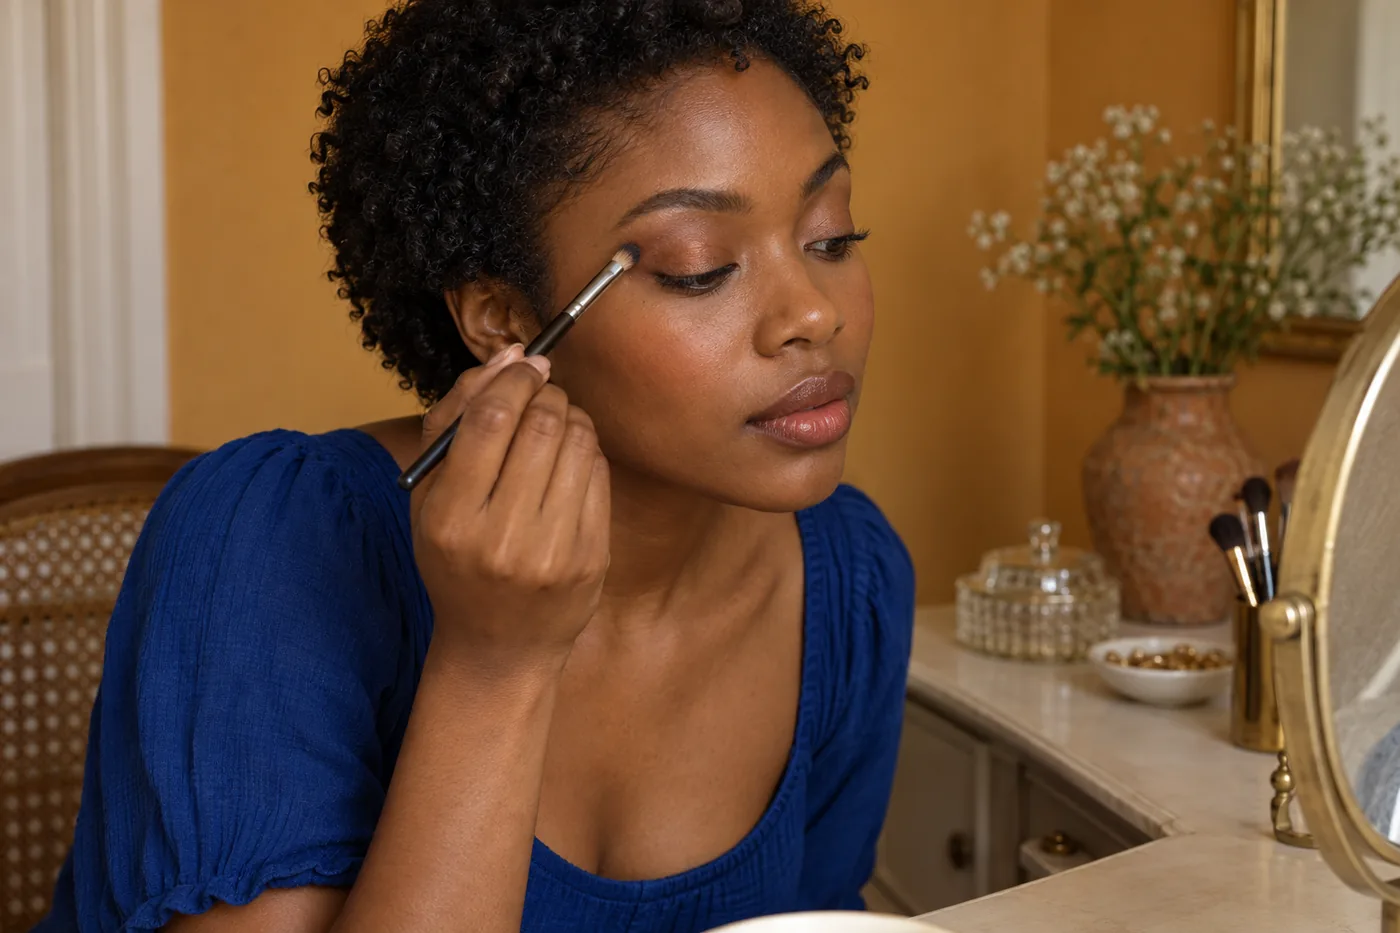
4. Let the actual film settle before another layer
Pause according to the product directions and observe the color without immediately adding more. Keep expression natural. There is no universal number of seconds that proves a cream has set, and a surface that looks less shiny is not automatically ready for every kind of layering. The important question is whether the next permitted contact helps the intended result or disturbs the first application.
If you want more intensity and layering is allowed, add a small amount only where it serves a named purpose. You might strengthen the center while leaving the softened edge alone. Compare that local change with the first layer rather than doubling the whole application by habit. A stronger color is a preference; it is not evidence that the lighter version was incomplete.
Do not assume powder must seal every cream, or that every stick needs a separate base underneath. A familiar combination can still require a small trial with the actual products. If a new layer lifts the existing film, stop and assess rather than covering the break immediately. Keep a note of the sequence so you can tell whether a problem began with the cream itself or with the added contact.
5. Add other eye details as separate decisions
Once the cream is in a state suitable for the rest of your routine, decide whether you want liner or mascara at all. A single wash can be a finished look. If you add another eye cosmetic, use it as directed and keep its tool away from wet color that could transfer unintentionally. The point is to preserve the area you just established, not turn every simple shadow into a full multi-product design.
Look at the face from a normal distance before strengthening anything. A visible lash line or a change in eyebrow emphasis may alter how the shadow reads, even though its footprint has stayed the same. Make one addition, then review. If you change several details together, it becomes difficult to decide whether you liked the original cream application or the surrounding contrast.
Correct a small uneven area without enlarging everything
If the fresh layer has a gap, first identify whether it is missing pigment or a patch where repeated contact lifted the film. More product is not automatically the same solution for both. A small permitted deposit can fill a genuine omission, while an unstable area may need gentle removal and a local restart. Follow the real product's removal instructions and keep the correction controlled rather than rubbing broadly around the eye.
Review from ordinary distance before chasing perfect uniformity in a magnifying mirror. Normal lid texture can remain visible through makeup. If a boundary has spread farther than you want, enlarging the other eye is not the only way to make the pair feel coherent. Reduce the excess locally, simplify the shape or accept a small natural difference that is unremarkable in expression.
If the whole surface has become difficult to work with, removing it and starting more simply can be more useful than building a complicated rescue. Change one practical variable on the next attempt: less load, fewer contacts or a simpler permitted base. Treat later accumulation in a fold as a separate wear observation, rather than assuming every uneven mark at application is the same problem.
Check real light, movement and removal
Look forward, blink naturally and turn toward another ordinary light. Check the whole face as well as the lid detail. A reflective cream may show a bright patch at one angle and a muted color at another; that alone does not establish uneven application. If you wear glasses, include them in the review. Judge the look at the distance from which you expect to wear it, not only in a close photograph.
Later, record the first meaningful change in the actual film: a transferred mark, a worn spot or color gathering in a fold. Note the time and circumstances without turning one attempt into a universal performance claim. Neither a product category nor a generated preview can guarantee exact shade, texture, wear or comfort. The useful comparison is between your own controlled applications with clear notes.
At the end, remove the shadow gently with a suitable product following its directions. Clean and dry reusable tools as instructed, and store the cosmetic as its packaging requires. Keep the brief record of product, base, load and motion for the next attempt. A repeatable cream application is built from observing small physical steps, not from adding more layers until a still image looks flawless.