Routine guide

How to turn an AI makeup look into a wearable routine

Break the visual into base, sculpt, eyes, lips, and finish—then adapt the intensity to your tools and time.
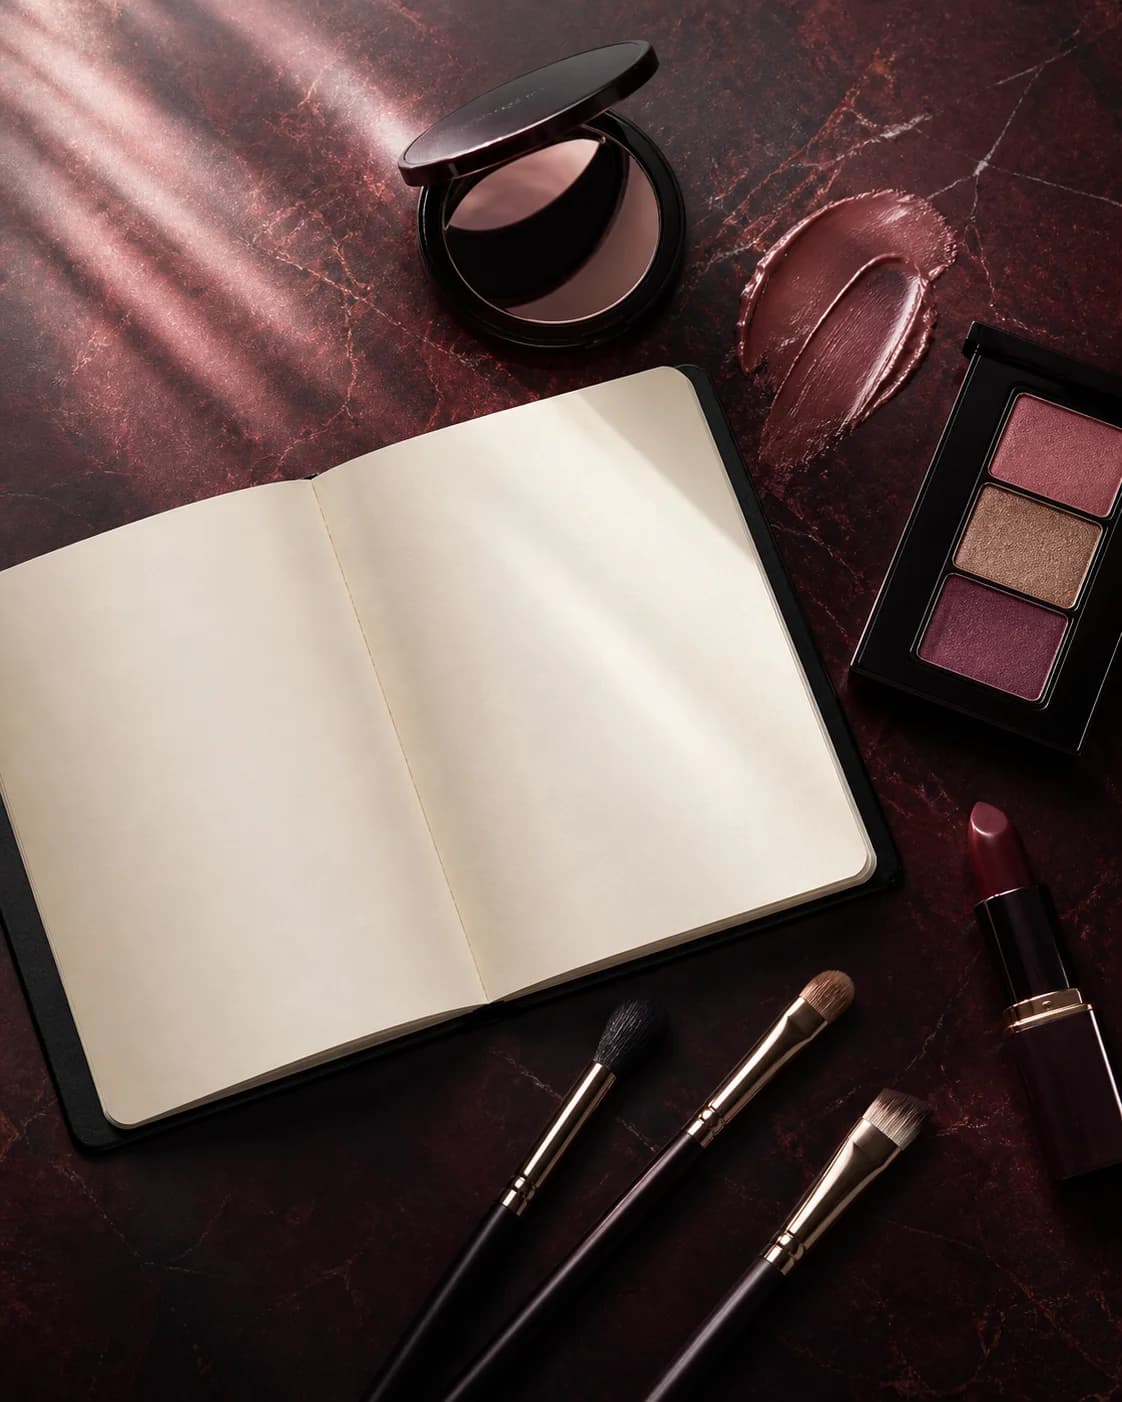
Blank makeup notebook, palette, brushes, and lipstick arranged for routine planning

Quick read

Know what you are testing before you start.

This routine guide focuses on one practical question: Break the visual into base, sculpt, eyes, lips, and finish—then adapt the intensity to your tools and time. Use the summary to decide whether that is the uncertainty blocking your next makeup decision.

The decision

Define the uncertainty.

Break the visual into base, sculpt, eyes, lips, and finish—then adapt the intensity to your tools and time. Start with “Split the image into five product roles.” Finish with “Run the complete routine with a clock.”

The method

Run one controlled experiment.

Rebuild the look with products you already own before buying anything. Follow the four stages below in order: decode, match, rehearse, time.

The reality check

Know when the answer is clear.

The look remains recognizable after simplification. You can recreate its focal point, palette, and finish with a sequence that fits your tools, skill, and available time—even when no product exactly matches the generated image.

A finished makeup image can feel complicated because every element arrives at once. The easiest way to recreate it is to separate structure from color and move through the face in a clear order.

You do not need the exact products from an inspiration photo. Focus first on placement, contrast, finish, and the one feature that carries the look.

1. Name the anchor of the look

Decide what you noticed first: luminous skin, sculpted cheeks, a smoky eye, graphic liner, flushed color, or a strong lip. That is the anchor.

Keep the supporting elements quieter until the anchor reads clearly. This prevents every category from competing for attention.

2. Build the base for the intended finish

Choose skin prep and complexion products based on whether the result is dewy, satin, soft matte, or polished. Coverage and finish are different decisions.

Use the least coverage needed for the effect you want. Add concealer strategically, then set only the areas that need it.

3. Map face, eyes, and lips

For blush, bronzer, contour, and highlighter, notice placement direction as much as color. Higher placement can lift visually; central placement can feel soft and youthful.

For eyes, identify shape, depth, and edge softness. For lips, identify outline, saturation, and finish. These observations are more repeatable than copying a product list.

  • Face: placement and blend direction
  • Eyes: shape, depth, and liner angle
  • Lips: edge, color depth, and sheen

4. Create day and evening versions

Make the first version wearable for your normal routine. Reduce one or two elements rather than changing the entire idea.

For evening, increase contrast at the anchor: deepen the outer eye, strengthen liner, add lip saturation, or build highlight. Save both versions as the same signature direction at different intensities.

A repeatable look is a system, not one exact face of makeup.

5. Match technique to the tools you own

A diffused eye made with five brushes can often be translated into a cream shadow and one blending brush. A sculpted cheek can become a single bronzer placed with intention. Preserve the visual role of each element while simplifying the method.

Write down where precision matters and where softness is the point. This helps you decide whether you need a new product, a different tool, or simply a practice step.

6. Keep a short routine note

Record the anchor, shade families, placement direction, finish, and approximate time. If you changed something during application, note the reason instead of treating the difference as a failure.

After wearing the look, add what changed in daylight, photographs, and after several hours. That real-world note is more valuable than trying to reproduce the generated image exactly.

Run the experiment

Rebuild the look with products you already own before buying anything.

A generated image becomes actionable when its visual logic survives real products and a realistic amount of time. Treat the first recreation as a diagnostic run, not a performance.

01 · Decode

Split the image into five product roles.

Write separate notes for preparation and base, sculpt and cheek, eyes and brows, lips, and final finish. Identify one anchor and keep the remaining roles supportive.

02 · Match

Choose the closest products by behavior.

Prioritize coverage, blendability, opacity, edge, and reflectivity before exact packaging or shade names. A familiar product used differently may express the idea better than a new purchase.

03 · Rehearse

Apply one side or one focal feature first.

Test the unfamiliar placement, liner shape, lip edge, or complexion layering before completing the whole face. Photograph the trial at conversation distance rather than judging only in a magnifying mirror.

04 · Time

Run the complete routine with a clock.

Record the steps that consume time, require correction, or add little visible value. Simplify the supporting features while protecting the anchor that makes the look recognizable.

Success signal

The look remains recognizable after simplification.

You can recreate its focal point, palette, and finish with a sequence that fits your tools, skill, and available time—even when no product exactly matches the generated image.

Refine when

Change technique before replacing the whole product set.

Adjust preparation, tool size, pressure, layer thickness, set time, or order when texture and intensity are wrong. Buy only after identifying a specific performance gap.

Save the final layer order with product roles, not only product names. Add application time, tools, intensity adjustments, and the step you would omit on a rushed day. The result becomes a repeatable routine instead of a one-time recreation.

Good to know

Questions about this guide

Straight answers about the app, AI previews, privacy, and what to expect.

Do I need the exact products shown in a preview?

No. Focus on shade family, placement, opacity, and finish, then use products you already know or can test in person.

What order should I apply makeup?

A common flow is prep, base, sculpt and blush, eyes and brows, lips, then finish. Adjust the order for fallout, cream products, and your own habits.

Can MaqAI create step-by-step ideas?

Yes. MaqAI includes makeup routines and a Beauty Advisor for look, placement, and application guidance.

Put the guide into practice

Test one clear change on your own portrait.

Use Transfer & Makeup Builder to compare the direction from this guide, save the result that works, and carry it into a real product or technique test.

Coming soon to theApp Store★★★★★Free download