
Face makeup
How to apply bronzer: 5 steps for controlled warmth
Build a warm veil with a stable base, a light tool load, small deposits, softened edges and a real-light check.
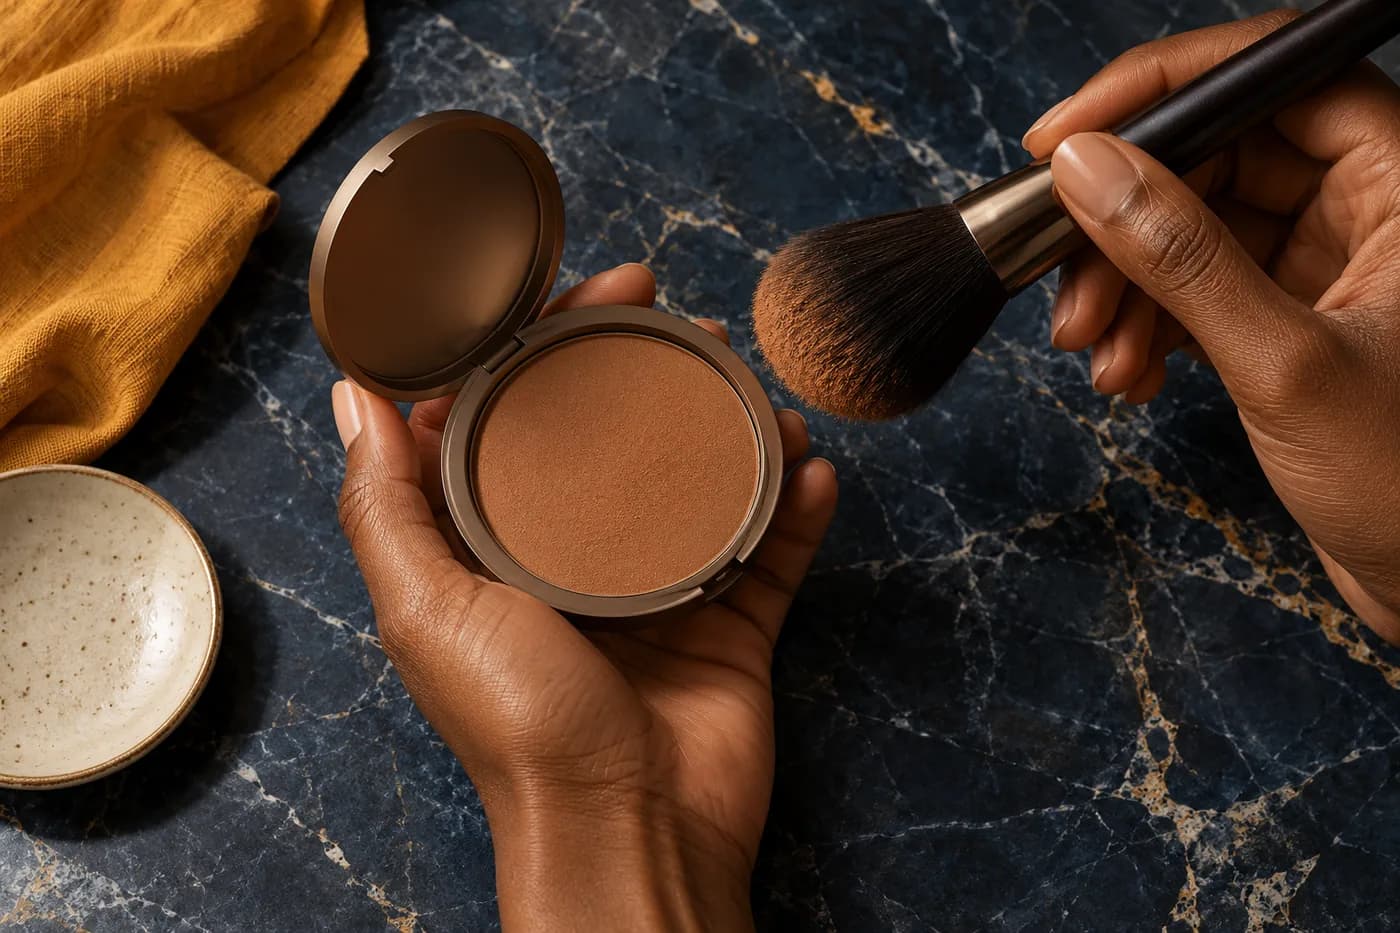
Learning how to apply bronzer becomes easier when you separate the amount on the tool from the area you want to warm. A broad sweep with a heavily loaded brush can create a dark stripe before you have decided where the color belongs. Start with a small deposit on a stable base, soften its boundary, then step back. You can keep the effect subtle or build a more visible warm veil; the useful target is an application you can control and repeat.
This guide works with real face makeup and ordinary tools. MaqAI publishes the instructions; the generated photographs illustrate individual actions rather than a documented product test. No app is needed to complete the method. The five core steps cover the underlying layer, tool load, first placement, edge blending and whole-face review. Afterward, adjust only the part that still needs attention. A bronzed appearance is a cosmetic color choice, not a reason to tan in the sun or treat a makeup layer as sun protection.
How to apply bronzer: choose warmth before a shape
Decide what you want the product to add. For this routine, bronzer supplies a warm color veil across selected areas rather than a narrow shadow beneath the cheekbone. You may want a small change near the outer cheeks and temples, or a broader connection with the forehead. Neither requires tracing every area shown in a diagram. The existing bronzer-versus-contour guide explains that difference in purpose; here the task is getting a chosen product onto the face evenly, with a manageable amount and an intentional boundary.
Check a small amount against your complexion instead of relying on the product name or the number of shades darker. A color that looks plausible in the pan can appear strongly orange, red, gray or reflective on your skin. If reducing the amount still leaves a direction you dislike, set that shade aside for this routine. More blending cannot change the pigment into another color. Keep coverage, finish and lighting familiar while learning the gesture, and avoid changing the entire foundation routine simply to make one bronzer work.
Step 1: give the first layer a stable surface
Complete your usual preparation according to the products involved. If you wear foundation, observe a small outer-cheek area before adding color. It should tolerate a light touch without obvious sliding, rolling or lifting. There is no universal waiting time that every moisturizer, sunscreen and base shares. Use the condition you can actually see, not a timer borrowed from a different formula. If the base still moves readily, pause before adding pigment. Bronzer will be harder to judge when every touch also moves the layer beneath it.
Keep sun protection as its own job. The American Academy of Dermatology places moisturizer and/or sunscreen before optional makeup in its routine guidance; use your sunscreen as directed rather than reducing it to help bronzer blend. Do not mix bronzer into its container. For this application, start with the cheek area away from eyes and lips, using products intended for that skin area. If bare prepared skin is your normal base, you can test there instead. Foundation is not a prerequisite, and an extra layer is not automatically an improvement.
Step 2: load the tool lightly enough to steer
Choose a clean tool suited to the actual formula. A soft brush with some movement in its bristles can spread powder across a modest area without requiring a hard press. A smaller, denser brush or a clean fingertip may suit a cream when its instructions permit that application. Tool names are less important than the contact area and the amount they deposit. The FDA advises reading labels, using clean hands, not sharing makeup and keeping containers clean. Those handling basics support the routine; they do not certify a particular brush or finish.
Touch the powder lightly rather than circling repeatedly through the pan. Settle excess against a clean appropriate surface or tap the handle gently without blowing on the bristles. For cream, pick up a small amount with a clean tool instead of drawing a long thick stripe directly on the face as a starting point. You should be able to make one restrained deposit before reloading. If the first touch already covers the whole brush width densely, reduce the starting load next time. Adding pigment later is easier than correcting a large initial mark.
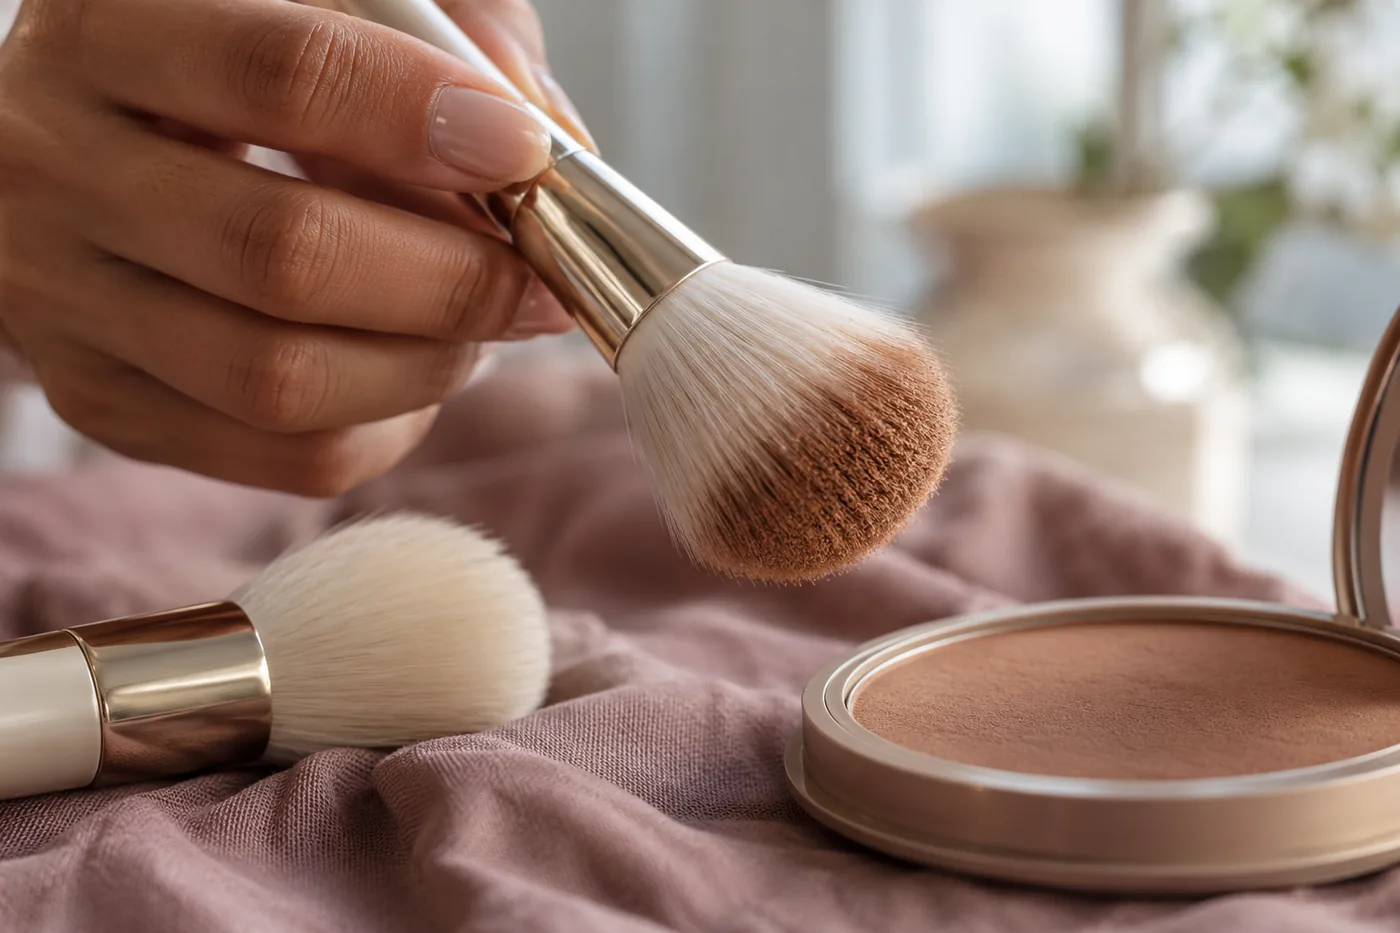
Step 3: place a small patch where you want warmth
Begin with one outer upper cheek near the temple, where you can see both the color and its edge. Touch down lightly, lift, then observe. Keep the initial patch smaller than the finished area you imagine. You need room to soften its perimeter without carrying it toward the mouth. Work on the other side with a comparable fresh load rather than using whatever is left on the brush and assuming both sides will match. Natural facial differences remain; comparable intensity matters more than identical geometric outlines.
If you also want warmth near the forehead, use a separate light deposit at the outer forehead and move carefully toward the hairline. Watch for visible powder caught in hair and for an abrupt band at the edge of the face. The nose, chin and jaw are optional areas, not boxes you must tick. Leave them alone until the cheek-and-temple application makes sense in the whole face. A continuous sweeping three can be a memory aid for some people, but following it mechanically may distribute more product than you intended.
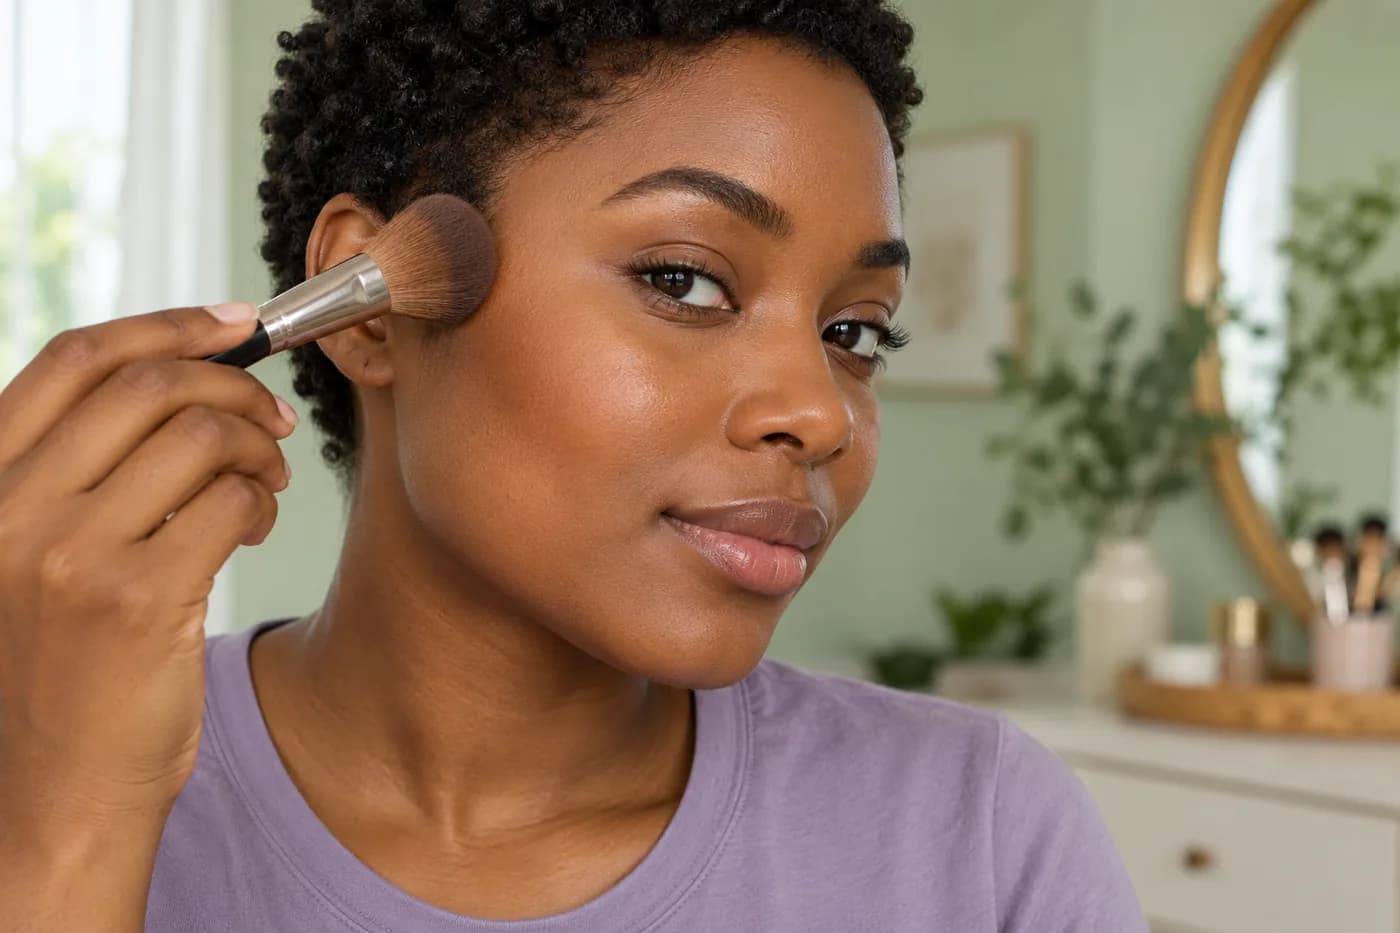
Step 4: soften the boundary without widening forever
Reduce the pigment left on your tool before blending the edge. With powder, use light short movements across the outer boundary, then stop and look. The aim is a gradual transition from the warm area into the surrounding complexion. You do not need to grind the brush into the skin or keep sweeping until color covers the entire cheek. When the center is already strong enough, avoid carrying another loaded pass through it. A clean second brush can make that separation between adding color and softening an edge easier to understand.
With cream, try small controlled presses or short strokes while the particular formula remains workable. Follow its directions and watch the base beneath it. Long repeated rubbing can move both layers and make a small patch larger. Do not assume cream always belongs before every powder or that powder can never sit over cream; test the actual combination on a small area. If the edge will not move without lifting the base, stop treating pressure as the solution. Adjust the application amount or the combination on another trial rather than forcing the current surface.
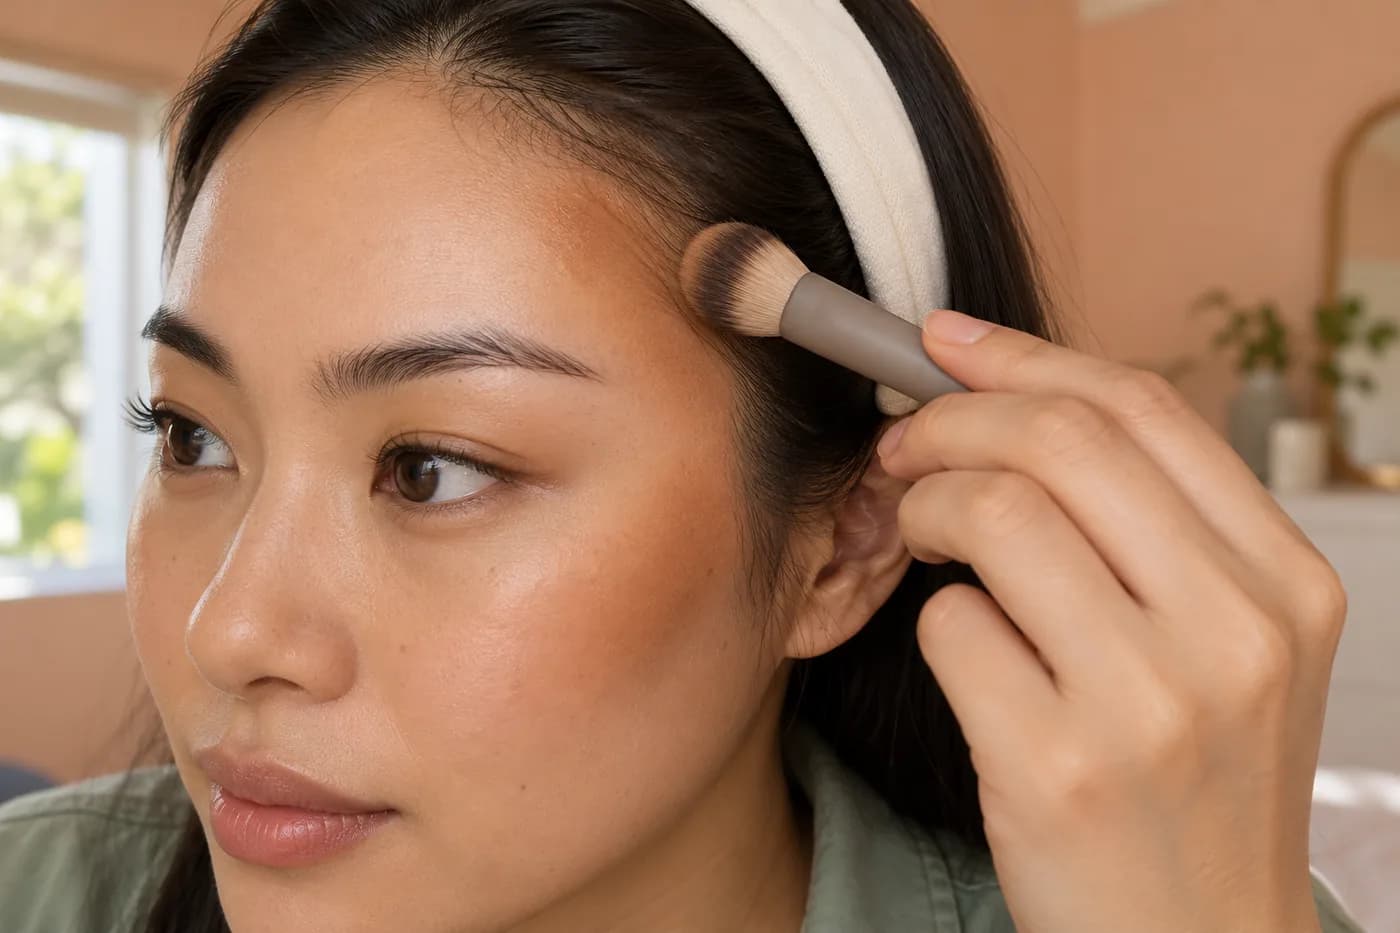
Step 5: review face and neck before another layer
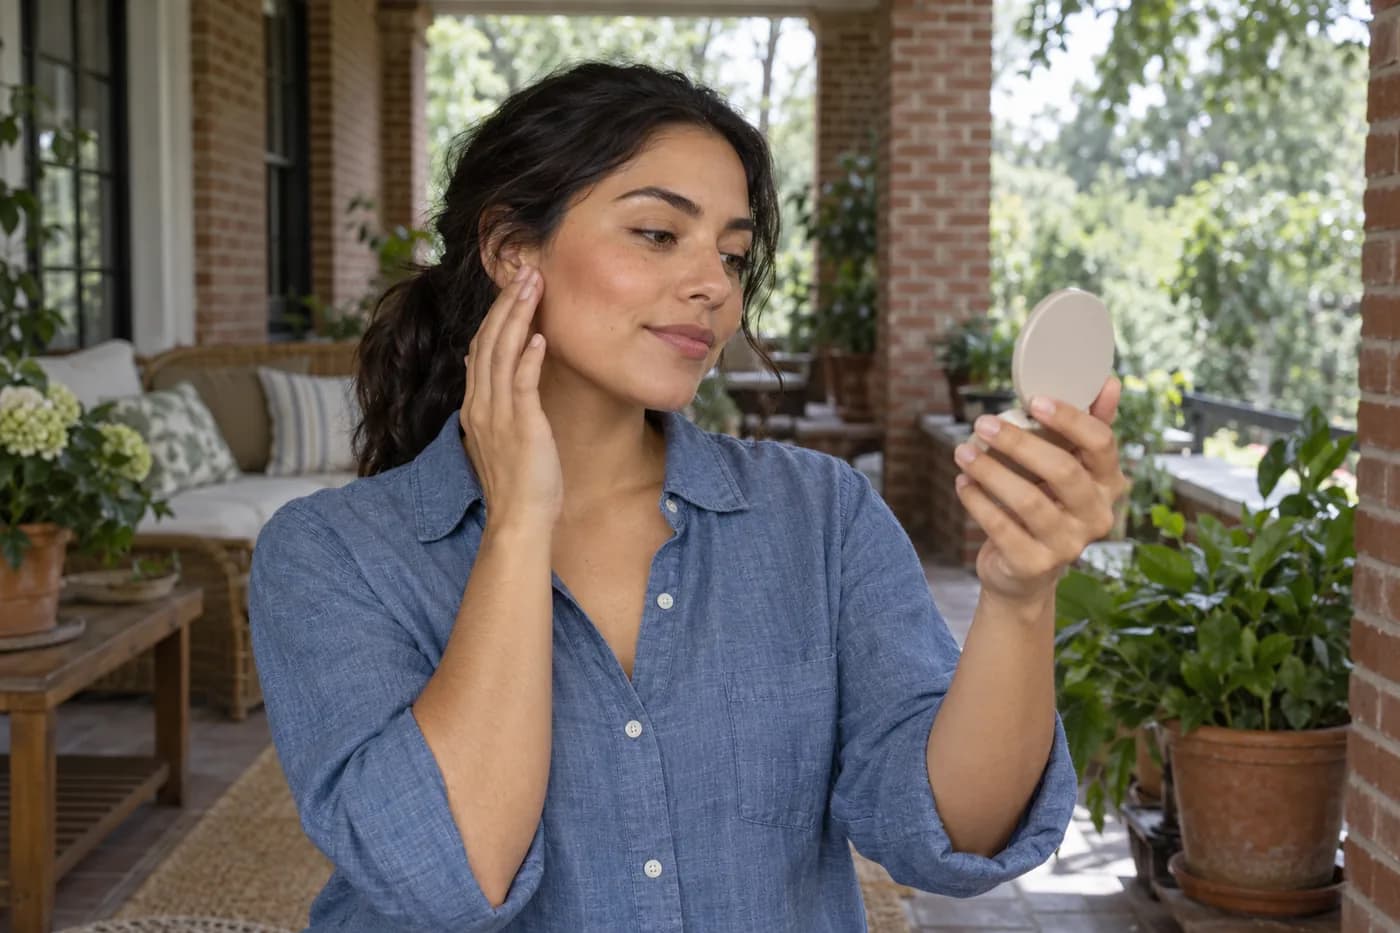
Put the tool down and look at the whole face from ordinary mirror distance. Keep your expression relaxed and include the neck in the view. You are checking whether the warmth sits comfortably within the complexion, not trying to paint the neck until every area becomes identical. Turn slightly to distinguish a reflective finish from a dark patch. Review both sides under the same light before correcting apparent asymmetry. A side lamp can make one cheek seem deeper even when its actual application is similar.
Use indirect daylight or another relevant everyday light as a second view. The linked lighting guide explains why bulbs and camera processing can change a color decision. A phone photograph may help document placement, but it is not a precise shade measurement. If the result is lighter than you want and the layers remain stable, add one small deposit only where extra warmth is useful. Blend that boundary, then review again. Stop when the effect matches your intention; needing another layer is not a failure, and using the entire face is not a requirement.
Repair a stripe by identifying what made it
A stripe can come from too much pigment, a narrow contact area, a sticky patch of base or a boundary that ends abruptly. Name the cause before covering it with more products. If there is loose powder sitting on an otherwise stable layer, a clean soft brush may redistribute a small amount locally. Work at the boundary rather than dragging the darkest center over a larger area. If the base is lifting or rolling, repeated brushing is unlikely to create a cleaner result. A small restart may be more practical than several corrective coats.
If color is simply too strong, reduce the next starting load before deciding the shade is unusable. If the hue remains wrong even in a thin application, change the candidate rather than hiding it under foundation. Avoid scraping the pan, wetting the powder or adding improvised ingredients to its container to solve a facial application problem. Remove an uncomfortable application gently as directed and stop. The aim is a repeatable cosmetic routine, not keeping an unsuitable layer on the face because you have already spent time blending it.
Add blush and highlight without burying the bronzer
Once the warm veil is clear, add any blush or highlight in a separate small step. It is easier to understand each product when you can still identify what the earlier layer contributed. A little overlap may be intentional, but applying several strong colors to the same patch can make correction harder. Check from a normal distance after each addition rather than deciding from a close crop of one cheek. You can also finish with bronzer alone if that gives the amount of warmth and definition you want.
Powder and spray are optional decisions based on your actual surface and routine, not a compulsory seal over every bronzer. If you use either, observe its effect without assuming it guarantees wear or prevents transfer. Let the application go through ordinary speaking, movement and your usual day, then note where it first changes. Keep tools clean and store the product as labeled afterward. A comfortable first application and a later wear observation are separate findings; neither makes this guide a ranking or a formula performance claim.
Keep a short note for the next application
Record the product, base beneath it, tool, starting load and areas you chose. A useful note might say one light powder pickup on each outer cheek, then a separate smaller forehead touch. Describe the boundary and comfort as well as the color. That is more actionable than declaring the look natural without explaining how you made it. If your lighting or foundation changes, treat that as a new context before repeating the same amount automatically. A familiar product can still behave differently over a different surface.
Change only the unresolved part next time. If placement works but the first patch is strong, reduce load. If the color is pleasant but the edge is hard, separate deposit from blending. If you like the initial result but dislike upkeep, observe the actual formula rather than chasing a digitally smoother image. The routine is complete when you can place, soften and review the warmth without repeated rescue. Your face does not need a new shape to wear bronzer; it needs an application that fits the color, area and finish you chose.