
Complexion guide
Dewy, satin, or soft matte: how to compare makeup finish
Separate finish from coverage, then test how light, texture, placement, and the rest of the look change the decision.
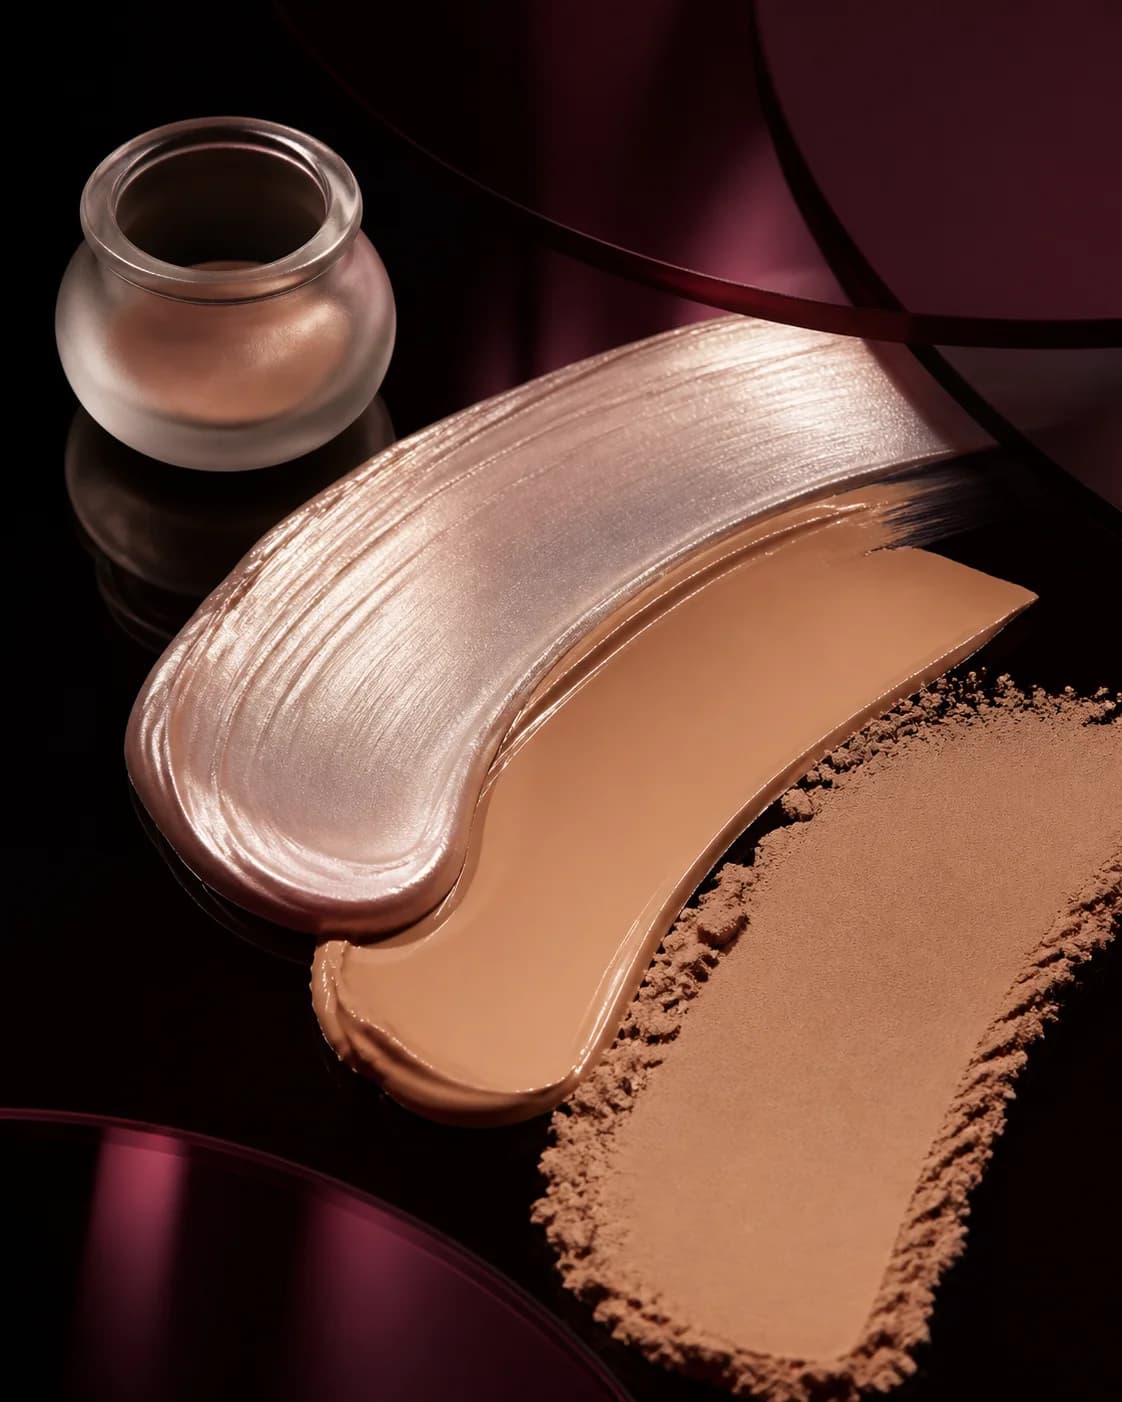
Finish describes how the surface reflects light; coverage describes how much visible color variation shows through. Keeping those decisions separate makes complexion comparisons much clearer.
A dewy look does not have to be sheer, and a soft-matte look does not have to be full coverage. Begin by choosing the finish, then decide where and how much coverage you want.
Read the three finish families
Dewy finishes create visible reflection and a hydrated impression. Satin finishes balance light with a more even surface. Soft matte reduces broad shine while preserving enough dimension to avoid a flat effect.
Real skin rarely needs one finish everywhere. A strategic combination can keep the high points luminous while controlling areas where products move or camera light becomes distracting.
Keep coverage stable in the comparison
When possible, compare the same level of visible skin and correction across finish options. If the matte version also has much more coverage, you may be reacting to uniformity rather than reflectivity.
After selecting finish, compare spot concealing, medium coverage, and a more polished base as separate choices.
Decide where light should live
Look at the center of the forehead, nose, upper cheek, under-eye, upper lip, and chin. Decide which reflection feels intentional and which distracts from the focal point.
A mixed finish may use satin across the face, strategic powder through the center, and controlled highlight at the high points. Placement can matter more than the product label.
Account for skin prep and formula
Skincare, primer, base formula, powder, setting spray, and the time between layers change the real surface. A generated preview cannot predict pilling, separation, oil breakthrough, dryness, or texture emphasis.
Test the real combination on your own skin. If irritation or a skin condition is a concern, stop using the product and seek advice from a qualified professional rather than relying on an AI appearance preview.
Check daylight, indoor light, and camera flash
Diffuse daylight reveals overall balance, indoor light can increase warmth or local shine, and flash may make reflective products or certain powders behave differently in photographs.
Use the lighting that matters for the event. A finish chosen for an outdoor afternoon may need different control for a long evening with direct photography.
Build a finish map for the routine
Write down the intended finish by zone: hydrated base, controlled center, luminous cheek, set under-eye, or glossy lid. Then select products and techniques for those jobs.
Wear the routine long enough to see how the finish develops. Your useful result is the one that still supports the look after movement, heat, and normal wear—not only at first application.
Choose finish by zone and real-life condition, not by one global label.