
Eye makeup
Prevent eyeshadow fallout without disturbing your base
Find which step drops pigment, use a lighter brush load and protect or repair your base without rubbing the eye area.
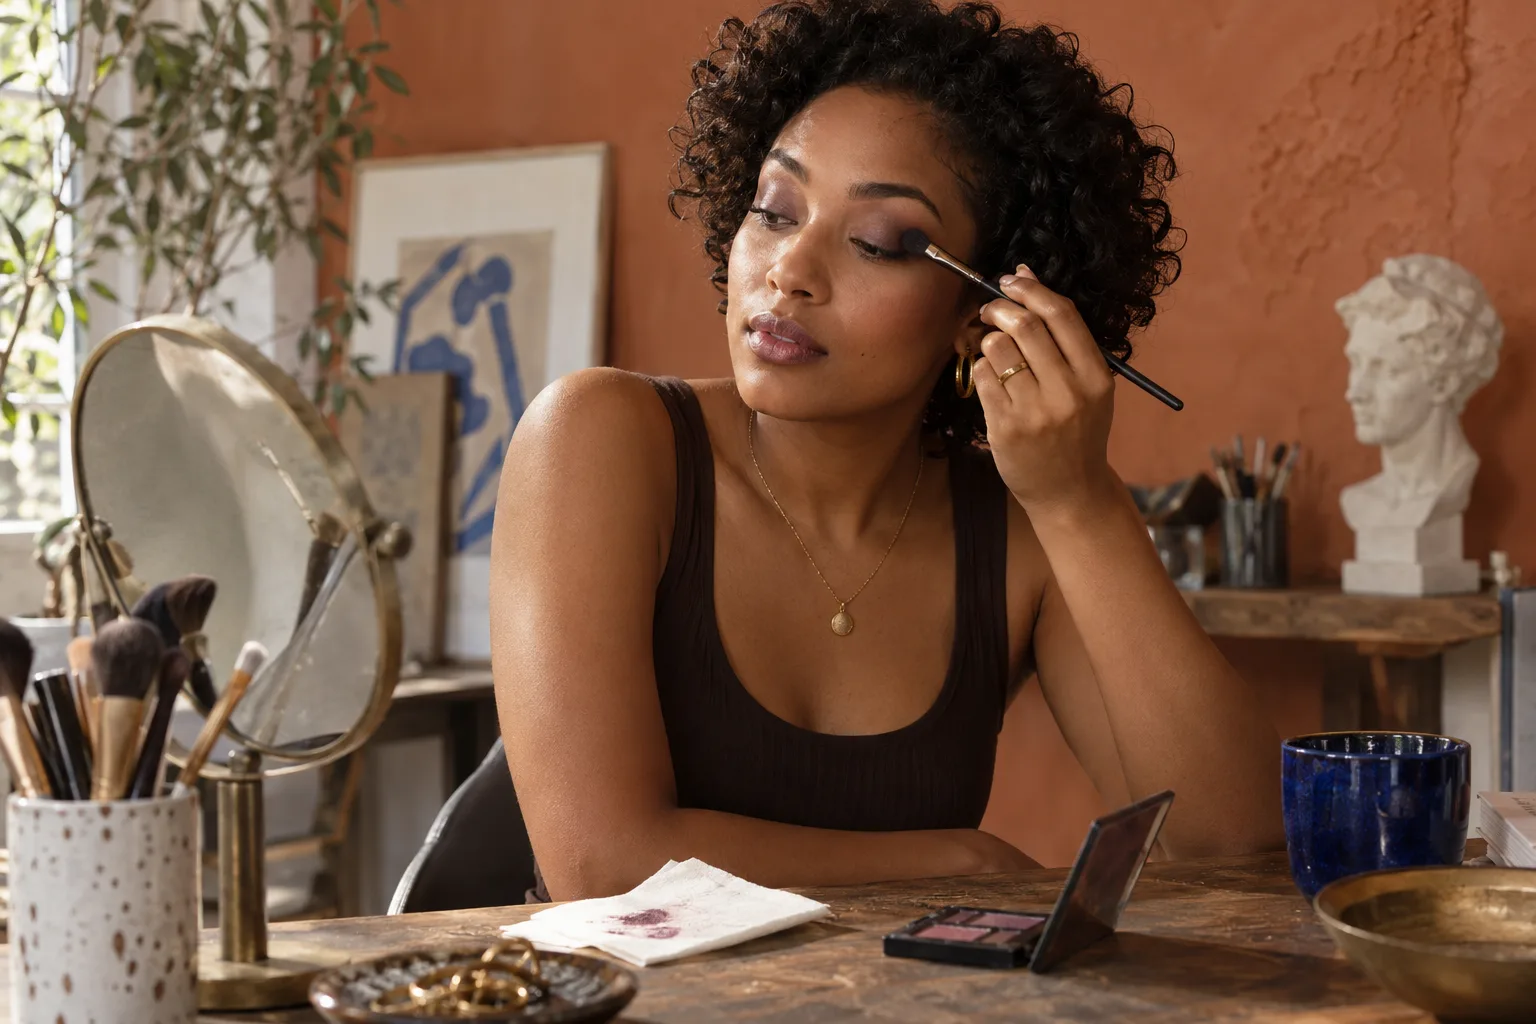
To prevent eyeshadow fallout, begin at the moment powder leaves the brush. A dark haze on a finished cheek can tempt you to wipe harder or cover it with another layer of concealer, yet that often spreads pigment and disturbs the base. First identify whether particles fell while you picked up color, while you swept the lid, or only after you blended. Then change the smallest part of the application. The aim is a clean face with an eye look you still enjoy, not a rule that every shadow must behave identically.
A test needs one shadow, a clean brush, a tissue and a mirror. Work on a small section of lid and inspect the tissue and cheek after each pass. If a powder is loose, doing eyes before complexion may make cleanup easier. If your base is complete, a light barrier and careful lifting can still help. None of these steps guarantees zero particles with every formula; they show where control is lost and whether to adjust the tool, amount, movement or order.
Find how to prevent eyeshadow fallout
Check the pan, brush and face separately. Powder scattered around the pan before the brush reaches your eye suggests that too much product was picked up or that the pressed surface is fragile. A clean pan but specks on the cheek immediately after the first stroke points toward movement or a heavily loaded tip. Specks appearing only after vigorous blending suggest that the edge work is dislodging color already placed. A little powder on a tissue is not failure; a shower of it on the cheek tells you which pass to change. Notice whether the pieces are fine dust, small flakes or larger shimmer particles because they do not all respond to the same pressure.
Make one observation before reaching for a new primer. Use your usual shadow and one clean brush on a single eye, with the other eye left as a visual reference. Lay a folded tissue below the eye, load once, and press the brush to the lid without sweeping. Look at the tissue. Then make one short blending movement and look again. This small sequence distinguishes a pickup problem from an application problem more clearly than judging a fully finished smoky eye. It also keeps the test on your own skin and product rather than relying on someone else's palette demonstration. Record which motion caused the first visible drop.
Load less pigment and control the brush
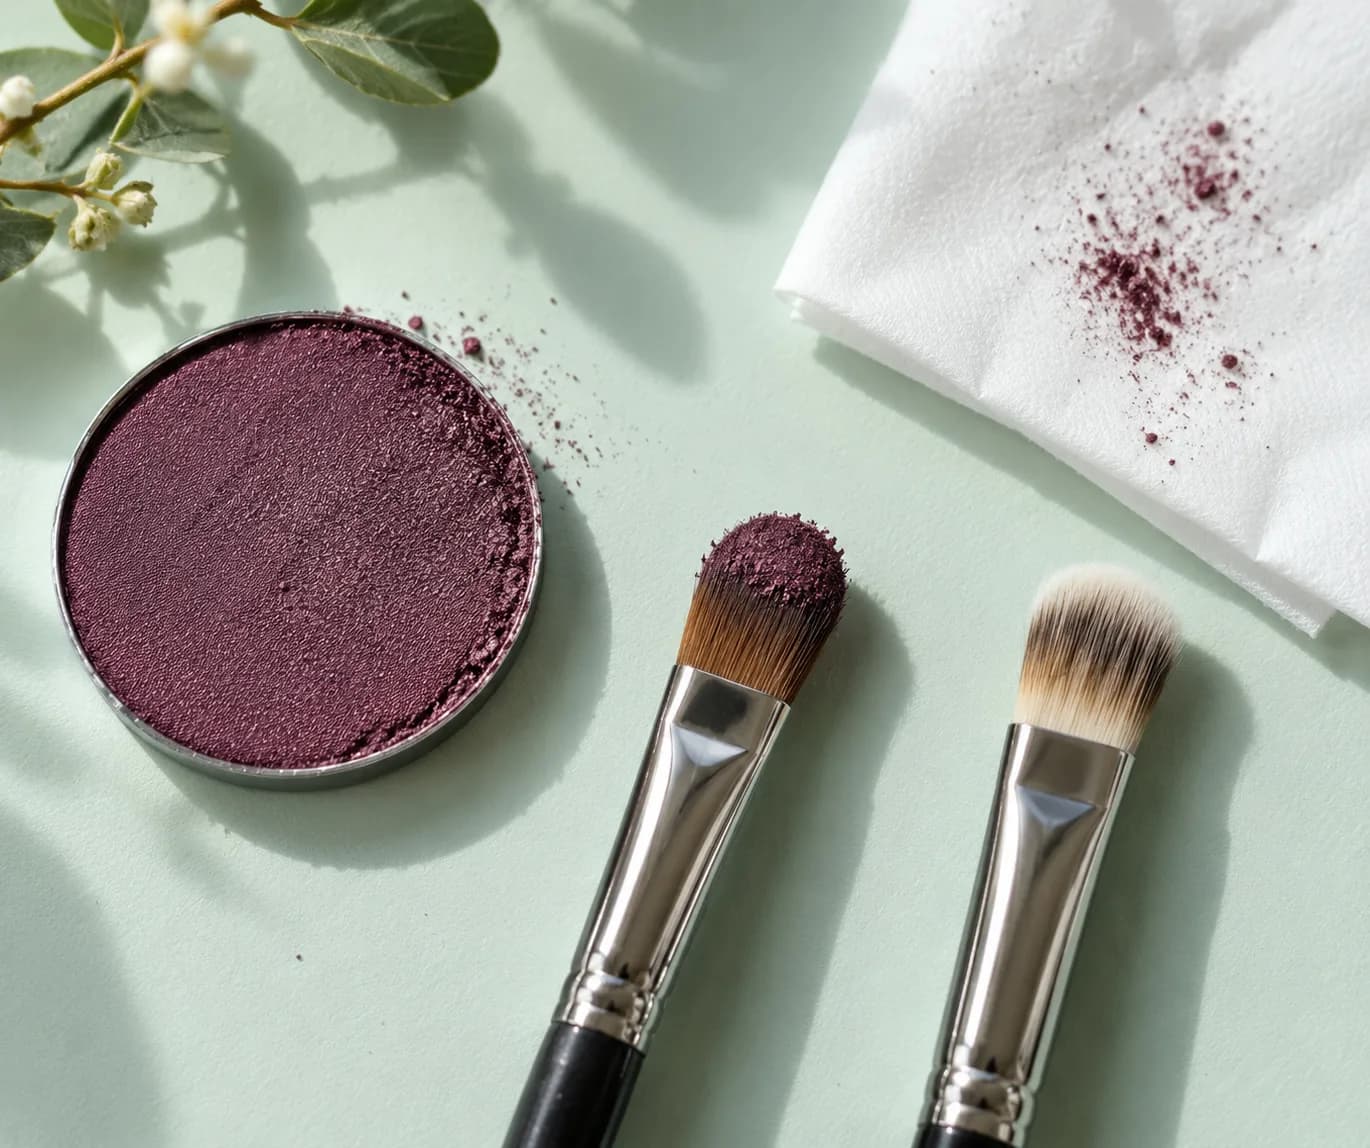
Touch just the working edge of a clean, dry brush to the shadow rather than burying the whole head in the pan. A dense flat brush places color more directly; a broad fluffy brush spreads and softens an edge but can carry powder over a larger area. Start with less than you think you need. Tap the handle lightly over a tissue or the pan to release loose excess away from the face. Do not blow on the brush: breath adds moisture and is a poor hygiene habit near the eyes. A clean tissue also shows how much pigment you have shaken off before it reaches the cheek.
If the first press looks faint, build a second thin pass only where the lid needs depth. Repeated small loads are easier to judge than one crowded brush. Keep the brush upright enough that loose particles fall back toward the bristles or onto the tissue, not forward in a cloud from a fast flick. For a metallic or loose-looking formula, a clean fingertip may place a tiny amount more precisely if the product label permits that use and your hands are clean; avoid pressing into the lash line. The useful comparison is not brush versus finger as a universal winner. It is whether the amount and placement you control leave fewer stray particles with this particular formula.
Choose the order that protects your base
When you expect a dark, flaky or reflective shadow, finish eye color before foundation and under-eye concealer. That order gives you a bare cheek to clean without dragging a pigmented mark through finished complexion makeup. Begin with comfortable, clean lids, place the shadow, lift any stray particles, then apply the face base. You need not rebuild your entire routine for a quiet matte wash that produces almost no fallout. The order is a practical choice for a known messy product, not a beauty law. If you wear no foundation, the same principle still applies: clean the cheek while the skin is bare and dry.
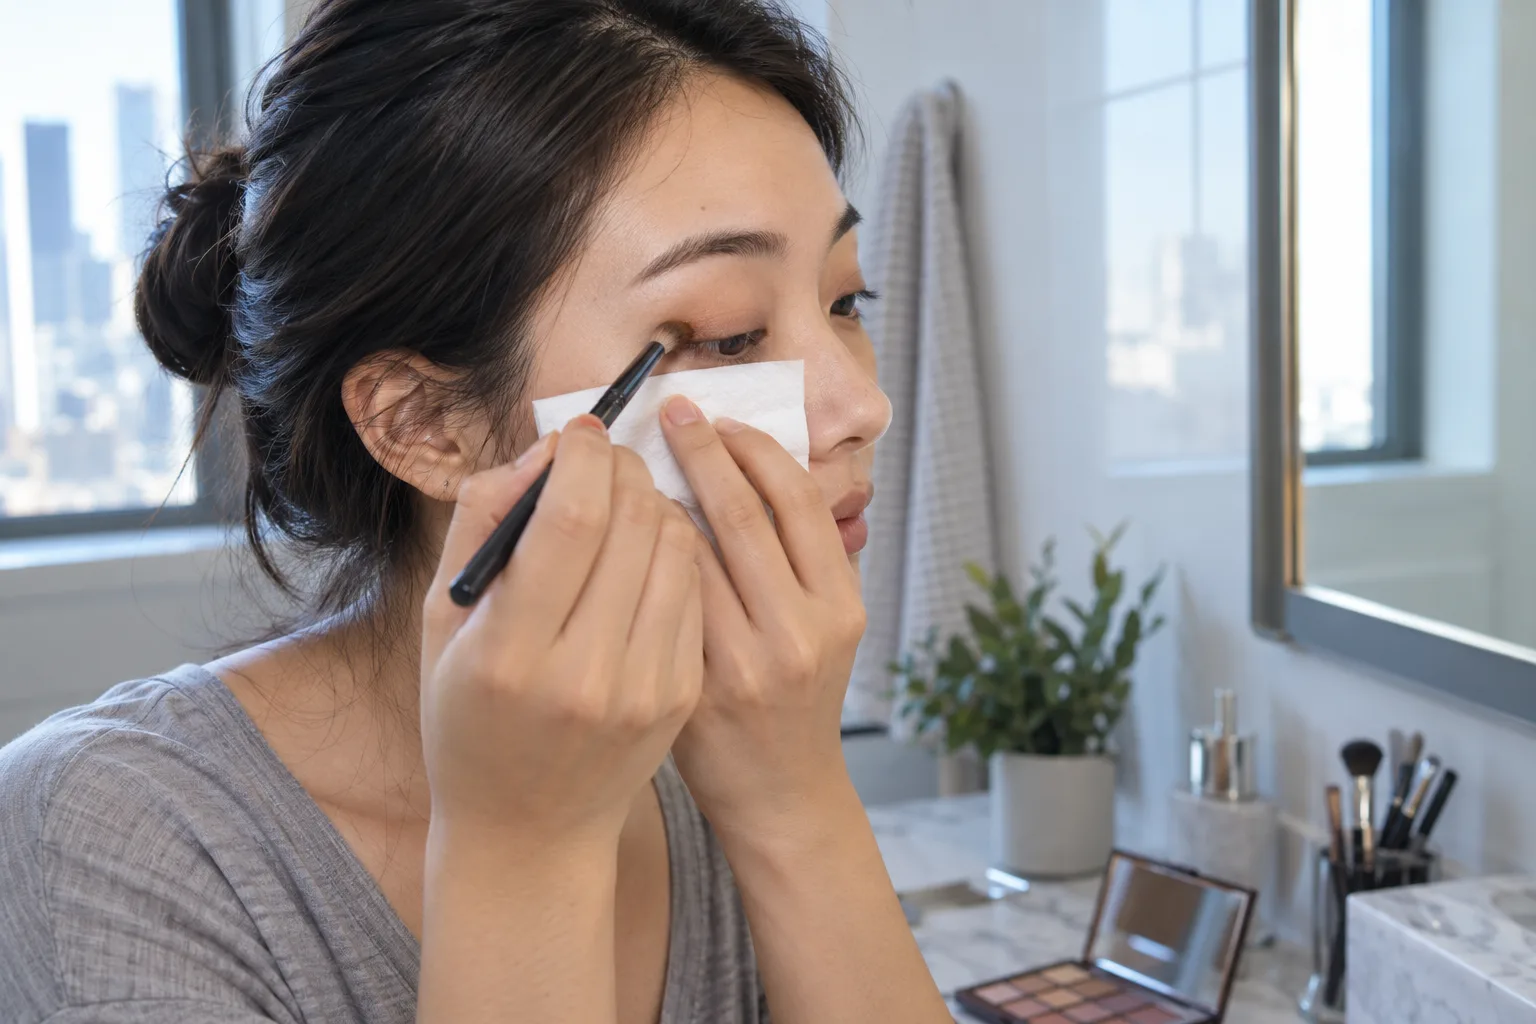
If you prefer complexion first, prepare a small folded tissue under the eye while placing the messiest color. Hold it lightly against the upper cheek, never over the eye or tight against the lower lash line. A clean hand should support the tissue so it does not scrape concealer. Some people use a generous layer of loose face powder as a catch surface, but that can emphasize dryness, change the finish or complicate removal. Try the tissue first because you can see and remove the collected particles immediately. On an already set base, use the gentlest possible barrier and plan a local correction rather than assuming you must powder the whole under-eye area.
Press color in place before blending
Place the brush where you want the most color and make short, gentle presses. The bristles should touch the lid and lift cleanly, rather than dragging powder from the outer corner across the entire eye. Work in a compact zone near the mobile lid, then soften only the boundary with a nearly empty clean brush. This separates two jobs: depositing pigment and diffusing the edge. A broad windshield-wiper motion with a newly loaded brush may look fast, but it can send loose color beyond the intended area before the lid has received enough. You can extend the shape gradually after the central color is anchored.
Keep the face relaxed and the mirror slightly below eye level so you can see where the brush meets the lid. If your eye shape folds over the mobile lid, open the eye between passes and check what remains visible; do not force product high into the crease just to avoid particles. The existing guide to lid creasing addresses color that gathers during wear; fallout happens during placement and asks for a different fix. If color is already where you want it but loose dust continues to fall, stop building. More blending is not automatically a better finish. Let a clean brush make one controlled edge pass, then inspect the cheek before the next step.

Troubleshoot shadow that gathers in the lid fold after application
Respect the formula and eye-area directions
Some shadows release more dust because of their texture, age or a cracked surface. A very soft matte, a flaky metallic and a larger decorative particle will not deposit in the same way. Inspect the pan before applying: if it is broken into loose crumbs, do not press a heavily loaded brush straight onto the eye. Check that the product is actually labeled for the eye area and follow its directions. Do not assume any craft glitter or face pigment belongs on the lid. If you use a specific eye-area adhesive, use only a product labeled for that purpose and use it as directed; this guide does not require one.
The FDA's eye-cosmetic safety guidance advises keeping applicators clean, not sharing eye makeup and stopping use when an eye cosmetic causes irritation. That boundary matters more than saving a dramatic look. Avoid adding water or saliva to a dry product merely to make it cling; a wet brush can also change some formulas in unpredictable ways. If powder enters the eye, stop applying makeup rather than rubbing or continuing to blend over discomfort. If irritation persists, seek appropriate eye care. No amount of cheek protection makes a product suitable for a use its label does not support.
Lift fallen powder without spreading it
Pause as soon as you see particles on the cheek. Do not sweep a fingertip through them, especially over emollient concealer: pressure can grind dark powder into the base and turn separate flecks into a gray smear. If the skin is bare and dry, use a clean, soft brush with almost no pressure to lift a few particles outward. If that does not work, touch a clean cotton pad to one small spot and lift straight off. Replace the pad's surface before the next touch so you do not stamp pigment elsewhere. Work away from the eye, and leave the lower lash line alone.
For a finished base, first remove loose pieces with the corner of a clean tissue or dry soft brush, then assess what actually remains. A small stained patch can be corrected locally with a minimal amount of the original complexion product, applied by pressing rather than rubbing. Do not pile concealer over a pile of powder. If the patch is wide, it may be faster and cleaner to remove and redo only that cheek area. Clean the tool before reusing it near the eye. The aim is to preserve surrounding makeup while resolving the specific mark; a broad second base layer often draws more attention to the repair than the original speck.
Run a repeatable test with the same shadow
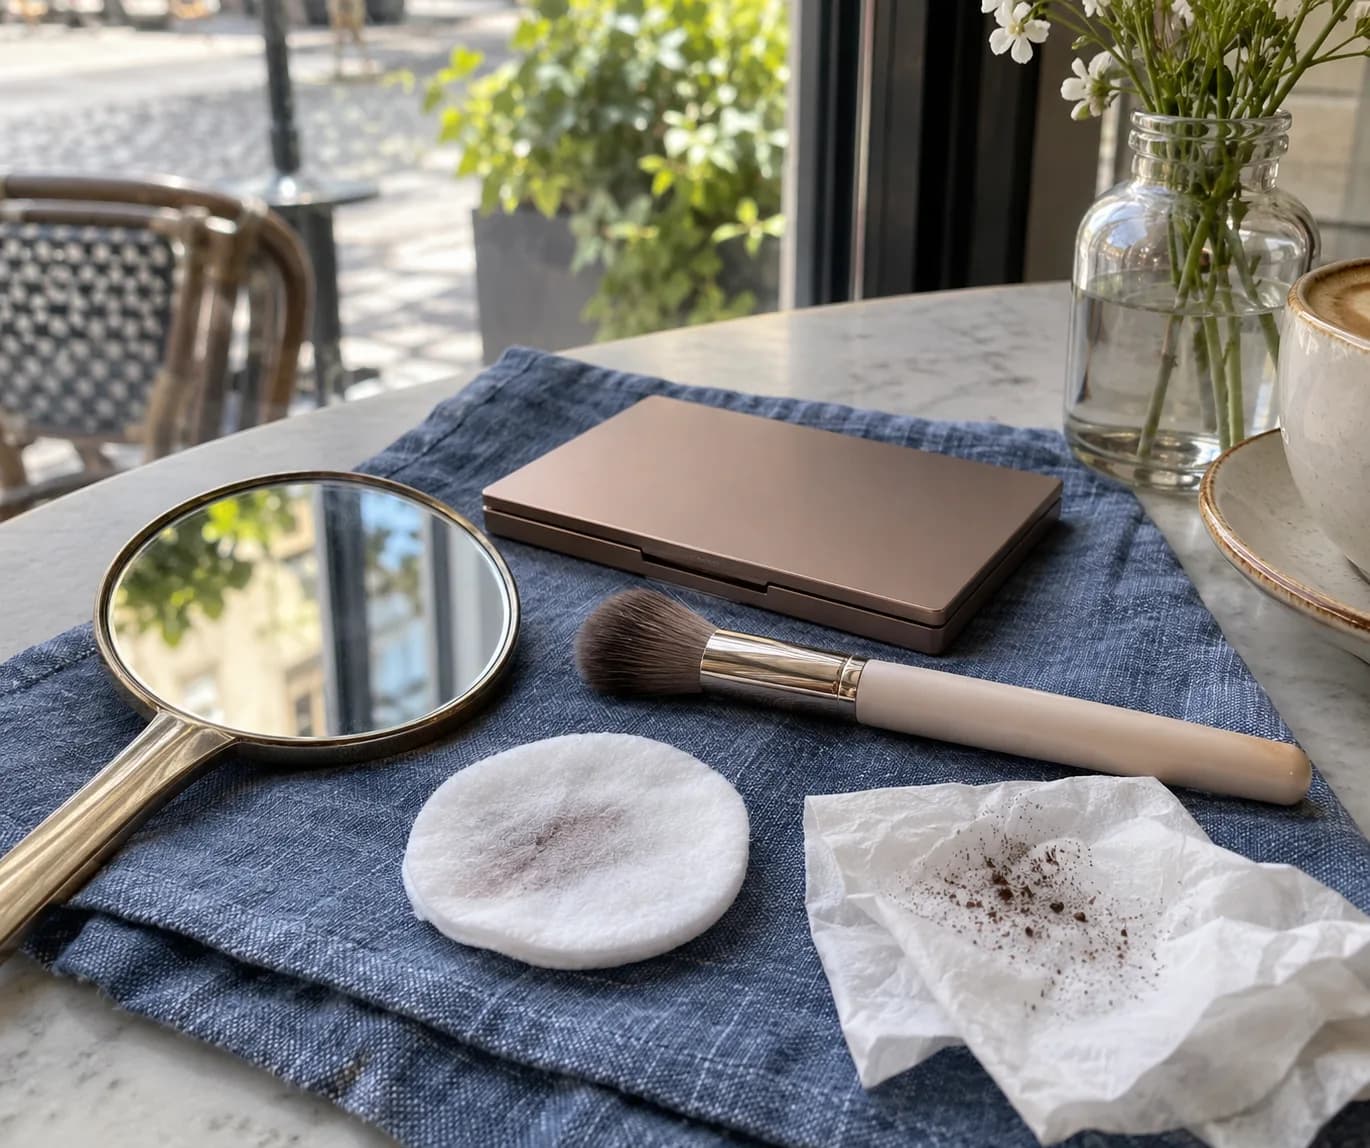
Choose an ordinary day and use a modest eye look rather than testing a complicated new palette at the same time. On one application, change only the brush load: pick up less color, tap off excess and keep the usual order. On another comparable application, keep the product and load similar but press before blending. If both changes help, combine them later. If neither helps, try the eyes-first order for that shadow. This is an observation exercise, not a clinical product test. Lighting, brush condition and the exact amount of pigment can vary, so note what you did rather than claiming a precise measured reduction.
Take a close look immediately after each stage and again after finishing the face. The first checkpoint answers whether powder fell during application. A later checkpoint answers a different question: whether the shadow itself migrates during wear. If later color collects in a lid fold, use the dedicated creasing method; if the cheek is clean but the eye smudges after hours, look at skin contact and formula. Keeping these outcomes separate prevents you from changing three unrelated products at once. A small note such as 'one light load, two presses, no cheek specks before base' is more useful for your next morning than a vague memory that the routine worked.
Keep a practical routine, not a perfect-powder promise
When the sequence works, simplify it to the steps that made the difference: inspect the pan, use one controlled load, press the color, blend with a lighter brush, and check the cheek before complexion makeup. Keep a clean tissue nearby for the product that is known to shed. You do not need a dedicated adhesive or a new palette merely because one shadow is dusty. If a shade repeatedly sheds large particles despite careful use, decide whether its finish is worth the extra protection for your routine. That is a personal tradeoff, not proof that every shadow in the palette performs the same way.
A clean result does not require a microscopic search for every particle. Stand back to conversational distance and look at the whole face in ordinary light. If the eye color sits where you intended and the cheek reads clean, stop correcting. Repeated wiping around the eye can make skin uncomfortable and ruin a base that was otherwise fine. The useful habit is to notice the first uncontrolled step and fix it with the smallest change. That leaves room for a soft daytime wash or a stronger evening eye without turning every makeup session into a cleanup project.