
Eye makeup
Mascara keeps smudging? A free mascara smudging guide
Find out whether the mark is a wet stamp, oily transfer or dry flaking, then change the smallest part of your routine that can solve it.

This free mascara smudging guide begins with the mark itself. A soft gray shadow under the eye, a crisp stamp above the crease and scattered dry flakes may look like one failure, but they usually point to different combinations of moisture, oil, contact, application and formula. Buying another tube before identifying the pattern often repeats the same problem. A short controlled wear test is more useful: keep the mascara fixed, change one condition and check where and when the first mark appears.
The goal is not to make every mascara survive every situation. It is to find the lightest reliable routine for your lashes, skin and day. You may need only more drying time, less product on the tips or a small change near the lower lash line. You may instead learn that a tubing or waterproof formula suits a specific trigger. Work from evidence, avoid aggressive powdering around the eye and stop using anything that causes burning, redness or swelling.
Read the mark before you try to fix it
Start by looking at shape and texture. A crisp curved mark on the upper lid usually means the wet lash tips touched skin before the coat set, or long lashes make contact when you look upward. A soft haze beneath the eye points more toward repeated contact with skin, oil or moisture. Tiny separate specks are flakes, not smears: they suggest a coat that became brittle, too many layers, friction, an aging formula or a mismatch between layers.
Time is another clue. Marks that appear within minutes are often application or contact problems. Transfer that develops after several hours may involve oil from lids, emollient skincare, humidity or a formula that softens during wear. Sudden streaks after watering eyes are a moisture challenge. Write down the first location and approximate time instead of waiting until the entire eye area looks messy. The first change tells you more than the final accumulation.
Remove residue and let preparation settle
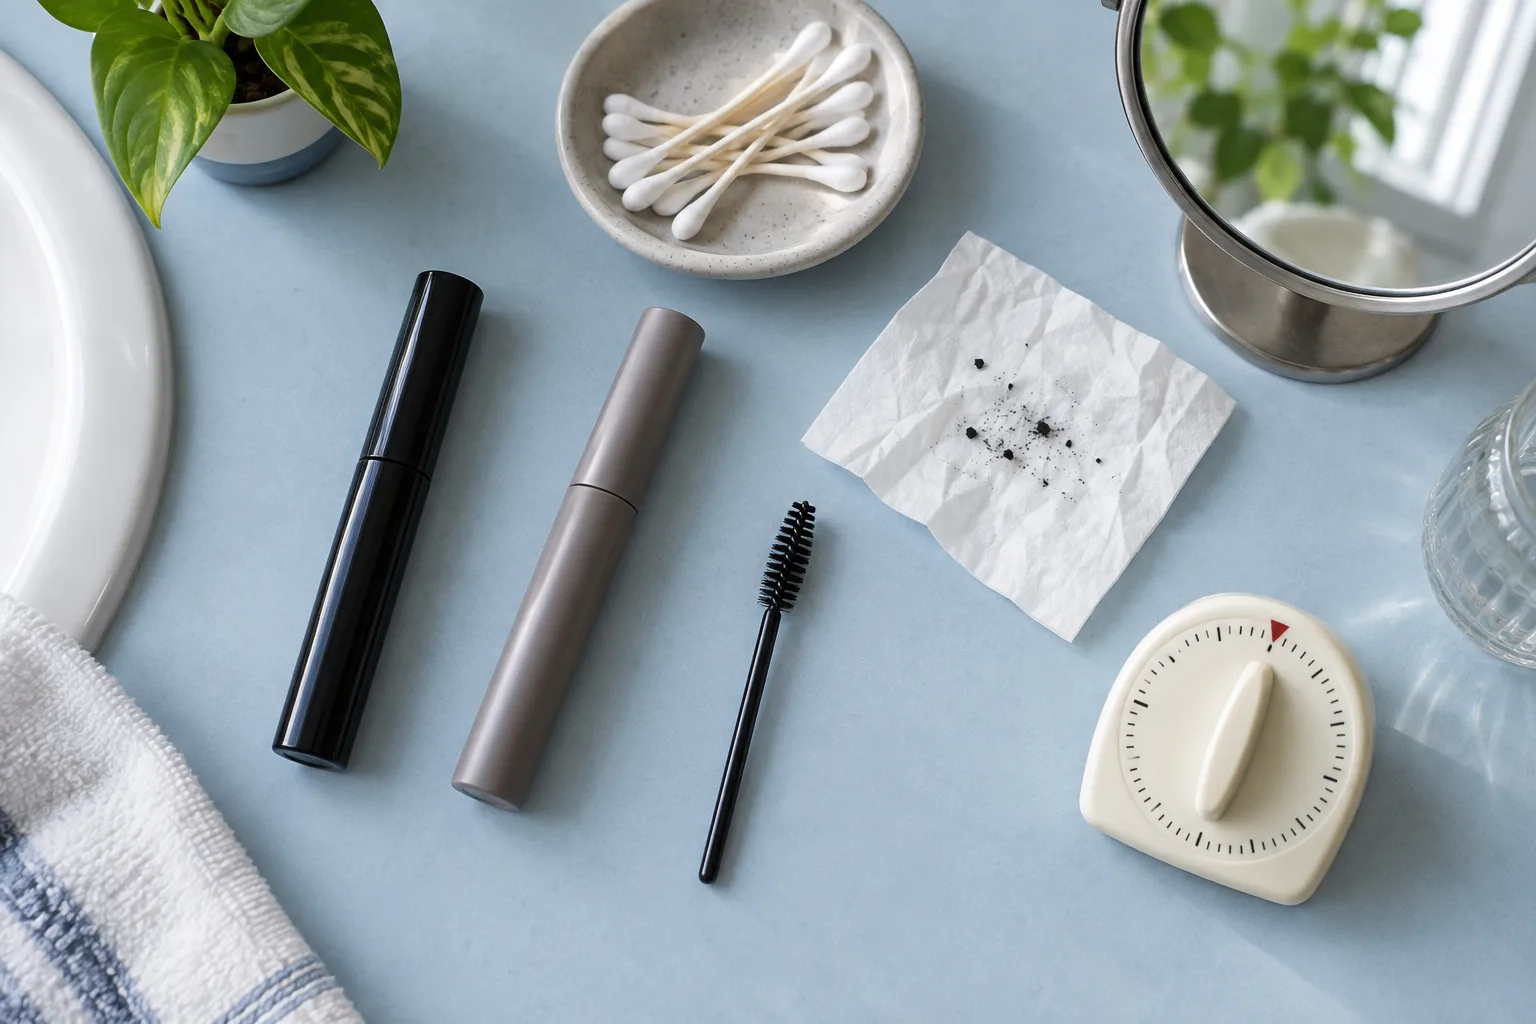
Begin the next test with completely clean, dry lashes. A film of cleansing balm, old mascara or eye makeup remover can interfere with a fresh coat. Cleanse gently, rinse as directed for the product and allow the lashes to dry. Do not scrub the lash line or put alcohol, loose powder or harsh cleanser directly into the eye. If residue persists every morning, improve the evening removal step rather than repeatedly degreasing delicate skin.
Give eye cream, sunscreen and complexion products time to settle. Rich emollient layers close to the lash tips can migrate during blinking. That does not mean the under-eye area must be left unprotected or made aggressively matte. Use the amount your skin needs, keep excess away from the lash roots and wait until the surface no longer feels slippery. If you normally use concealer, test the same thin amount on both days so skincare is the only changed variable.
Apply less product than the brush suggests
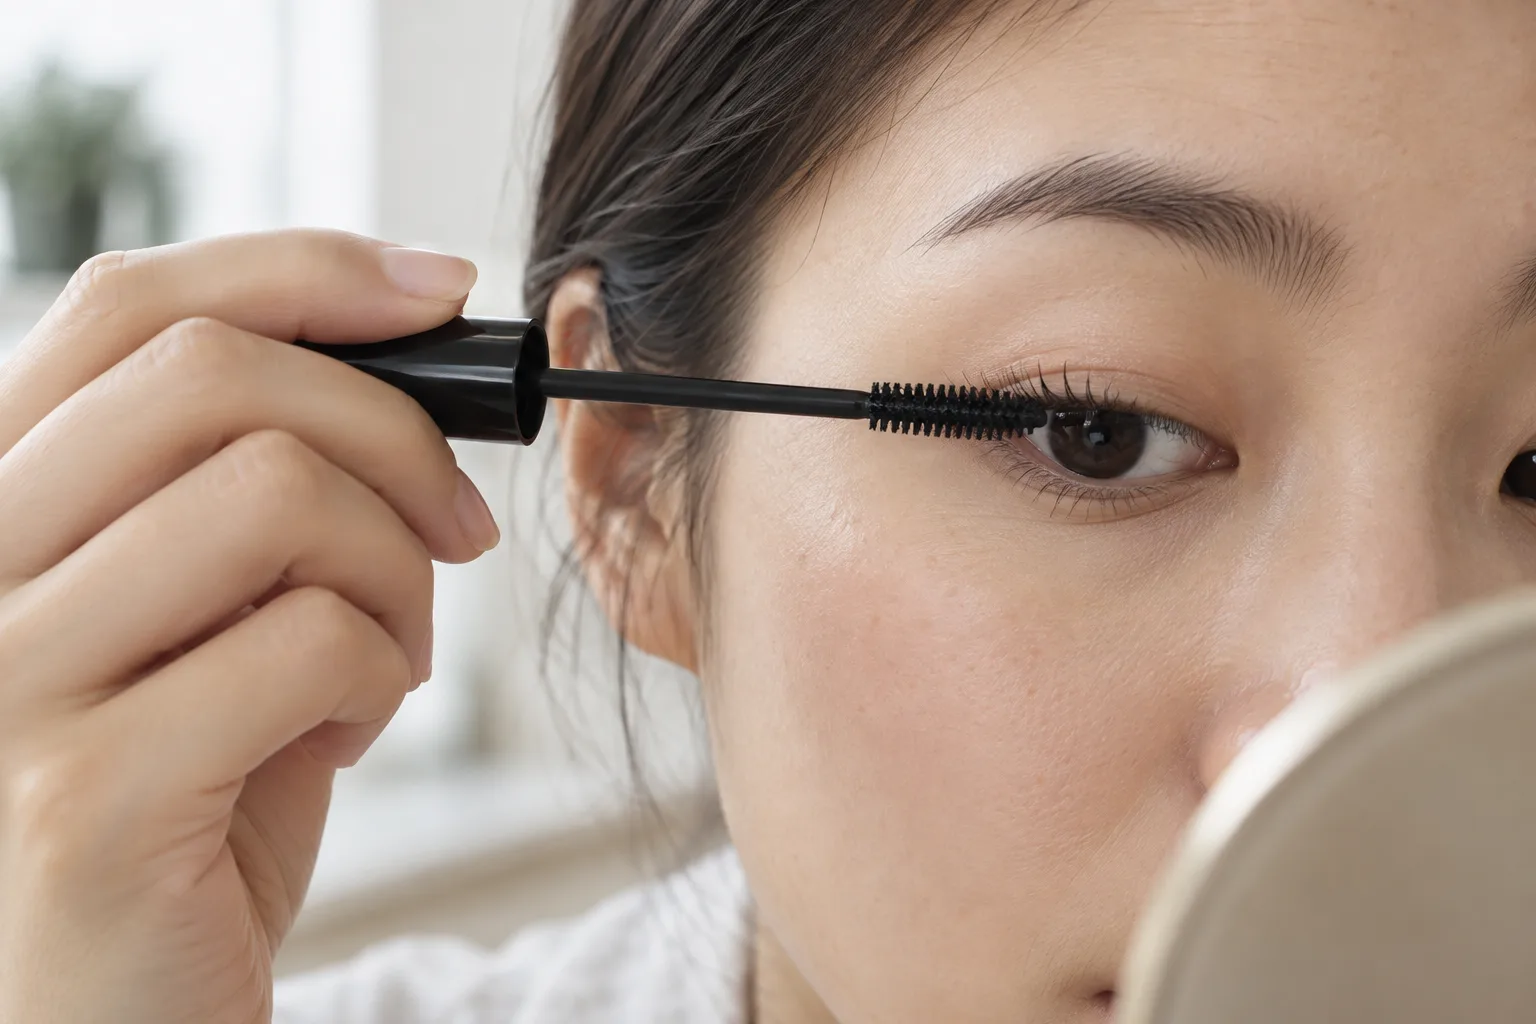
A fully loaded wand can place more product on the lash tips than the roots. Those heavy tips stay wet longer, touch nearby skin and can dry into brittle ends. Wipe obvious excess against the tube opening without pumping the wand. Set the brush at the base, make a short controlled wiggle and pull through once. Use the remaining product to separate the tips rather than dipping again immediately.
Keep the eye relaxed and look slightly downward while coating the upper lashes. This creates space between fresh tips and upper skin. Give the first coat enough time to set before looking sharply upward or adding another layer. If a second coat is necessary, add it while the first is flexible rather than fully hard. Repeated wet-on-dry layers can form uneven ridges that later break into flakes.
Lower lashes deserve a separate decision. Long lower lashes can brush the under-eye with every blink, especially when the formula remains flexible. Test one full day with no lower mascara, or coat only the roots with the nearly empty wand. If the marks disappear, you have found a contact problem without changing the upper-lash result. A soft brown tint or clear definition may also give enough balance with less visible transfer.
Use the free mascara smudging guide as a four day test
Day one is the baseline. Use your normal skincare, complexion products, mascara and number of coats. Photograph the eye area immediately, after two hours and near the end of the day in similar light. Record the first location of transfer, whether it smears or flakes and what the day included: heat, exercise, watery eyes, rain, long screen time or frequent rubbing. Do not add a fix yet, because you need a reliable pattern.
On day two, keep the same mascara but start with clean dry lashes, allow skincare to settle and apply one thin upper-lash coat. Day three tests contact: keep the improved application but skip lower-lash mascara or reduce the outer tips that touch skin. Day four tests only the formula category if the earlier changes were insufficient. Keep every other step stable. This sequence shows whether preparation, quantity, geometry or formula made the useful difference.
Judge success at conversation distance as well as close up. A few invisible specks at extreme magnification are less important than a gray band that makes the eye look tired. Also judge comfort and removal. A solution that causes tight, itchy skin or requires hard rubbing is not a better routine. The best result is the simplest repeatable method that stays clean enough for the hours and conditions you actually need.
Baseline first; then change preparation, application, contact and formula in that order—one variable per day.
Choose classic, waterproof or tubing by failure type
Classic washable mascara can be the easiest everyday option when the main issue is overapplication or wet stamping. It often removes with less effort, but performance varies widely by wax balance, film former and your environment. If a thin coat on dry lashes stays clean, there is no reason to move to a more resistant category. Labels such as long wearing or smudge resistant are helpful clues, not guarantees for every combination of oil, water and friction.
Waterproof mascara is designed around water exposure, so it can make sense for tears, rain, swimming or a humid event. Water resistance does not automatically mean oil or friction resistance, and some formulas still transfer on oily contact zones. Removal may require an appropriate oil based or biphasic remover and patient dissolving time. Reserve it for the conditions it solves if daily removal makes you tug at the lashes or irritates the skin.
Tubing mascara forms polymer sleeves around lashes and is often considered when soft pigment repeatedly smears. Many tubing formulas remove with warm water and gentle pressure, but they are not identical: some flake, some dislike very watery conditions and some give a different volume or curl effect. Test the category rather than believing the name alone. If a new product stings or causes redness, stop. Durability is never worth continuing an irritating formula.
Check the exact contact zones at midday
At the first scheduled check, look straight ahead, upward and down. Note whether upper tips touch the brow bone, outer lashes touch a folded lid or lower lashes reach the under-eye. Face anatomy and expression are not flaws; they simply change where a formula needs to resist contact. Curling can lift tips away from skin for some people, while an exaggerated curl can create a new upper-lid contact point for others. Test the geometry rather than relying on a general rule.
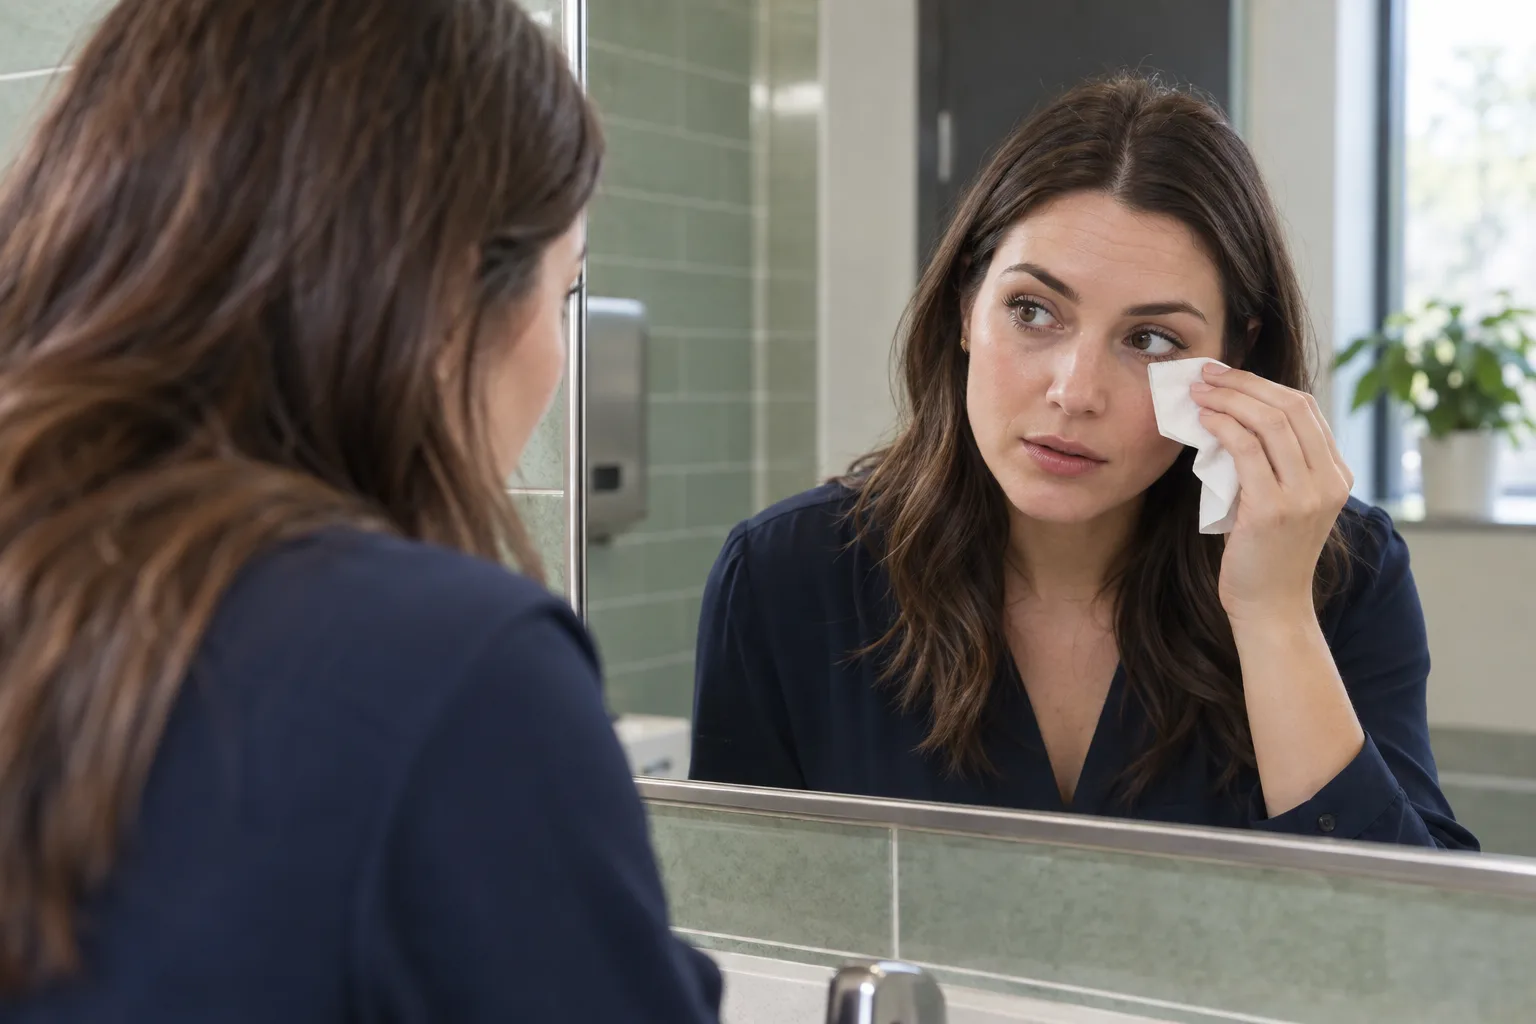
Blot a fresh mark instead of rubbing it across concealer. Let a wet stamp dry, then lift it with a clean dry cotton swab using small rolling motions. Dry flakes can often be picked up with the edge of a clean tissue or a spoolie used away from the eyeball. If base makeup lifts, replace only that tiny area. Adding more mascara over an already unstable coat usually makes later cleanup harder.
Repeated rubbing can be both a cause and a sign. Dryness, allergies, contact lenses or irritation may make you touch the eyes without noticing. Makeup technique cannot diagnose or treat an eye condition. If watering, pain, swelling, persistent redness or discharge is present, stop eye cosmetics and seek appropriate medical advice. The FDA's eye cosmetic guidance also recommends clean hands and tools, not sharing products and discarding cosmetics used around an infection.
Separate visual planning from wear proof
A makeup image or MaqAI preview can help you compare visual choices such as brown versus black mascara, soft definition versus dramatic volume or upper-only versus balanced lashes. It cannot prove whether a real formula will smudge, flake, hold curl, resist tears, remove gently or suit sensitive eyes. Those outcomes depend on product chemistry, application, skin, environment and time. Use a preview to choose the intended effect, then use the controlled wear test for evidence.
Keep eyeliner out of the first mascara test if possible. A dark wing or tightline can hide where transfer begins and make flakes harder to identify. Once mascara wear is stable, add liner back using the same method on both sides. If symmetry is also an issue, the uneven eyeliner guide explains how to map and correct wings separately so two troubleshooting jobs do not compete in one session.
Troubleshoot uneven eyeliner in a separate controlled routine
Remove resistant mascara without turning removal into damage
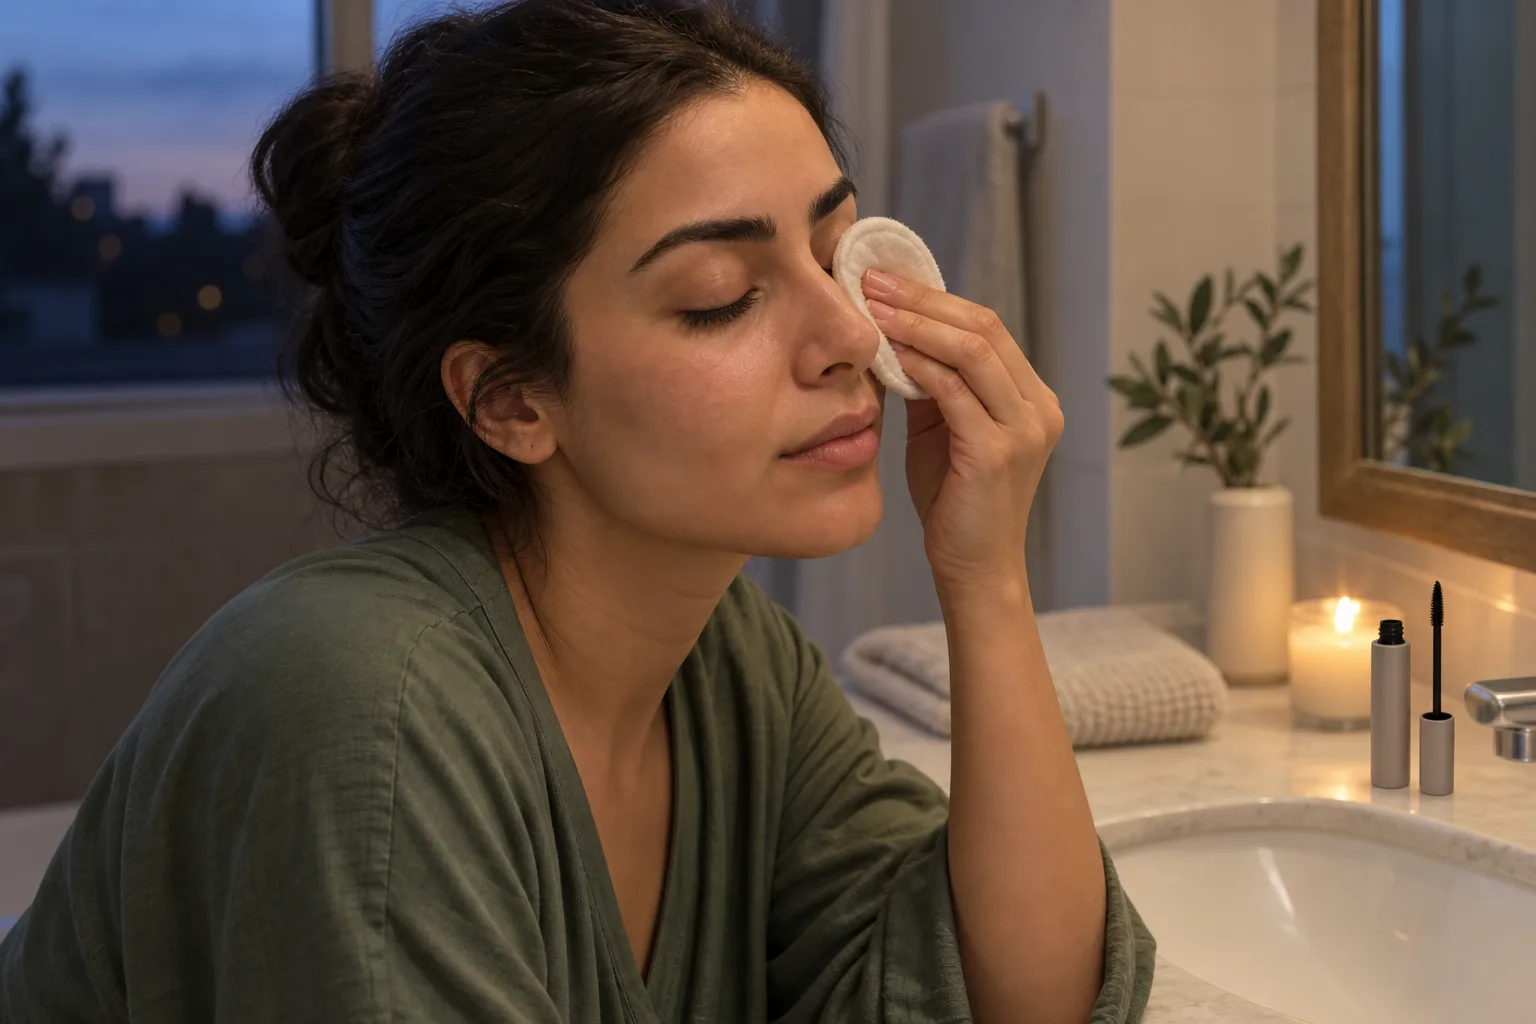
At night, match removal to the formula instructions. For classic mascara, saturate a soft pad with a suitable remover, hold it against the closed eye and allow time for the product to loosen before wiping downward. Waterproof formulas may need a biphasic or oil based remover. Tubing formulas commonly release with warm water and gentle pressure, but follow the package directions because not every formula behaves the same way.
Do not pull dry tubes from lashes, scrape roots with fingernails or rub back and forth until the skin is red. Use a fresh area of the pad as pigment lifts, rinse if required and check the lash line in good light. Clean removal gives tomorrow's mascara a stable surface and lets you spot irritation. The FDA advises never adding water or saliva to dried mascara and keeping applicators clean to reduce contamination risk.
Replace a product if its smell, texture or performance changes noticeably, and follow the maker's period-after-opening guidance. A suddenly flaky tube may be drying out rather than revealing a technique failure. Store it closed and away from excessive heat. If multiple careful tests show the same smudging pattern, retire that formula from long days instead of forcing it to work; it may still be suitable for a short evening when removal is easy.
Keep the smallest routine that solved the problem
Your final note should be specific enough to repeat: clean dry lashes, skincare settled for ten minutes, one thin upper coat, no lower mascara, outer tips lightly combed, first check after two hours. Include the conditions in which it worked. A routine proven in a cool office is not automatically an event routine for rain and tears. Build one dependable everyday version first, then test extra resistance only when the occasion requires it.
The useful result of a free mascara smudging guide is not a product ranking. It is a diagnosis and a small set of verified controls. Know the mark, reduce excess, map contact, choose resistance for the real trigger and remove the formula gently. That process travels with you when seasons, skincare, mascara or daily conditions change—and it gives you a clear next test instead of another unexplained purchase.