
Complexion guide
Stop concealer from creasing under eyes: a lighter layering plan
Reduce under-eye buildup by separating correction, coverage, placement, powder, and a real wear test.
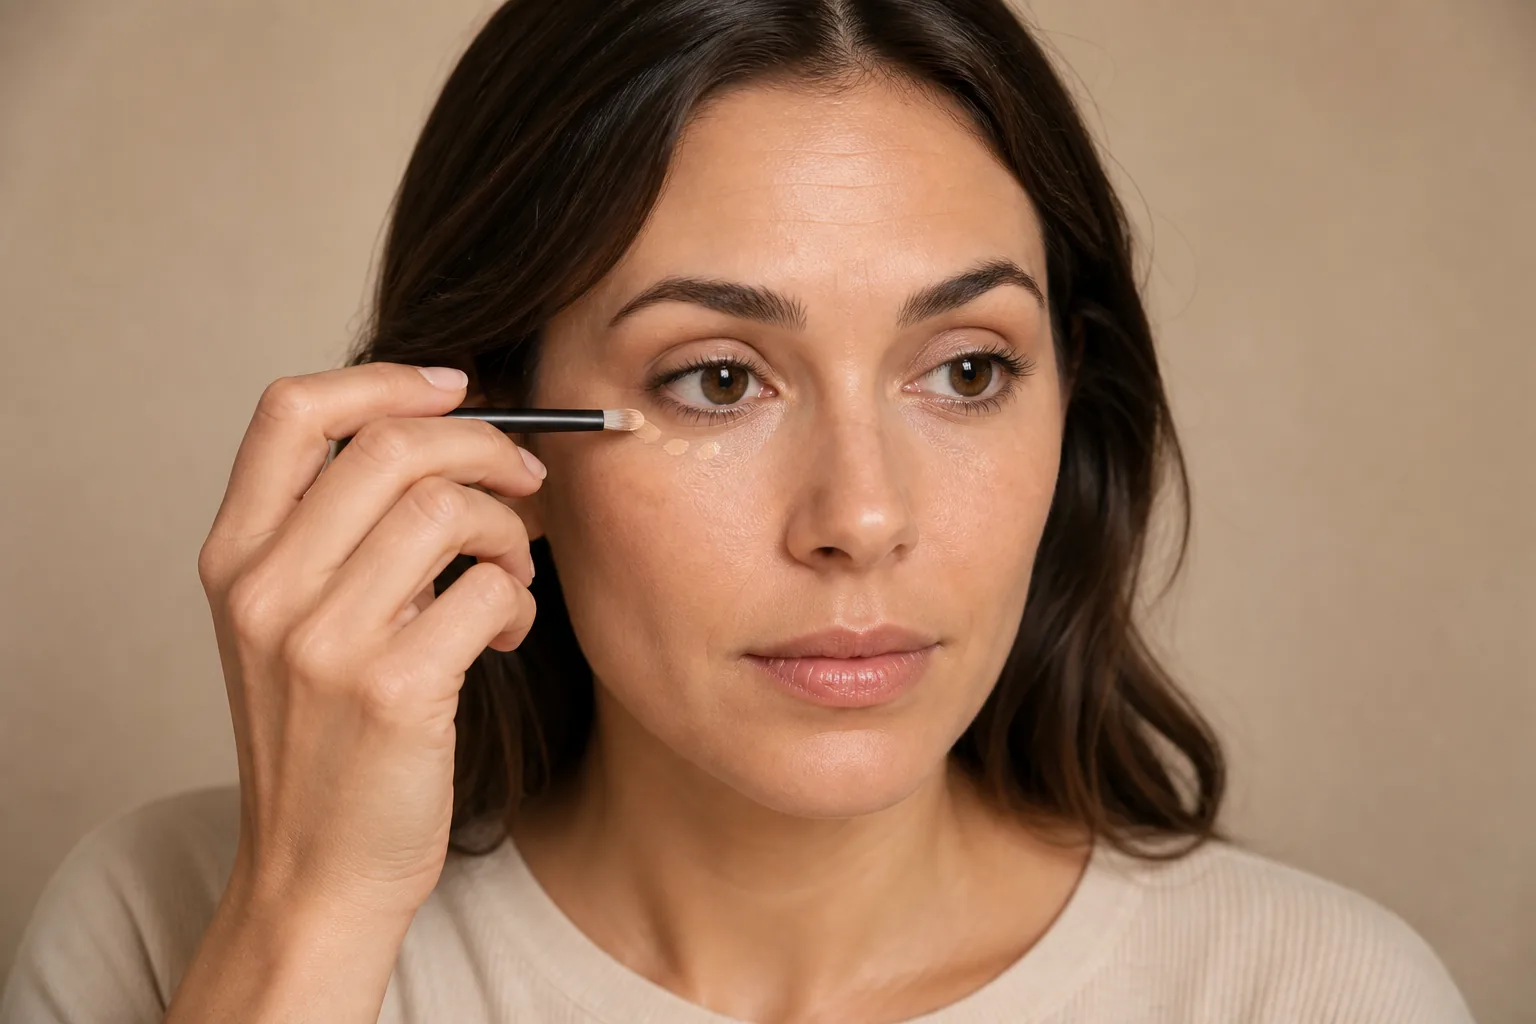
To stop concealer from creasing under eyes, let skincare settle, keep foundation away from the area, place a small amount of concealer only where darkness needs coverage, press out early folds, and set sparingly if the formula needs it. Natural under-eye lines move, so the realistic goal is less buildup and an easier touch-up—not a permanently textureless surface.
Creasing, caking, and fading are different failures. Creasing is product gathering in a fold; caking is a dry or heavy-looking layer; fading is lost coverage. Diagnose the first visible change before adding more concealer or powder.
Find the layer that is making concealer crease
List everything under the eye: skincare, sunscreen, primer, foundation, corrector, concealer, powder, and spray. Too many compatible-looking layers can still create slip or bulk once the eye moves.
Test one side with your usual routine and the other with the lightest useful stack. Check after ten minutes and again after normal talking and smiling. The smaller routine often shows which layer was unnecessary.
A fold is normal anatomy. The useful test is whether product collects visibly, feels uncomfortable, or becomes hard to repair.
Prepare the under-eye area without leaving it slippery
Use the skincare that already suits you and allow it to absorb. If a film remains, press away the excess rather than rubbing the delicate area. Do not add a new active or rich eye product solely for a makeup test.
Dry-looking makeup does not always need more cream, and mobile makeup does not always need more powder. Change one preparation variable at a time and stop using any product that stings, swells, or causes persistent irritation.
Correct color before you build coverage
If discoloration is the main issue, a thin compatible corrector on the darkest area can reduce the amount of skin-toned concealer needed. Choose color by the visible shadow and your complexion rather than a universal peach or orange rule.
Keep foundation or skin tint from automatically covering the same area first. Repeated full layers are easy to miss during application but become obvious after movement.
Place less concealer below the deepest fold
Dot a small amount at the inner darkness or lower edge of the shadow, then press upward with a fingertip, small brush, or sponge. Avoid painting a thick crescent directly from lash line to cheek unless that coverage is truly necessary.
Let the first veil settle before deciding on a second. If product has already gathered, smooth or lift away the excess before setting; powder locks in the surface that is underneath it.
- Target darkness instead of coating the whole under-eye
- Press rather than repeatedly swiping
- Build only where coverage is still missing
- Inspect in normal light and at conversation distance
Compare under-eye brightness with MaqAI before buying
Use one neutral, front-facing portrait in MaqAI and compare three visible directions: skin-matched correction, subtle brightening, and a softer low-coverage finish. Keep eyes, complexion, crop, and lighting stable so brightness—not a different face—drives the choice.
A virtual preview can help you judge placement and how bright the under-eye should look with the full makeup. It cannot prove exact shade, formula compatibility, creasing, oxidation, comfort, or wear. Recreate the preferred direction with real products and test it over time.
Set only where movement needs support, then wear-test
After blending, look up and down naturally, press out any early line, and apply the smallest useful amount of finely milled powder only where your tested formula moves. Some combinations wear better with little or no powder; heavy baking is not automatically more reliable.
Take a starting photo, then check after one to two hours and near the end of a normal day. Record the first failure, comfort, light, and the smallest repair. If creasing appears, press it out before adding anything; piling fresh product onto a ridge usually makes it more visible.
- Keep crop and lighting consistent
- Compare both appearance and comfort
- Change one variable for the next test
- Judge real movement, not a filtered close-up