
Eye makeup
Brown vs black mascara: compare contrast, not rules
Compare the two lash colors on one clear portrait, keep the lash shape steady and verify the shortlist with real mascara in your usual light.
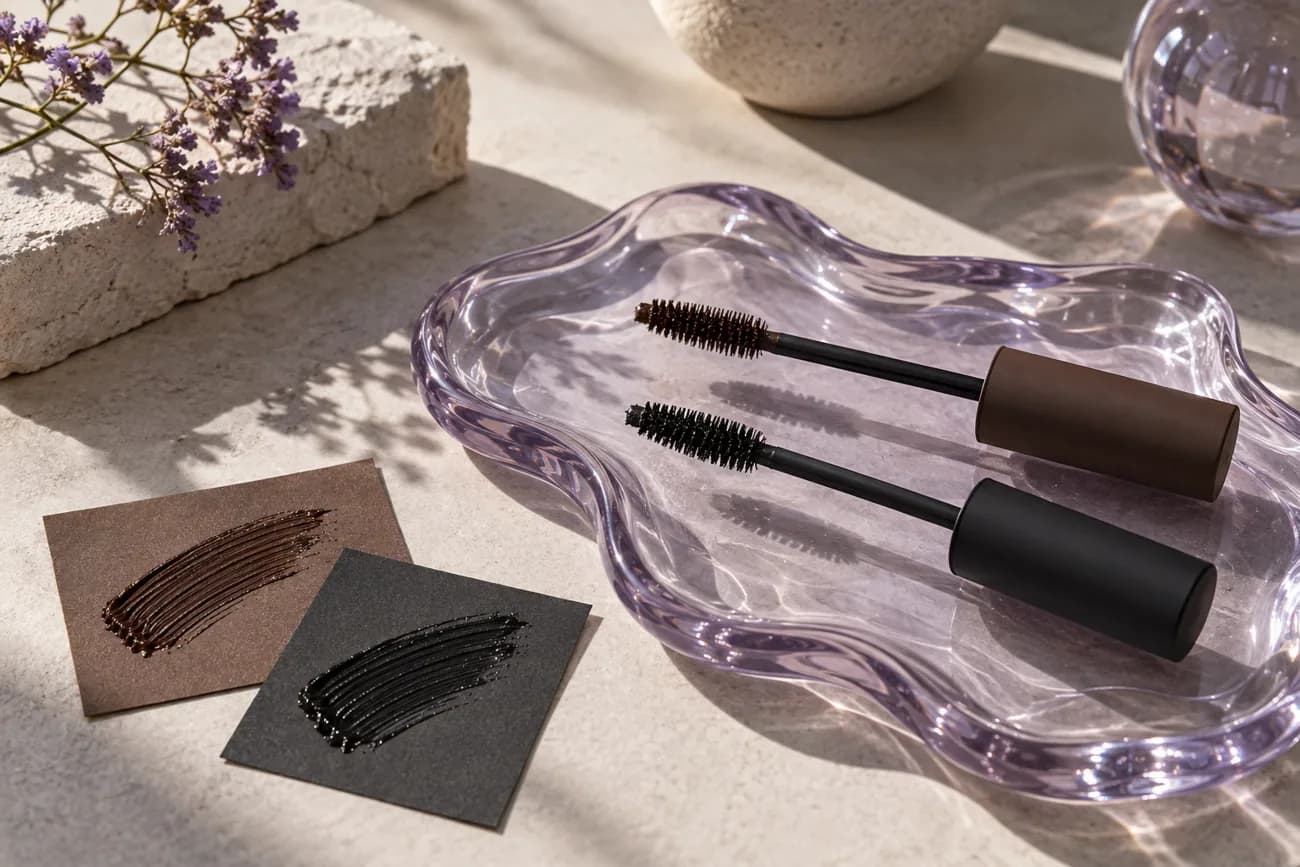
Brown vs black mascara becomes a real question when a familiar black coat makes a soft eye look feel heavier than intended, or a new brown tube seems almost invisible on naturally dark lashes. The name on the package does not tell you how much contrast your face will show. Formula, brush, number of coats, lash color and the surrounding makeup all change the result. Begin with the look you want at normal distance: quiet definition, a clear lash line or a deliberately strong eye.
Use one clear, unfiltered portrait in MaqAI to compare two color directions while holding lash length, density and curl as steady as possible. Change color first, keep at most two visual favorites and try real mascara in the same application pattern. Check a mirror in the light you actually wear makeup in. A preview helps plan contrast; it cannot guarantee an exact pigment, brush deposit, formula texture, oxidation, curl, wear, irritation response or final result. The real product and your comfort decide.
Brown vs black mascara is a contrast choice
Look at your lashes before adding color. Are the roots and tips similarly dark, or are the tips lighter? Do your lashes disappear from normal speaking distance because of color, direction, sparse spacing or light? Those are different problems. A darker pigment can make a pale tip visible, but it cannot replace a curl or a clean separation. A softer pigment can reduce the visual weight of an already thick lash line, yet it may be hard to notice on very dark hairs unless the application is controlled. Define the exact change you seek rather than following a rule based on hair or iris color alone.
Brown is also not one fixed shade. A deep neutral brown may look nearly black indoors; a warmer medium brown can be obvious in sunlight. Black can range from soft charcoal to very saturated blue-black. Compare the actual strokes in daylight if possible, and ask what you see at full-face scale. The goal is not to prove that one color flatters every eye. It is to decide whether the lashes should quietly connect to the rest of the face or become a stronger line. Your own preference and the day’s makeup are legitimate reasons to choose either.
Keep hue separate from formula and brush
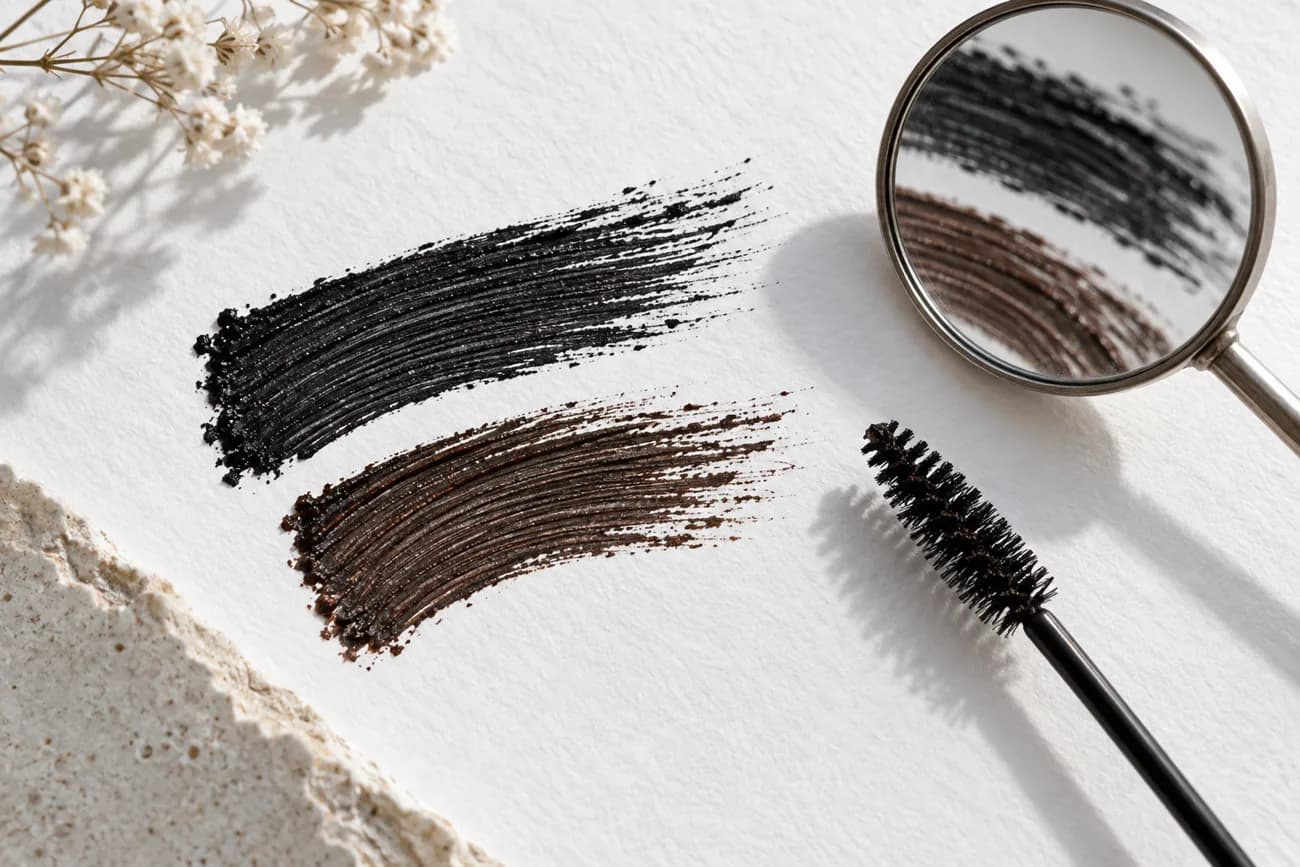
A fair test compares color while holding other factors as stable as you can. Two different mascaras may have different brushes, viscosity and drying behavior. If one gives a dense, clumpy fan and the other a thin separated coat, you are judging application architecture as well as color. Start with color swatches on plain paper to name the direction: neutral brown, warm brown, black-brown or black. Adobe distinguishes hue, saturation and brightness; these terms are useful for seeing that a brown and a black can differ in warmth and depth at the same time.
When you move to the eye, use one light coat and a comparable number of passes. Wipe excess off the brush at the container opening according to the product’s directions, without pumping air into the tube or sharing applicators. The photograph of pigment strokes is a reference for color direction, not evidence that either formula will behave identically on lashes. If the brown is warmer but also lighter, note both observations. If you eventually want more volume, test that as a separate question. Otherwise the color decision gets buried under a change in the lash shape.
Read Adobe’s explanation of hue and brightnessCompare eye-makeup shapes without changing every variable
Make one useful source portrait
Stand near a window with even light reaching both eyes. Hold the camera at eye level and include your whole face, not only a close crop of lashes. Keep your brows, skin and the makeup around the eyes as you would normally wear them. If you are deciding for a minimal look, a heavy smoky eye in the source photo will distort the decision. Turn off beauty filters and exaggerated portrait effects that erase the natural lash line. Take the portrait before mascara or with a known subtle baseline, so you can still read the natural hair color.
Keep this exact image for every preview. A brighter photo can make black look softer; a warmer white balance can make brown look more orange. A different gaze or blink changes how much of the lashes is visible. If the source image is blurry or strongly side-lit, retake it once, then stop changing the setup. Compare the previews at ordinary phone size before zooming in. Our source-photo guide explains the light, distance and framing that keep face comparisons honest. A phone is not a calibrated color meter, but a stable photo gives you a fairer visual plan than unrelated selfies.

Change only the lash color in MaqAI
On the fixed portrait, preview a modest brown direction and a modest black direction with the same apparent lash length, curl, density and placement. Keep eyeliner, shadow, brow color and lip color unchanged. If one version suddenly has longer, thicker or more curled lashes, it is no longer a clean color comparison. You can treat such a preview as inspiration, but do not score it against the other as proof of a better mascara shade. First ask which color gives the amount of definition you wanted on the original face.
Check each candidate at normal viewing distance. Does the brown disappear, soften the lid line or let another feature lead? Does black frame the eye pleasantly or pull too much focus for this specific look? A third near-black brown may be useful only if it answers a clear question between the two; avoid generating endless nearly identical images. Save no more than two finalists with descriptive labels such as “soft neutral brown” and “defined black.” MaqAI is a planning aid, not a promise that a particular tube will reproduce the image’s pigment, curl, volume or wear. The shortlist makes a physical test smaller.
Try real mascara with a controlled application
If you have both colors available, use clean, personal products and apply a light coat in the same pattern. One day per color is often clearer than a split-face test if your eyes have naturally different lash directions. Start at the root without touching the eye itself, move through the lashes with similar pressure and avoid a thick second coat on one side. Keep your usual curler and eyeliner routine the same or leave both out. Let the product dry as directed before judging it. A brown formula that separates well should not win only because the black one was applied in clumps.
Look at the roots and tips separately. On dark lashes, brown may show more at the tips than at the base; on lighter lashes, black may create a sharp root line quickly. If the two products have very different brushes or formulas, write that limitation into your conclusion. You can still choose the one you like wearing, but do not call the difference purely color. Do not share mascara wands or add liquid to a drying tube. FDA eye-cosmetic safety guidance emphasizes clean use and stopping when an eye product irritates. Comfort and hygiene outrank an attractive preview.

Read the full face, not an isolated iris
It is tempting to assign brown mascara to one eye color and black to another. The iris is only one element. Lash density, natural hair color, eyebrow strength, eyeliner, glasses and lip emphasis all affect whether the eye looks balanced. If your lashes are nearly black already, brown may soften their tips without changing the root much. If your lashes are pale, even a deep brown may create substantial contrast. A black coat can feel polished with otherwise quiet makeup, while a brown coat can still be expressive if the shape and density are strong. No eye color bans either option.
Try your finalist with the makeup you actually plan to wear. A warm shadow or a bright lip may invite a softer lash line; a graphic liner may make black feel more connected. Keep those choices stable during the first color test, then deliberately try a second whole-look arrangement if needed. The guide to turning a preview into a wearable routine helps separate visual inspiration from physical application. The relevant question is whether the lashes support the focal point you chose, not whether the package uses the word natural or dramatic. Describe the result in your own terms.
Check daylight, ordinary wear and removal
Take the real mascara into another familiar light. Indoor warm lamps can flatten dark brown toward black, while daylight can show a warmer cast or reveal a stronger black edge. Stand back and look at the whole face. Can you still see individual lashes? Is the amount of contrast comfortable when you blink and speak? A photograph can help record the outcome, but screen brightness and white balance shift color. Give more weight to the mirror and to how the product feels on your eyes. Then wear it for a normal part of the day rather than assuming the fresh result is permanent.
Notice smudging, flaking or a drooping curl without treating them as inevitable effects of brown or black pigment. Those outcomes may depend on the formula, amount, eye shape and conditions. If one color comes only in a different formula, that is part of the real purchase decision but not proof about the color family. At removal, follow the product directions and use a gentle eye-area routine; do not pull at lashes to compare durability. Stop if there is irritation. The best visual direction is not useful if the actual tube is uncomfortable or impractical to remove.

Choose a small, repeatable rule for your own looks
Your decision can be conditional rather than permanent. You might prefer brown for a soft everyday eye and black when the lash line is the focal point, or the reverse depending on your natural lashes and other makeup. Write down which product you used, whether it was one coat, what the light was like, and whether the eye area felt comfortable later. If the result did not match the preview, name the cause you can observe: a warmer pigment, denser brush, extra coat, changing daylight or simply different lash direction. That is more actionable than saying a color “does not suit” your entire face.
If neither candidate works, change one variable. A brown that vanishes may need a deeper brown rather than more layers; black that feels heavy may need a thinner coat rather than an automatic switch of color. Keep formula, brush and application in view when interpreting the result. MaqAI gave you a controlled visual shortlist, but your real lashes, product and light completed the decision. Once one option makes the face look the way you intended and passes a comfort check, you can stop comparing. There is no universal black-or-brown rule to satisfy.