
Photo makeup
Makeup for a passport photo that still looks like you
Plan restrained definition, rehearse it in even light and keep the official image recognizably yours.
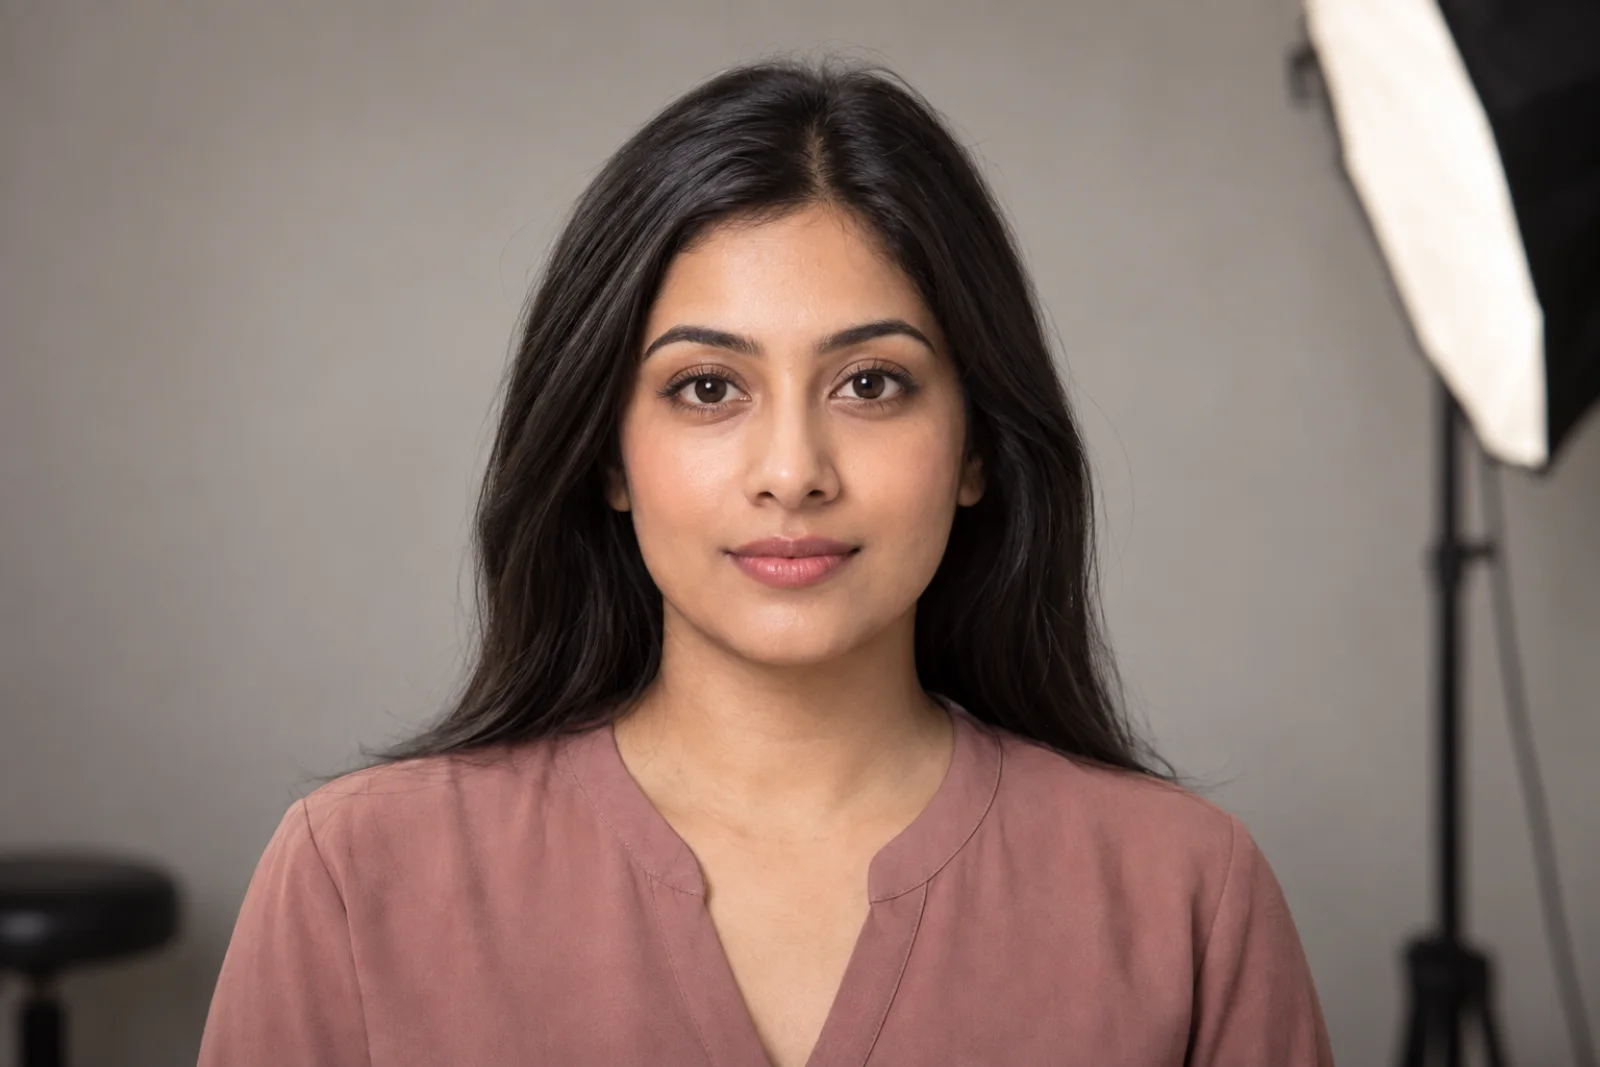
Makeup for a passport photo has a narrower job than makeup for a portrait, party or profile picture. The image must identify you clearly for years, while the camera, flat lighting and close crop may reduce the dimension you see in a mirror. A useful look therefore starts with familiar skin, visible brows, open eyes and a lip color close enough to your everyday range that your face remains immediately recognizable. The aim is not to beat the camera with heavier product. It is to keep normal features legible without creating glare, harsh borders or a finish you have never worn before.
Use the workflow here before the appointment, never to alter the official submitted image. You can compare restrained directions in MaqAI from one clear portrait, changing one variable at a time and saving only a small shortlist. A preview is a planning aid, not proof of an exact shade, formula, oxidation, texture, wear, skin response or final photograph. Apply the chosen direction with real products, inspect it in comparable light and follow the current rules of the authority issuing your document. Those rules decide whether a photograph is acceptable; an app cannot validate biometric compliance.
Check the rules before planning makeup for a passport photo
Start with the official requirements for your document and country, because dimensions, background, expression, head position, glasses and capture method vary. The United States Department of State, for example, requires a clear color image, a neutral expression or natural smile, a full-face view and even lighting without shadows; its current guidance also says to remove glasses. A studio, pharmacy or public office may add practical instructions for its own equipment. Read those details before planning hair, accessories or makeup so a cosmetic preference never competes with recognition or acceptance.
Makeup is generally useful only when it leaves your permanent features visible. Avoid relying on sculpting that changes the apparent nose, jaw or eye shape, a brow outline unlike your usual brows, reflective particles that can flare under lights, or lashes that cast a dense shadow across the iris. If the photographer asks you to adjust something, follow that instruction. Rules can change, so do not treat a previous passport, a social post or another country's checklist as authority for a new application.
Set a recognizable target before opening products
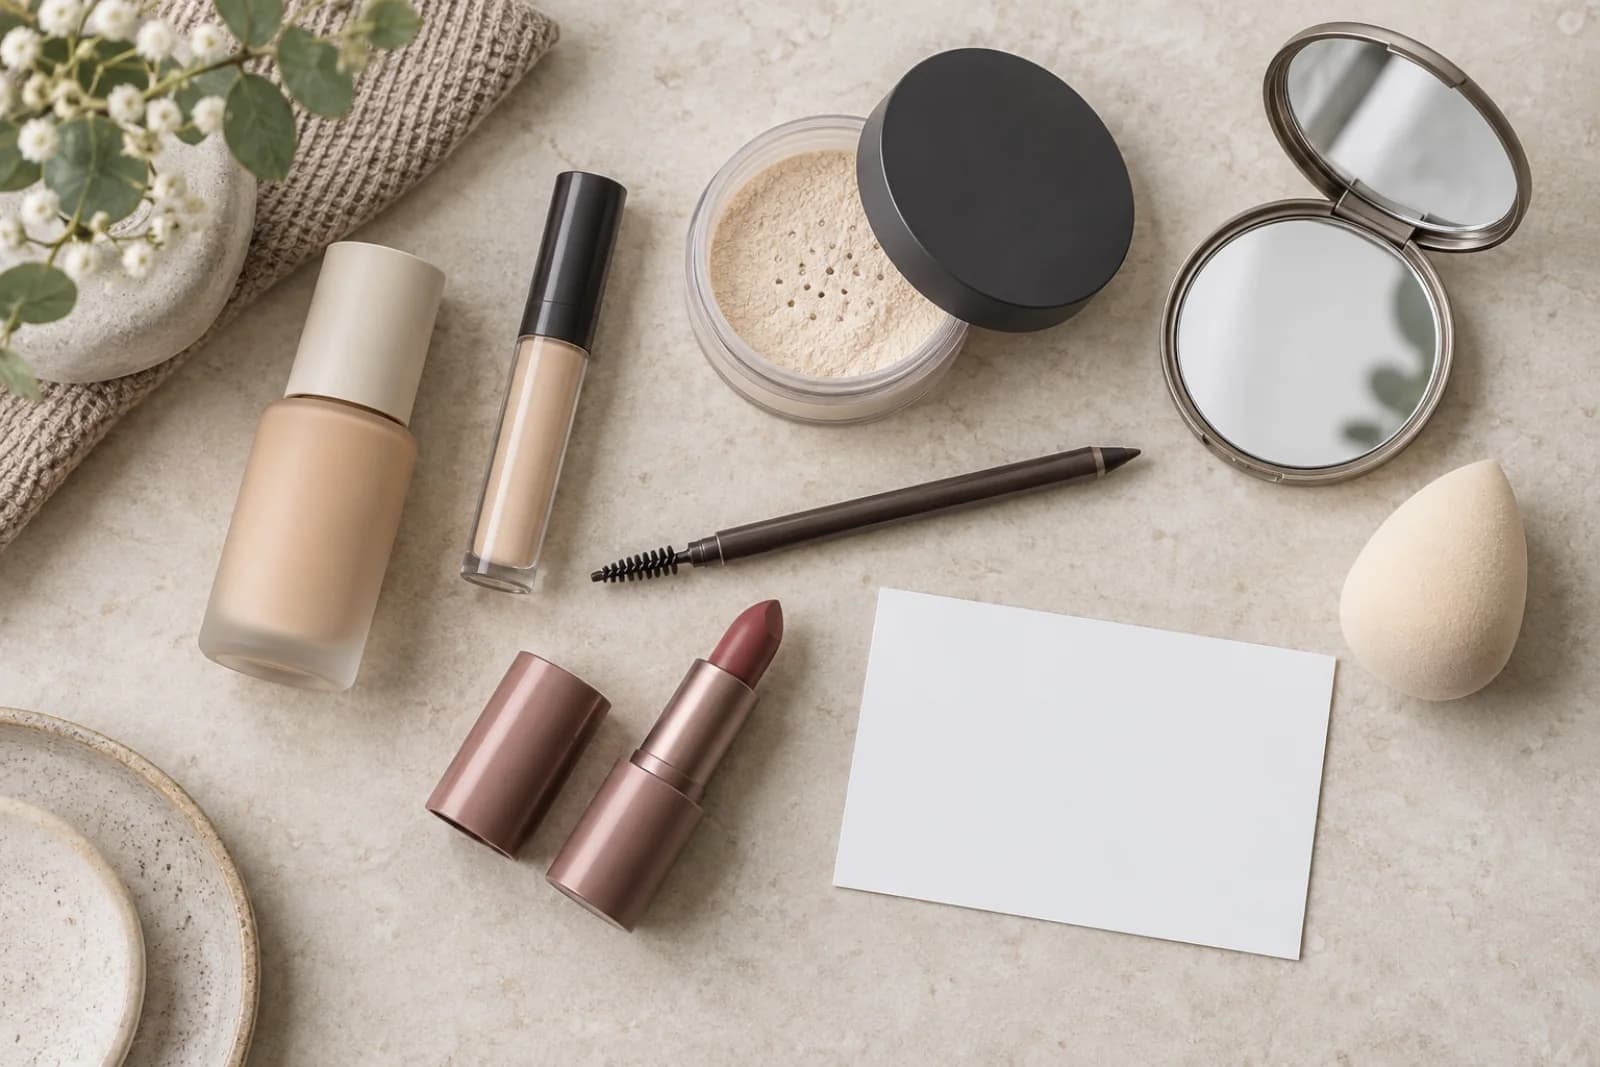
Describe the result in three plain phrases, such as even-looking skin, softly defined brows and a muted rose lip. This keeps the plan tied to visible goals instead of a long shopping list. Decide which features already read clearly without help and which tend to disappear in flat light. Pale lashes may benefit from a familiar coat of mascara; naturally strong brows may need only grooming. Redness can be reduced locally instead of covered with a mask. Your usual appearance is the reference, not a generic idea of professional or photogenic makeup.
Choose a finish that you have worn successfully. Soft matte often controls reflections while leaving some natural surface, but dry skin may look better with a satin base and selective powder. Keep contrast moderate: enough to stop the face looking washed out, not enough to create a new face. Lay out only the products required for that target and remove speculative extras. A short plan makes it easier to notice which single change actually improves the camera image.
Take one honest source portrait for comparison
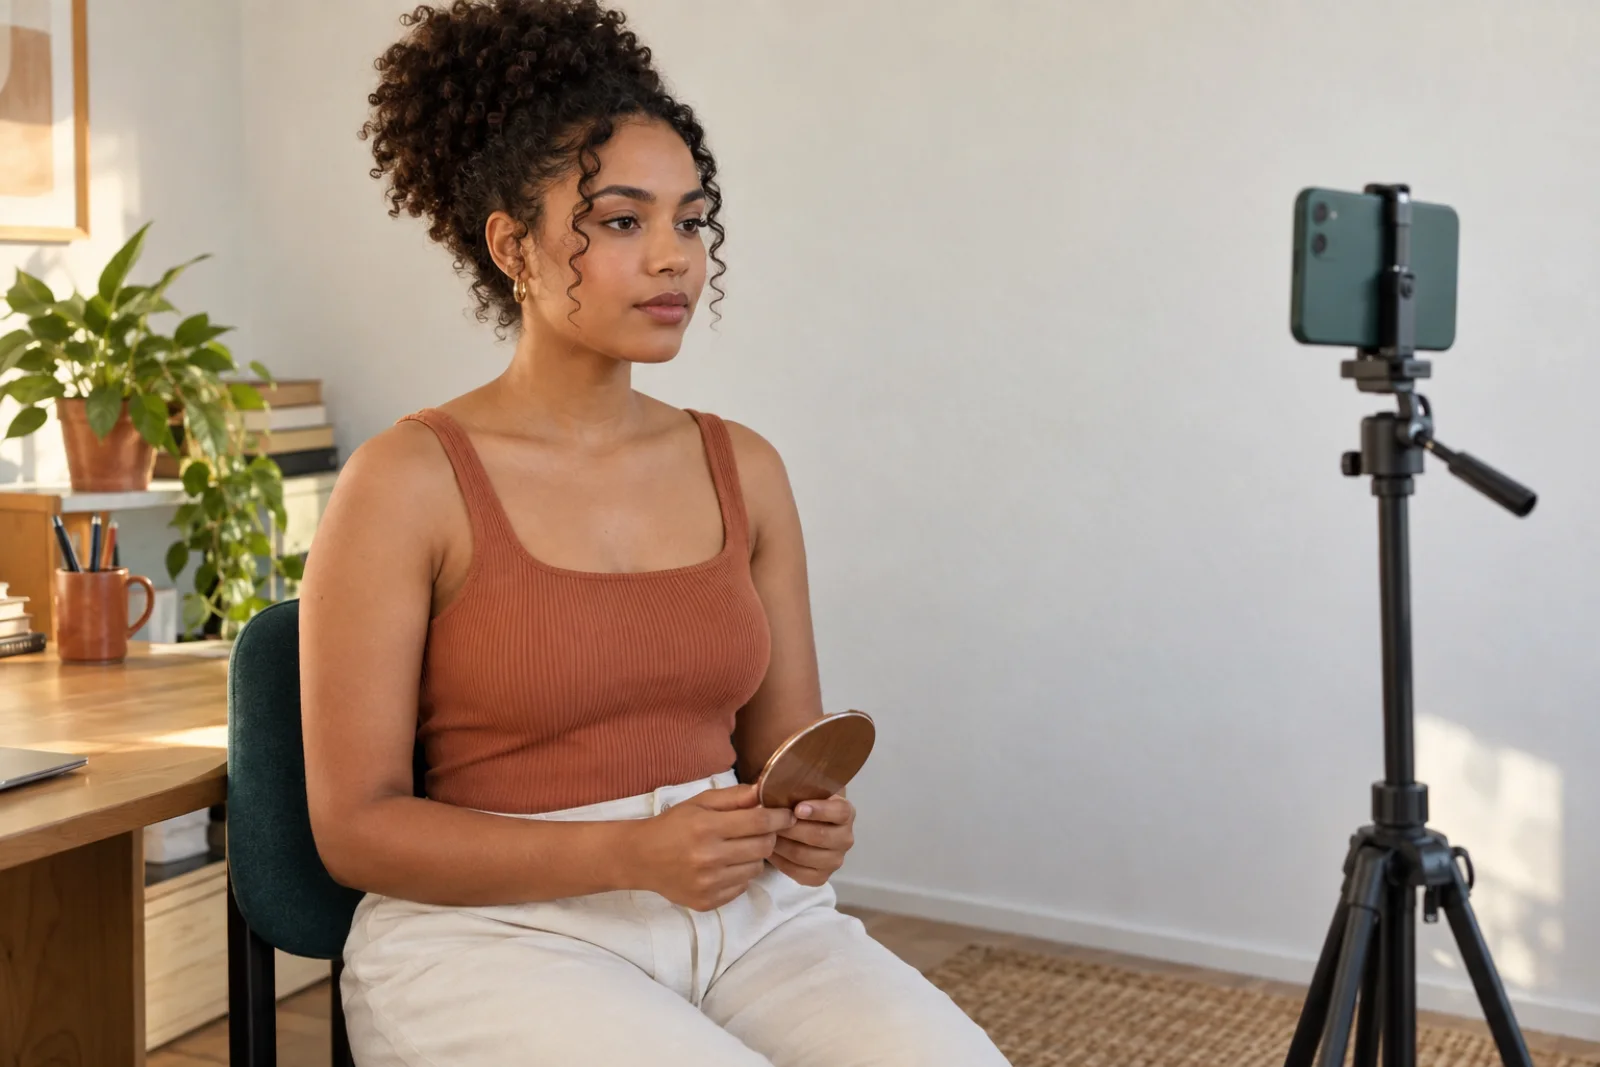
A useful planning photo shows the full face straight on, at eye level, with a calm expression and both sides lit evenly. Use the normal camera without beauty filters, portrait relighting, face reshaping or automatic smoothing. Pull hair away from the main features, remove tinted glasses and leave some space around the head. A bright wall opposite a window can create an even starting point, but avoid a narrow beam that makes one cheek much brighter than the other. Clean the lens and check focus around the eyes and lip edge.
This source portrait does not replace the official photograph and should not imitate every technical specification. It simply gives each visual comparison the same foundation. If you need a more detailed capture checklist, use the guide to taking a clear selfie for makeup planning. Keep the camera, crop, expression and light fixed throughout the exercise; otherwise a brighter image or changed angle can look like a makeup improvement when it is only a photography change.
Compare one restrained direction at a time in MaqAI
Begin with the clear portrait and test one decision, not an entire transformation. Compare a softly groomed brow with a slightly more defined brow, or a muted rose lip with a neutral brown-rose lip. Keep skin, eyes, crop and light unchanged. If the difference remains useful at thumbnail size and still looks familiar at full size, save both. If you cannot explain what changed, the comparison is too broad or too subtle to guide the real application.
Limit the shortlist to two or three directions. A large gallery encourages you to chase tiny generated details that may not correspond to a product, texture or real facial movement. MaqAI previews help you choose emphasis and balance; they do not predict the exact output of a government camera. Never edit the final identification image to copy a preview. The practical handoff is a short note: the chosen lip depth, brow strength, eye definition and skin finish to test with products you know.
Use one clear portrait, change one variable, keep two or three options, then verify the choice with real makeup and real light.
Apply a thin complexion that keeps real skin visible
Prepare the skin with a familiar routine and allow each layer to settle. Use foundation only where it improves overall continuity, then place concealer on specific redness, a blemish or a shadow you normally correct. Blend edges into bare or lightly covered skin. Heavy coverage can flatten natural dimension and gather around the nose, mouth or under-eyes in a close crop. It can also change while you travel to the appointment, so the thinnest effective layer is usually easier to predict.
Powder where reflection is likely to become glare: often the center of the forehead, sides of the nose and chin. Leave the rest according to your tested finish. Avoid unfamiliar SPF, primer, luminous base or powder on appointment day; some combinations look different under a camera flash or strong studio light. The earlier guide about flashback explains why a real camera test matters. If your skin becomes irritated, swollen or uncomfortable, remove the product and prioritize health over the photograph.
Keep brows, eyes and lips clear rather than dramatic
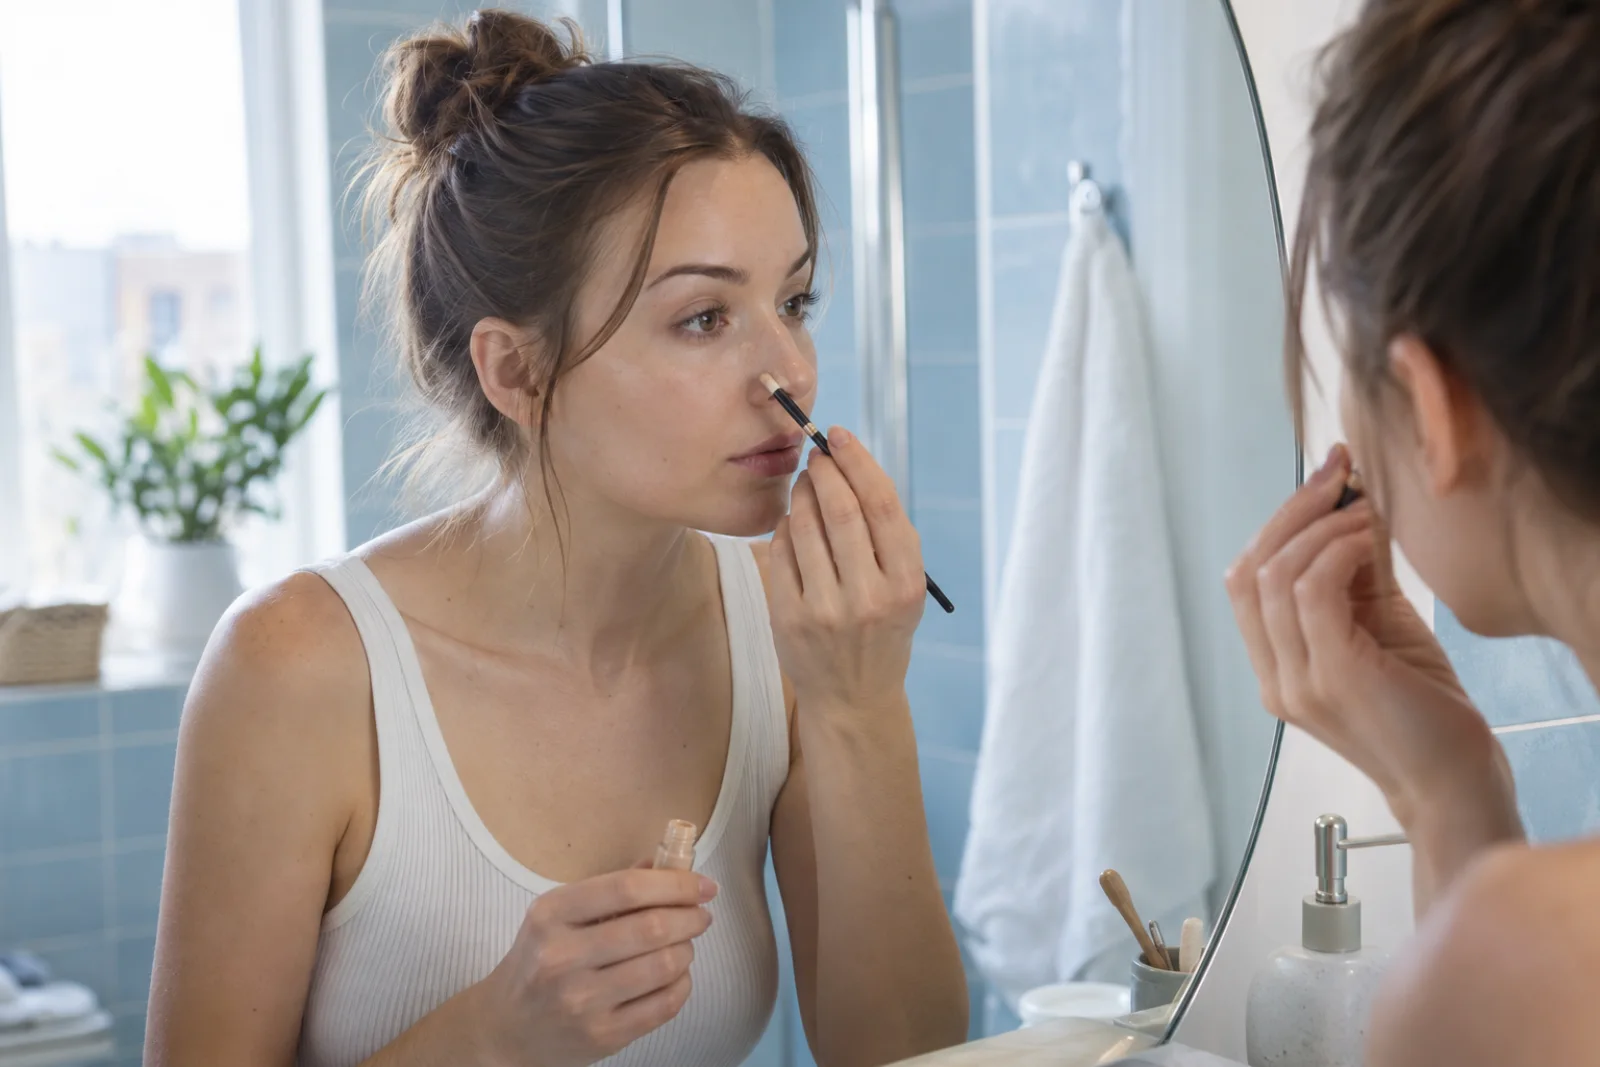
Brush brows into their normal direction and fill only gaps that disappear on camera. Preserve the natural front, arch and tail instead of drawing a sharper geometry for the occasion. Around the eyes, a matte neutral close to your own shadow depth can restore dimension without creating a graphic shape. Keep liner fine enough that the lash line and eye opening remain visible. Curl lashes if that is familiar, and use a mascara that you already know does not smudge or form distracting clumps.
For lips, choose a shade that separates the mouth from surrounding skin while remaining within your ordinary range. Muted rose, soft berry, balanced nude or a restrained warm neutral can work, depending on your coloring and routine. Avoid overlining that changes the recognizable boundary. Blot once if the surface is very reflective and inspect the corners. Blush can restore healthy color after a flat base, but keep it softly blended and close to a placement you wear in daily life. Skip strong highlight and glitter that may turn into bright points under direct lighting.
Rehearse the look in flat, even photo lighting
Stand against a plain light wall and place the camera at eye level. Use even frontal light and take one unfiltered image from the distance your setup allows. Then look away from the mirror for a minute before reviewing the whole face. Check whether the eyes remain open and clear, the brows look like your brows, the lip edge is intact, and shine reads as skin rather than a bright patch. Examine the neck and hairline for an abrupt base edge, but do not judge the shade from one screen alone.
Compare the rehearsal with your ordinary face, not with a retouched portrait. If one feature vanishes, make the smallest possible adjustment and photograph again. If the face looks unfamiliar, remove intensity instead of balancing it with more intensity elsewhere. The guide to useful makeup lighting can help separate color decisions from room-light distortion. Remember that the appointment equipment may still differ; the rehearsal is for finding obvious problems and confirming comfort, not guaranteeing the official result.
Do a final real-world check before the appointment
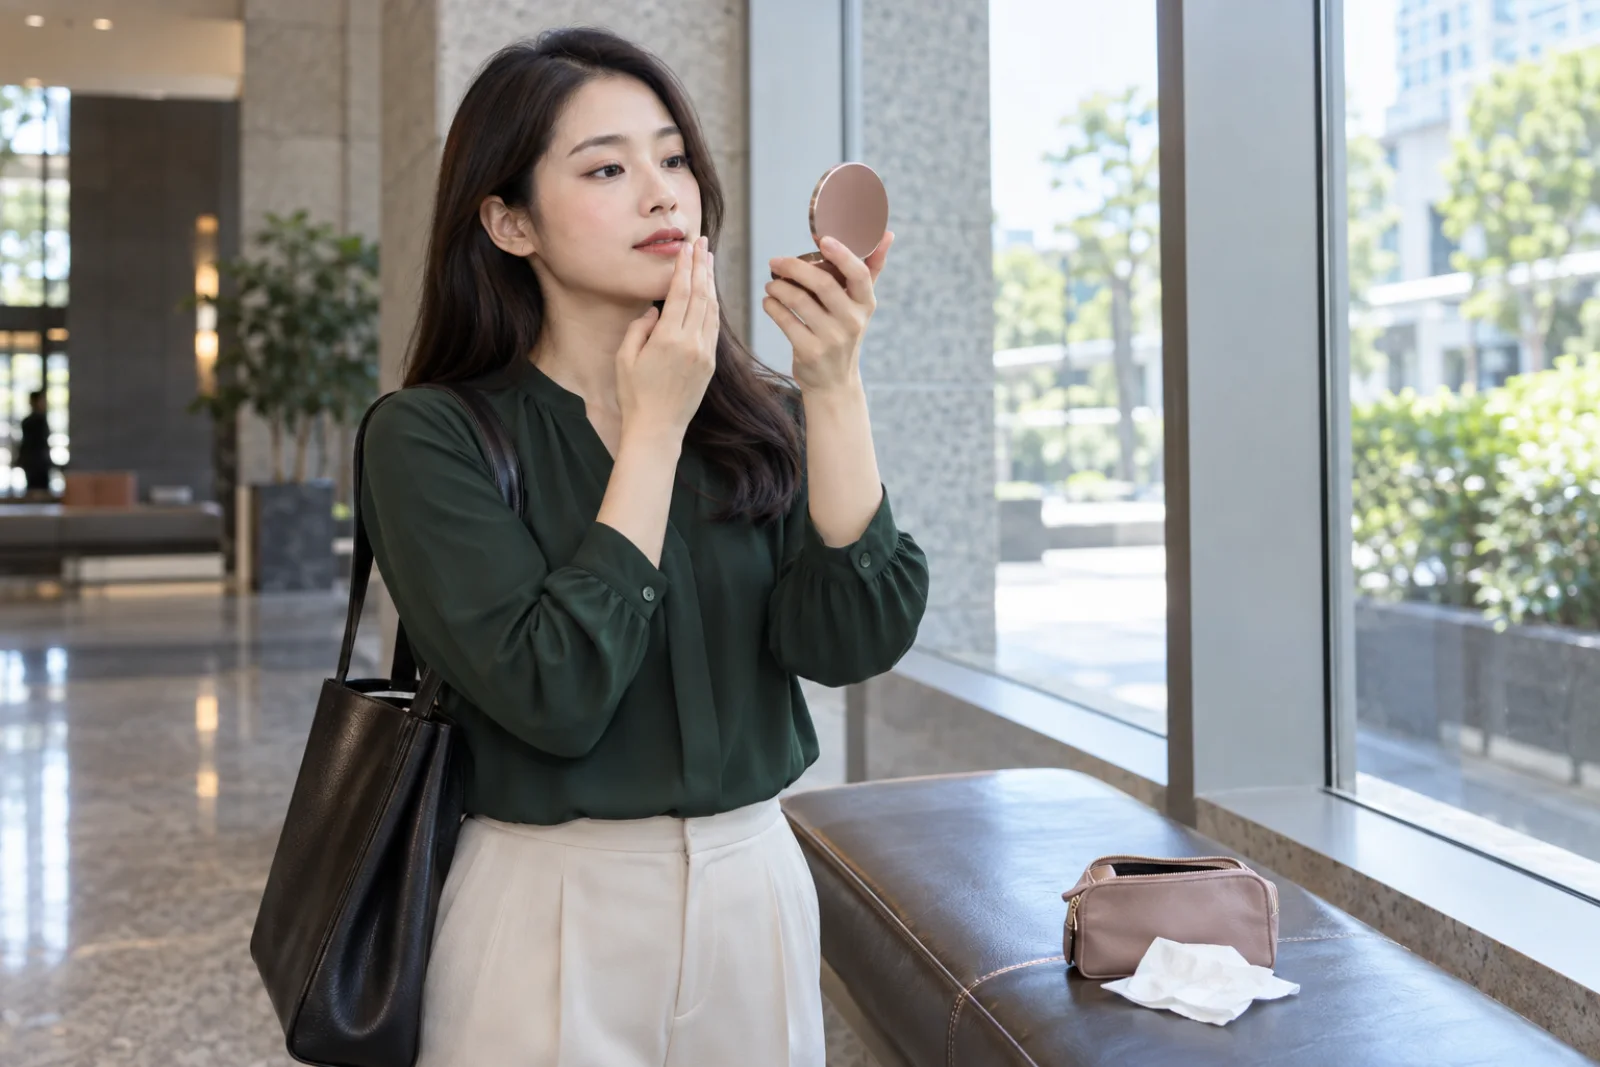
Wear the completed look for at least the length of your journey and expected wait. Before leaving, photograph it once in even light. At the venue, use a compact mirror only to check predictable movement: shine through the center, concealer gathering, mascara transfer or a softened lip edge. Blot before adding powder and repair only the area that changed. Rebuilding the face in a restroom with unfamiliar lighting is more likely to create uneven coverage than to improve the photograph.
Carry a tissue, a small mirror, the lip product and, only if tested, a compact powder or concealer. Keep hair and clothing ready for the authority's framing rules. If the photo service shows the capture, assess basic recognition and technical acceptance rather than searching for portrait perfection. An identification photograph is a functional record made under standardized constraints. A successful makeup plan supports that function while allowing you to feel composed and recognizably yourself.
Record the routine instead of chasing the final image
Write down the source-photo conditions, selected direction, products, application order and final adjustments. Note whether the photographer used flash, continuous light or an automated booth, and which areas changed during travel. This record helps with a visa, driving licence or renewal later, even though each authority may have different rules. It also prevents the official image from becoming a verdict on your appearance; it is one standardized capture, not a beauty portrait.
The strongest routine is intentionally ordinary: familiar preparation, a thin complexion, clear features, moderate contrast and a calm final check. MaqAI can shorten the planning stage by making a few emphasis choices visible before you apply them. The real product, real skin, real lighting and current government requirements still decide what works. Keep those boundaries clear and makeup becomes a practical support for recognition rather than another source of uncertainty on appointment day.