
Concealer
Spot concealing: cover a small mark without a visible patch
Cover a small mark with a tiny dab of concealer, soften just the edge and check the result in daylight.

Spot concealing works best when you can say exactly what you want to soften. A single red mark on the cheek or a darker dot on the chin may be visible at conversation distance even though the skin around it looks the way you want. It's tempting to dab a big circle of concealer over the whole area and blend until it disappears. But that can leave a wide, pale patch. Give the color one small place to go, keep the center covered, and feather the perimeter into the skin beside it.
This guide is for cosmetic coverage on intact skin. Leave broken or irritated skin alone. You can stop at any point if you're comfortable with what you see. The goal is to take down the contrast of a particular mark while retaining the skin and makeup that already look good to you.
Choose what spot concealing needs to cover
Look straight into a mirror from an arm’s length, in light that falls evenly across your face. Pick one mark that you can still see without leaning in. Now move closer just long enough to locate its boundary. The edge may be irregular. That detail matters more than finding a perfect circular brush. If there are several marks, divide them into individual targets. A scattering of small points rarely needs the same amount of concealer as a continuous area of discoloration. Keep the rest of the cheek bare or leave your current base in place.
Notice whether you are seeing color, a raised surface catching light or both. Concealer may soften the color contrast, but a bump still catches light and throws a tiny shadow. A flat brown mark behaves differently when you turn your head. If the mark seems to disappear and return as you move, take care not to keep layering product to eliminate a shadow. When choosing where to stop, compare both the color and the texture with the neighboring skin. You can decide that the color is already quiet enough to leave the surface as it is.
Match the skin beside the mark
Choose a shade based on the skin immediately next to the area, under the light in which you’ll check the result. A bright shade you like under the eyes can leave a light ring when you use it on a cheek. The same shade can also look different on a bare jaw and over a tinted base. If you already wear foundation, compare your concealer against the finished foundation at the relevant spot. Wait until the product looks the way it normally does on your skin before deciding whether the shade fits.
Use a dab just off the mark to check the transition. On the cheek, look from the front and at a slight turn. If you see a pale or gray cast, try a closer shade instead of repeatedly adding the one you have. A darker or more saturated color can also leave a visible border. On days when you have only one suitable product, a lighter layer may blend more easily than one very opaque dot. If your current complexion product has enough coverage in a thin layer, you can try it here before buying anything else.
Put a small amount on a clean surface
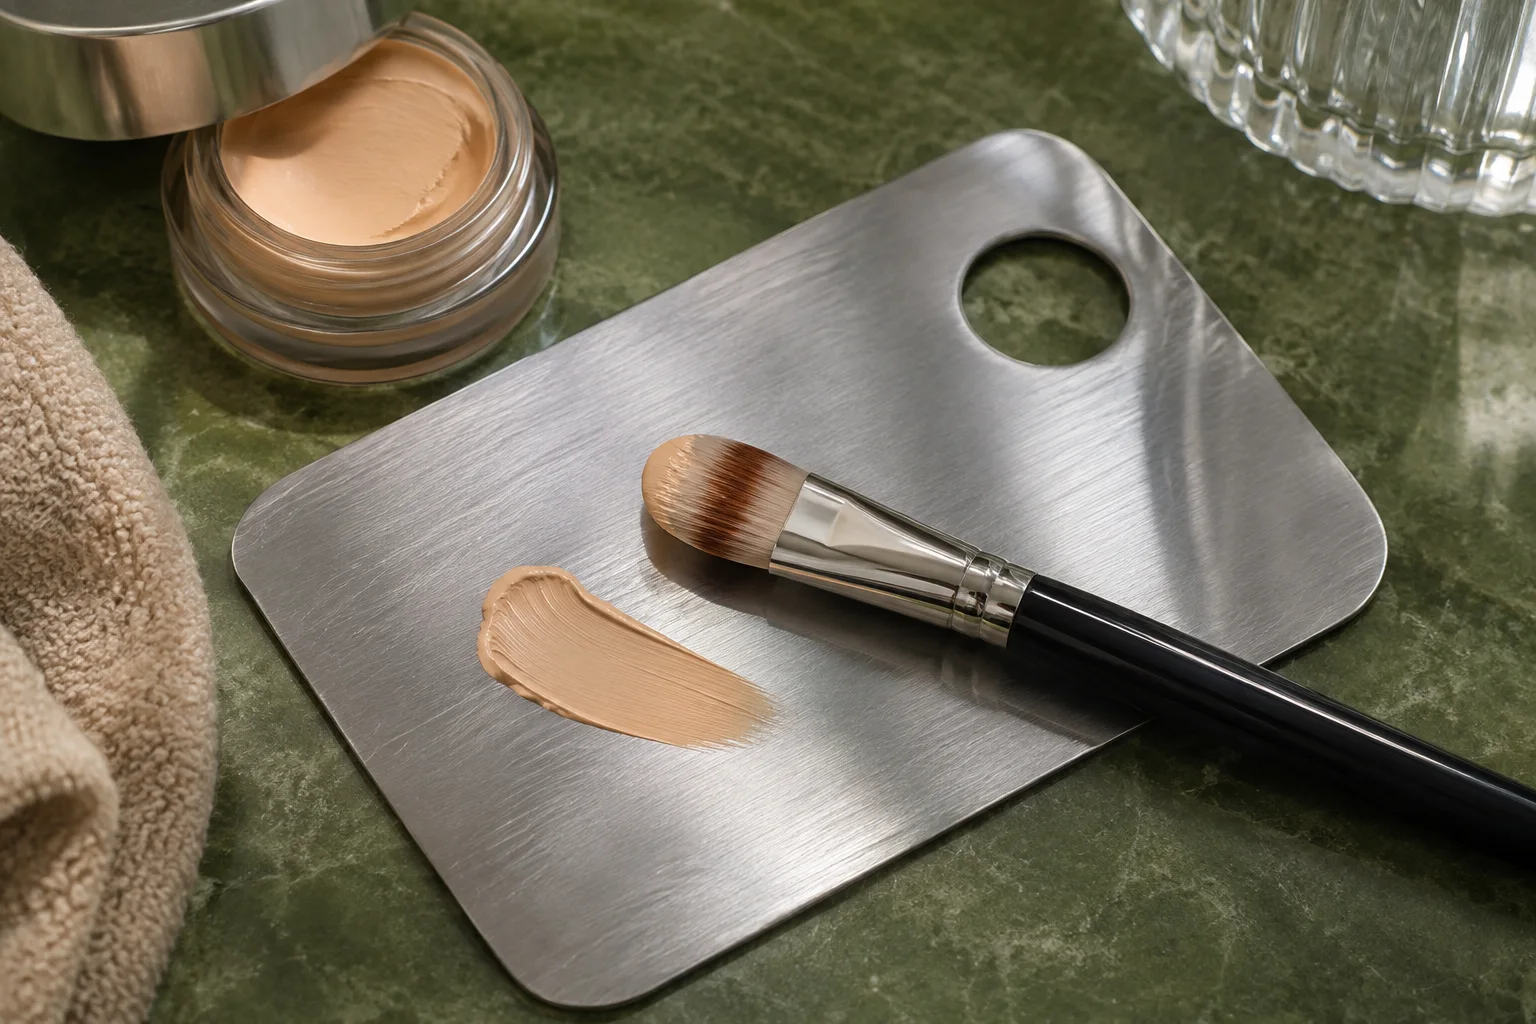
A fine synthetic brush or another clean tool with a narrow, manageable tip makes it easier to place the first dot. Start with a clean brush and a clean palette or other washable surface. Dispense a little product there, then pick up from one edge of the dab. You want the tip to carry product without holding a bead that will drop as soon as it touches the skin. On a flat spot about the size of a pencil tip, a tool of similar width helps you control the first deposit.
A clean fingertip can work for a slightly larger mark. Transfer a little product first, and use the side of the pad to tap along the boundary where you need finer control. A large damp sponge or broad foundation brush can move pigment farther than you want, particularly when you're working near the nose or over freckles you want to keep visible. You can use the larger tool later for the outermost edge if necessary. If you use a sponge for that final step, follow the makeup sponge cleaning guide.
Set the center before touching the edge
Let skin prep or a base settle enough that the surface isn't visibly wet. If you normally use a tinted product, apply your usual thin base first and reassess where you still want coverage. You may find the mark needs much less than it did when you started. Rest your elbow on a surface or steady the hand that holds your mirror. Then touch the loaded tip to the center of the mark with light pressure. If the spot is long or narrow, use two or three little taps in its shape rather than one round patch over it.
Take the loaded brush away and look at the amount you put down. The first deposit can look too small, especially in a magnifying mirror. That's useful because you still have room to extend and blend. If some color shows through the middle, keep that covered area in place while you check the edge. Dragging a loaded brush back and forth is likely to spread product into the area you wanted to leave alone. For a liquid formula, work within the time you normally have to blend it and follow its directions.
Feather only the perimeter
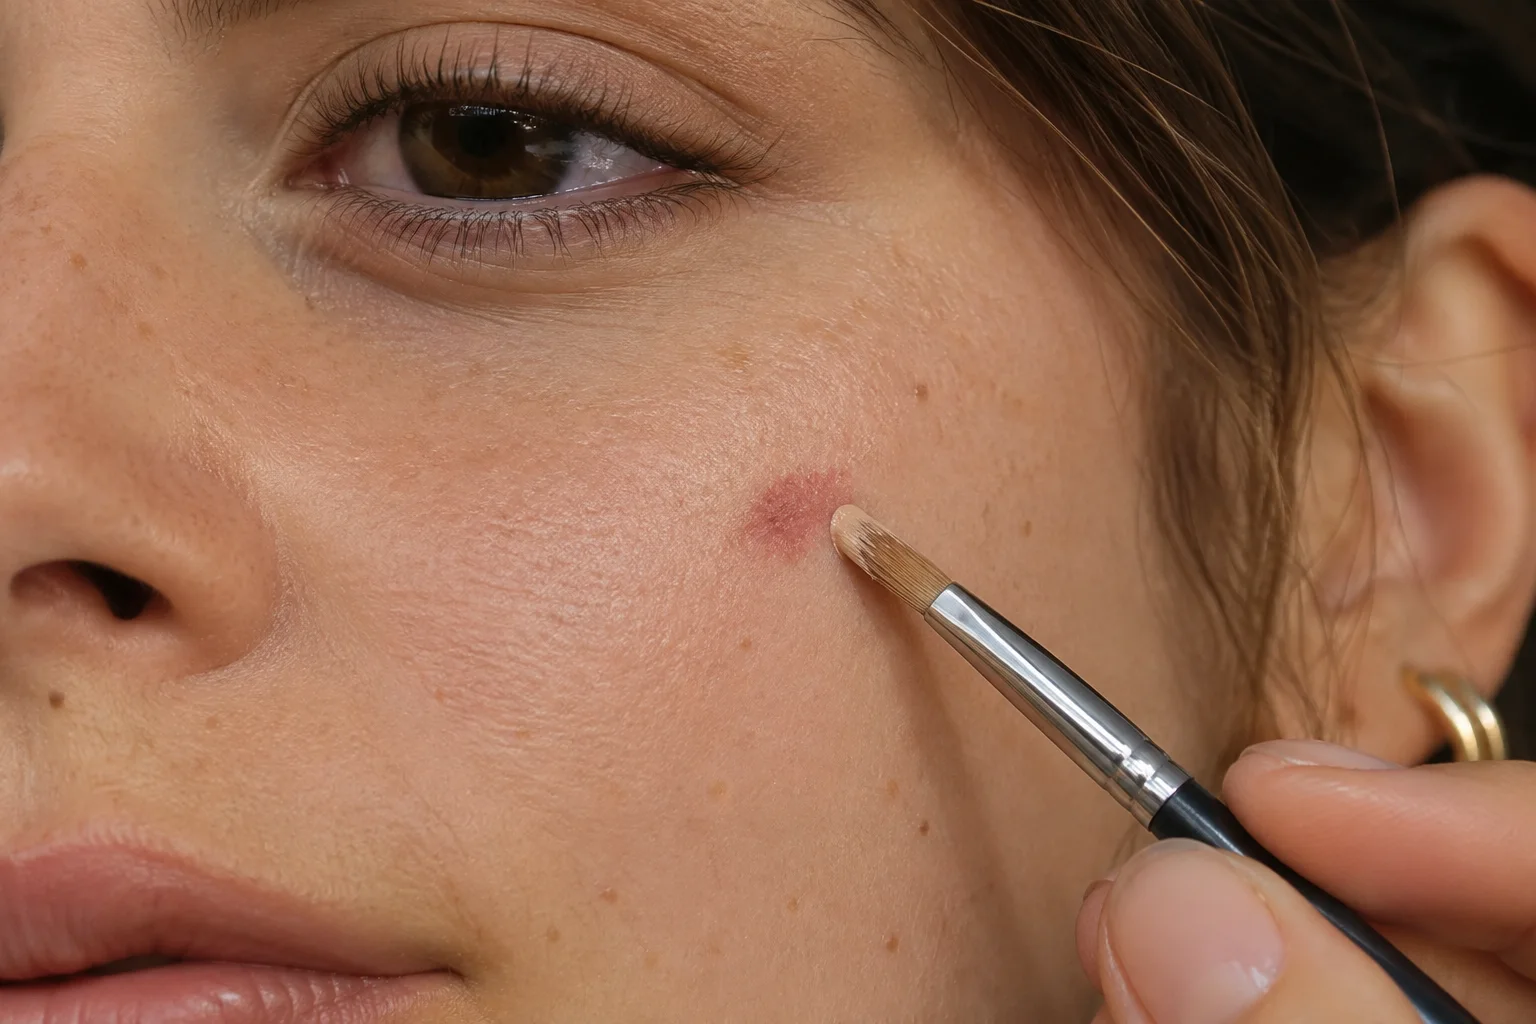
Use the clean side of your brush or a second clean tip to soften the very outer edge with small taps. Think of touching the border from beside the mark rather than brushing the product away from the center. Start on the side where you can see the edge most clearly. Turn toward the light to check the remaining sides. If your tool is picking up a streak of concealer, clean it before you use it again. Otherwise it can deposit that streak a little farther out every time you tap.
You don't need to blend the whole dot to the same density. Leave the center a little more opaque and bring the last fraction of color into a thin transition. This works especially well next to a freckle or a small area of natural redness you want to keep visible. Under the eyes, the challenges are different because the skin folds as you blink or smile. Use the under-eye concealer guide for that area rather than trying to transfer this tiny-dot method to a wide crescent under the lower lashes.
Decide whether to add more or remove a little
Step back before you add a second pass. If the mark looks softer but the boundary of the makeup now stands out, the next step is to correct the boundary. Use a clean tool to pick up a little from the edge. If the center still reads darker or redder and the edge is quiet, add a smaller dot to the center only. A separate dot is useful because you can tell how much coverage you've gained without changing the surrounding finish again.
If the patch becomes thick, lift some product off with a clean tool rather than covering it with more foundation. If necessary, restart just that small area. Use the same preparation you used on the adjacent skin so the two finishes can meet. Don't start rubbing more firmly to hurry up the process. You have a better chance of seeing what changed if you correct one thing and check it in the mirror before correcting the next.
Check in daylight and touch up from the center
Look at the result in shaded daylight, then in the indoor light where you expect to spend time. Move your head and speak or smile. You may notice shine around the dot because the formula has a different finish from the surrounding skin. If you choose to use powder, try a tiny amount with a small brush so you can still see where the concealer ends. Compare one light pass with no powder on another day if you're unsure. A heavy powder layer can add another visible surface just when you were trying to reduce the contrast.
Later in the day, decide what needs replacing. If makeup has worn away only from the middle, blot any excess shine gently and put a tiny amount back there. If the entire area has shifted, soften or lift the old border before you add more. This is especially helpful on parts of the face that meet a scarf, your hand or the edge of a mask. When contact keeps undoing the coverage, you can choose a little less product and accept that the mark may still show as the day goes on.

Keep a repeatable three-part routine
Remember the shade you used, where your tool made its first contact and which side of the border needed the most attention. Those details give you a starting point next time without making every mark a separate project. For example, you might use one tiny touch in the center of a cheek mark and spend just one extra tap on the edge nearest the nose, where the color contrast is easiest to see. Give yourself a clear stopping point: the mark no longer catches your eye first when you look at the whole face.
If a spot still shows a little at close range, compare that with how the skin looks at your normal distance. Retaining the natural color and texture around a mark is often the reason for using this technique in the first place. Leave the area alone once you have the effect you wanted. Clean the brush and palette after use, and record the shade or tool only if it will help you repeat the result.
Practice the movement away from your face
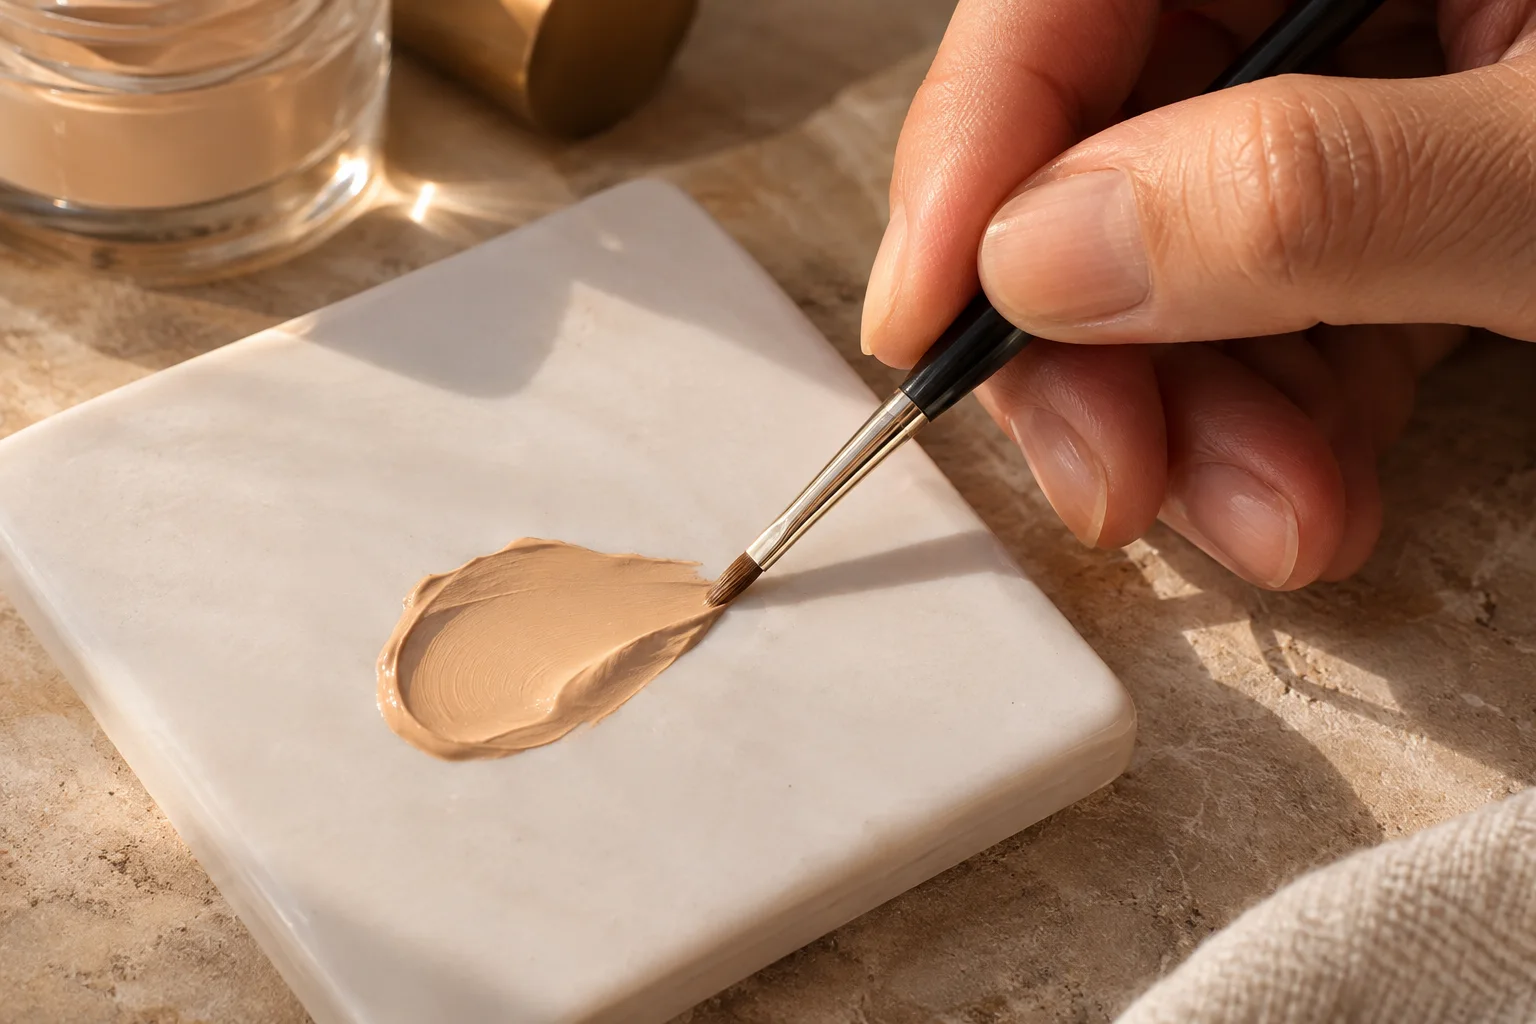
If the new brush keeps delivering more than you intended, put a small dot on a clean palette and tap the edge with the unloaded side. See how far the product moves with each touch. A brush that springs back firmly may leave a line if you pull it across the surface. Tiny touches give you more control.
Then return to the mirror with a freshly cleaned tool. The practice is about the motion of the brush. Test the real shade only on the neighboring skin, with whatever base you are wearing.