
Photo guide
How to take the best selfie for AI makeup try-on
A simple checklist for clearer color, placement, and before-and-after comparisons.
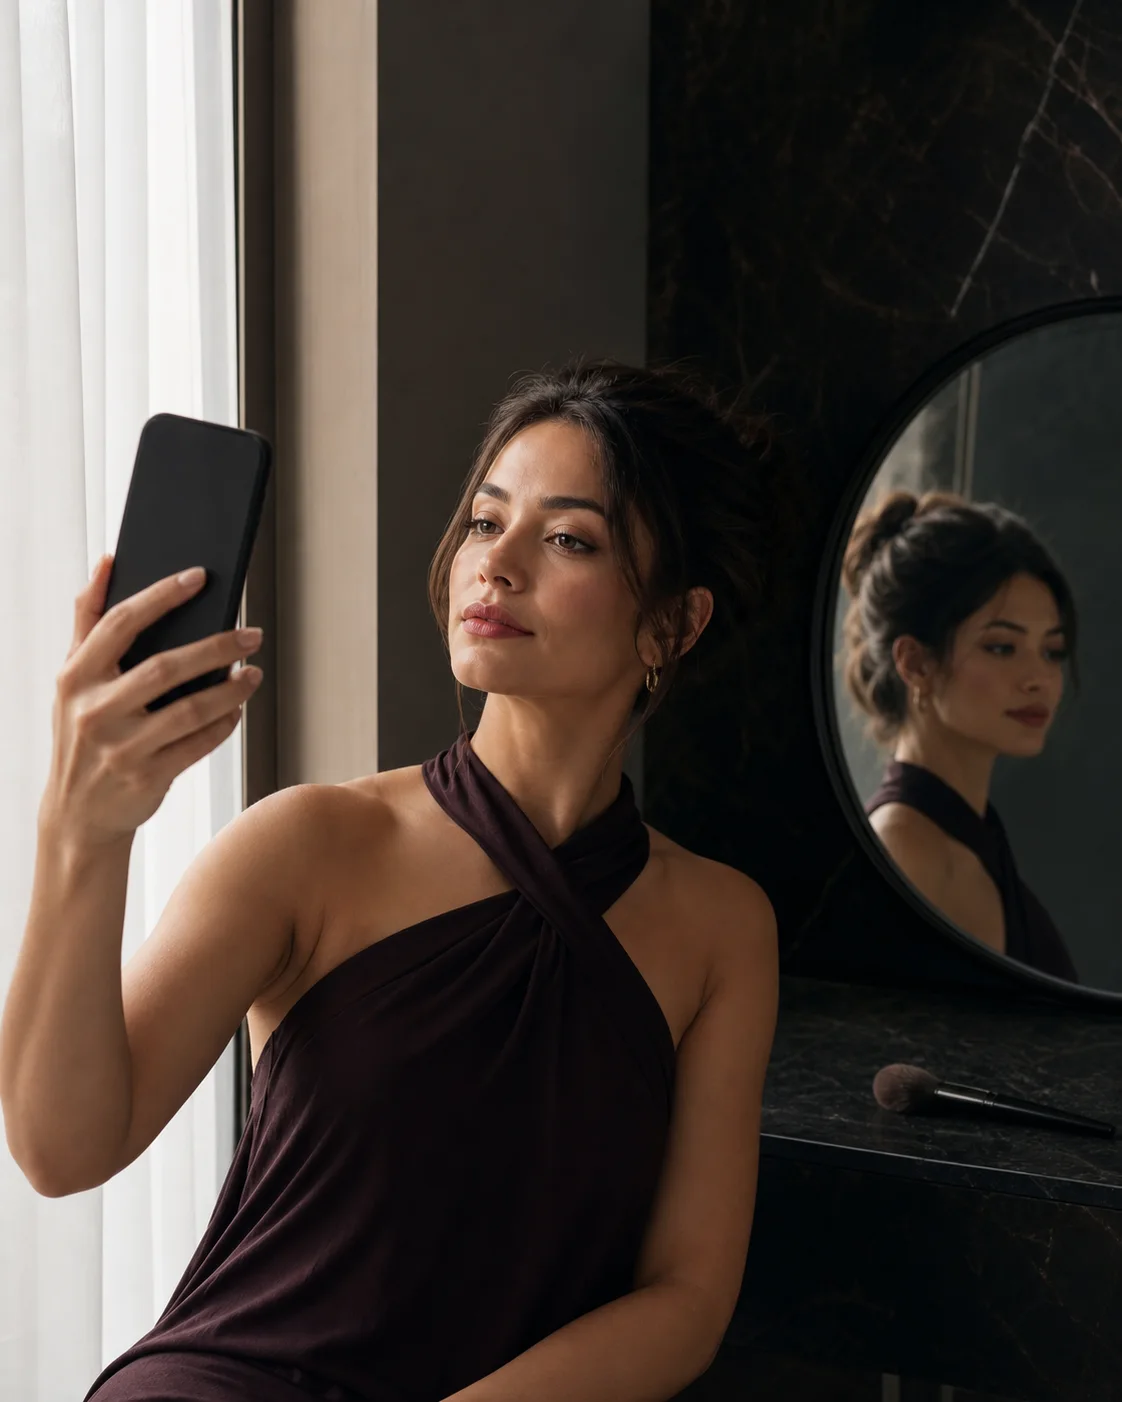
A makeup preview can only work with the information visible in your photo. Strong shadows, colored light, beauty filters, and an angled face can all change how color and placement appear.
You do not need a studio portrait. A clean phone-camera photo in soft light is enough for a much more useful first result.
1. Face the camera at eye level
Hold the phone near eye level and keep your face mostly straight toward the lens. A small natural angle is fine, but avoid a strong profile for your first try.
Keep the eyes, brows, cheeks, lips, jawline, and full forehead visible so makeup placement has a clear reference.
Best starting point: one person, relaxed expression, full face visible, camera near eye level.
2. Use soft, neutral light
Face a bright window or stand in open shade. Neutral, even light helps skin, lip, and eye colors stay readable.
Avoid strong warm bulbs, colored LEDs, deep side shadows, and direct flash. They can shift undertone and make one side of a look appear stronger than the other.
- Good: indirect window light or open shade
- Avoid: colored light, backlight, flash, and hard overhead shadows
3. Skip filters and heavy makeup
Use the standard camera without beauty smoothing, face reshaping, artificial lashes, or color filters. Existing makeup can compete with the look you want to preview.
A clean or light makeup base makes before-and-after comparison easiest, but the photo does not need to be completely bare-faced.
4. Keep the image sharp and uncropped
Leave a little space around the full face and hairline. Make sure no hand, phone edge, sunglasses, or loose hair hides the eyes, lips, or cheek area.
Zoom in once before uploading. If the eyelashes, brows, or lip line are blurred, take a second photo instead of repeatedly generating from the same weak input.
Quick checklist
Before you continue in MaqAI, check the following:
- One face in the image
- Front-facing, eye-level angle
- Soft and neutral light
- Eyes, brows, cheeks, and lips visible
- No beauty filter or colored lighting
- Sharp focus and simple background
Compare source photos before comparing makeup
If you have several usable selfies, generate the same simple look on each before exploring many makeup options. The portrait that keeps features, color, and placement most stable becomes your baseline for the rest of the session.
Once you choose that baseline, stop changing the crop and light. A controlled source makes it easier to tell whether you prefer a shade, a placement, or merely the photography of a different image.
Choose and process the photo deliberately
MaqAI asks you to select the specific portrait used for a feature. Review the in-app disclosure before continuing; it identifies the data sent, the providers involved, and the purpose of the requested processing.
Use your own portrait whenever possible. If another person appears in an inspiration or transfer image, make sure you have the right and permission to submit it.