
Photo makeup guide
Free flashback makeup checklist for better flash photos
Find the powder, placement, light, or camera condition creating a pale cast before the important photos begin.
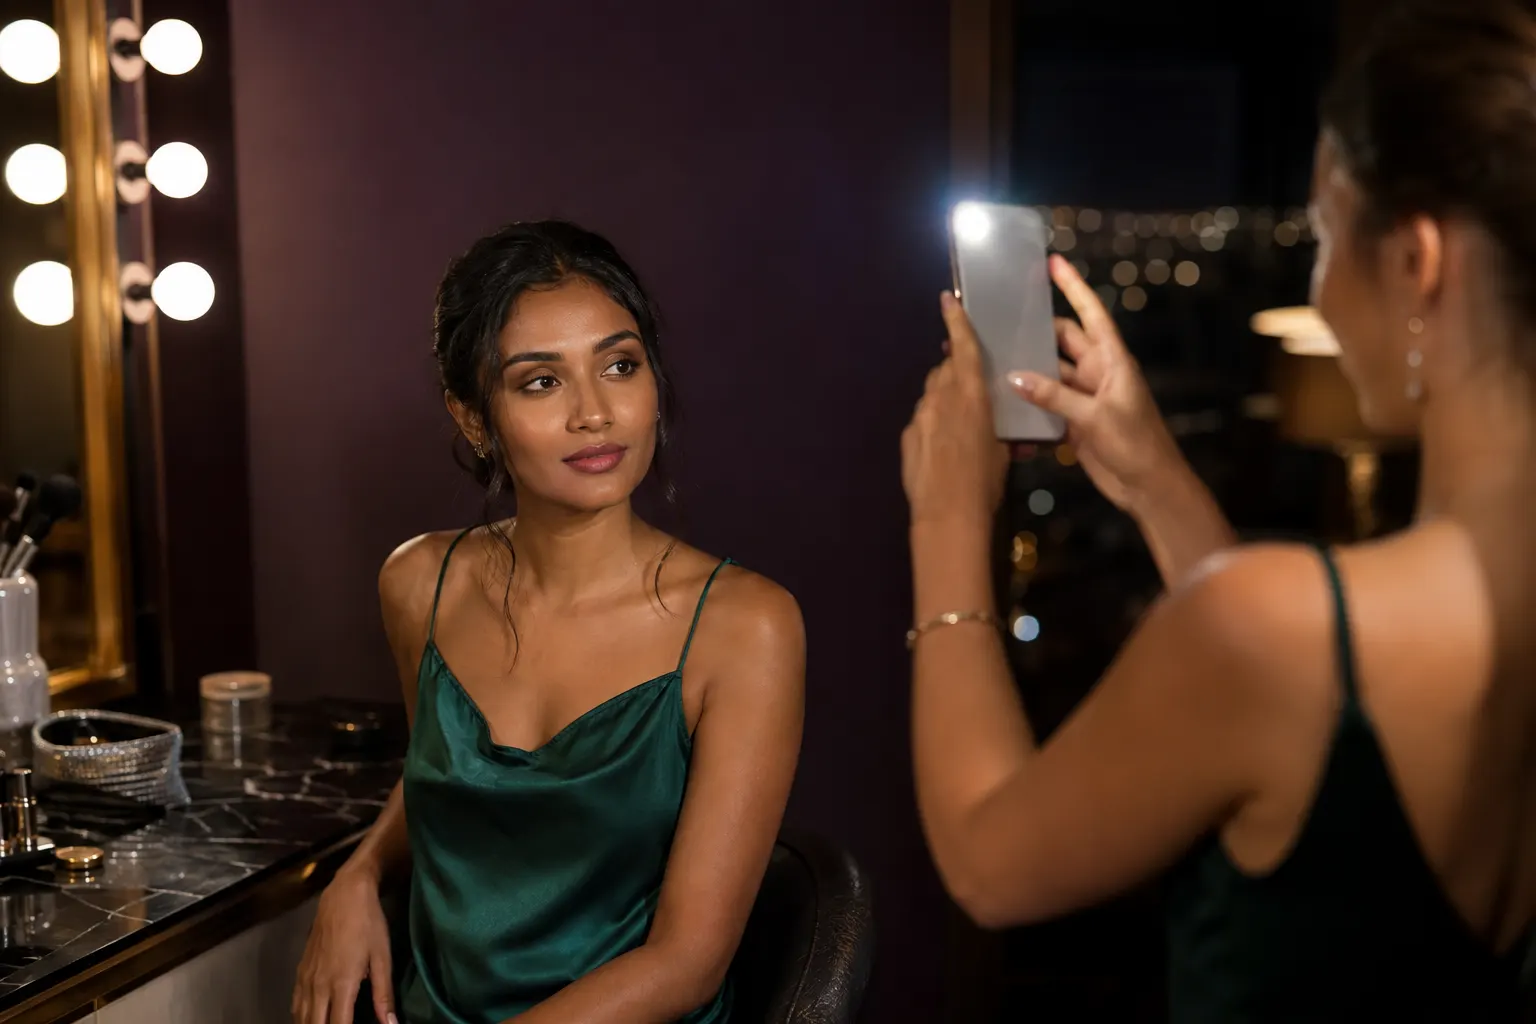
This free flashback makeup checklist is for the unnerving moment when a complexion looks balanced in the mirror but turns pale, grey, or powdery in a direct-flash photograph. Flashback is not the same as an ordinary shade mismatch. It is a camera-and-light response: one product, one dense area of powder, or one highly reflective finish sends more light back toward the lens than the surrounding face. Because the problem may be invisible in normal room light, a controlled flash test is more useful than adding another layer and hoping for the best.
The safest plan is diagnostic rather than restrictive. Do not assume every sunscreen, mineral pigment, translucent powder, or luminous formula will fail. Formula, amount, placement, skin tone, camera distance, exposure, and the strength of the flash all affect the photograph. Build the complexion in thin layers, test it under conditions close to the real event, and change one variable at a time. If the occasion includes daylight or outdoor exposure, keep appropriate sun protection and test the complete protected routine instead of dropping an important health step for a picture.
Start the free flashback makeup checklist with a clean baseline
Take one photograph before changing the makeup. Stand at the distance and in the room where photos are likely, turn off beauty filters and portrait relighting, clean the lens, and use the same camera mode for every test. Make one image without flash and one with direct flash. The pair tells you whether the face is already too light in ordinary exposure or whether the pale cast appears only when a strong frontal light hits it.
Read the entire face at normal viewing size. A bright forehead may be oil or highlighter, a white under-eye triangle may point to excess powder, and a uniformly pale face may involve the base, sunscreen, exposure, or the combination. Compare face, ears, neck, and chest only where those areas receive the same light. A dark outfit or background can make automatic exposure brighten the face, so keep the surroundings stable before blaming a product.
Write down the current layers in order: skincare, sunscreen, primer, corrector, foundation, concealer, cream color, powder, powder color, highlighter, and spray. Record approximate amounts and tools. This short inventory matters because removing a random product can accidentally improve the photograph without revealing why. A repeatable baseline turns one bad selfie into a useful test rather than a reason to replace an entire makeup bag.
Understand why powder can look different under direct flash
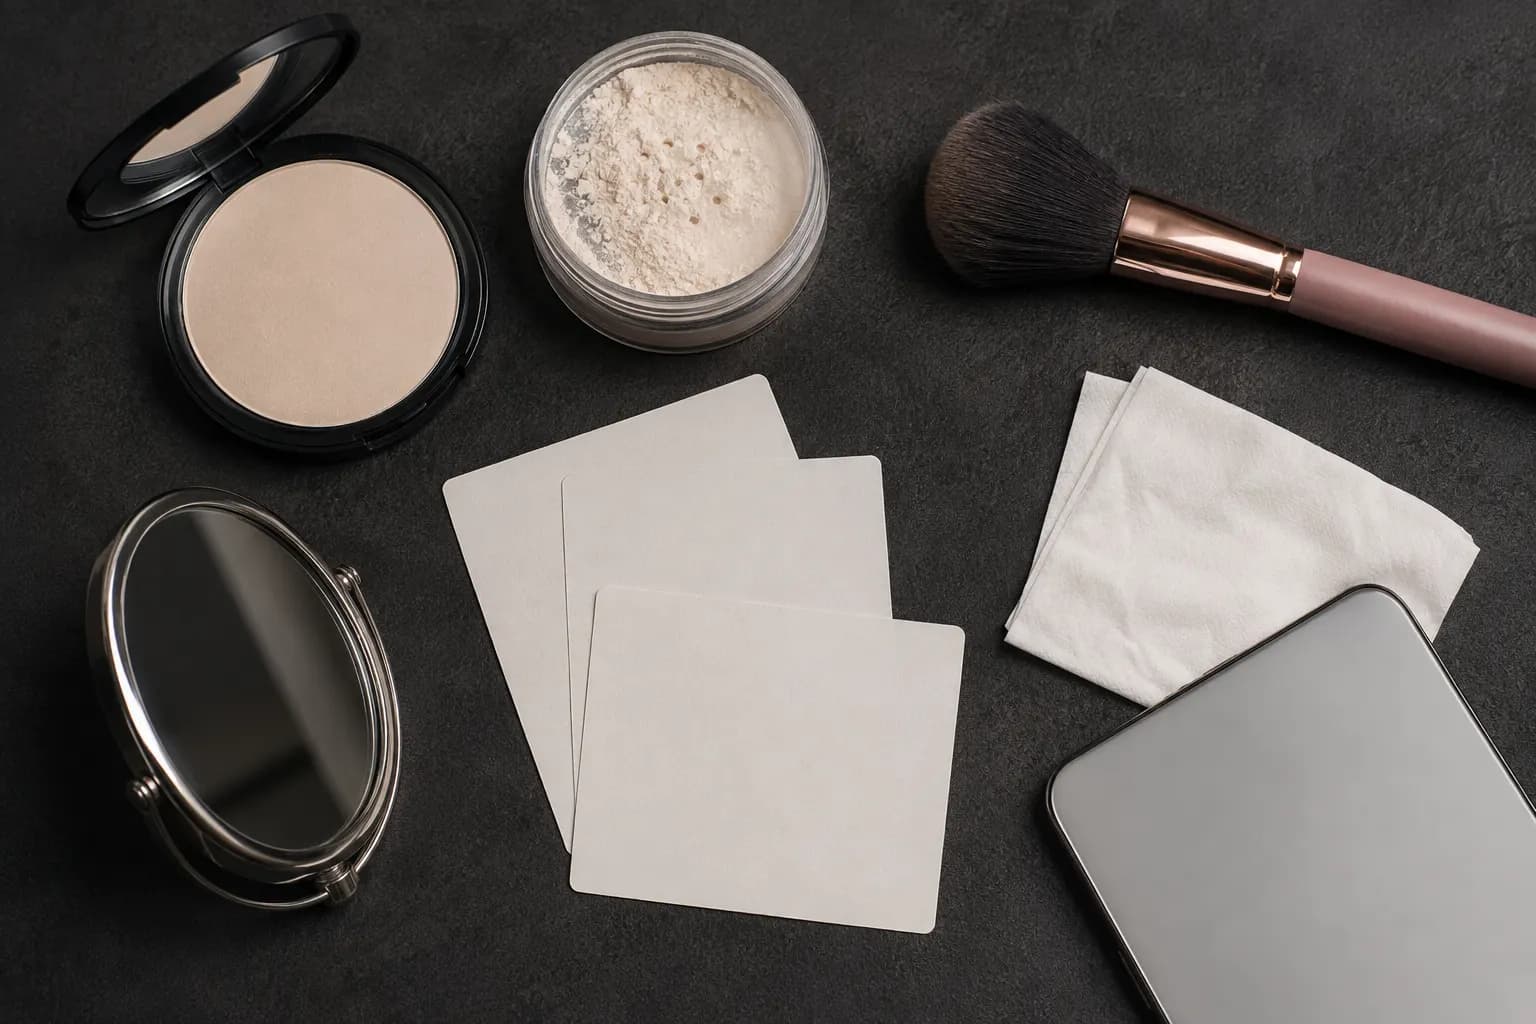
A setting powder can appear invisible in the mirror yet scatter a concentrated burst of light toward the camera. The risk rises when a very pale powder sits thickly on one area, especially beneath the eyes, around the nose, or across the center of the forehead. Reflective particles can also become more obvious when the flash is close to the lens. That does not make powder bad; it means its photographic behavior must be tested in the amount and placement you actually use.
Labels such as translucent, HD, brightening, luminous, or photo-ready are not guarantees for every complexion and camera. Translucent describes how a product is intended to look in ordinary use, not how a heavy layer will photograph on every skin depth. A tinted powder can still look wrong if its undertone or depth is disconnected, while a finely applied clear powder may work beautifully. Judge the real formula rather than relying on the category name.
Cosmetic chemist Michelle Wong explains that silica and other white or reflective materials can scatter direct flash, particularly when used generously. Her discussion is useful because it also rejects the simplistic idea that water or setting spray permanently neutralizes the optical behavior. Treat ingredient lists as clues, not verdicts: application thickness and camera conditions still decide whether a visible problem appears in your own test.
Reduce quantity before replacing the whole complexion routine
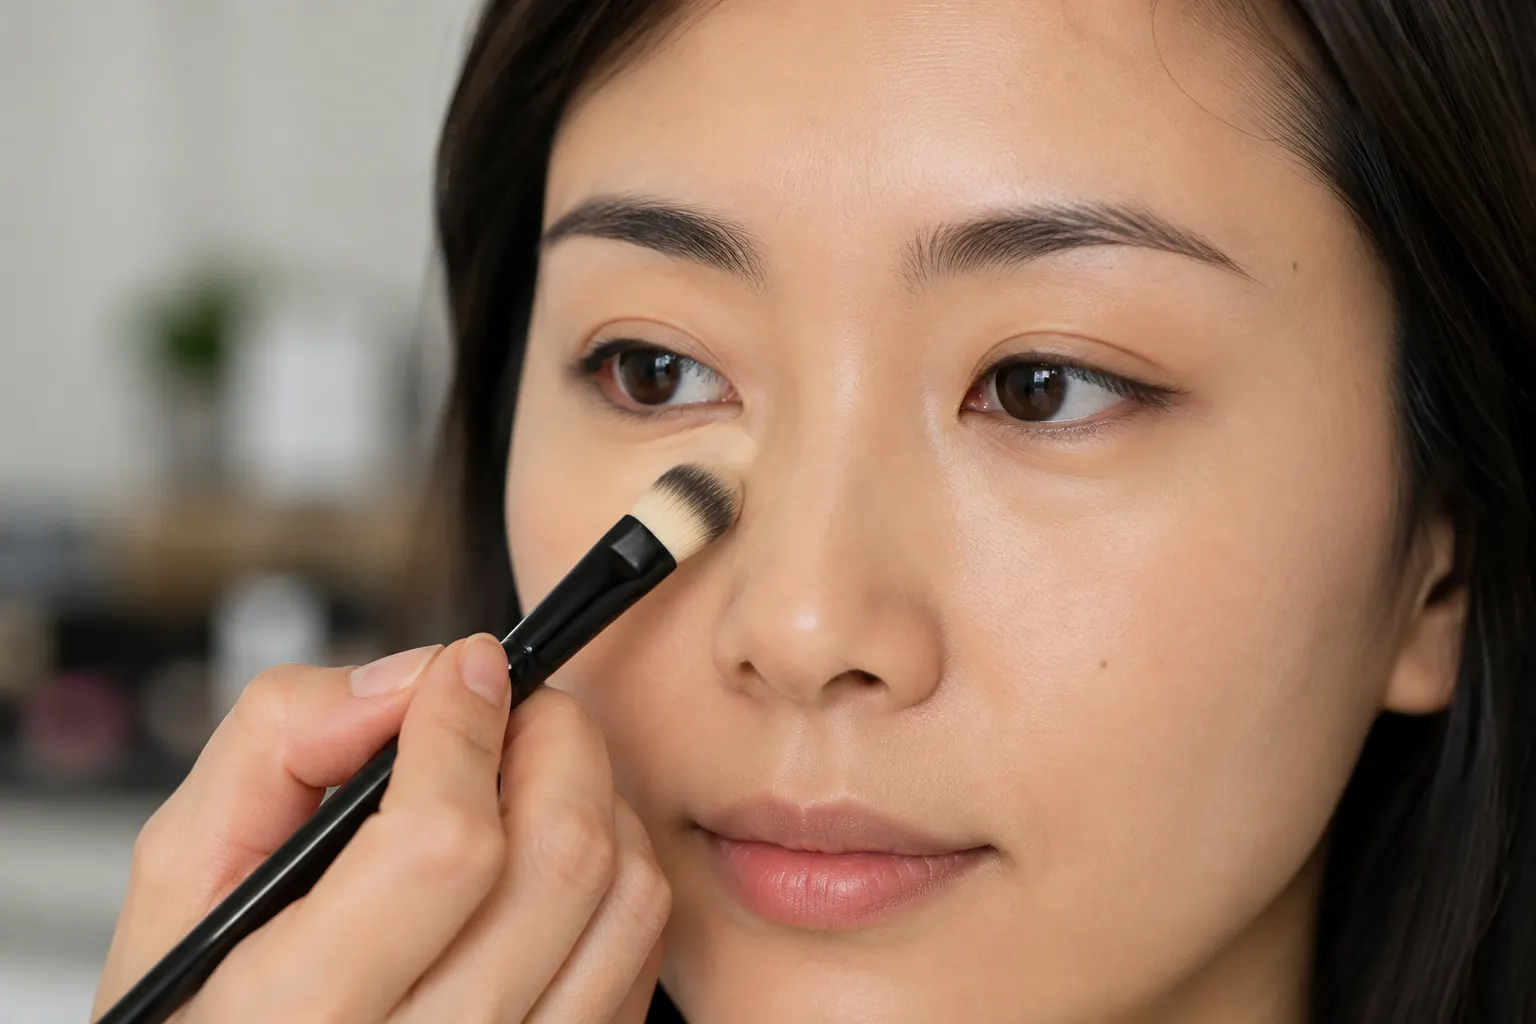
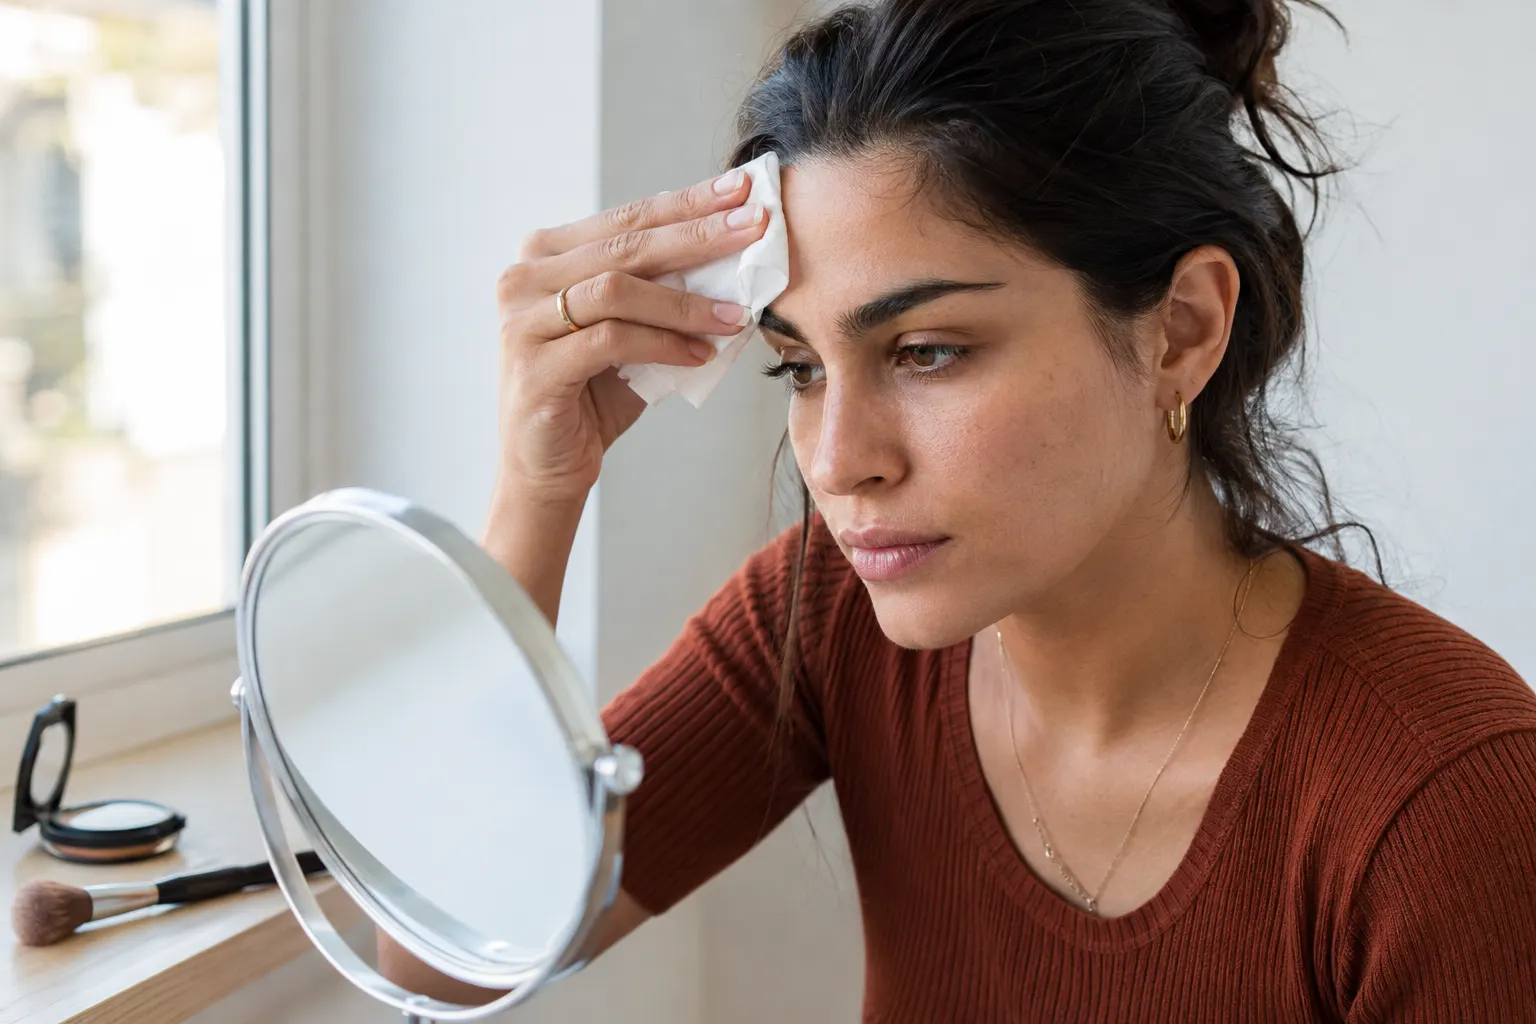
Begin with the easiest reversible change: remove loose excess with a clean fluffy brush and press a dry tissue gently over visibly heavy areas. Do not rub the base away. Retake the same flash photo. If the pale patch shrinks, the issue was at least partly quantity or uneven placement. On the next application, load less powder, tap the tool thoroughly, and set only the zones where movement or shine actually needs control.
Baking can be useful for specific techniques, but a thick bed of pale powder is a poor default for an event dominated by direct flash. If you bake, test the exact product and timing, remove every loose trace, and inspect the border where the powder ended. A sharp bright shape under the eye often comes from leaving more product in the center than at the edge. Feathering that transition matters as much as the formula itself.
If the thin version still flashes back, compare a small patch of another powder on the opposite side of the face. Match the amount, skincare, concealer, tool, and wait time. Change only the formula. This split-face test reveals more than applying a complete new routine, because it isolates the powder while the rest of the complexion stays constant. Keep the winner only after it succeeds in both flash and ordinary light.
Test sunscreen without trading away sun protection
Some mineral and reflective ingredients can contribute to a pale cast, but the practical answer is not to tell everyone to skip sunscreen. For a daytime wedding, graduation, outdoor shoot, or long journey, sun protection remains part of the real conditions. Apply it as directed, allow the layer to settle, then test the complete makeup on top. A routine that photographs well only after removing protection is not a useful daytime solution.
If the protected routine photographs poorly, first identify whether the cast exists before makeup. Photograph sunscreen alone in ordinary light and direct flash, then add the base in a thin layer and repeat. This sequence separates an immediate white cast from flashback introduced by powder or from a shade mismatch created by the foundation. It also prevents a product from being blamed merely because SPF appears somewhere on the label.
The U.S. Food and Drug Administration recommends regular use of broad-spectrum sunscreen as directed alongside other protective measures. Follow the label and advice appropriate to your skin and location. For a night-only indoor event, your routine may differ because the exposure context differs, but do not turn a makeup-photo checklist into medical advice. The goal is to find a compatible, tested daytime routine when protection is needed.
Recreate the camera conditions that will matter
A bathroom selfie from twenty centimetres away is not equivalent to a photographer standing several metres away. Phone flash, compact-camera flash, bounced professional flash, softbox lighting, and continuous video lights produce different reflections and exposure. Ask what type of photography is likely, then make the closest safe test available. If you cannot recreate the equipment, at least vary distance and take one frontal and one three-quarter image.
Keep the test honest. Do not lower exposure only on the improved version, change the background, move closer to a lamp, or turn on a beautifying camera mode. Those adjustments can hide the white cast while changing the whole photograph. Save both files and compare them at the same brightness. Also check a group-photo distance, because a patch that looks dramatic in a close crop may disappear naturally, while a face-wide mismatch can remain obvious.
Repeat once after the makeup has settled for thirty to sixty minutes. Oil, movement, powder absorption, and oxidation may alter the balance. Then take a final image in neutral daylight or clean indoor light. Passing the flash test by making the face overly dark, flat, or dry is not success. The complexion should remain believable in person and in the non-flash photographs that will also be taken.

Separate flashback from shade mismatch, oil and shine
A foundation that is too light looks disconnected before the flash fires. Flashback appears or becomes much stronger in the flash frame. Oil produces sharper highlights on curved high points and may change through the evening, while dry powder buildup often looks textured in both images. These problems can coexist. Name the visible pattern first so you do not solve shine with more powder when powder is already creating the pale patch.
Check the boundary at the jaw, the center of the face, and the under-eye area separately. A pale jaw suggests the base shade or exposure; a bright under-eye shape suggests placement or product density; scattered sparkle suggests reflective color or highlighter; a grey cast on deeper skin can indicate an undertone or powder-depth problem. Correct the smallest responsible zone before touching areas that already photograph well.
For an emergency correction, blot oil, brush away loose product, and add a very small amount of compatible skin-toned powder only if the test shows it helps. Avoid coating the full face moments before a photo. If nothing can be retested, preserve a balanced real-life finish rather than stacking unverified fixes. The best long-term answer is the controlled rehearsal, not a miracle spray or a last-minute product swap.
Use a five-photo rehearsal before the event
Make five reference images: ordinary indoor light, direct flash from close range, direct flash from likely group distance, a three-quarter angle, and daylight or neutral continuous light. Keep the files unedited. Review the overall color, the under-eyes, forehead, nose, jaw boundary, and chest connection. This small set is more useful than dozens of random selfies because each frame answers a different practical question.
Wear the routine for several hours if the occasion is important. Photograph once more after talking, eating, dancing, or moving through different temperatures. The test may reveal that the flash is fine but the powder separates, or that an initially glossy area becomes balanced after settling. Change only one step for the next rehearsal and write the result. A compact log quickly becomes a personal photo-makeup recipe.
When you have a successful combination, record product names, shade, quantity, tool, placement, wait time, camera mode, distance, and lighting. Take a picture of the tools as well as the face. This prevents the common mistake of remembering the products but forgetting that the winning powder was applied with a loose brush rather than pressed on with a puff.
Use MaqAI only for planning the visible direction
After the independent camera test has identified the problem, MaqAI can help you compare a lighter matte direction with a satin direction on one clear portrait. Keep color, placement, crop, expression, and lighting stable, and change only the finish or amount you are considering. Save no more than two useful directions. The preview can clarify whether you prefer a less powdered appearance, but it cannot reproduce the optical response of your real products under a physical flash.
Turn the preferred direction into a practical note such as ‘set only beneath the inner eye and beside the nose, leave the outer cheek satin.’ Then recreate it with real products and repeat the five-photo rehearsal. MaqAI does not guarantee an exact shade, formula, oxidation, texture, wear time, skin response, or camera result. The evidence still comes from the real application in the relevant light.
A successful outcome is not zero reflection everywhere. Skin has shape and light naturally catches raised areas. Success means no accidental white or grey patches, no face-wide disconnect, and a complexion that remains coherent in ordinary light. Once that condition is met, stop correcting. Additional powder can reintroduce the very problem the checklist was designed to remove.