
Blush
Blush with glasses: below the rim or beside it?
Compare blush below or beside your glasses and find where the color stays visible when you smile, turn and check it in daylight.
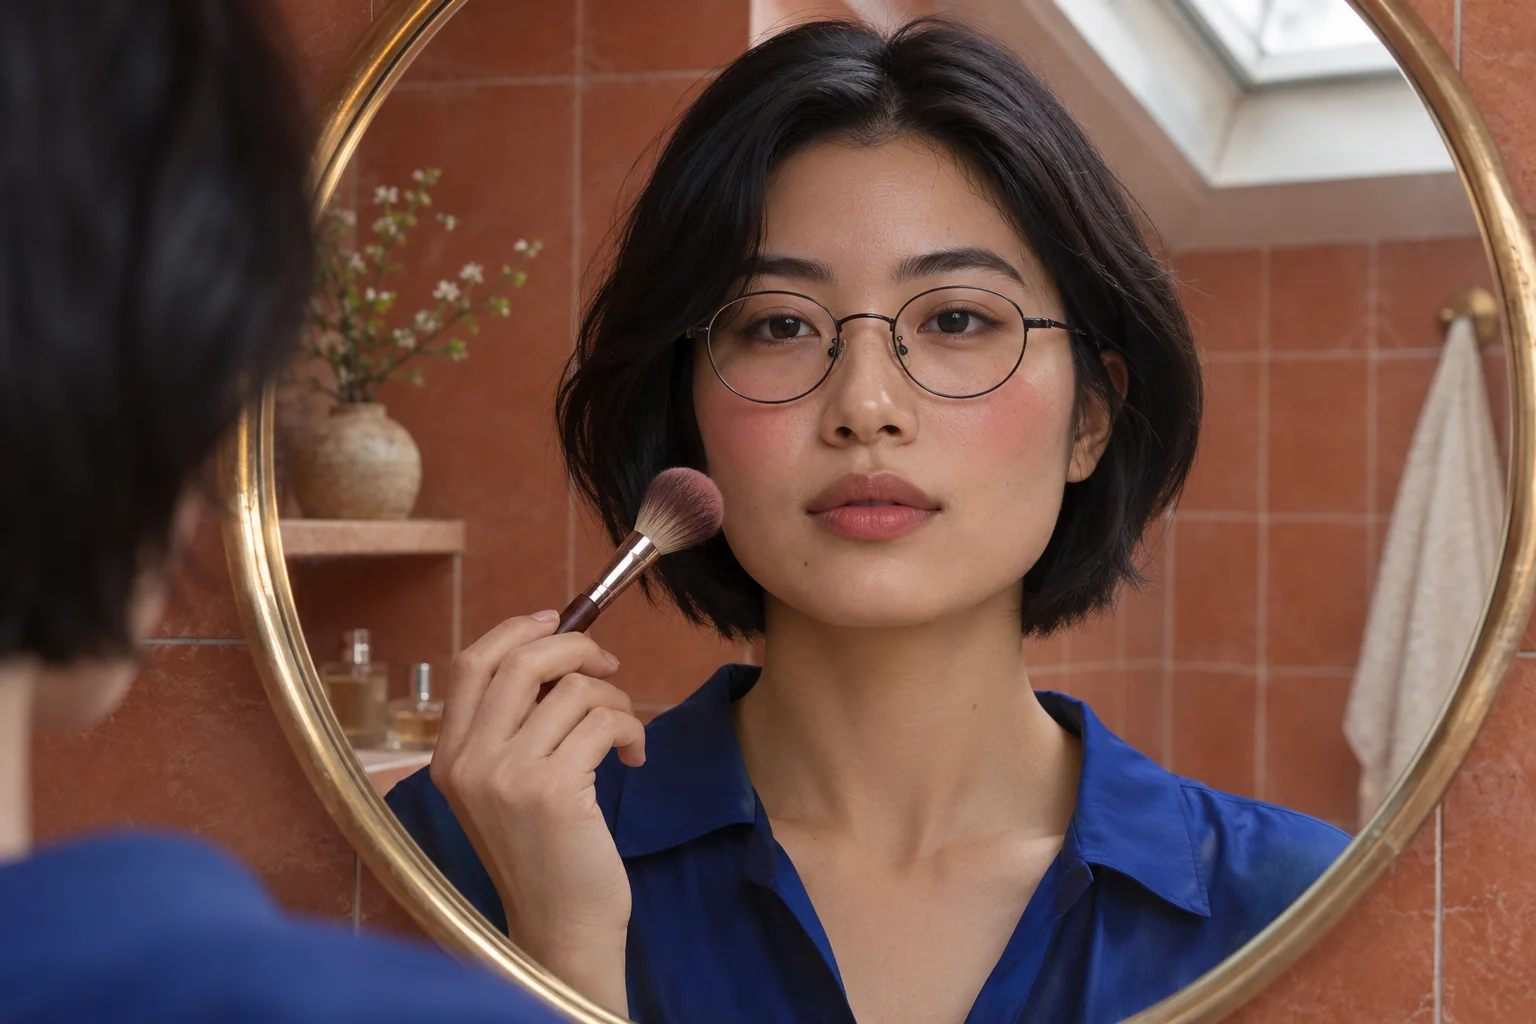
Blush with glasses can look even in a close mirror and almost disappear once you put your frames back on. The lower rim may cover the strongest part of the color. From the side, the frame can also make a sharply defined patch look like a second line. Before adding more blush, check whether a small change in position makes the color easier to see through ordinary head movements.
Compare two places with one pair of glasses: a soft patch visible below the lower rim and a patch of similar size visible beside the outer rim. MaqAI publishes this guide. Hair Muse is the app you can use to sketch the two choices on one clear photo and keep up to two useful references. You can run the entire comparison with your usual product and a mirror if reflections or rendering obscure the frames.
Blush with glasses starts with the lower rim
Put on the glasses you plan to wear. With your head upright, look for where the lower rim passes in front of each cheek. Then turn slightly and smile. Notice whether the edge simply hides the skin from this angle or whether the frame actually touches it when the cheek rises. Give both the contact area and the rim’s shadow a little space. A patch can sit close to the rim without copying its curve or touching the frame.
If your narrow frames leave plenty of cheek exposed, a modest shift below the rim may be all you need. If deep lenses cover most of the front of your cheeks, look for a visible area beside the outer corner of the frame. Keep the pair of glasses constant, especially if you alternate between thin metal frames and heavier ones. Different frames make this a different test.
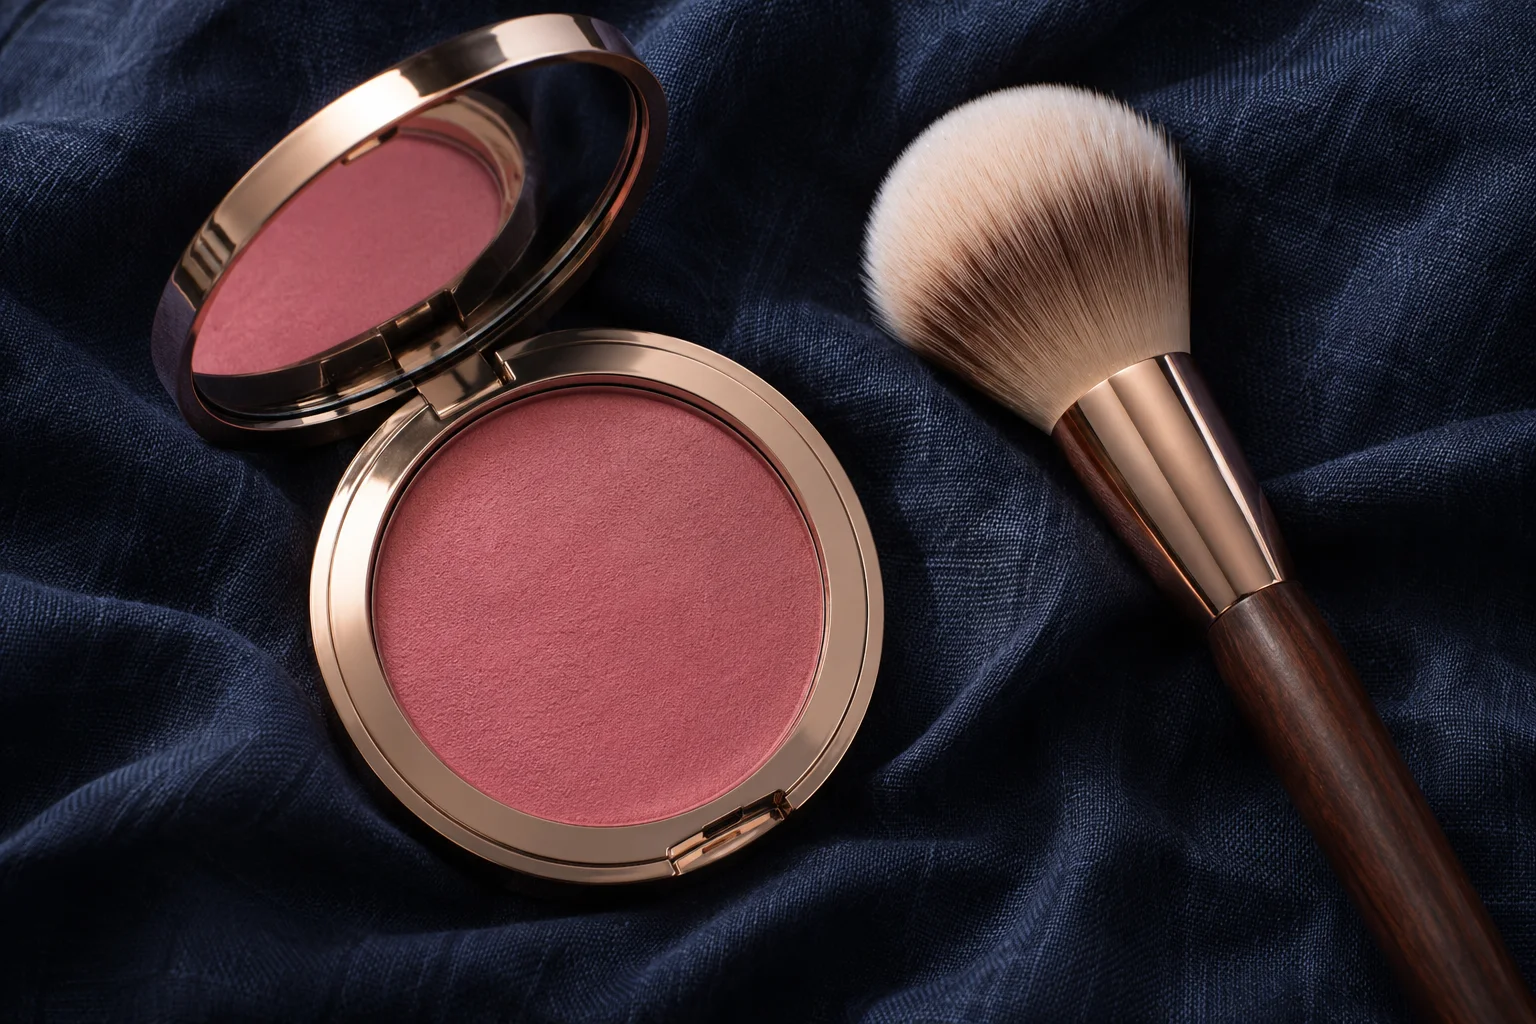
Choose one blush you already have and know how to blend. Keep the finish and the general intensity the same in both versions. A concentrated pink cream and a sheer peach powder would tell you very little about position on its own. If you have yet to decide on a formula, make that a separate choice with the cream versus powder blush guide, then come back to this comparison with one product.
Find two spots while your face is relaxed
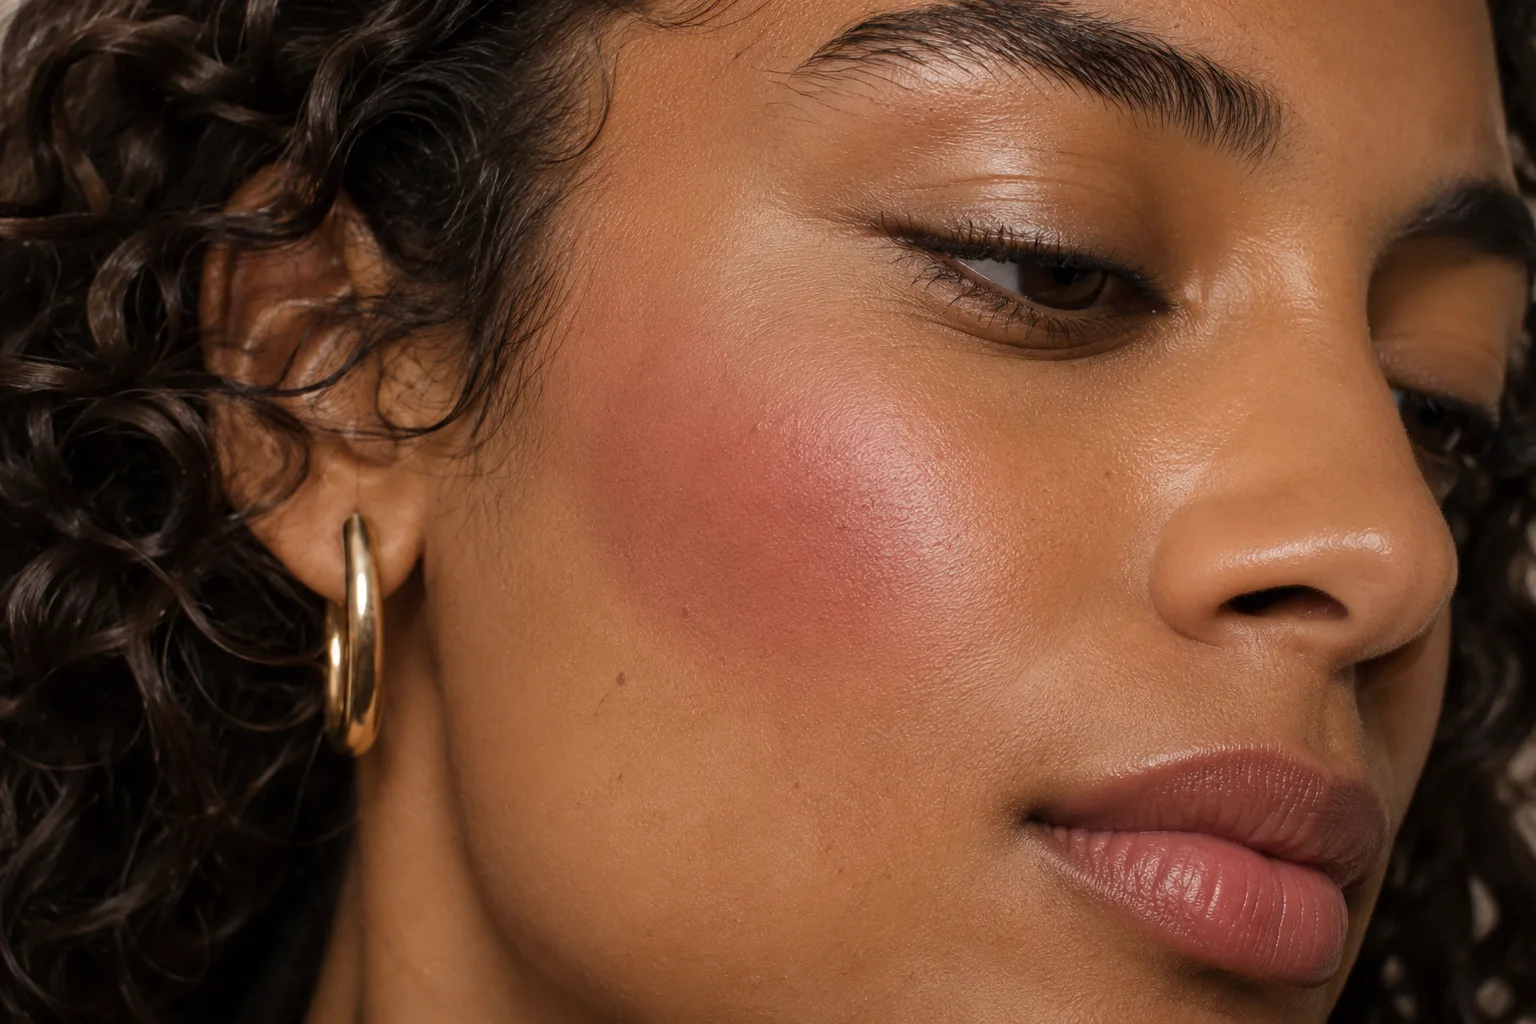
Turn toward a mirror with your shoulders lowered and your mouth resting naturally. A brief smile helps you locate the rounded cheek area, but relax again before deciding where the color should sit. In the centered version, the strongest color sits on the front cheek, with a clear gap before the side of the nose. The soft edge can spread out a little without meeting the under-eye area. Check from the side to see where the patch ends before it wraps around the face.
For the outer version, find the ridge of the cheekbone farther toward the ear. Place the center of your patch on the outside cheek, leaving some space at the temple and hairline. Keep the size close to that of the first option. If you sweep it into a long stripe, you've changed both the placement and the shape. The spots may overlap, particularly if you have a small cheek area. A modest shift is enough if it changes which part of the face catches your eye first.
Use a photo that gives both cheeks room
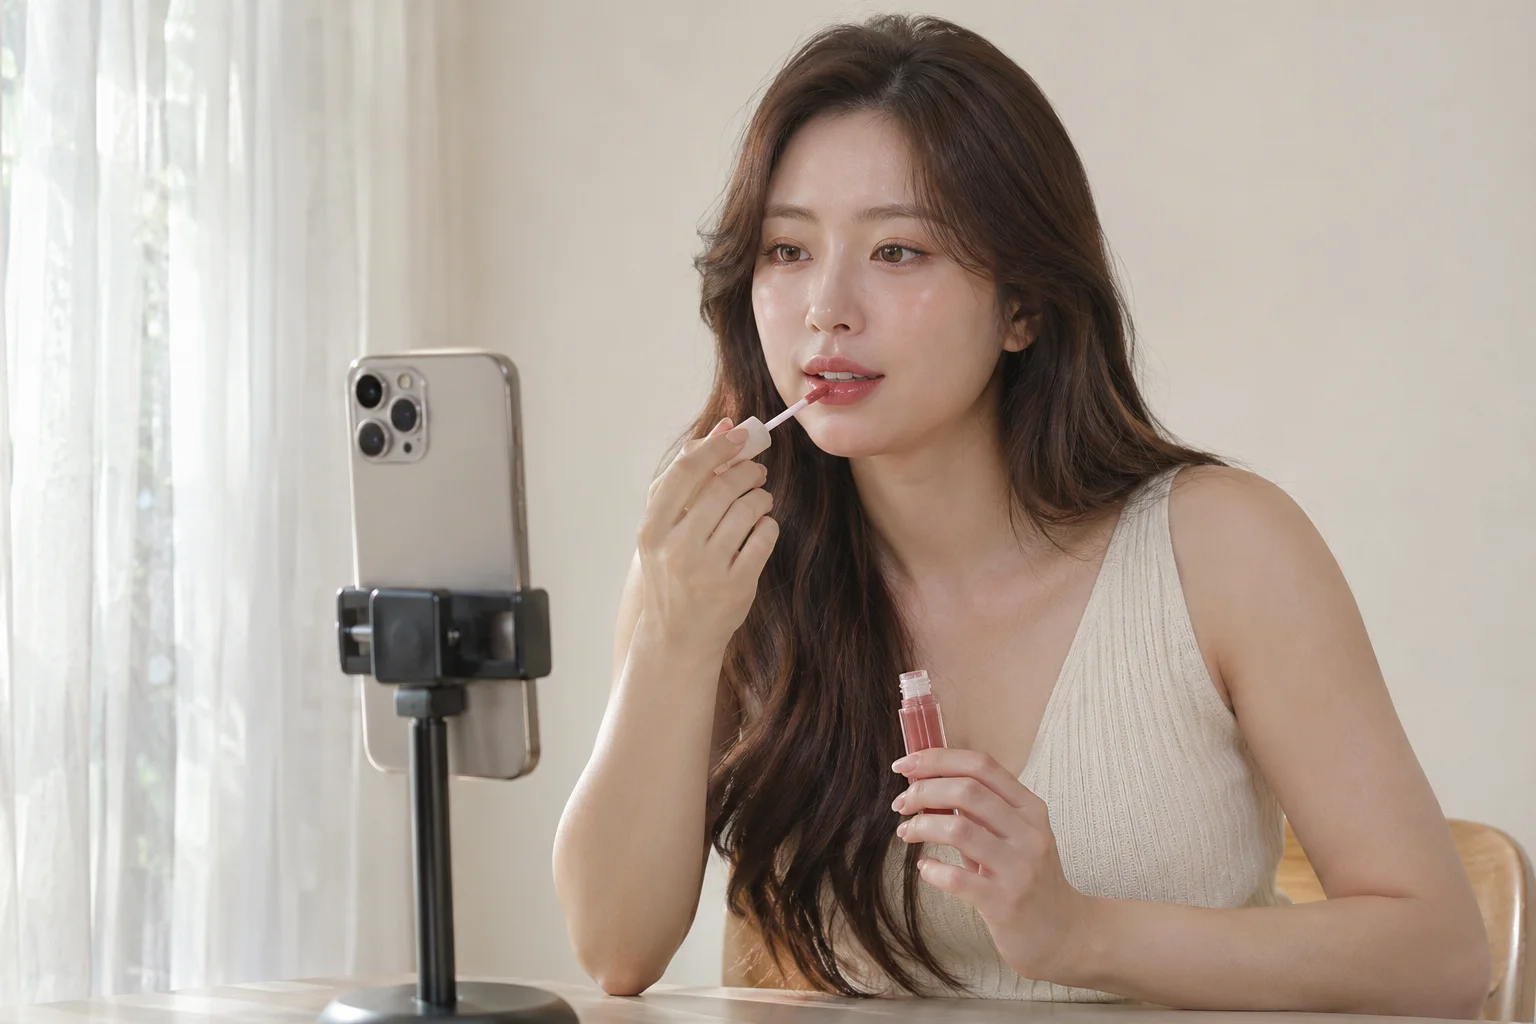
Set the phone at about eye level in soft, broad light. A sheer curtain can take the edge off direct sun. Sit where neither cheek disappears into shadow, and keep hair clear of the sides of the face. Frame the whole head with some room around it. A cheek close-up makes it difficult to judge how the color sits next to your mouth and eyes. Take the photo with the expression you usually have at rest, using the same basic makeup you want to wear with the blush if possible.
Look at the photo before you start. If glare is hiding the outside cheek, turn your chair a little and take a new baseline. For a second opinion from a three-quarter view, take that photo now and treat it as a separate baseline. Compare both placements on each individual photo. Differences between two camera angles can look like changes in placement even when the makeup is identical. The selfie setup guide explains how to fix light and framing before you start comparing.
Keep your glasses on for the baseline photo so you can see where the rim really falls. Check that both rims are visible and reflections do not cover the nearby cheek. If the app changes the rim, hides a lens or invents a patch of color on the glass, do this part in the mirror. A second portrait without glasses can help you plan where the brush lands, but you will need to put the real pair back on to judge visibility.
Compare two directions on the same image
In Hair Muse, work from the same clear portrait when you try each direction. Look for a preview with blush concentrated on the front of the cheek and a second with the concentration farther out. Choose two results with approximately the same amount of visible color and similar edges. Leave the nose, lip and eye makeup alone. If a preset adds gloss, changes the lashes or retouches the cheek contour in one version, it introduces changes that can tip your preference even if the blush position itself makes little difference.
Use the original portrait as a reference each time. In the first result, locate the center of the color, rather than the lightest bits around the edge. Find the corresponding area in the second result. If both centers sit in essentially the same place, the pair does not answer your question. Likewise, if the app cannot produce comparable versions with your photo, keep your original as a reference and do the placement test with your usual blush. There is no need to save a series of variations that do not help you choose where to start the brush.
Save the useful pair and explain your preference
View the two options at the same scale. In the first few seconds, where does your eye land? Try the comparison again after looking away, switching which image you see first. Check whether you still favor the same version when you look at the full face. If a small color difference distracts you at close range but disappears at ordinary distance, it is probably a poor reason to choose one position or the other.
Save up to two clear references if useful, with short notes that tell you what to reproduce. A note like “color visible from the front, edge stays clear of my nose” is more useful than “this one looks better.” For an outer choice, you might write “shows on a slight turn and leaves space around my lip color.” Keep any uncertainty in the note. For example, if one side of your face has natural redness, the photo may make it hard to separate blush from the skin underneath. Check that specific area with product before you rule out either placement.
Recreate the first placement with your own blush
Use the brush, sponge or finger technique that works with your product. Start with a small amount and put the first touch where you want the strongest color. For powder, use the same brush and roughly the same pickup on each side. With a cream or liquid, use the same transfer method and follow the product instructions. Tap or blend outward from the first deposit without repeatedly crossing the whole cheek. You can lose the comparison if the pigment migrates so far that both versions cover exactly the same space.
Bring both cheeks to about the same visual intensity before you stop. One cheek can take color differently from the other because of your base or the way the light hits. Look straight ahead between passes instead of correcting each side while your head is tilted. If an edge needs work, soften that edge with a clean tool before adding pigment. Keep the first result light enough that you can judge where the color sits without the entire face reading as more heavily made up.
Test the second placement with an equivalent base
Two full-face trials are easiest to read. If you want to compare on the same day, use the removal method you normally use for the blush and restore the base wherever it came off. Start fresh on another day if removal leaves uneven coverage. Photograph both versions in the same place, around the same time if possible, with the same expression and lighting. One version on each cheek is a quick way to see where the product lands, but natural asymmetry and light direction can steer the result. Use a full-face pass to confirm the favorite.
With the second placement, put that first small touch farther out along the cheekbone. Keep the amount similar and use the same motion to soften the edges. If color seems to disappear when you face forward, turn slightly before adding more. The front view may simply show less of the patch. If you need to bring the color forward for it to register, move the center only a little and note the adjustment. That revised position can be more practical than either of your first references.
Review both placements where you will wear them
Stand an arm's length or more from the mirror. Check soft daylight and the light you are likely to spend time in, such as an overhead office light or a warm lamp. Talk, smile and turn your head. If your glasses catch the color at their lower edge, put them on for the check. If you usually push your hair behind one ear, do that too. These small movements reveal whether the blush stays easy to read as part of the whole look.
A digital preview can suggest where a patch of color might sit. It cannot establish the exact shade, product texture, how a formula will change on skin, how long it will wear, whether your skin will react or what the final makeup will look like. Judge these things with your actual product and experience. If both placements are convincing, choose the one you can repeat quickly on a normal morning. For example, a finger can be an easier landmark than a bathroom mirror lit from one side: remember where the first tap goes relative to the cheekbone, and use your mirror to assess the finished edge.
Look at the lower rim in daylight and at conversational distance. If your eye follows a parallel stripe under the frames, soften the upper border of the patch first. If the patch gets covered every time you smile, return to the outer option or move the center a little down within the visible cheek area. If the frame makes physical contact and picks up pigment, clean the frame as its manufacturer advises and keep the next deposit clear of the contact point.
Keep a note you can use tomorrow
Write down the product, the first point of contact and one boundary that matters. For the centered patch you might note that the color begins on the soft front of the cheek and fades before the nose. For the outer patch you might note that the color begins over the outside of the cheekbone and ends before the hairline. Add the light where you made the final decision if it differs from the light in your photos. This gives you a practical way to reproduce what you liked without having to open a saved image every time.
If neither version worked, write down what the frames hid and adjust one detail in the next trial. A reference is worth keeping when it tells you where the brush should land with this pair of glasses.