Occasion makeup
Makeup for a black dress: build the full look
Let the dress, jewelry and actual light guide three controlled makeup directions before you commit to products.
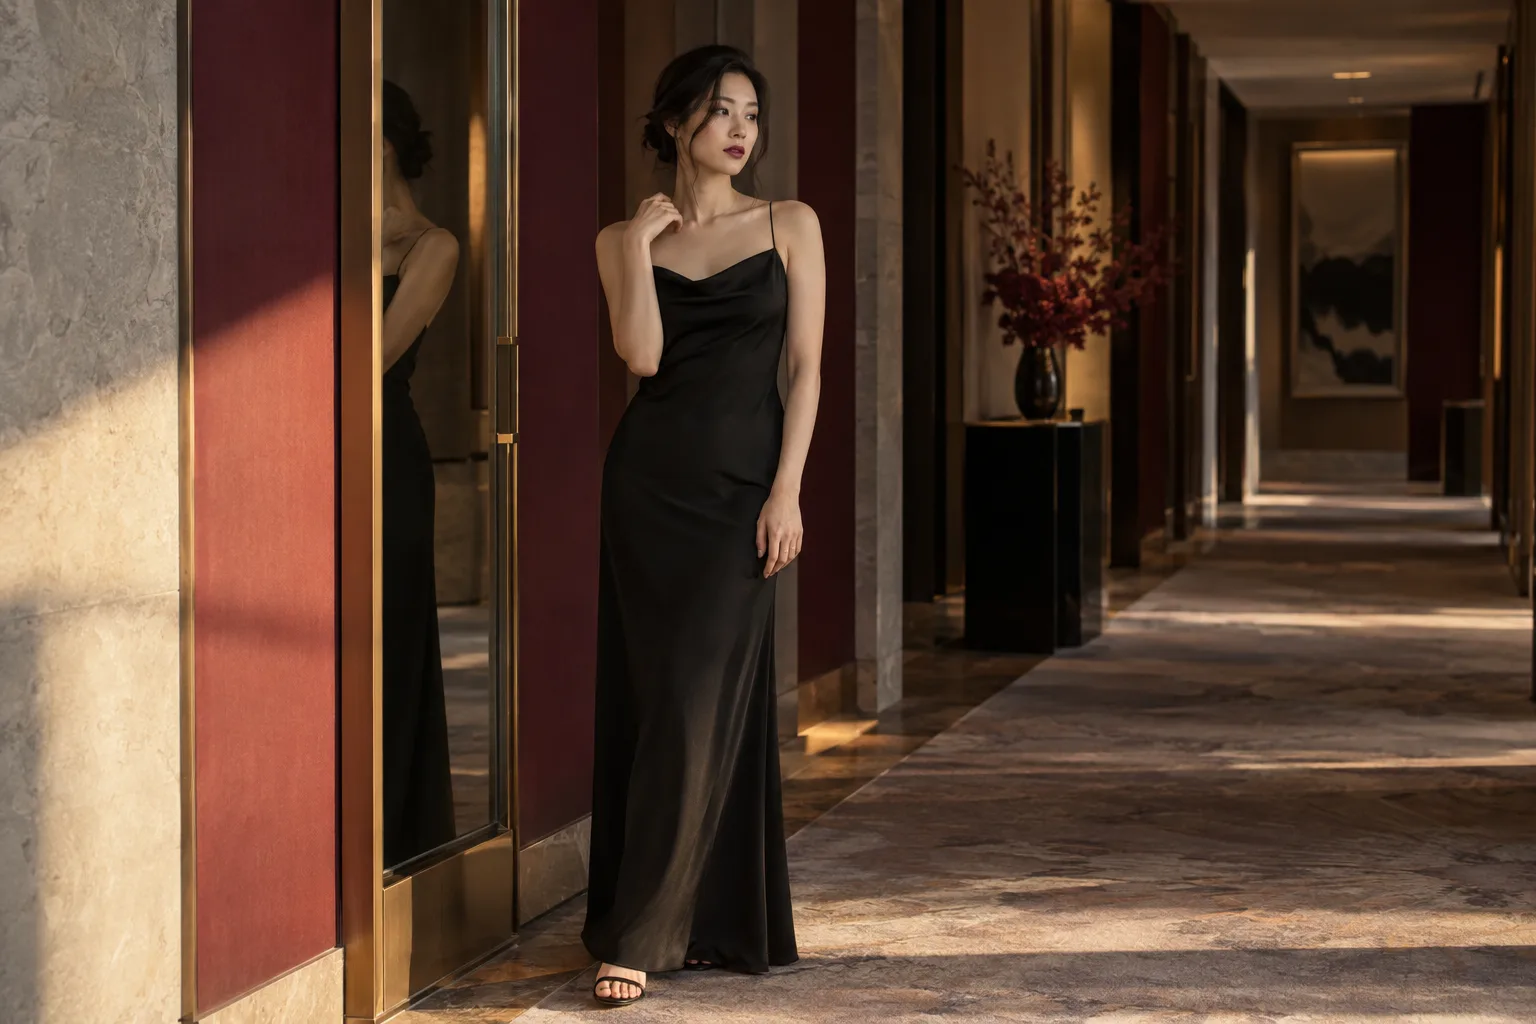
Makeup for a black dress is easier to choose when you treat the dress as part of the picture, not as a command to wear a particular lipstick. Black fabric can make a soft lip seem quieter, a sharp liner seem stronger, and a high-shine finish more noticeable. But the result also changes with your skin, the neckline, metal or stones near your face, and the light where you will actually be seen. A look that works in a close-up selfie may feel disconnected when the complete outfit appears in a mirror.
Start with one clear photo, the actual dress and two or three deliberate directions. MaqAI can help you preview relative color placement and compare those directions on the same face. It cannot tell you the exact shade in a tube, how a formula will feel, or how it will last. This guide moves from outfit details to controlled visual comparisons, then to a real-product rehearsal. The goal is a look you can recognize and comfortably wear, not a rigid rule about dark clothing.
Read the dress before opening a makeup bag
Lay out the dress, shoes and the jewelry you expect to wear. Look at the fabric in broad daylight: matte cotton, dense crepe, glossy satin and sequins all reflect light differently. A plain matte dress may leave room for a brighter lip or reflective lid. A shimmering dress already provides movement, so another sparkling surface near the face may compete with it. This is a balance you can adjust, not a rule that forbids shine. Photograph the outfit from a normal standing distance and notice which element catches your eye first.
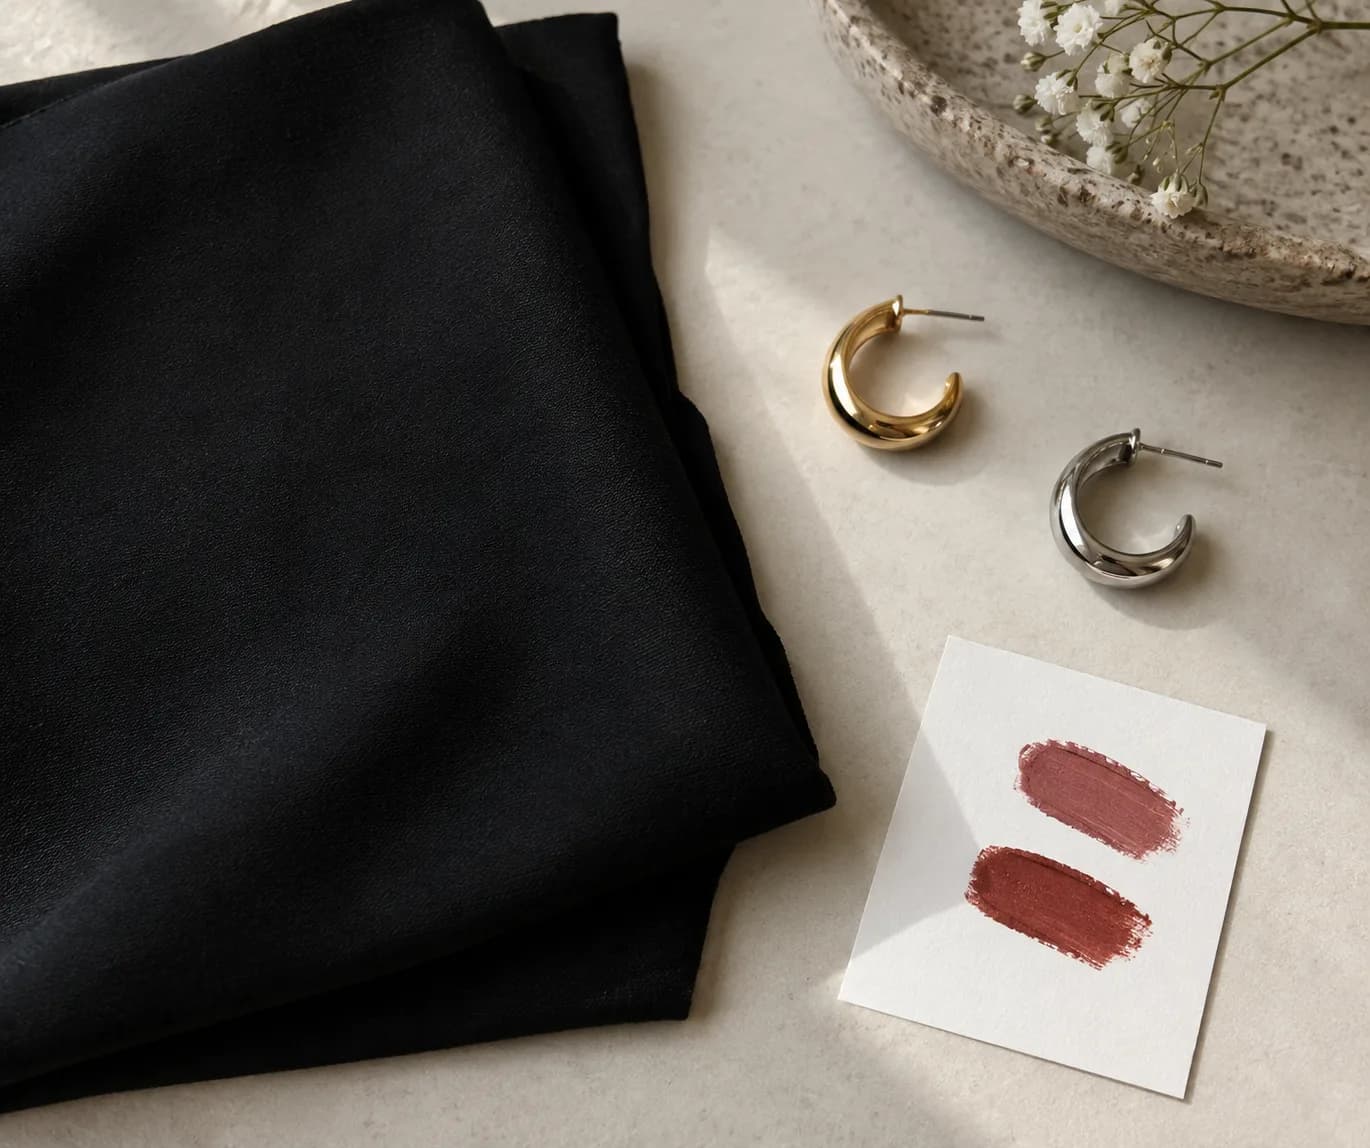
Next consider the neckline and what sits close to your face. Large gold hoops, silver earrings, a colored necklace, a scarf and bare shoulders create different frames for blush and lip color. You do not have to match a lip to a metal. Instead, identify whether the jewelry looks crisp, soft, warm or cool beside your complexion; use that observation as a starting direction. If the dress has a bright lining or embroidery, include it. A black dress is rarely the only visible color in the complete outfit.
Choose the effect you want at conversation distance
Make three short descriptions before selecting colors: perhaps clean and quiet, polished with a defined lip, and softly dramatic around the eyes. Those descriptions are more useful than labeling one look universally flattering. Stand about a meter from a mirror while wearing the dress. If your eyes disappear at that distance, definition around lashes or brows may matter more than another cheek shade. If your lipstick becomes the only thing you see, you might soften its edge or rebalance the eye rather than discard the color.
Consider the occasion separately from the outfit. The same dress may go to a daytime gallery opening, a formal dinner or a night of dancing. Length of wear, meal plans, humidity and photo conditions affect which finish is practical. You can absolutely wear a dark eye and a strong lip together; doing so intentionally means checking the combined contrast from farther away. If you prefer restraint, keep one area prominent and let the others support it. Neither choice is more correct than the one that feels like you.
Prepare a photo that makes comparison fair
For an app-assisted comparison, take a front-facing portrait in soft neutral light with your eyes, brows, cheeks and lips visible. A plain background, relaxed expression and sharp focus help you judge placement. Remove beauty filters that smooth skin or change face shape. Wear the dress, or hold its neckline below the face if changing into it is impractical. Keep jewelry in the frame when it will be part of the finished look, but do not let hair or earrings cover the cheek or eye you want to compare.
Save one source image and keep using it for the entire first round. If you alternate between a window photo, an overhead bathroom shot and a warm restaurant selfie, a color shift may come from the camera rather than the makeup. Make a separate full-length outfit photo for your own reference; a face preview alone cannot show the full silhouette. Follow MaqAI's in-app disclosure when selecting a portrait for processing, and use images you have the right to submit. A clear input gives the visual test a fair start, not a promise of product accuracy.
Compare makeup for a black dress one variable at a time
Begin with a baseline that resembles your normal makeup. In MaqAI, keep the same source portrait and compare three practical directions: a soft eye with a muted rose lip, a defined eye with a subdued lip, and a restrained eye with a deeper berry or red lip. The colors are examples, not a mandatory palette. Use the same crop and viewing size, then ask which version works with the neckline and jewelry. Save or describe the useful version so you can recreate the idea with products you own.
For a second round, change only the feature that seems unresolved. If the lip feels too heavy, compare nearby depths while holding eye shape and cheek placement steady. If the eye disappears against bold earrings, adjust liner or lash definition without changing the lip. Do not infer exact undertone from a rendered image; screens, camera white balance and synthetic texture can alter color. Treat the preview as a map of relative emphasis. The meaningful test is whether you can reproduce that emphasis on your face under your real light.
One portrait, three distinct directions, then one smaller adjustment to the most promising look.
Pick a lip color beside the fabric, not from memory
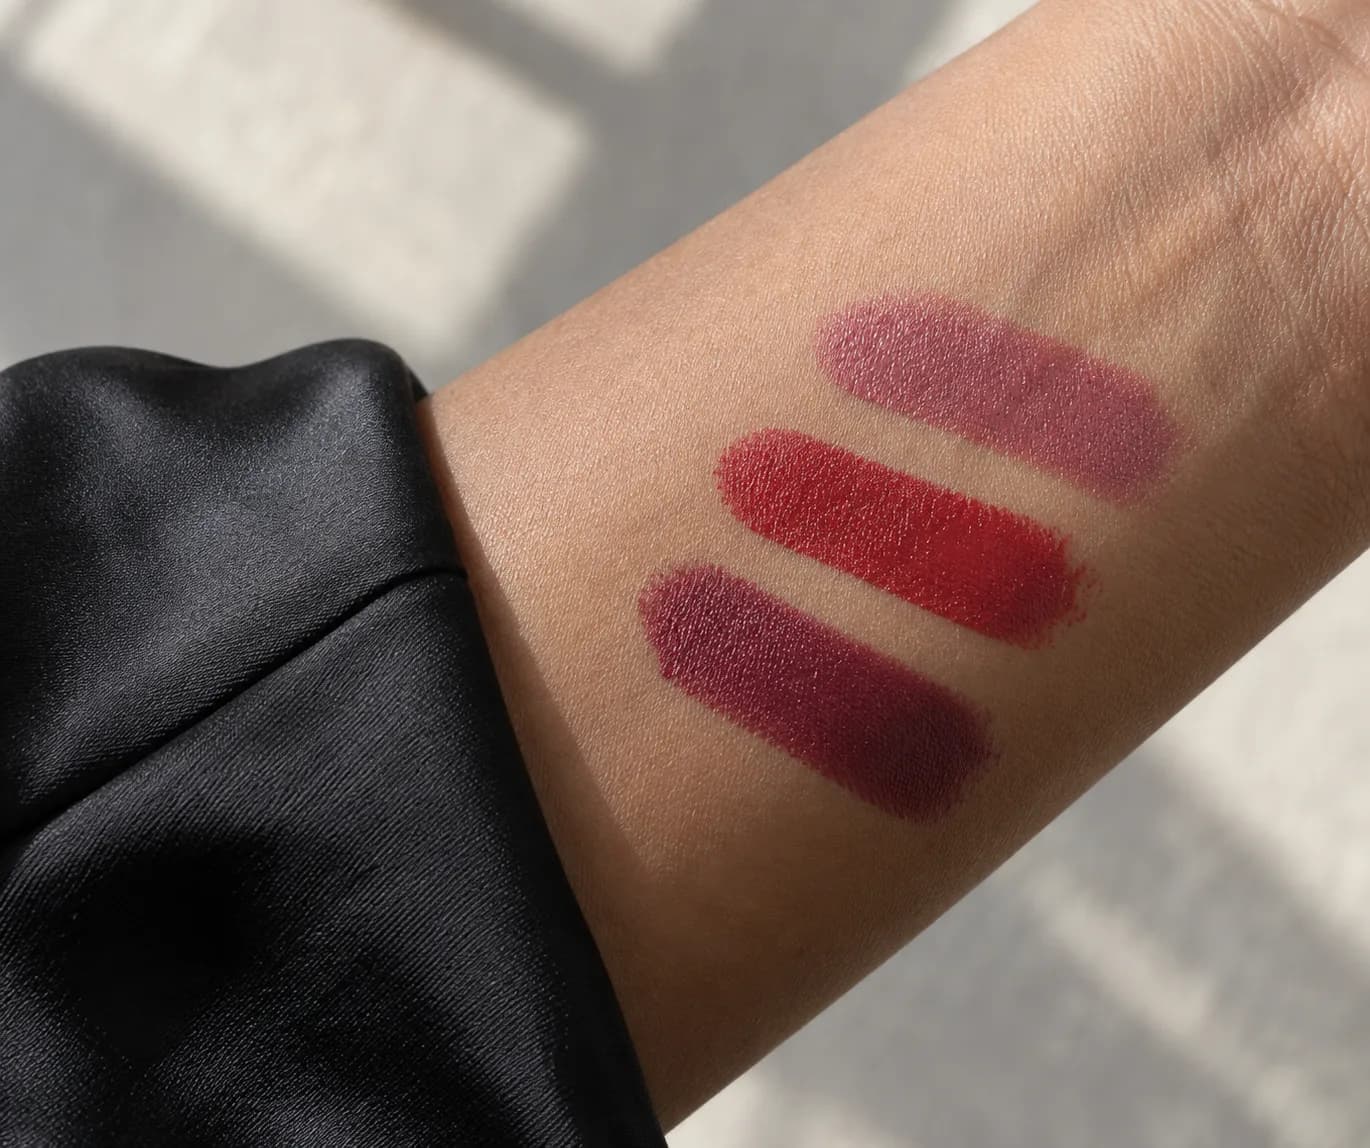
A black dress can sit beside a sheer balm, a brown-rose, an orange-red, a blue-red or a deep berry. The useful question is what each does with your complexion and the other colors near your face. Test two or three candidate products on your actual lips if possible. An arm swatch shows depth and finish but cannot fully predict how the color combines with your natural lip tone. Compare in daylight first, then at the venue or under similar evening light. Photograph at the same distance so one close-up does not unfairly favor a precise edge.
Check texture as well as color. A glossy lip draws reflected light and may need more attention after eating; a matte lip can look more graphic but may feel dry depending on the formula. Blot once, smile, speak and drink water during a short rehearsal. If color gathers on dry areas, prepare the lips gently and try a thinner coat rather than stacking more pigment. If the lip is the focal point, keep the edge tidy enough for your preference; perfection at extreme magnification is not necessary at normal distance.
Coordinate blush and lip color without making them identical
Build eye and cheek definition to support the face
If the dress and jewelry make the lower half of the portrait feel heavy, lift attention with a clearer lash line, shaped brows or a soft wash across the lid. Taupe, brown, plum, charcoal and bronze can all work; the result depends on your coloring and the contrast you want. Start with a thin line or one wash, open your eyes and judge the visible shape. A smoky eye need not mean opaque black shadow to the brow. It can be a short gradient near the lashes that reads as depth from conversational distance.
Blush keeps the face from becoming only fabric, hair and lipstick. Use a small amount on the area that naturally becomes visible when you smile or turn, then check the complete look. A very cool cheek beside a warm lip might feel deliberately editorial or accidentally disconnected; your comparison decides which. Highlight only where reflection serves the outfit. If the dress or jewelry already sparkles, a restrained cheek sheen may be enough. Layer cream and powder only if your skin and the products benefit from it; a preview cannot predict how those layers wear.
Check daylight, venue light and phone exposure
Light can change the apparent relationship between lipstick, blush and a black garment. In a bright window, you may see distinctions among berry, brick and brown-rose that collapse under warm lamps. A phone may brighten the face and turn the black dress gray, or expose for the dress and make skin look darker. Before rejecting a shade, look in a mirror and take a second photo under the light where you expect to spend time. Compare the actual products, not only the preview, and keep the camera angle steady.
Take one face photo and one waist-up or full-length photo. The first shows edges and placement; the second shows whether the whole ensemble feels balanced. Turn slightly as you would when talking, because earrings, necklines and cheek sheen change with angle. If flash photos are likely, take a test shot with the camera you expect to use. Watch for unexpectedly pale powder or a shiny center of the face. Do not over-correct from a single auto-exposed image; several views and your own mirror observation offer a more reliable practical judgment.
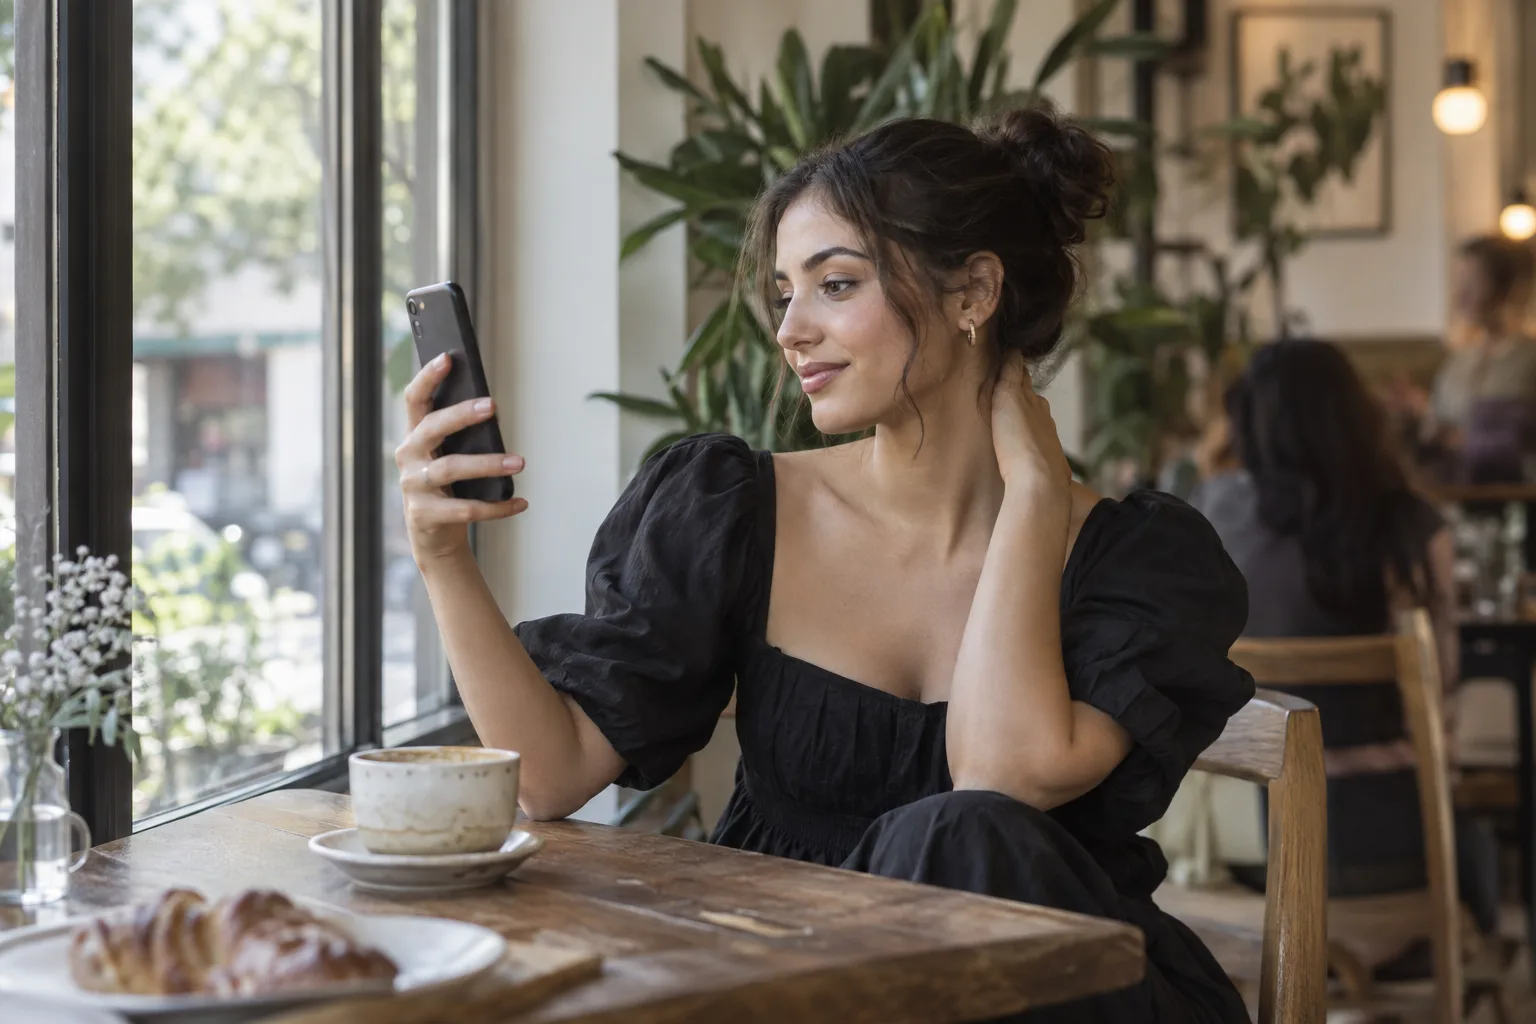
Rehearse the complete look before the event
Apply the selected direction with your own products at least once before a high-stakes occasion. Put on the dress and jewelry, style your hair roughly as planned, and wear the makeup for the hours that matter. Note when lipstick transfers, liner softens or cheek color fades. A visual plan is successful when it helps you choose a direction; the wear rehearsal decides whether the products and routine are practical. If the chosen lip takes too much maintenance, try a softer depth or a different formula rather than replacing the whole face.
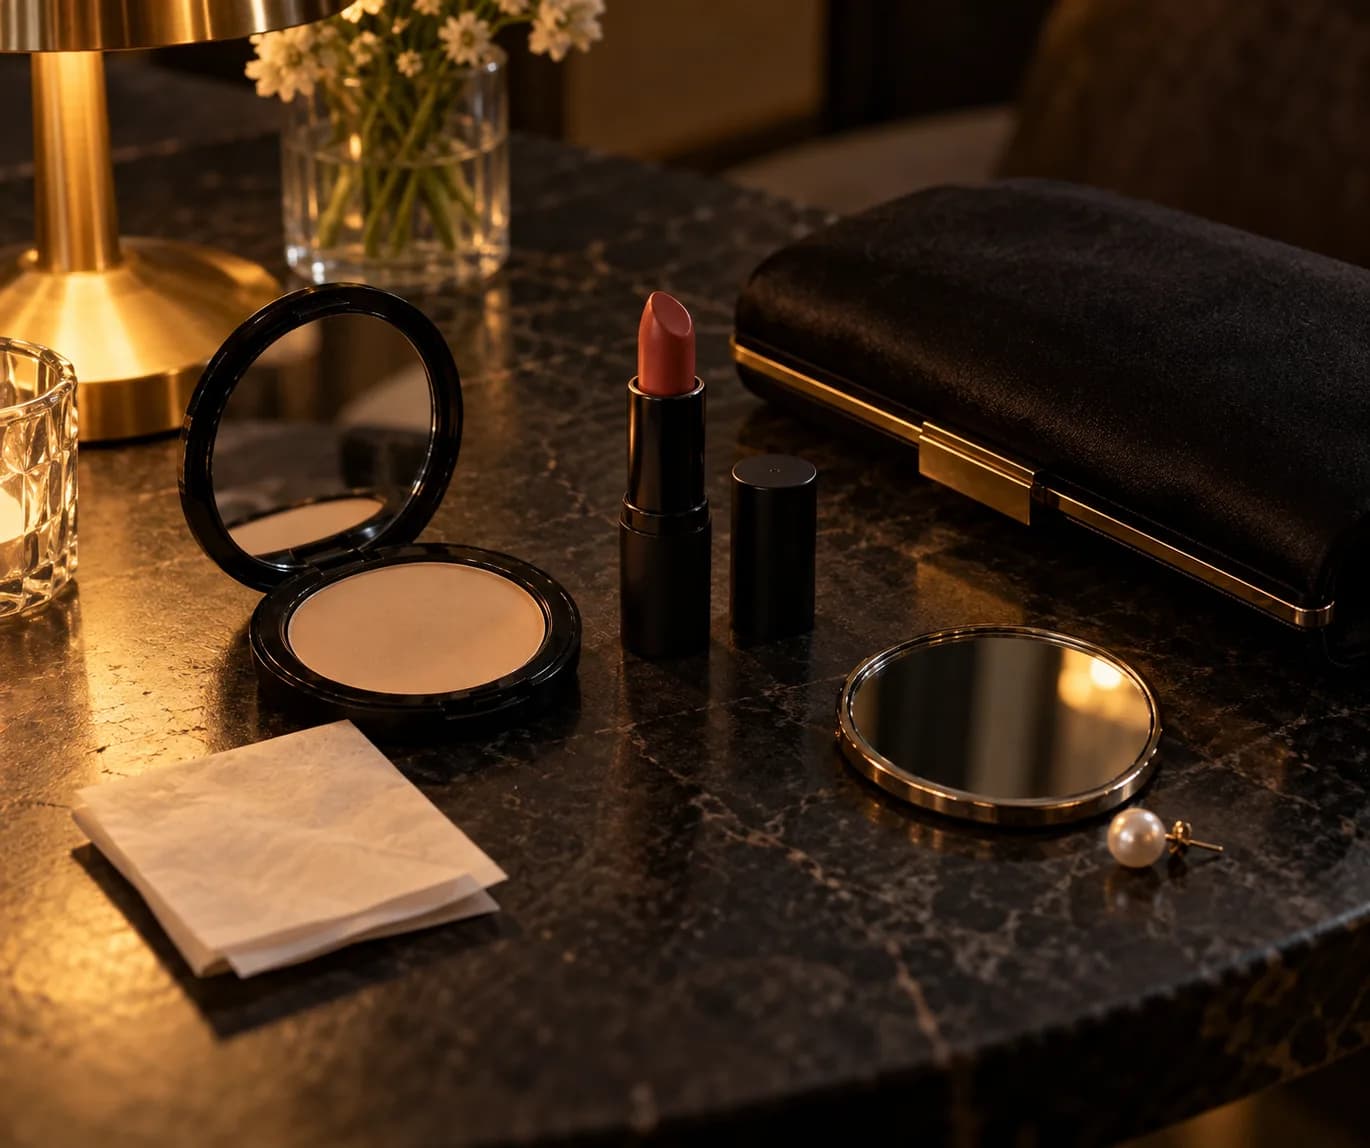
Keep a small touch-up kit tailored to the first real change: perhaps your lip color, a clean tissue, blotting paper and a compact. Do not carry five backup palettes for problems that never occurred. Right before leaving, check the look in normal light from two distances, then stop adjusting. MaqAI may help you decide where to place color, but it cannot test oxidation, skin response, texture in motion or durability. The finished look belongs to you and the products you actually wore, not to the prettiest preview on the screen.