
Lip makeup technique
Make lipstick last longer without heavy layers
Diagnose where color disappears, then build a thin, comfortable lip routine that survives ordinary talking, drinking and a realistic meal.
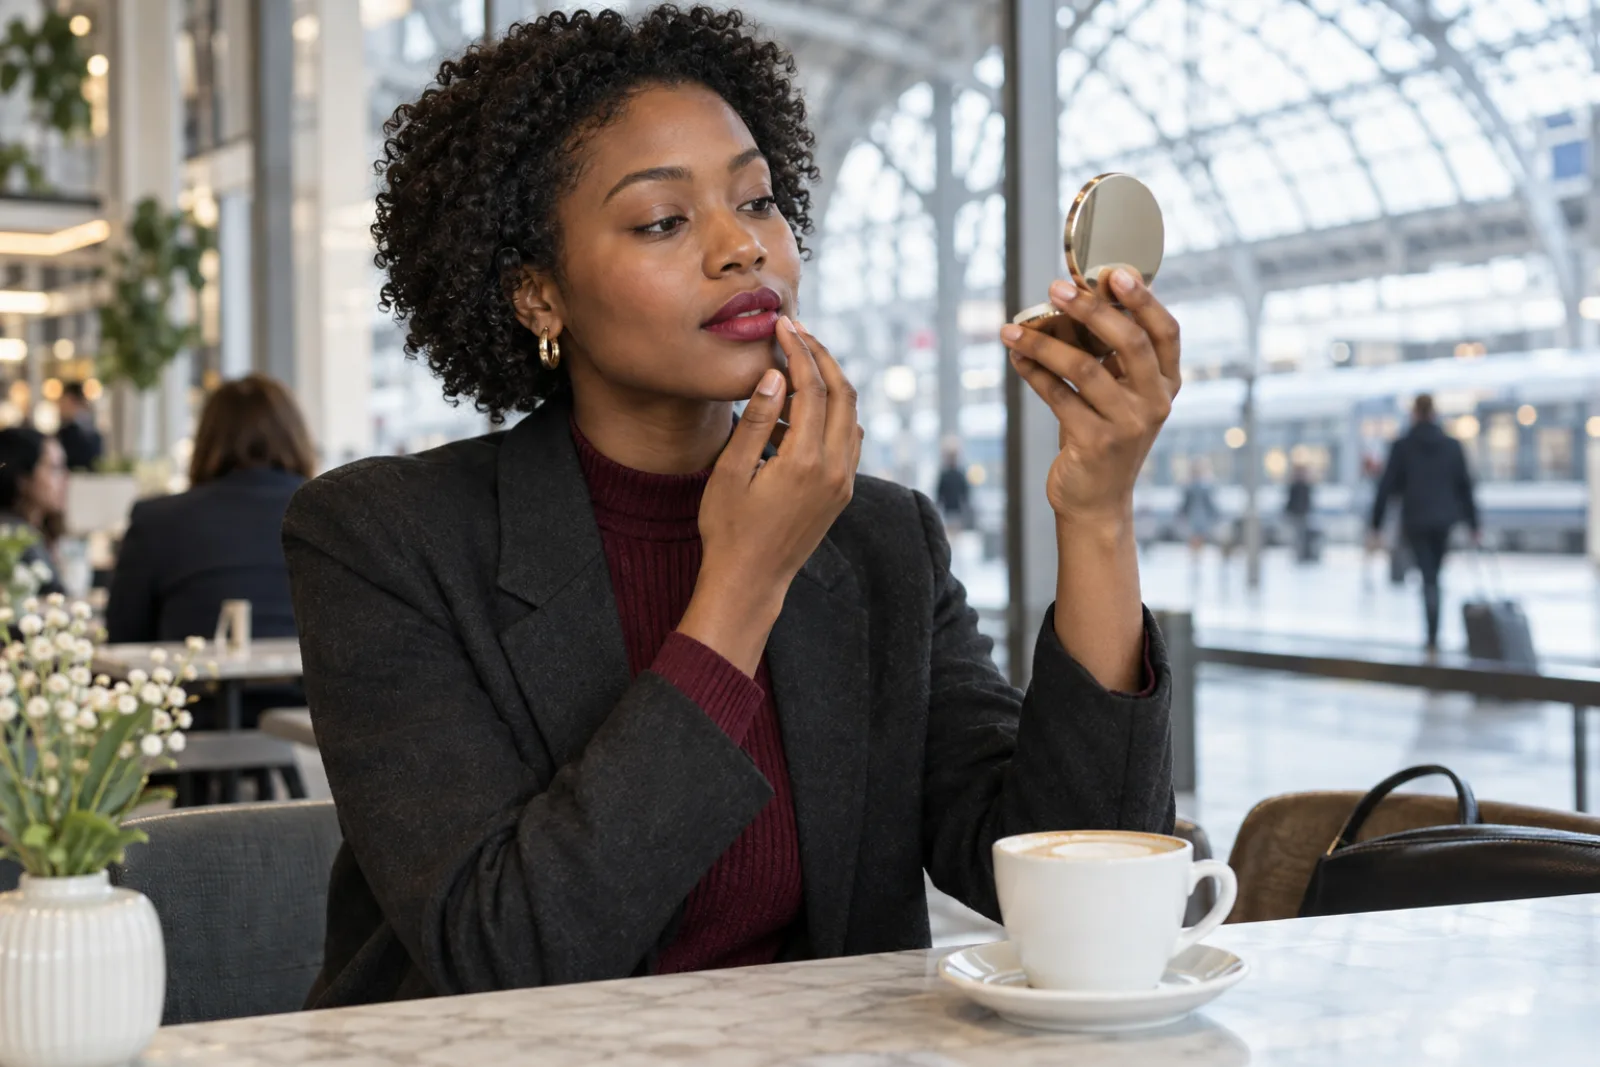
To make lipstick last longer, begin by finding out where it actually disappears. Some formulas fade evenly, while others leave a strong outline, collect on dry patches, move onto cups or vanish first from the center after food. Those are different failures and they do not need the same fix. A thick coat may look saturated for ten minutes yet move more easily because there is more emollient product sitting on the lips. A better routine uses a smooth but not slippery surface, a controlled amount of pigment and one honest wear test.
This guide works with the lipstick you already own. It separates preparation, pencil, color, blotting, setting and touch-up so you can change one factor at a time. No lipstick is unaffected by every meal, drink or habit, and comfort matters as much as a perfect edge. The goal is graceful, predictable wear: color that fades more evenly, remains comfortable and can be repaired without turning dry or bulky. Start with one familiar formula before deciding that you need a different product category.
Map the wear before changing your lipstick routine
Apply your usual lipstick as you normally would and take a clear photo in neutral light. Check again after one hour of talking and drinking, then after a typical meal. Look at the inner rim, center, corners, upper-lip peak and outer border separately. If the center is bare but the outline remains, food and lip movement are probably the main stress. If color gathers on flakes, the surface needs gentler preparation. If the whole layer slides onto the first cup, there may be too much balm or lipstick above the lip rather than bonded pigment.
Also notice what you do unconsciously. Pressing the lips together repeatedly, licking them, rubbing them with a napkin and drinking from the same part of a cup all change wear. Record the situation rather than calling the formula bad. A creamy bullet, soft matte, stain and gloss are designed to behave differently. Choose the result you actually need: a comfortable workday color, a crisp event lip, a soft stain after lunch or a high-shine look that you expect to reapply. Longevity without a finish target is too vague to troubleshoot.
Prepare smooth lips without leaving a slippery film
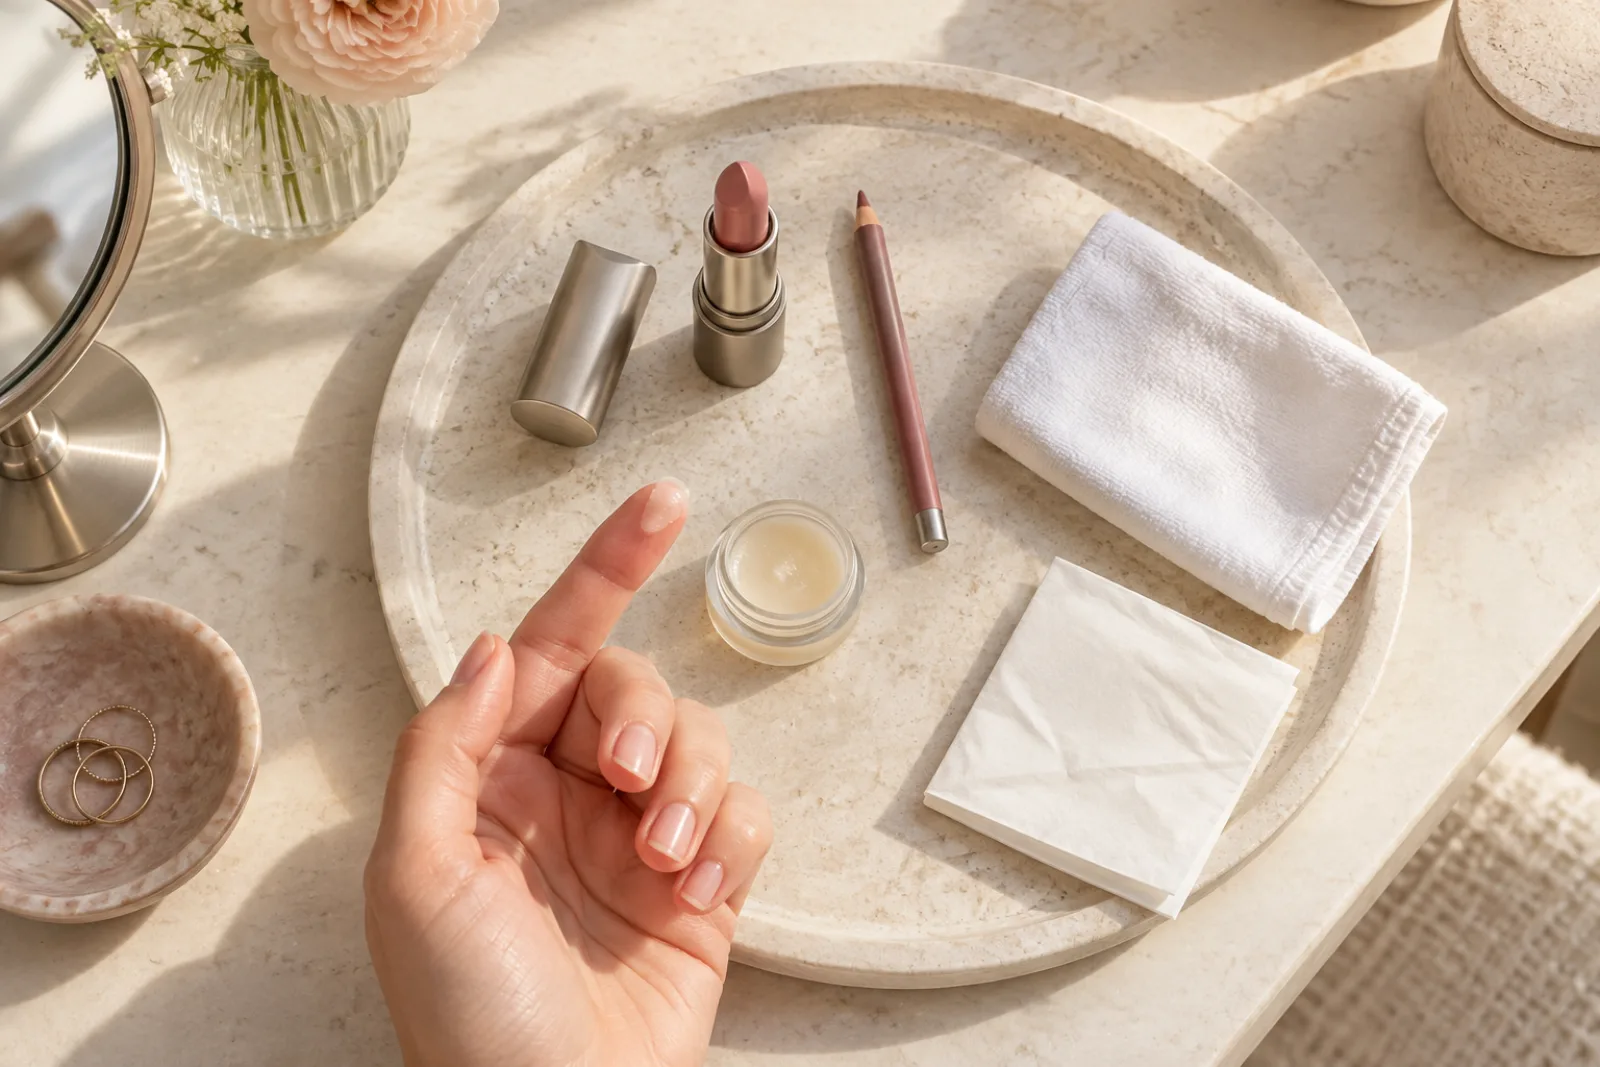
Condition dry lips earlier in the routine, then remove visible excess before adding color. A thin layer of plain balm can soften the surface while you finish the rest of your makeup. Press with a clean tissue before pencil or lipstick so the lips feel flexible but not glossy. The American Academy of Dermatology recommends non-irritating lip care and avoiding habits such as licking chapped lips. Persistent cracking, pain or bleeding deserves professional advice rather than aggressive scrubbing or another layer of pigment.
Do not sand away every natural line. Lips have texture, and harsh scrubs can leave them tender just when a long-wear formula needs an intact surface. If there is a loose flake, soften it and wipe gently with a damp cloth instead of pulling it. Avoid trying several unfamiliar plumping, fragranced or strongly flavored products on the same day as an important event. A calm, familiar base makes it easier to tell whether the lipstick itself feels dry, stings or wears unevenly.
Use pencil where structure and fading need support
Lip pencil can create a thin pigment anchor, but it does not need to become a hard ring. Choose a pencil close to the lipstick or to your natural lip depth. Trace the natural border with light, short strokes, then shade slightly inward at the corners and along the areas that fade first. If your lipstick routinely leaves an outline, soften the pencil over more of the lip instead of making the perimeter darker. The center can remain lighter so the final result does not feel thick or tight.
A pencil also helps you separate edge control from wear in the center. If the border stays clean but the middle vanishes, adding more outline will not solve the real problem. If the edge feathers into fine lines, use less emollient product near the border, keep the line fine and blot once. The existing guide about lipstick bleeding focuses on migration beyond the lip; this routine focuses on loss of color during normal wear. Treat those as related but distinct questions so you do not overcorrect the whole mouth for one small zone.
Make lipstick last longer with two thin color passes
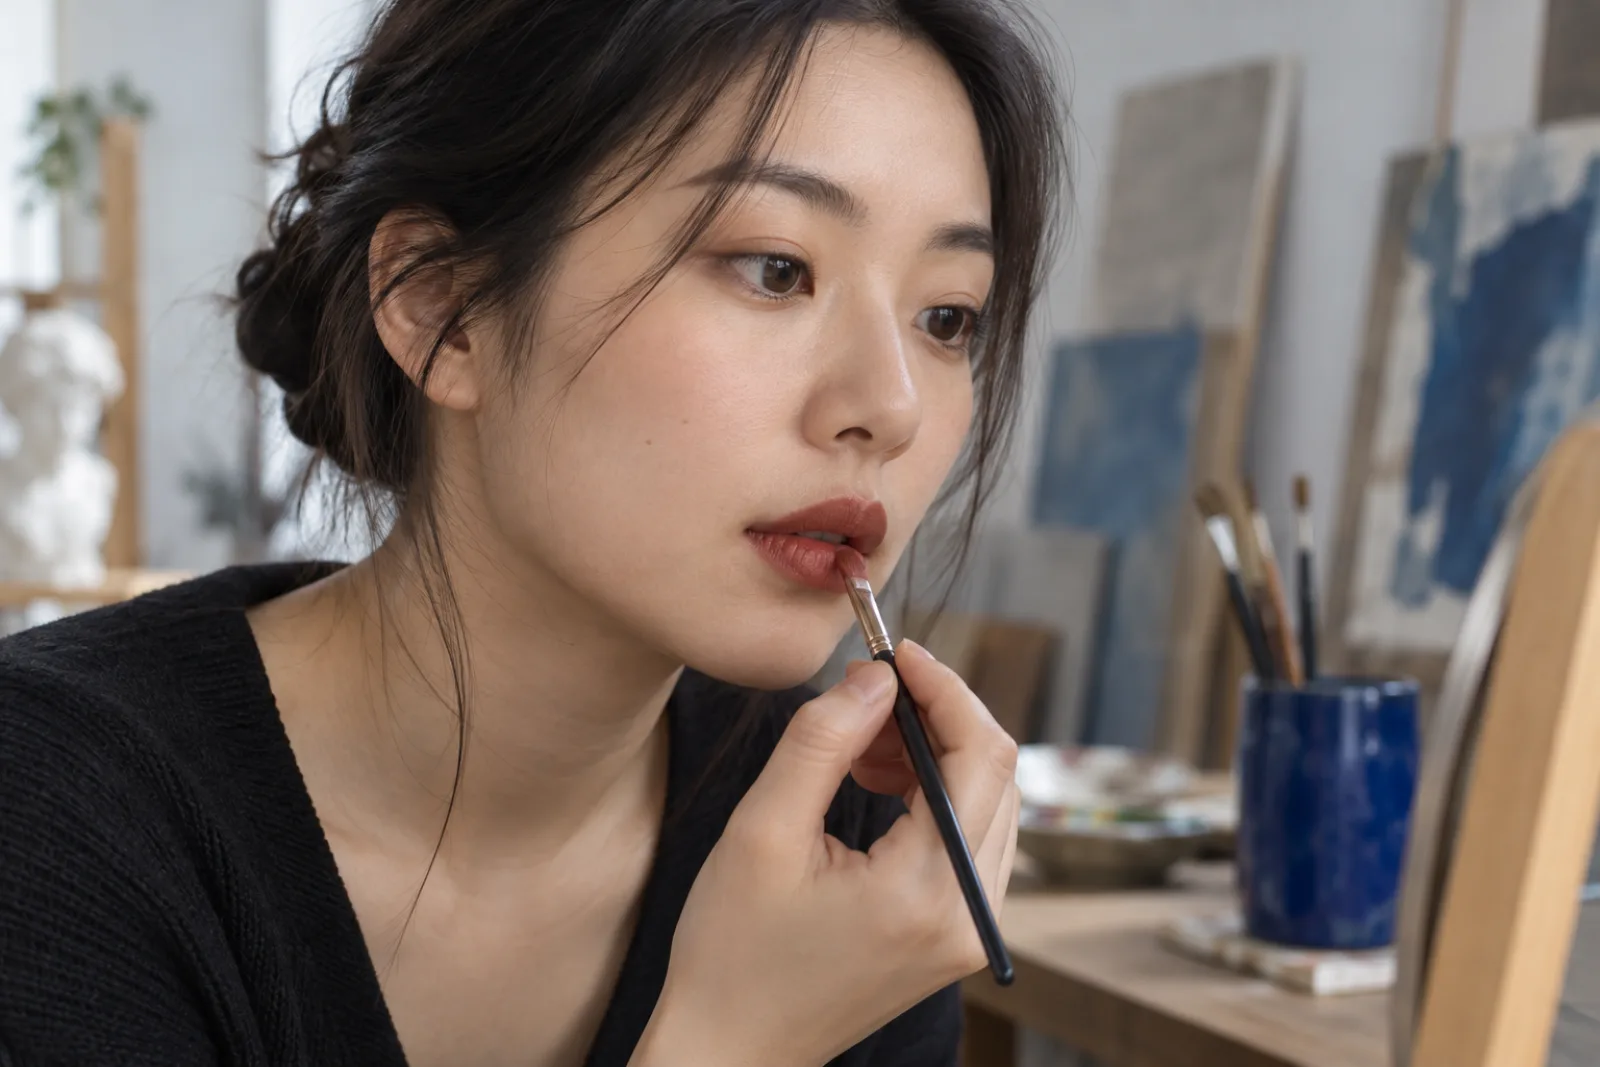
Apply the first pass in a thin, even layer. A lip brush gives control, but the bullet works if you use light pressure and avoid repeatedly dragging over the same area. Open the mouth slightly to reach the corners without stretching the border. Press the lips together once only if the formula needs distribution; repeated rubbing can push pigment away from the center and build ridges along the edge. Inspect the result at normal distance before adding more. Full opacity is not always necessary for a polished lip.
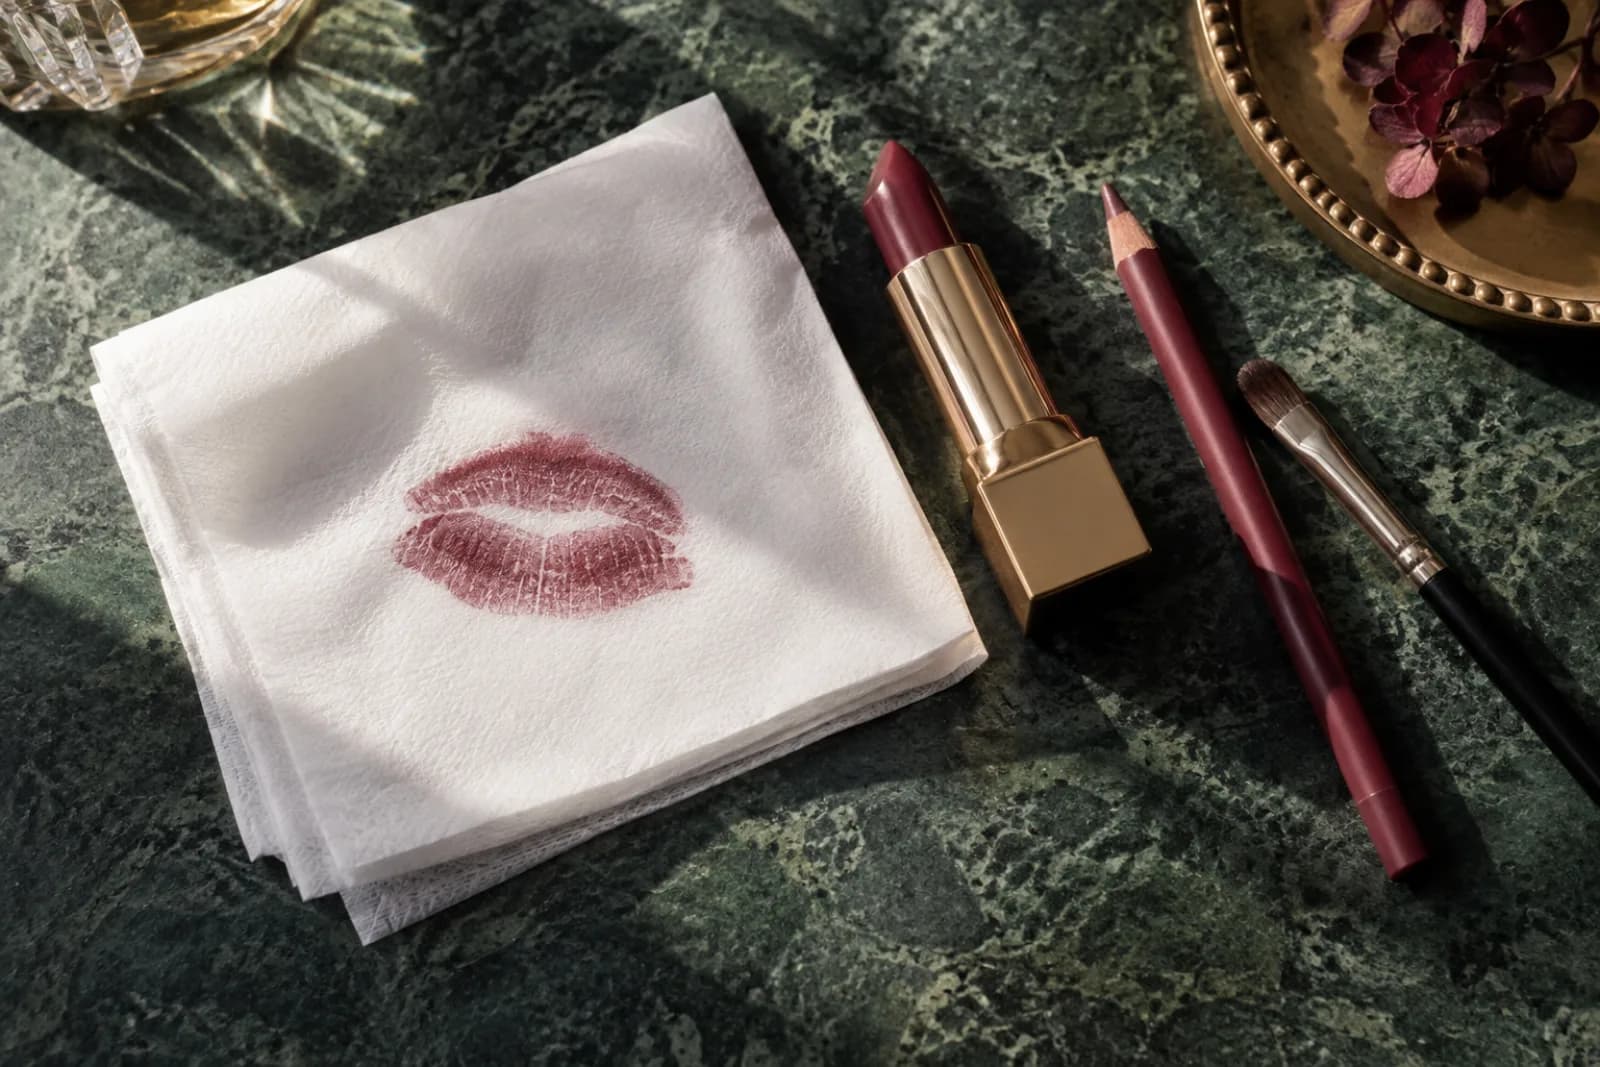
Blot the first pass with a plain tissue by closing the lips gently around it. The aim is to remove excess emollient material, not stamp out all pigment. Add a second thin pass only where saturation or evenness needs it. Current public beauty guidance repeatedly pairs thin application and blotting with more predictable wear, while also acknowledging that eating and drinking still remove color. That realistic limit matters: technique can improve adhesion and fading, but it cannot turn every creamy lipstick into an indestructible film.
See current artist guidance on thin application, setting and realistic wear
Blot and set only as much as the finish can tolerate
After the second pass, decide whether the finish needs setting. For a satin or soft matte look, another gentle blot may be enough. If you use translucent powder, place a single thin tissue over closed lips and dust a very small amount through it, or use a clean brush with almost no product. Too much powder can mute the shade, reveal texture and make the center crack when you speak. Skip this step when the formula already sets firmly or when a luminous finish is central to the look.
Test the finished lip with a clean fingertip pressed lightly at the inner rim and with one normal sip from a cup. A faint mark is not automatically failure; some comfortable formulas transfer while still leaving even color. What matters is whether the lip remains presentable and whether the transfer decreases after blotting. Do not keep adding powder until nothing moves. A rigid surface may pass a quick cup test and then split during a meal. Judge movement, comfort and appearance together.
Run a realistic drink and meal test
Wear the routine through the activity that matters. Drink normally, speak, smile and eat a meal similar in texture and oil content to the planned occasion. Oil dissolves and moves many lip products more efficiently than water, so a dry snack is not a useful rehearsal for dinner. Check after the meal without immediately rubbing the mouth. Blot food gently with the napkin rather than wiping back and forth. Then look at the lip from conversation distance and in one ordinary phone photo.
Describe the wear pattern: even stain, pale center, strong border, softened corners, flakes or complete loss. An even stain may need only a little color at the center. A sharp ring needs the pencil softened inward next time. Patchy dryness suggests less powder or better earlier conditioning. If everything moved at once, reduce balm and layer thickness before replacing the product. This test respects the fact that a lipstick can last well through work yet need a planned repair after an oily meal. The repair is part of the routine, not evidence that it failed.

Repair the center without rebuilding every layer
For a touch-up, remove crumbs and loose product first. Press a tissue onto the worn center, smooth only the rough edge of remaining color and add a small amount of lipstick where pigment is missing. Blend the new color into the old layer before deciding whether the border needs attention. Reapplying from corner to corner after every drink can create a dense rim and a soft center. Local repair keeps the lip lighter and preserves the work that is still intact.
Carry the lipstick, pencil only if the outline truly needs it, a small mirror and clean tissues. Balm belongs in the kit when comfort requires it, but place it only on bare or very dry areas and understand that it can loosen the color above it. At the end of the day, remove the lipstick gently with a suitable cleanser rather than scrubbing. Stop using any formula that causes swelling, burning or persistent irritation. Wear time is never more important than a comfortable, healthy lip surface.
Choose formula by the compromise you prefer
If technique improves the routine but the finish still misses your goal, compare formula families using the same shade depth and occasion. Traditional cream bullets often feel comfortable and repair easily but can transfer more. Soft mattes can balance comfort and hold. Liquid mattes may set more firmly but can emphasize dryness or feel tight. Stains leave residual color yet may fade differently at the inner lip. Gloss offers reflection and flexibility but needs more frequent renewal. These are tendencies, not guarantees; individual formulas and your lip condition matter.
Test one candidate on each of two comparable days rather than layering unlike products on opposite halves of the mouth. Record preparation, number of passes, blotting, food, comfort and the appearance after several hours. If shade is still undecided, use the lipstick color comparison guide before evaluating wear, because disliking a color can bias the verdict on performance. The most useful formula is the one whose ordinary fade you can accept and repair, not simply the one with the strongest claim on its package.
Keep a repeatable long-wear lip note
Write the successful routine in one short sequence: condition early, remove excess, pencil selected zones, first thin pass, blot, second targeted pass and optional light setting. Add the meal type and the repair that worked. This record is more useful than remembering that the lipstick was ‘good’ on one day, because weather, lip condition and food may have been unusually easy. Repeat the same test once before relying on it for a long event.
A lasting lip should still look like the finish you chose. If every durability trick turns satin into a flat, uncomfortable mask, remove a step. If a creamy lip leaves a graceful stain and takes thirty seconds to renew, planned reapplication may be the better trade. The goal is not zero evidence of living, drinking or eating. It is a controlled routine whose fade is understandable, whose touch-up is simple and whose color remains comfortable enough that you do not keep rubbing it away.
Smooth without slip, apply thinly, blot once, test a real meal and repair only the worn zone.