
Lip guide
Stop lipstick from bleeding: a clean-edge routine that lasts
Control feathering by matching preparation, edge support, formula, layers, and a real wear test instead of relying on one universal trick.
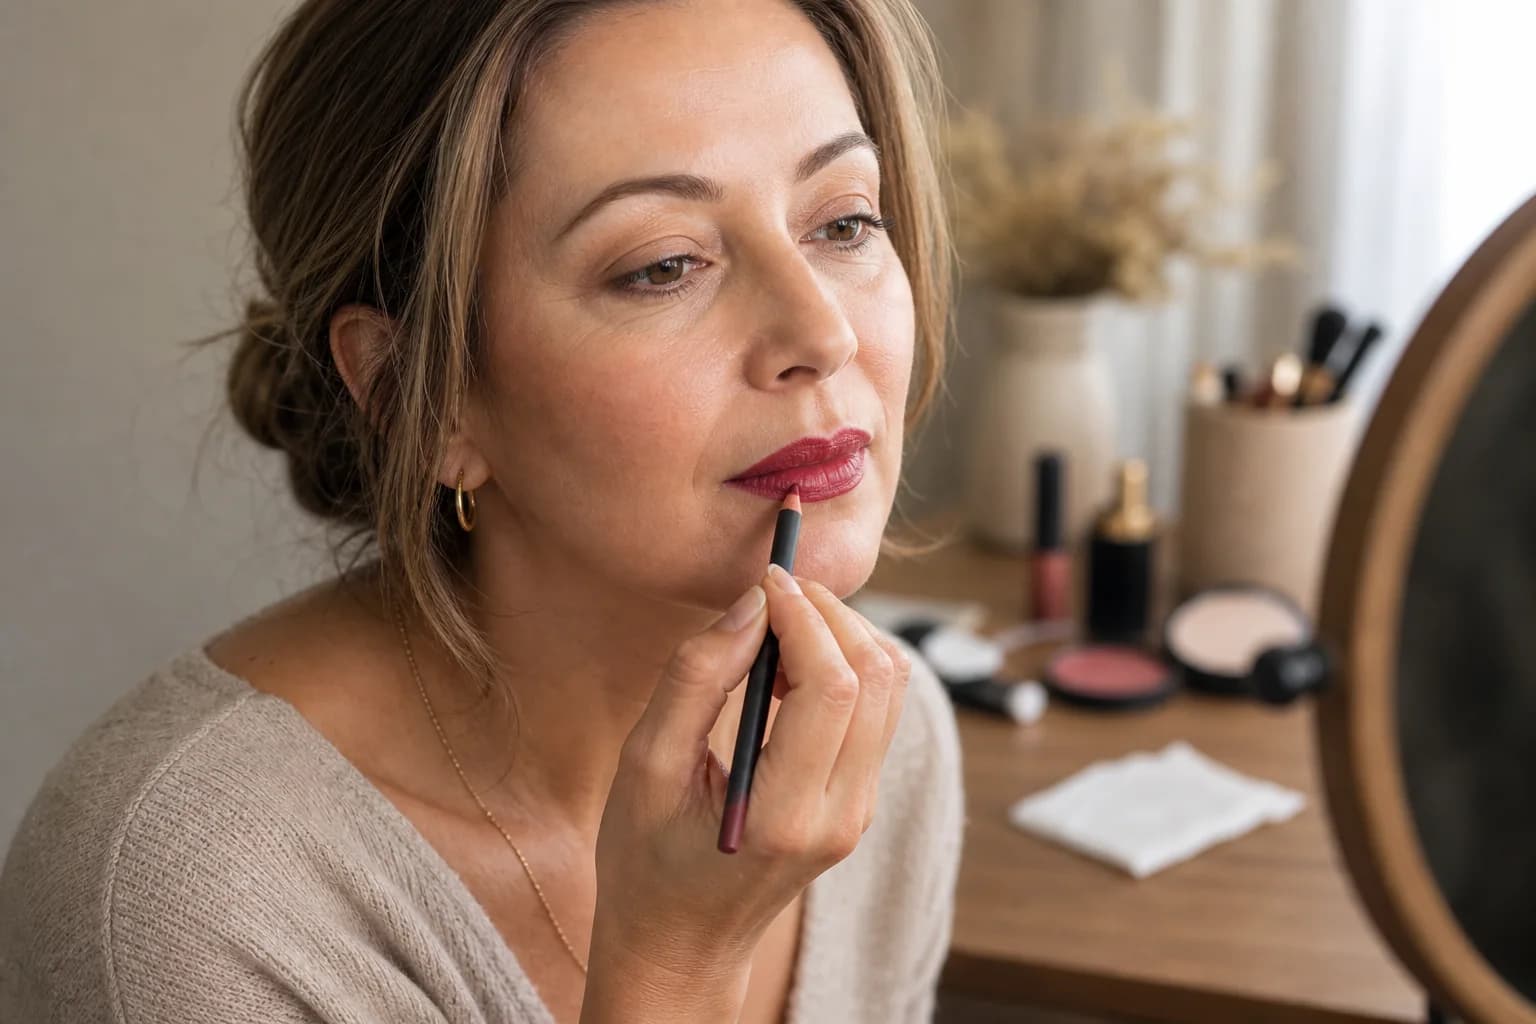
To stop lipstick from bleeding, remove excess balm, define a stable edge, apply color in thin layers, blot, and test the exact formula during normal talking, drinking, and eating. Lip liner can help, but preparation and formula behavior matter just as much.
Feathering is color migrating into small lines beyond the intended lip border. Smudging is a broader transfer caused by contact or movement, while fading is color disappearing from the lip itself. Identify which problem you have before adding more products. A virtual preview can plan color, finish, and edge style; only a real-product wear test can show migration or comfort.
Find out why lipstick is bleeding before you fix it
Start with a clean photo at application and another after an hour or after the first drink. Look for fine rays outside the border, color concentrated at the corners, a blurred edge everywhere, or a clean edge with a missing center. Each pattern points to a different adjustment.
A very emollient balm, creamy formula, gloss placed to the edge, thick layers, natural folds, heat, food, and repeated lip movement can all contribute. The answer is not automatically a drier lipstick. A formula that stays put but feels tight, cracks, or irritates is not a useful solution.
Diagnose migration, smudging, and fading separately. One extra layer of product cannot solve three different problems.
Prepare a smooth surface without leaving it slippery
Apply lip care early enough to settle, then gently press away what remains before color. The lips should feel comfortable, not coated. Avoid aggressive scrubbing; if skin is sore, cracked, or irritated, pause the test and follow appropriate product or professional advice.
Keep rich skincare and a very dewy base away from the immediate lip border when they make color travel. This is targeted preparation, not a reason to dry the whole mouth area. Change one variable at a time so you know whether balm, base, or lipstick caused the improvement.
Build a lip-liner barrier that still looks natural
Choose a pencil close to the lipstick, close to your natural lip color, or transparent when appropriate. Trace the border with short strokes and soften the line slightly inward. Filling more of the lip can create a more even base, but it may also change the final color and feel.
Do not draw far beyond the natural border simply to create a stronger barrier. Movement and skin texture outside the lip can make an overdrawn line less stable. At the corners, use less product and keep the shape precise because pooled color often transfers first there.
- Sharpen or clean the pencil for a controlled edge
- Map the cupid's bow and corners before connecting the line
- Blend inward so the liner does not remain as a separate ring
- Follow the eye- and lip-area directions printed for each product
Use thin lipstick layers and keep gloss away from the border
Apply one controlled layer from the center outward, stopping just inside the pencil. Blot lightly, inspect the edge, and add a second thin layer only where color is uneven. A lip brush can improve control, but it does not change an unstable formula into a stable one.
Creamy and glossy finishes can remain comfortable and beautiful, yet they often need a smaller application area. Concentrate gloss toward the center rather than sweeping it to every edge. If a matte formula performs better, compare comfort as well as the photograph before choosing it.
Compare clean-edge directions with MaqAI before the wear test
Use one evenly lit portrait in MaqAI and compare the same lip color in three directions: a softly defined satin edge, a precise lower-shine edge, and a sheer center-weighted finish. Keep complexion, eyes, crop, and lighting stable so the decision is about the lip treatment rather than a different face or complete look.
Choose the direction that suits the occasion and the rest of the makeup, then recreate it with products you already own. The preview can help you decide how much definition and shine you want; it cannot reveal wax content, transfer, irritation, exact shade, or how the formula behaves in fine lines.
Run a realistic wear test and repair the smallest failure
Photograph the result at normal conversation distance, then check after talking, drinking, and a representative meal. Note time, temperature, products, layer count, and the first place the edge changes. Do not judge only from a magnified close-up that nobody sees in ordinary conversation.
If only the corners blur, reduce product there. If fine rays appear, test a more supportive pencil or a smaller glossy area. If the center vanishes but the border stays, revise layering and touch-up rather than making the outline heavier. Clean migration before reapplying so the repair does not widen the edge.
- Carry the lipstick, liner, a clean small tool, and blotting tissue
- Blot moisture or oil before adding more color
- Remove escaped pigment instead of covering it with repeated concealer
- Stop using any formula that causes burning, swelling, or persistent discomfort