Eye makeup
How to curl eyelashes without a sharp bend
A measured curler routine for clean lashes, a comfortable fit, a soft curve and a real-life check.
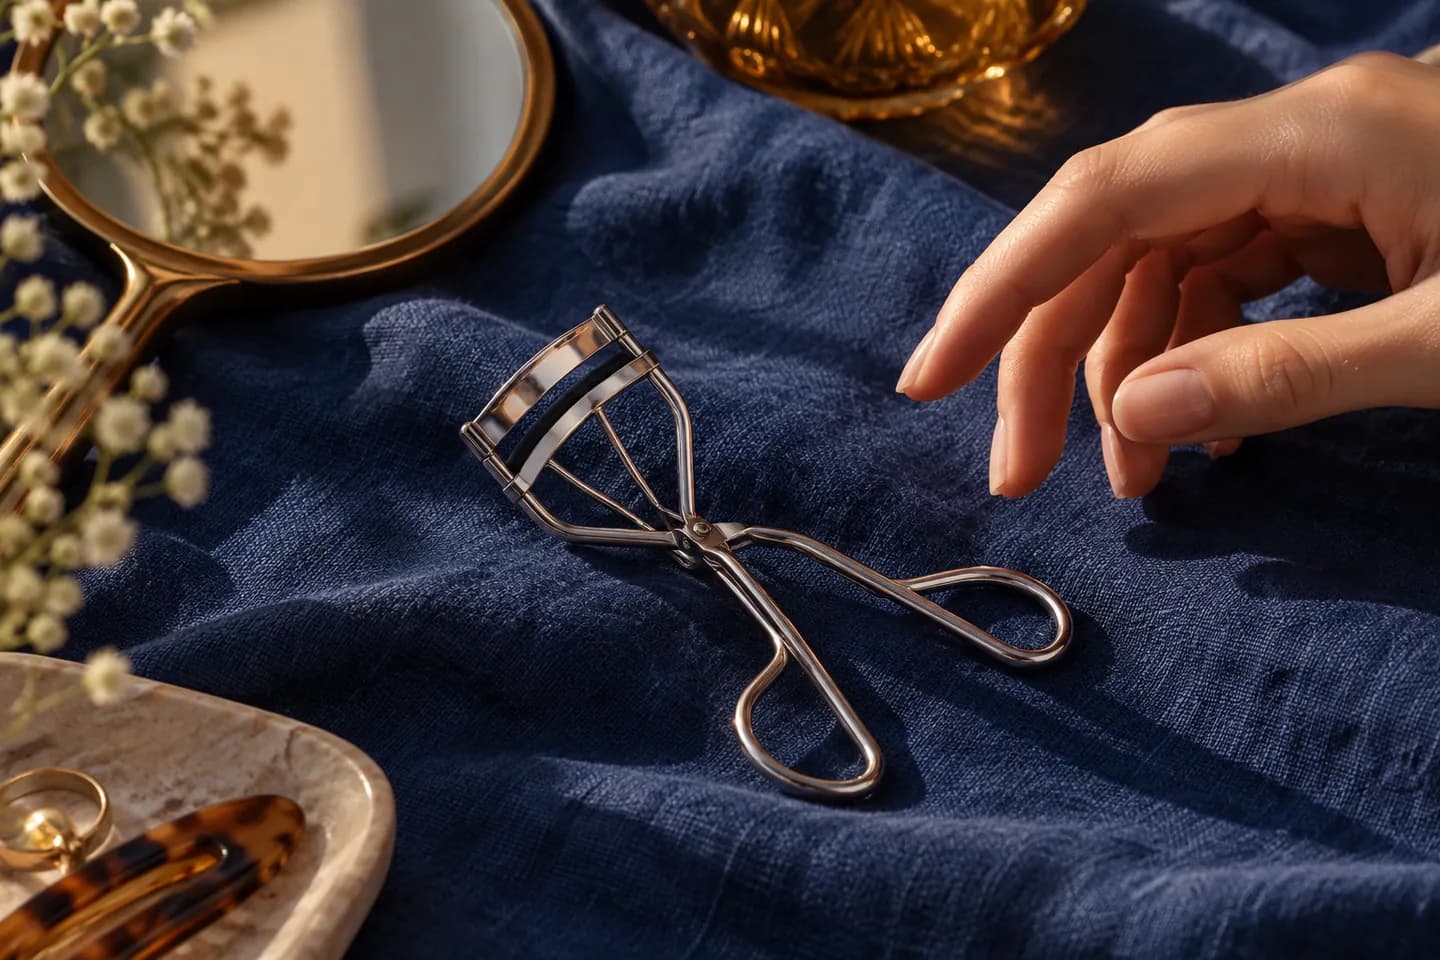
If you are learning how to curl eyelashes, the difficult part is often not getting a lift at all; it is getting a rounded shape without pinching your lid or leaving a right-angle kink. A curler is a small clamp close to a sensitive area, so the useful goal is control rather than maximum force. Begin with clean, dry lashes, inspect the tool, place it while looking calmly into a stable mirror, and make a few gentle presses along the lash length. You can stop the moment the shape looks comfortable. No one needs to curl every day, and naturally straight lashes are not a flaw to correct.
This guide treats curling as a physical skill you can test without a digital preview or a new collection of products. It explains what to do when the frame misses the outer lashes, why a hard squeeze makes a corner, and when mascara belongs in the sequence. If the eye or surrounding skin is irritated, inflamed or recently injured, leave the tool aside. A lifted look is never worth discomfort or an eye injury. The result also varies with hair direction, eye shape, humidity and the particular mascara you already use.
How to curl eyelashes: define a gentle result first
Decide what you want to see at normal mirror distance. Some people want the tips to clear the upper lid; others want only enough upward direction to show the lash line through glasses. A dramatic arc can be attractive, but it is not the only successful result. Look at both eyes while open and relaxed. If the curl would send your tips into your lid or lenses, a smaller change may be more comfortable. The goal is a smooth line from base to tip, not a single crease that makes lashes point straight up.
Inspect the frame and pad before it approaches the eye
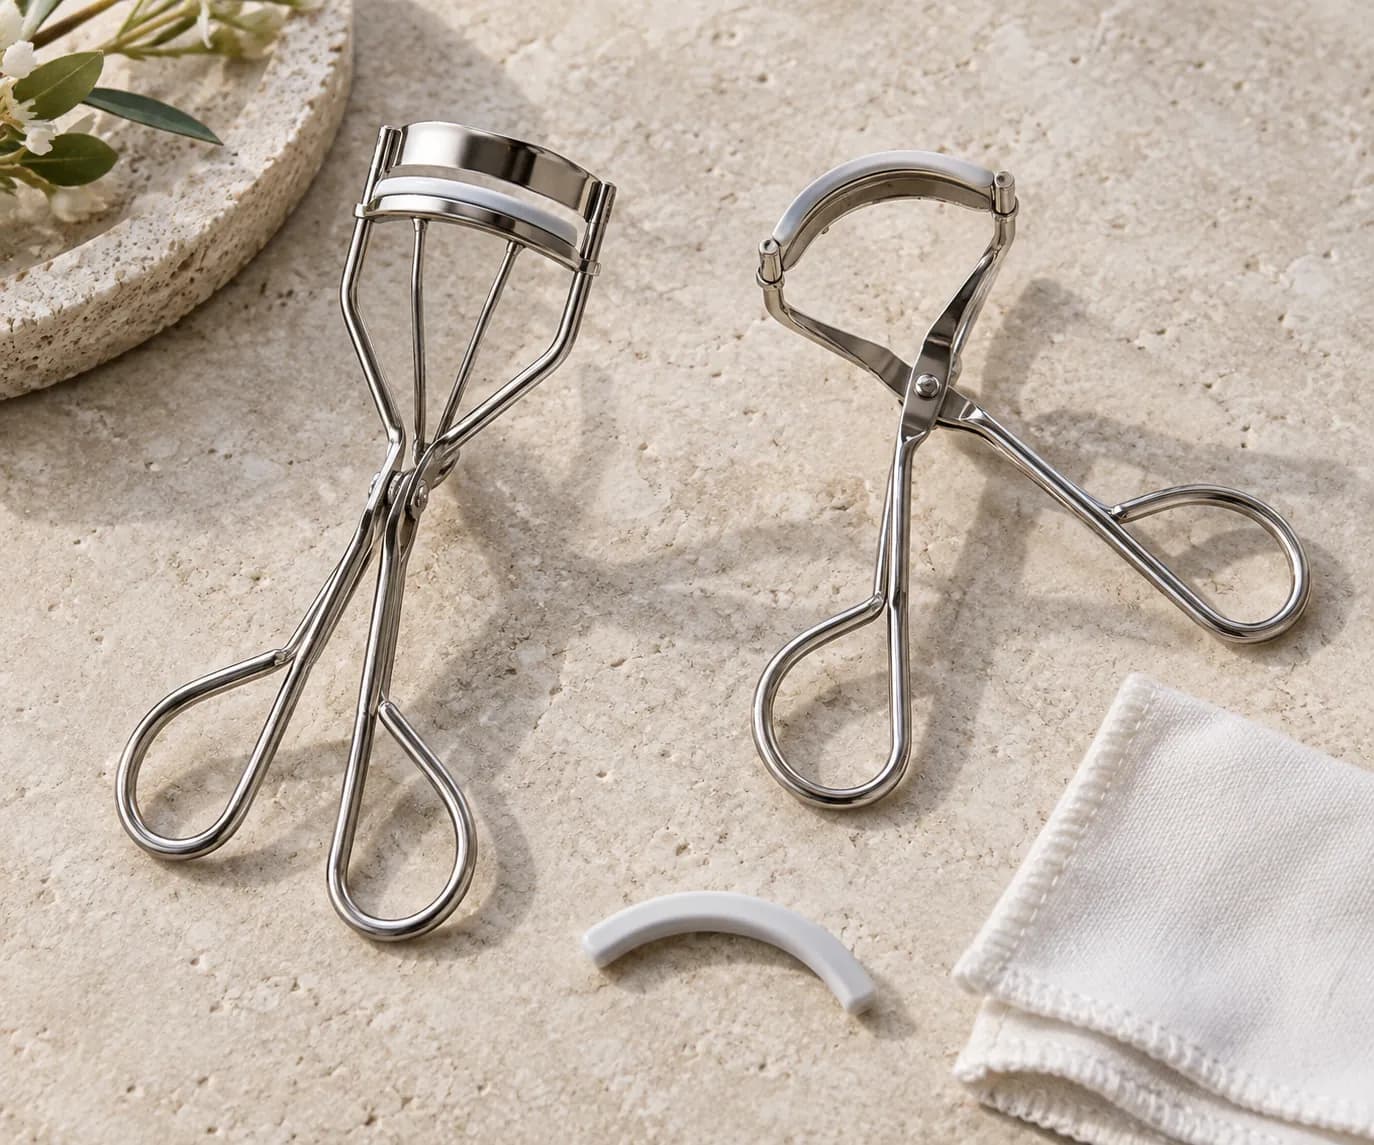
Open and close the curler away from your face. The upper bar should meet a soft, intact pad evenly, without a sharp metal edge contacting it. Check that the frame is not bent, loose or difficult to control and that the pad has no deep groove, tear or hardened patch. If it is damaged, replace the pad or tool according to its instructions. Do not improvise a repair with tape, heat or a piece of unrelated foam near the eye. A clean, sound mechanism gives you a predictable stop when you squeeze.
Fit matters more than the idea of a universally best curler. Hold the open frame against the outside of the eye area without closing it. Can you reach most upper lashes while leaving the lid skin clear, or does the arc press into one corner? If the frame cannot sit comfortably, do not force it. A different shape or a smaller partial-lash tool may be easier, but select by physical fit rather than a ranked product claim. Keep your own tool clean and avoid sharing it, especially when anyone has eye irritation.
Prepare clean, dry lashes and a stable work area
Wash your hands and make sure the lash line is dry and clear of leftover mascara or sticky product. A clamp can catch coated hairs and make the release less predictable. Curl first, then decide whether you want mascara; do not clamp repeatedly over dried mascara to rescue a drooping shape. If there is a little moisturizer or makeup on the lid, wipe away excess slip from the area where the frame will rest. You do not need to scrub the lashes or apply a special primer for this basic technique.
Sit or stand where your elbow can remain fairly steady. Put the mirror at eye level or slightly below and keep your head still. The FDA warns against applying eye cosmetics in moving vehicles because a jolt can cause an eye injury; the same practical caution applies when a metal tool is near the eye. If you wear contact lenses, follow your normal lens-care directions and avoid pressing a tool against the eye. Never use the curler while walking, riding or looking away from the mirror. A calm setup is part of the method, not an optional finishing touch.
Read the FDA eye-cosmetic safety guidanceReview when to replace eye-area makeup
Place the open curler without trapping the eyelid
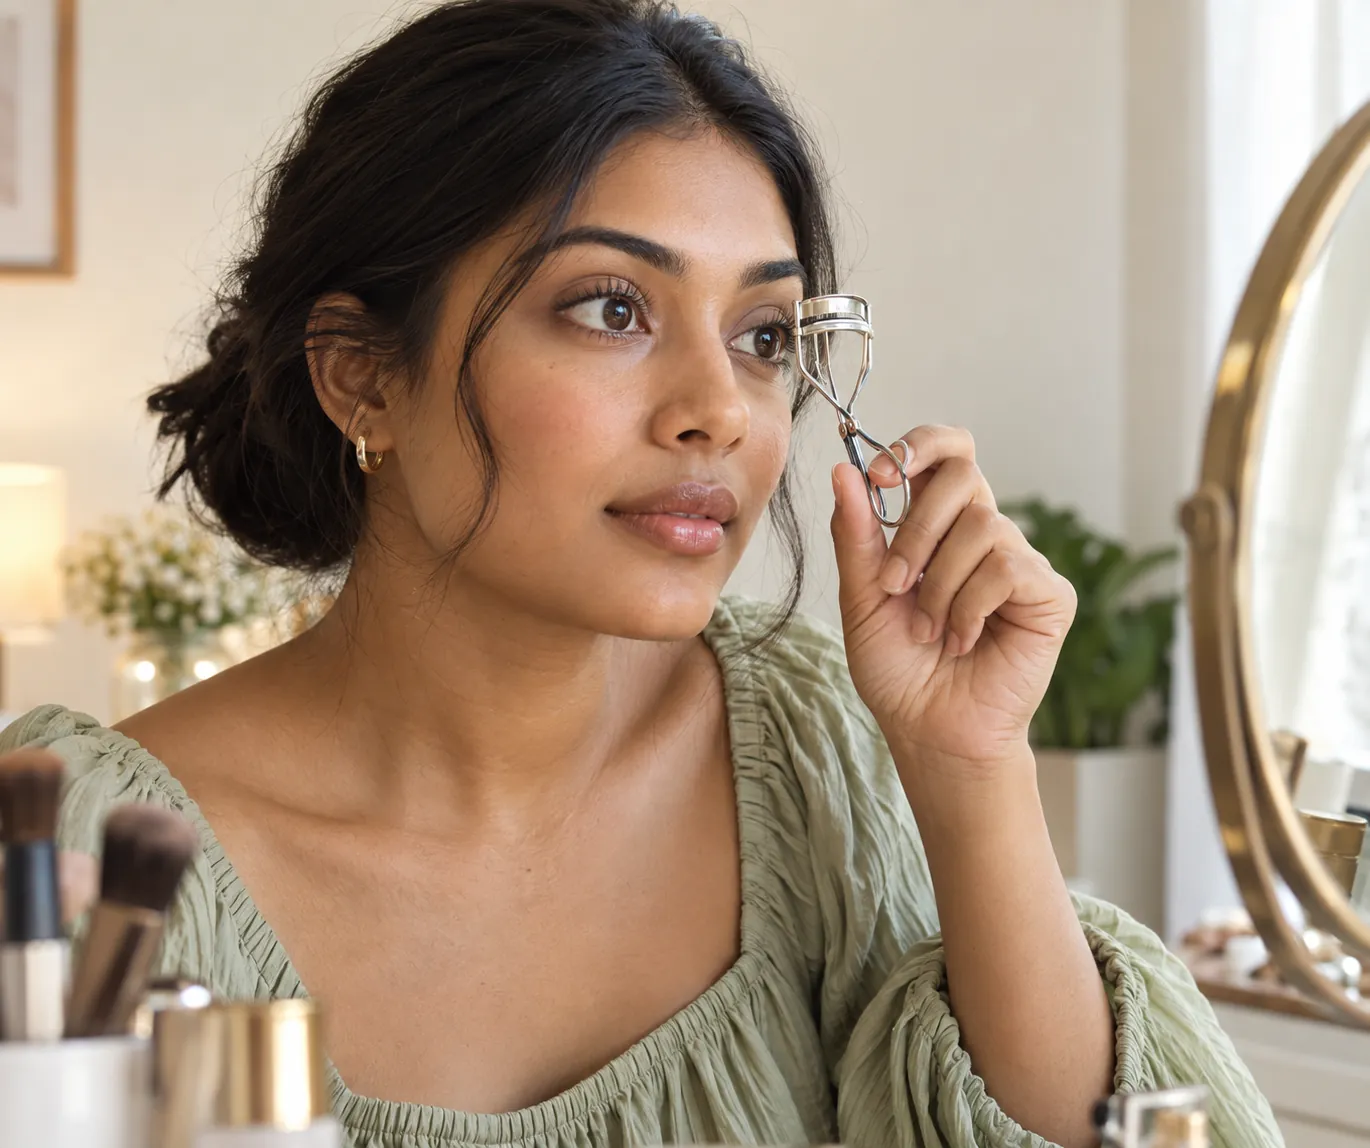
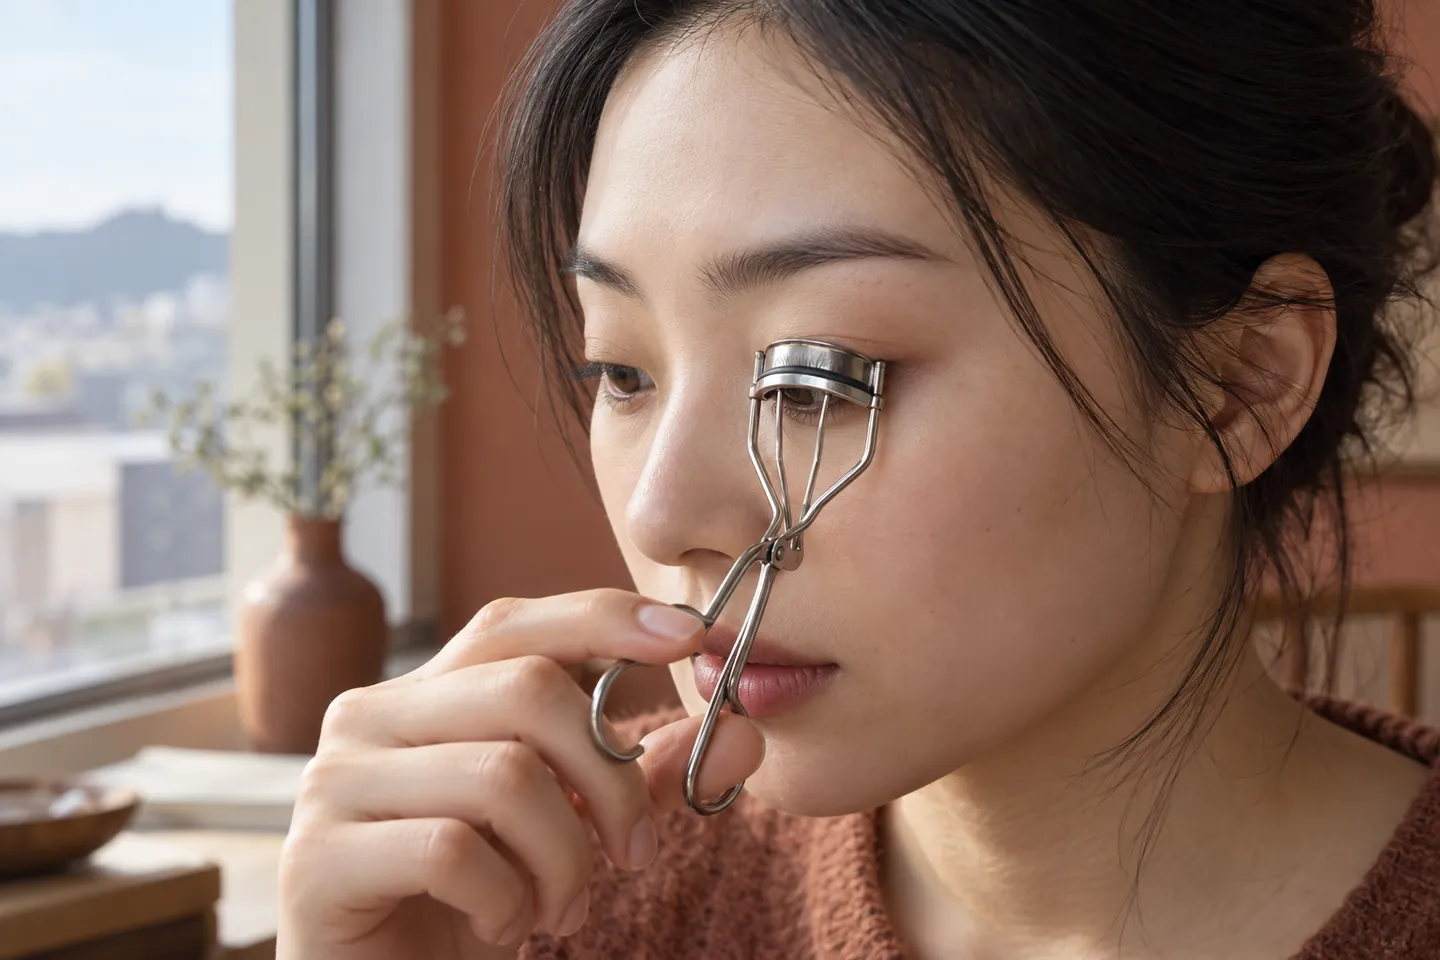
With your eye open and gaze slightly lowered, bring the open curler toward the upper lashes. Place the bar near the roots but leave a small visible margin from the skin. Before closing, check the inner and outer corners in the mirror. If a fold of lid is inside the frame, withdraw and reposition. Do not try to fix a poor placement by pressing harder. The first closure should be so light that you can immediately release it if skin catches. It is acceptable for a few very short corner lashes to remain outside a full-size frame.
Take one slow breath and close gently on the clean hairs. You should feel contact with lashes, not pain or a tug at the lid. Release fully before moving the tool. If the first position pinches, stop, open the curler completely and try a different angle or skip curling that day. Repeatedly testing a painful fit is not a technique exercise. For short lashes, move the mirror and head instead of blindly sliding the tool closer to the eyeball. The frame should follow your anatomy, never force it into a straight template.
Use several light presses to make a rounded curve
A single hard squeeze at the root can produce an abrupt L shape. Instead, close gently near the base for a short moment, release completely, then move a little toward the middle of the lash and repeat with less pressure. If there is enough length, a very light final press near the tips can soften the transition. The exact number of positions depends on your lash length; two may be plenty. Hold the curler still while closed. Pulling it outward or upward while clamped can tug on the hairs, and pressure should never become a test of endurance.
Open and inspect the line after each stage. If the base already looks raised, stop there or use only one soft mid-length press. If one area remains straight, reposition only that area instead of squeezing the entire fringe again. The purpose of moving along the lash is to distribute a curve, not to maximize height. A little unevenness is normal in a close mirror and usually invisible at conversation distance. Release slowly so no hairs stay caught under the pad, then compare the open eye with the other one before repeating the sequence.
Apply mascara after the curl, if you want it
Once you like the physical curve, add a light mascara coat if mascara is part of your usual routine. Start at the roots and move toward the tips without pushing the wand into the eye. A heavy wet coat may weigh the hair down or join several strands into a spike; that is a formula and application observation, not proof that you failed to curl. Let the coat settle and blink a few times. If it drops, note when the change happened before adding another coat. On another day you can compare a thinner application while keeping the curl method the same.
Do not close a traditional clamp around lashes with dried mascara to recover lift. The product can make hairs stick to the pad and the release may pull. If you have already applied mascara, leave the curl alone rather than turning a small cosmetic disappointment into a risky correction. Our waterproof-mascara removal guide covers the other end of the day: soften and remove eye product gently instead of rubbing at the curl. The curler changes direction for a while; neither the tool nor mascara promises a particular duration on every set of lashes.
Adjust for straight, short or downward-pointing lashes
Very straight lashes may resist a large curve. Try to improve positioning and a modest base-to-middle arc before increasing force. If the tips point down, see whether the curler catches enough length to redirect them without contacting the skin. For short lashes, the frame shape can be the limiting factor; a smaller tool may be easier than another hard squeeze. If the lashes on one side grow in several directions, treat the most visible central area first and leave stubborn corner hairs alone. Their shape does not justify pulling on the whole lash line.
Some people find that mascara changes the result more than the curler does. Keep the tool sequence identical on two ordinary days and compare a thin coat with no coat, or two familiar formulas with similar application. That simple experiment identifies whether the lift drops at the clamp stage or after product is added. Avoid a heated curler or homemade heating trick as a shortcut, especially close to sensitive skin. The basic unheated method is enough to learn placement and release safely. If it does not suit your eye shape or comfort, an uncurled lash is a perfectly valid choice.
Troubleshoot a kink, pinching or a curl that falls
A sharp right angle usually means the force was concentrated in one position. At the next attempt, use lighter pressure and spread it across base and middle; do not squeeze the same already-bent point repeatedly. Pinching means a lid fold or corner skin entered the frame, or the frame did not fit your eye. Open immediately, allow the area to settle and revise the position before trying again. If pain, marked redness, tearing or a scratch persists, stop using the tool and seek appropriate eye-care advice. A cosmetic technique should not ask you to work through symptoms.
If the lift falls quickly, distinguish the moment: immediately after release, after mascara, or later in humid air. An immediate drop can mean the frame never caught the relevant hairs or the initial curve was very slight. A drop after mascara calls for a thinner or different familiar formula trial, not more pressure against coated lashes. A later drop may simply reflect hair direction, weather and wear. Keep a brief note instead of assuming one dramatic press will solve every cause. The right routine is the gentlest one that creates the look you actually need.
Clean the tool and judge the result in real life
After use, remove visible residue from the frame and pad according to the tool maker's cleaning directions. Let it dry fully before storage, and inspect the pad again next time. Do not share a tool used close to the eye. The FDA advises keeping eye-area tools clean and stopping eye cosmetics that cause irritation; those principles are more important than preserving a perfect curve. Store the curler closed or protected where it will not be crushed in a crowded bag. Replace a worn pad or damaged frame rather than compensating with force.
Look once at the whole face in ordinary light, then put the mirror away. Does the eye look a little more open without the tips scraping the lid or glasses? Does blinking feel normal? If yes, the method has done its job. A quick unfiltered photograph can help you remember the amount of lift you prefer, but it cannot measure the force or the health of a lash. If your makeup must last through an event, check once later and decide whether the natural change is acceptable. You need no guarantee of all-day height to call the routine useful.