
Eye makeup care
Remove waterproof mascara without hard rubbing
Match the remover to the mascara, give it time to loosen the film and use clean downward passes instead of repeated scrubbing.
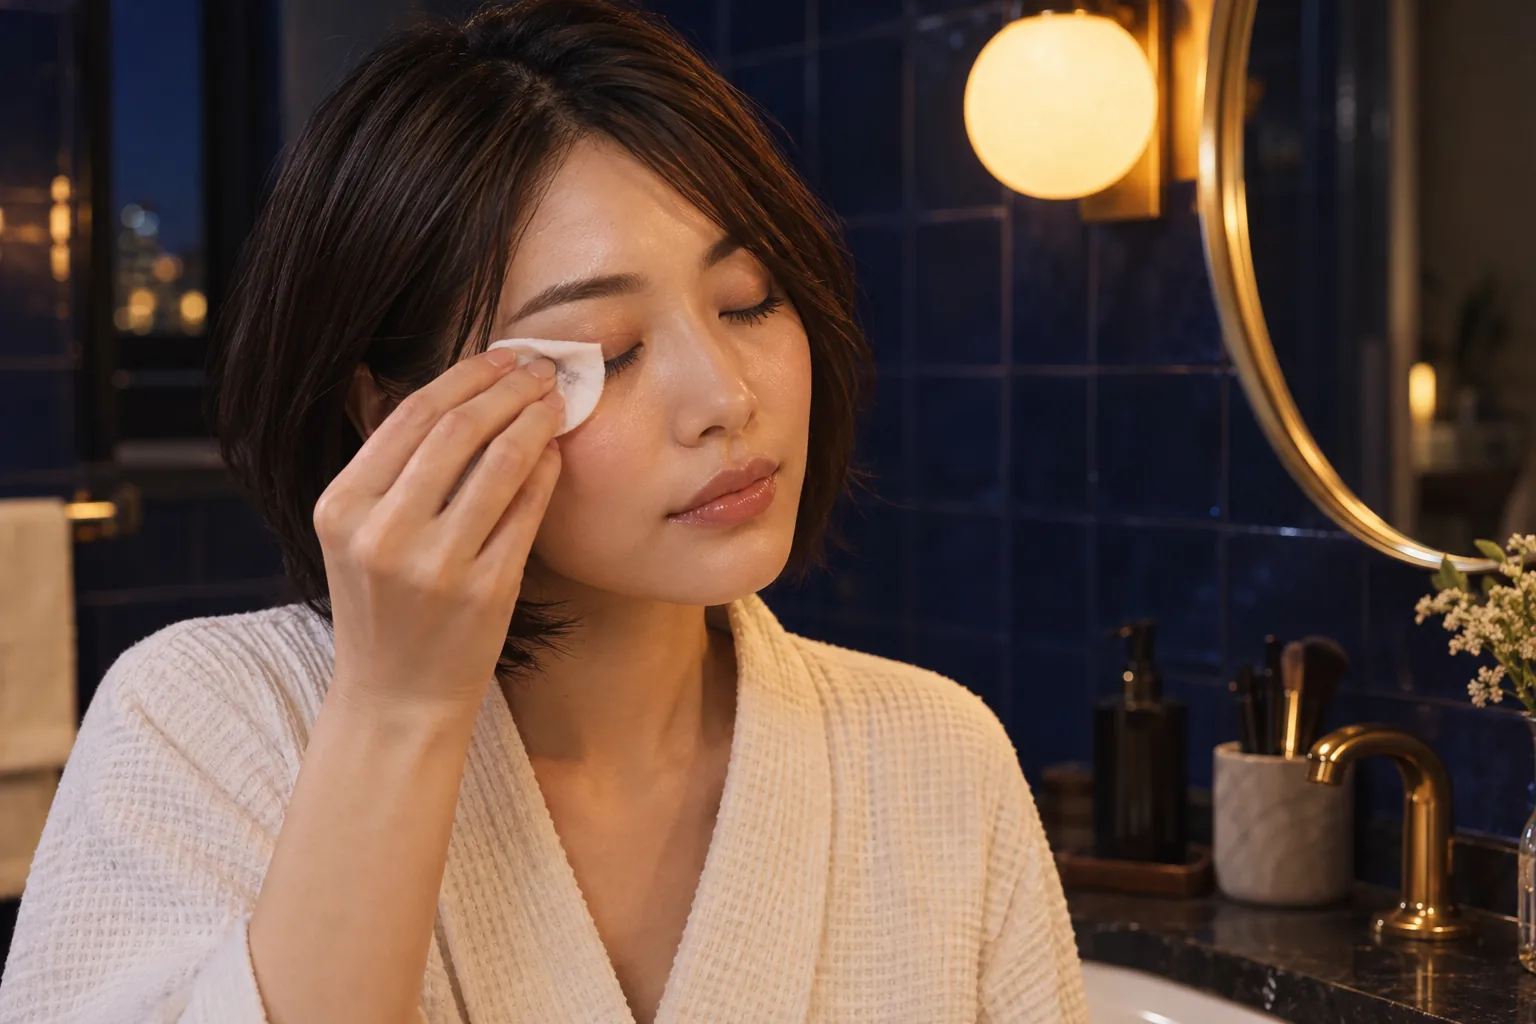
To remove waterproof mascara without hard rubbing, treat the product as a film that must be loosened before it can be lifted. Water-resistant waxes and polymers are designed to remain through moisture, so a quick pass with ordinary face wash may leave the lashes stiff while repeated wiping moves the skin more than the makeup. The useful variables are the mascara type, the remover label, the amount on the pad, contact time and wiping direction. When those are controlled, removal becomes slower for a few seconds and easier overall.
This guide begins with the tube and the condition of your eyes, then builds a repeatable evening routine using clean hands, a product intended for the eye area and several light passes. It does not promise that one ingredient or homemade mixture suits every person. Stop if a product causes burning, swelling, persistent redness, pain or a change in vision. Eye makeup should come away without turning the process into a strength test, and the clean result should feel comfortable rather than squeaky, tight or sore.
Identify the mascara before choosing a remover
Read the tube or product page before assuming every long-wear mascara behaves alike. A traditional waterproof formula usually needs a remover specifically labelled for waterproof eye makeup, often a two-phase or oil-containing product. A tubing formula forms sleeves around individual lashes and may release with warm water and light pressure instead. A water-resistant everyday mascara can sit between those categories. If you use the wrong removal method, you may keep adding force to a product that simply needs another solvent or temperature.
Notice what else is on the eye. Waterproof liner, cream shadow, lash primer, glitter and several mascara coats create a different job from one thin coat. Contact lenses, extensions, a recent eye procedure or an active irritated lid also change what is appropriate. Follow the instructions from the lens, extension or medical professional when they apply. Do not improvise near an inflamed eye. If the eye area is calm, start with the narrowest method that matches the products you actually wore rather than soaking the whole face in a stronger cleanser.
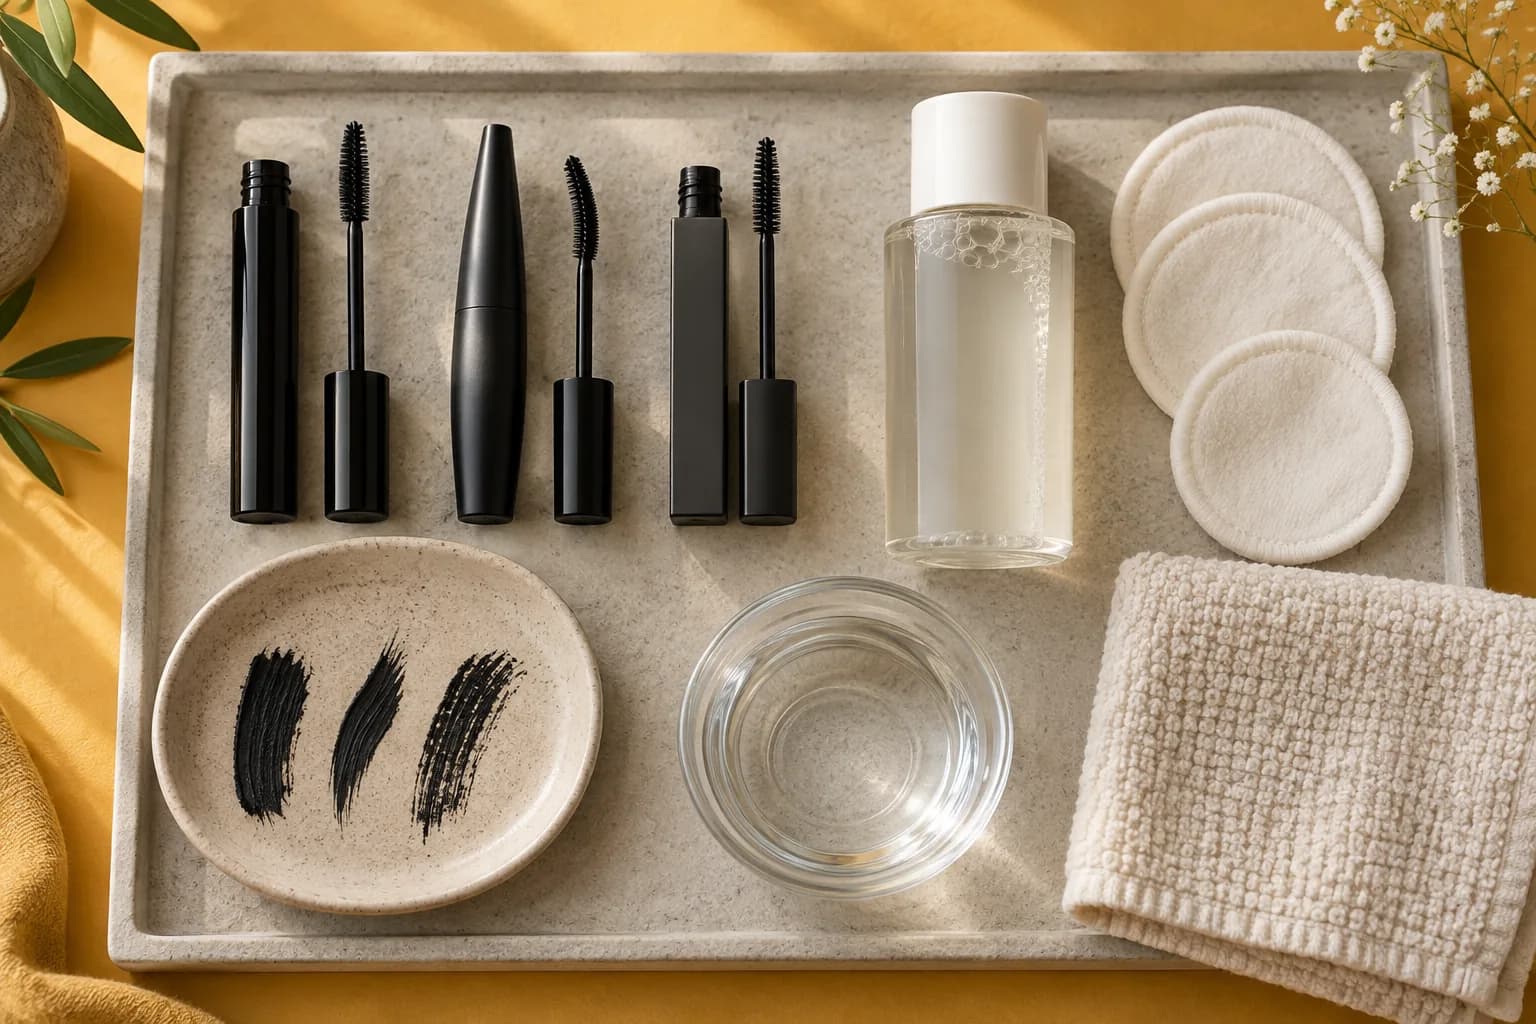
Prepare clean hands, a saturated pad and a stable position
Wash and dry your hands, remove contact lenses if their care instructions call for it, tie hair away and sit where your elbow can rest. A stable position matters because small hurried movements near the eye create more risk than the routine requires. Shake a two-phase remover until its layers combine, then saturate a soft pad evenly. A barely damp pad creates drag and encourages extra passes. More liquid is not always better, however: the pad should be wet enough to stay in contact, not dripping into the eye.
Close the eye gently without squeezing. Place the pad over the lid and lashes so the product reaches the upper and lower surfaces of the mascara. Keep remover bottles, cotton swabs and used pads on a clean surface, and do not return a used applicator to the container. The U.S. Food and Drug Administration advises clean hands and clean instruments around eye cosmetics and says to stop using a product if irritation occurs. Those simple hygiene boundaries are part of removal, not an optional step after the interesting technique.
Remove waterproof mascara by waiting before wiping
Hold the saturated pad against the closed lashes for several calm seconds, using the product directions as your boundary. This dwell time lets the remover meet the mascara film. It is not a cue to press hard. If the first pad comes away with almost no pigment, add product or wait a little longer instead of scrubbing sideways. The aim is to reduce the force needed for the next movement. You should be able to keep the brow, cheek and head relaxed while the pad does most of the work.
Then sweep from the lash roots toward the tips in the direction the lashes grow. Use one controlled downward pass, fold or turn to a clean area, and repeat. Avoid sawing back and forth across the lash line, pinching and pulling a group of lashes, or using fingernails to pick away dry pieces. Waterproof wear is not evidence that the lashes need abrasion. If pigment remains after several light passes, pause and reassess the formula and remover rather than increasing pressure automatically.

Use clean surfaces so loosened pigment leaves the eye
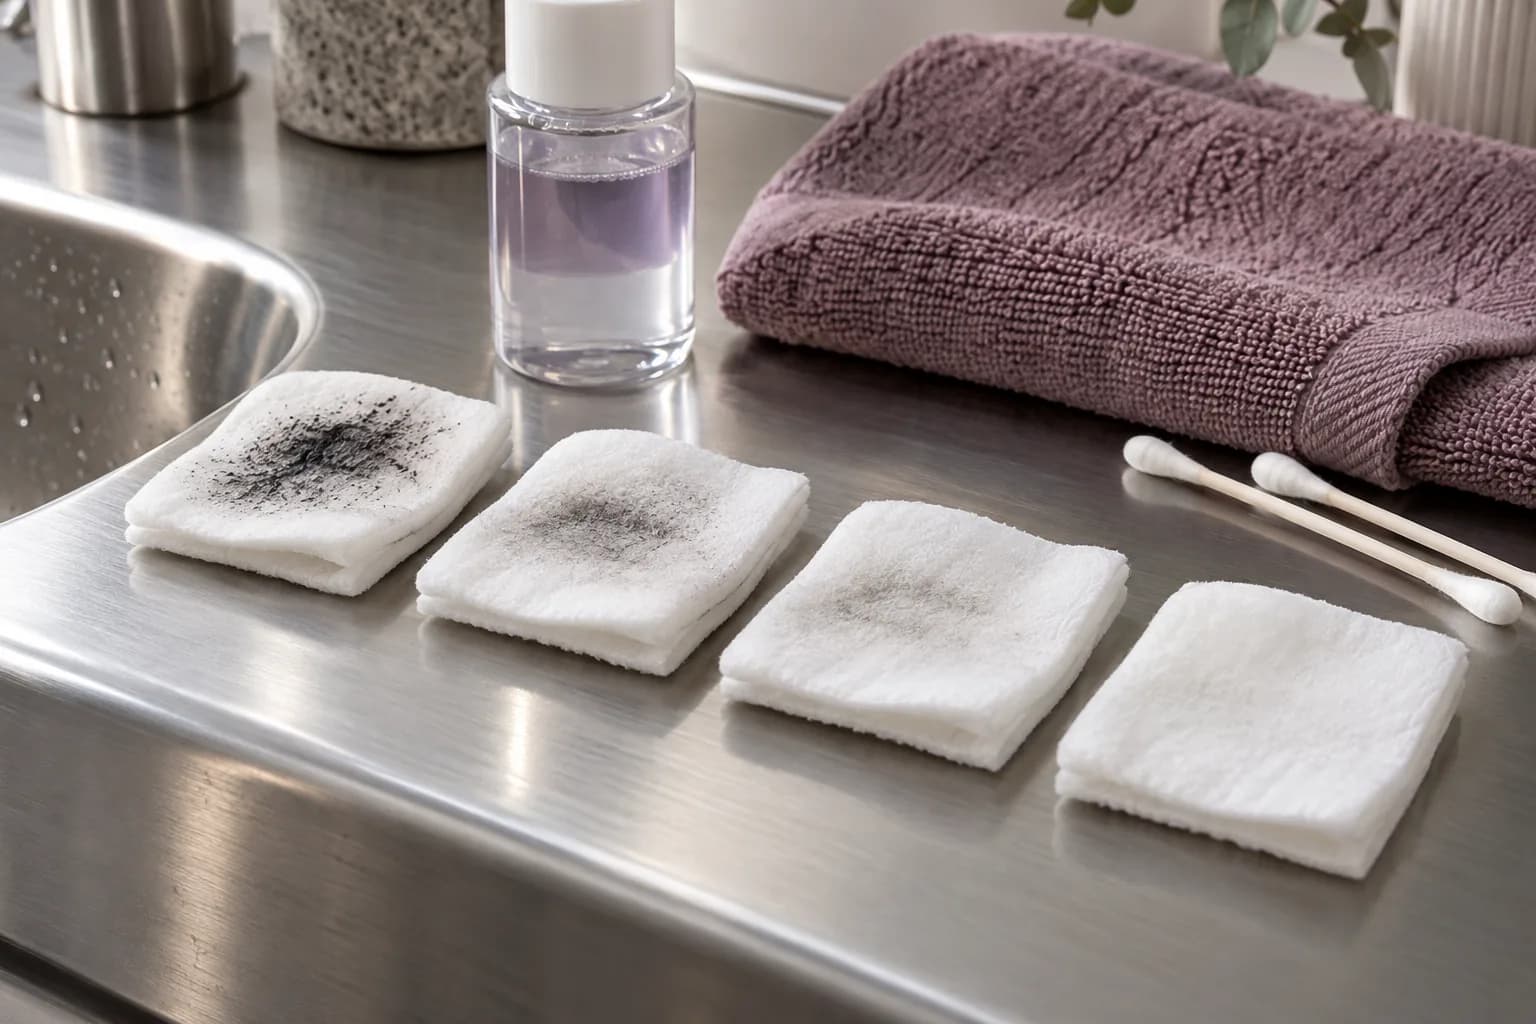
A pad loaded with black residue can redeposit pigment along the lower lid and make the routine look unfinished. Fold the pad to expose a clean section or replace it when the surface is covered. Each pass should have one job: loosen, lift or refine. This is usually gentler than trying to finish both eyes with the same dark pad. Keep the movement short and follow the lash direction. The skin may shift slightly, but it should not be repeatedly stretched toward the temple and released.
For residue between lashes, use a clean cotton swab lightly dampened with eye remover and roll or sweep it along the closed lash line, away from the eye. Do not insert it beneath the lid or chase a speck on the eyeball. If product enters the eye, follow the remover instructions and rinse as directed; do not rub. The FDA specifically cautions against scratching the eye during application or removal. Persistent discomfort, discharge, marked redness, pain or altered sight needs qualified medical advice rather than another cleaning pass.
Read the FDA overview of eye-cosmetic hygiene and injury prevention
Separate mascara removal from cleansing the whole face
Once the mascara is loosened, cleanse the rest of the face according to your normal routine and the label on the remover. Some eye removers are meant to be rinsed; others are followed by a gentle face cleanser. A second cleanser should remove residue from skin, not restart vigorous work on the lashes. Use lukewarm water rather than very hot water, and pat dry with a clean towel. If the eye area feels coated, a light rinse or a compatible gentle cleanser is more controlled than repeated dry wiping.
Do not use the kitchen as a substitute cosmetics lab. Cooking oils, fragranced blends and household cleansers are not formulated or packaged for the eye area, and the absence of immediate stinging does not prove suitability. Use a product intended for eye makeup and follow its label. If you are testing a new remover, try it on an ordinary evening rather than immediately before travel, an event or a long-wear contact-lens day. A familiar, predictable routine is easier to evaluate than several new products layered together.
Check the lashes in ordinary light, not by pulling
Look in a normal mirror with the eye open and then closed. Check the lash tips, roots, outer corner and lower lash line. A faint gray shadow on the pad may be remaining pigment; a dark line that stays in the same place may be liner rather than mascara. Separate those products before repeating the routine. Do not test cleanliness by rubbing the lashes between finger and thumb or tugging until no color appears. A clean visual check and a fresh light pass are enough.
Also check how the area feels ten minutes later. Comfortable lids should not keep burning, watering or feeling increasingly tight. A few naturally shed lashes on a pad can happen, but a repeated cluster of broken or pulled lashes suggests too much friction, a remover mismatch or dried layers that need more dwell time. Record what you wore and what removed it well. That note turns an irritating guess into a routine you can repeat and helps you compare products without judging from one rushed night.

Adjust the routine for tubing mascara, extensions and sensitive days
Tubing mascara is a separate case. If the package says it releases with warm water, soak the lashes as directed and use very light pressure so the softened tubes slide away. Seeing small lash-shaped pieces does not automatically mean your lashes fell out; inspect them before panicking. Do not add oil simply because oil works for another waterproof formula. Conversely, do not force a traditional waterproof mascara off with warm water alone when the label calls for a suitable remover.
Extensions may require an oil-compatible or oil-avoiding routine depending on the adhesive and technician guidance, so generic advice cannot replace their aftercare instructions. On a day when lids are inflamed, infected or recovering from treatment, pause eye cosmetics and follow professional advice. Discard products associated with an infection as advised. The goal is not to prove that every formula can fit every eye. A mascara that requires an uncomfortable removal process may be a poor match even if its daytime wear is excellent.
Keep a short, repeatable evening removal record
Write down the mascara type, number of coats, other waterproof products, remover, contact time and number of pads. Add one sentence about comfort immediately and ten minutes later. You do not need a complex diary; two comparable evenings are enough to reveal whether the method consistently reduces residue and friction. If a thin one-coat day cleans easily but a layered event eye does not, adjust the amount and dwell time for the heavier wear rather than declaring the remover useless.
A successful routine is uneventful: clean hands, the correct remover, a fully damp pad, patient contact, downward passes on clean surfaces, a careful lash-line check and a gentle face cleanse. It leaves the eye area calm and the lashes visually clean without repeated rubbing. Keep that sequence beside the products you use most. If discomfort persists despite careful technique, stop the product and seek appropriate advice. The best waterproof mascara is not only the one that survives the day; it is also one you can remove safely and predictably at night.
Match the remover, saturate the pad, wait, wipe with the lash direction and stop when the eye is uncomfortable.
Use a clear eye-level portrait when comparing tomorrow's eye look