
Eye makeup
Inner corner highlight: keep it or skip it?
Compare one small light point on the inner upper lid, then try it with real eye makeup and check it in two lights.
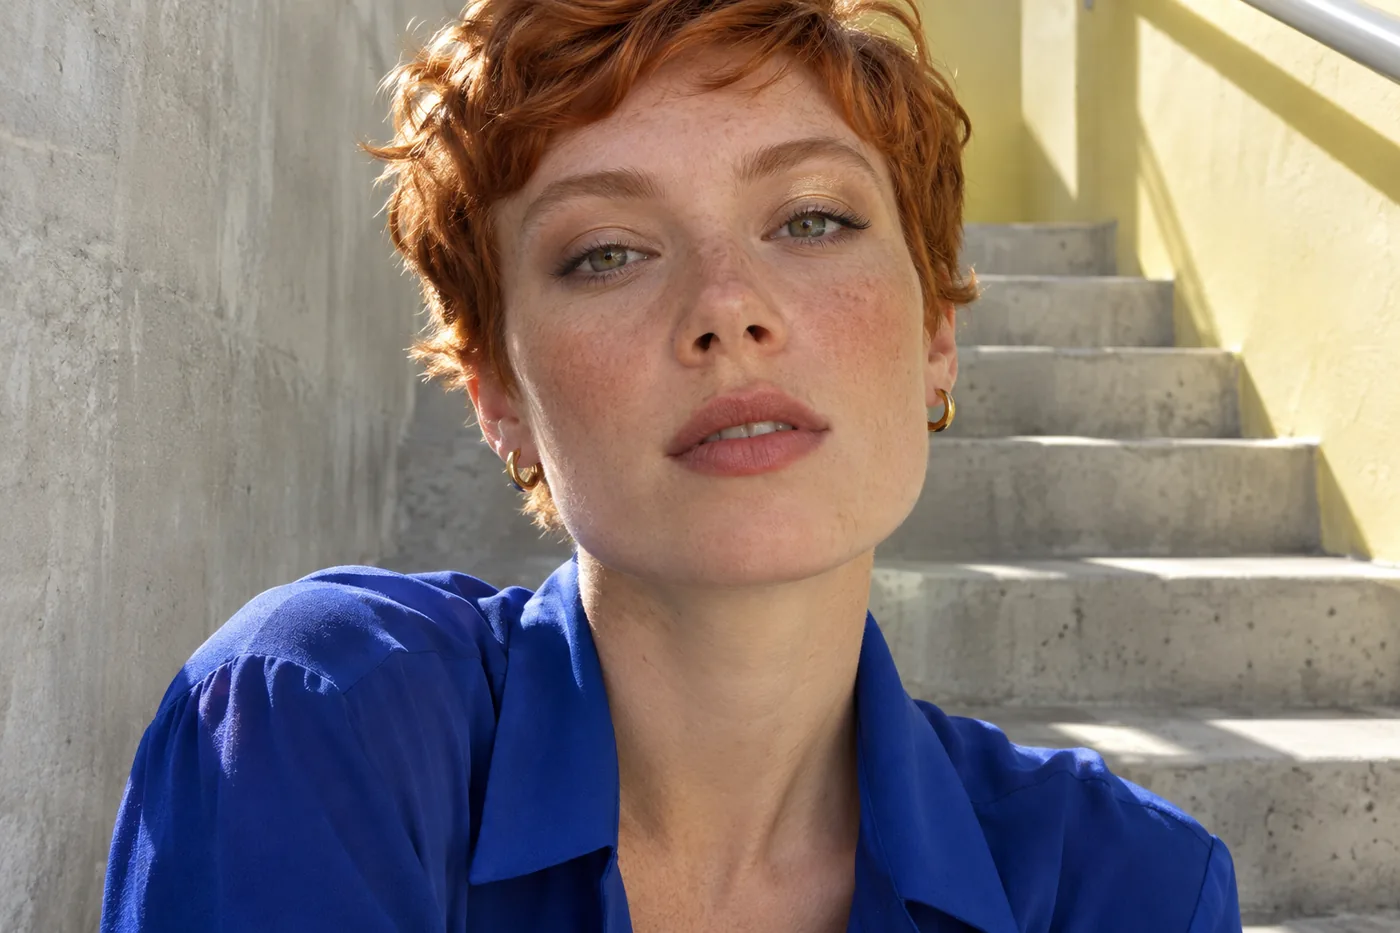
An inner corner highlight can look like a quiet glint in the mirror and a bright dot in a photograph. To decide whether it belongs in your look, compare the same eye makeup with and without one small accent. Keep the color around it, the liner, the lashes and the light steady. You are looking for a change in where attention goes, not trying to correct the shape or spacing of your eyes.
Use a Hair Muse preview if you want to see the whole face before opening a palette. Then make the decision with a real eye cosmetic, normal light and a relaxed expression. The preview can suggest whether the detail is worth trying, but it cannot tell you how a product will sit, feel or reflect light on your skin.
Give the inner corner highlight one job
Decide what you want to notice when you look at your face from conversation distance. If a dark outer line should lead, the inner area can stay quiet. If your lid already has a pale center, adding another bright point may divide attention between two small areas. With a muted lid and little definition near the nose, a compact accent might be enough to change how the eye makeup reads while leaving the overall look intact.
Name the decision before comparing: “Do I want a second point of light here?” is more useful than “Do my eyes look better?” The first question has an answer you can check again tomorrow. The second can send you looking for differences in expression or lighting that have nothing to do with makeup. An unaccented inner corner is a finished choice, including for a look with shine elsewhere.
Mark an external area you can comfortably reach
When this guide says inner corner, it means visible external skin on the inner part of the upper lid, with space between the accent and the moist corner of the eye. It does not mean the tear duct, the waterline or the inside of the lid. If the spot you imagined is too close to the eye to reach easily with a steady hand, move the idea farther onto the outer skin of the lid or leave it out.
Check the directions of the product you would actually use. A face highlighter, craft glitter or a lip pencil does not become appropriate for this area because its color looks right. The FDA’s eye cosmetic guidance explains why intended use, clean hands and clean tools matter. Use a personal product labeled for the eye area as directed, and skip the trial if it would require pulling the eye open or putting product on an irritated area. Stop if irritation develops.
Make one portrait your reference
Take a clear, level photo with relaxed open eyes and a steady light source. A bright window can work if you face it from a comfortable distance and avoid bands of sun or shadow. Keep your regular eye makeup visible and turn off smoothing and beauty filters where possible. If glasses are part of the finished look, keep a second real mirror check with your frames on; reflections in lenses can hide the place you want to compare.
In Hair Muse, use the same photo for both versions. In the first, keep the area near the inner upper lid as it was. In the second, ask for a small, soft champagne point on that visible skin and keep the rest of the eye makeup unchanged. Do not use a brighter exposure to help the accent along. If the input is too dark to read the original skin clearly, retake it before starting rather than trying to rescue the comparison with unrelated edits.

Compare the accent at face scale
Look at both images at the same size, with the whole face on screen. Does your eye go first to the lash line, the lip or the little bright spot? Now zoom in once to check whether the accent is where you intended it. A bright point that only works in an enlarged crop may not matter in person. A hard spot that jumps out at arm’s length may matter more than you expected, even when its color looks subtle up close.
Reject a preview if it changes the iris, shifts the lid fold, erases texture or draws light into the wet corner. Also reject one that brightens the bridge of the nose or softens the eyeliner in only one version. These are changes to the comparison, not reasons to choose the accent. Save at most two useful references, ideally the quiet version and the one with the smallest readable accent. If neither is faithful, use your original photo and skip saving a generated result.
Decide how small the first real trial should be
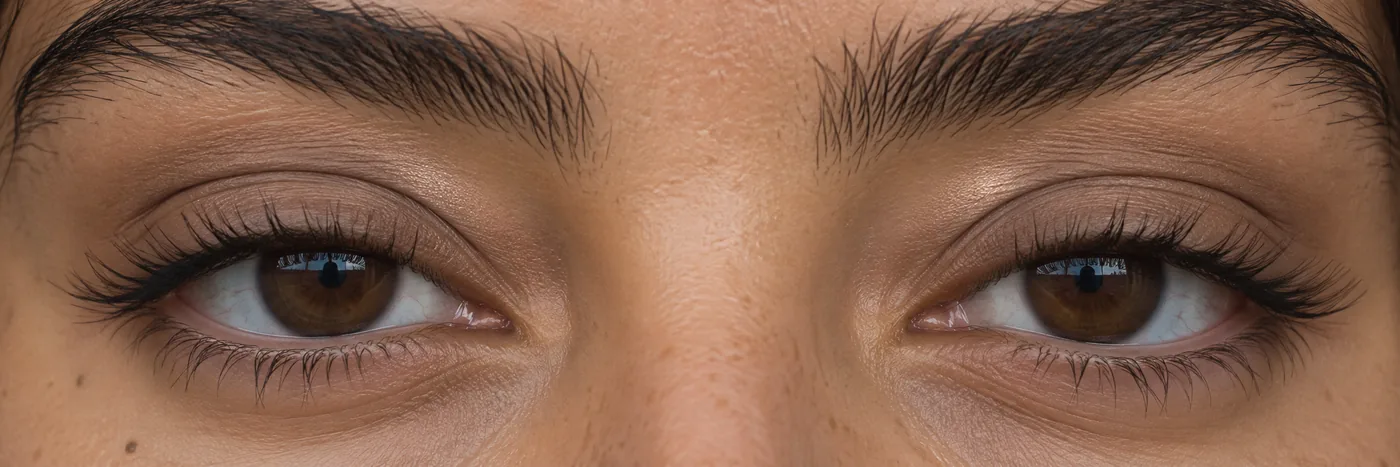
A small patch of lighter matte shadow and a reflective dot do not behave the same way. A matte shade can make a visible tonal change without a flash when you turn; a reflective shade can seem restrained straight on and catch the light sharply at an angle. The useful trial starts with one finish and one placement. If you swap both at once, you will not know which change made the spot feel too prominent.
Look at the actual eye product in the pan and choose a modest first deposit. A color a little lighter than the surrounding shadow may be plenty, particularly beside a dark line. A pale shade that looks gray on the skin or interrupts the rest of the palette is a reason to try a different shade another time, not to widen the first patch. Before adding anything, decide how you would remove or soften the accent without rebuilding the surrounding makeup.
Translate the saved idea into one gentle contact
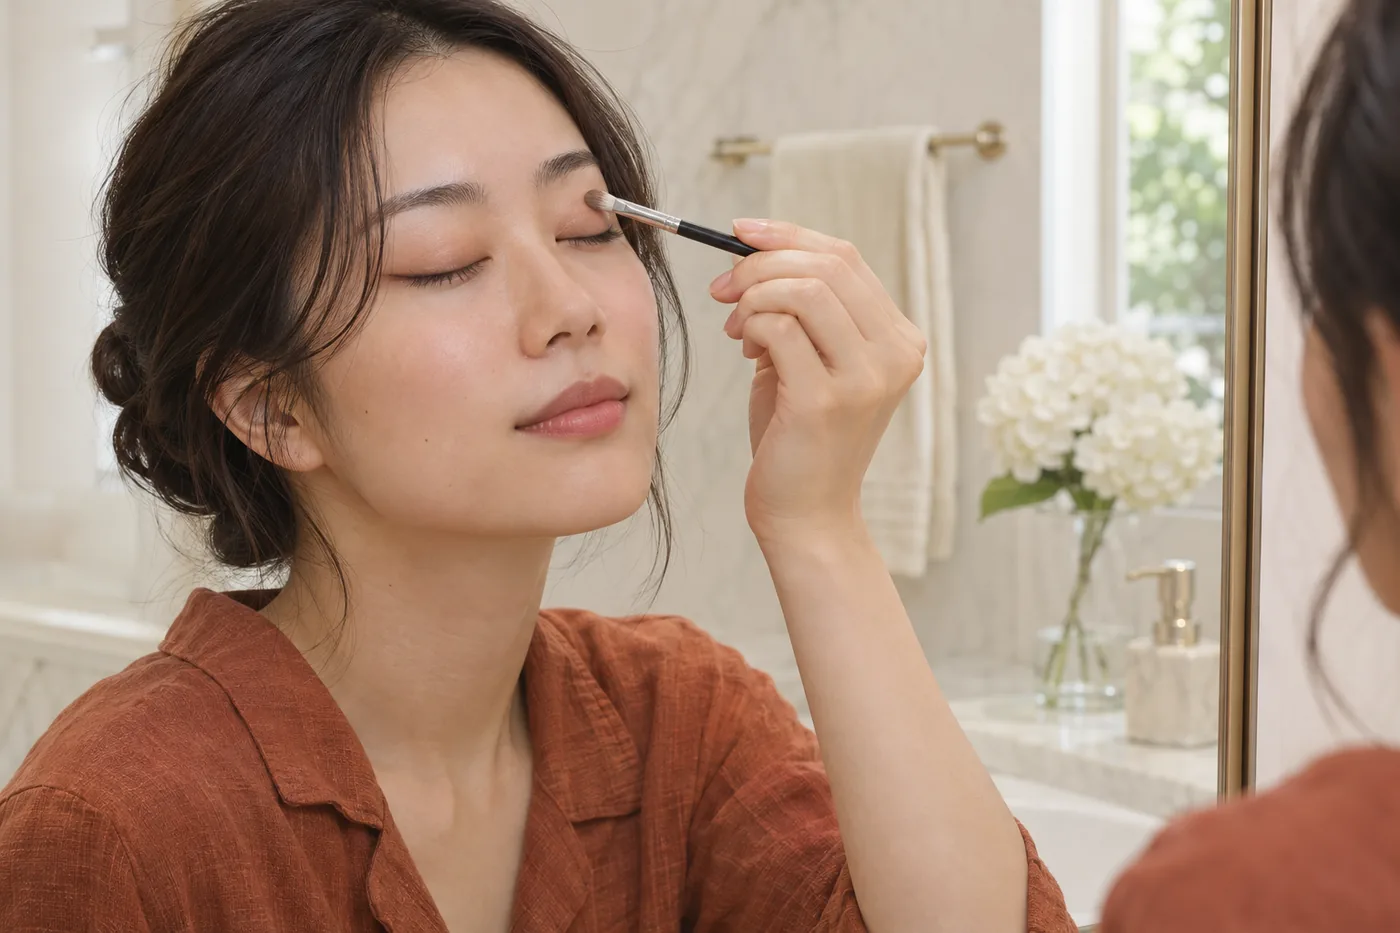
Use clean hands and a clean tool that lets you reach the external upper-lid skin without touching the eye or pulling the lid. Set your elbow on a stable surface if that helps. Look in the mirror and gently close the eye while placing the color, following the cosmetic’s instructions. Start with very little product on the tool and make one small contact. If you cannot see where the tool is going, stop and change your setup instead of reaching farther in.
Put the tool down before judging the result. Open the eye normally and check where the accent sits relative to the liner and to the bridge of the nose. If the highlight reads as a little stripe, the first deposit may be too wide. If the edge looks hard, soften the outer edge on the accessible skin with a clean tool only if you can do so comfortably. Leave the space toward the eye clear. The goal is to reproduce the role of the bright point, not to trace the preview pixel by pixel.
Compare in two real lighting conditions
Start in the light where you did the makeup. Then move to the light where the look will be seen: daylight by a window, an indoor lamp or the venue if you can check it there. Use roughly the same viewing distance and expression in both. Turn your head a little and blink normally. If the accent appears only in one direction, decide whether that occasional flash is part of the look you want or a distraction from the rest of the eye makeup.
If the effect looks unexpectedly strong, change one thing. Try a slightly smaller area while keeping the product, or try a less reflective finish later in the same spot. Do not fix a strong point by applying another bright color on top. If the first trial feels uncomfortable or moves toward the eye, stop and remove the product as directed. A digital shortlist cannot predict migration, texture, wear, exact shade, oxidation, irritation or the finished result.
Check both eyes without demanding a mirror image
Look straight ahead and then turn slightly to either side. Two lids can show different amounts of the same deposit when open, and the angle of a lamp can make one side flash while the other stays quiet. Before adding more, see what changes when you move the light or put on your usual glasses. At normal distance, the two sides may already feel balanced even if the dots do not match in a close photograph.
If you want to adjust one side, change the amount you can comfortably place on the external skin. Do not bring the brighter point closer to the eye in pursuit of symmetry. If the look works only while you raise your brows or keep your head at one exact angle, prefer a quieter accent or omit it. A photo can help you remember the decision, but everyday movement is a better test than a still pose.

Keep a note that helps with the next look
Write down which version you preferred and why: “small satin point beside a matte lid, visible in the hallway” tells you more than “champagne works.” Note the actual product, the tool and the light where you made the decision. If you left the area bare, record that too. It might be the useful answer when you wear the same liner again, even if you choose a highlight for a different occasion.
MaqAI publishes this guide; Hair Muse is the app used for the optional visual comparison. Keep the saved image as a reference for placement and emphasis. When the photo and mirror disagree, use your experience of the real product in the setting where you will wear it. If a small external accent adds something without competing with your chosen focal point, keep it. If it adds another thing to monitor, the original look already works.