
Everyday makeup planning
Makeup with glasses: see the look through your frames
Compare eye, brow and lip emphasis on one clear portrait, then put on the actual glasses and check the fit, lenses and wear.

Makeup with glasses works best when the frames are part of the look from the beginning. A liner that looks strong without glasses may disappear behind a dark upper rim. A barely visible brow can become the clearest line above a transparent frame. The lens, light and distance between your lashes and glasses also affect what you see. You do not need a special set of colors or a rule that thick frames demand thick eyeliner. You need to compare your own options with the glasses you actually wear.
Start with one clear portrait and three deliberate versions of eye, brow and lip emphasis. MaqAI can help you plan those relative choices before you open multiple products. Then put on your real glasses and check the look in a mirror, in daylight and over several hours. A generated portrait cannot simulate your prescription, lens reflections, physical pressure points or mascara touching the glass accurately. This guide uses the preview as a shortlist and lets the real frame make the final decision.
Map what your frames actually cover
Put on the glasses you will use and face a mirror in ordinary daylight. Note where the top rim crosses your brow or lid, whether the bridge casts a shadow, and how much of the outer eye stays visible. Look straight ahead, smile and turn slightly. A large frame may reveal more lid than a narrow one; a thin metal rim can still catch light; a dark acetate rim can become a deliberate graphic feature. Do not judge only from a tightly cropped eye photo. Check from conversational distance, where people see frame and face together.
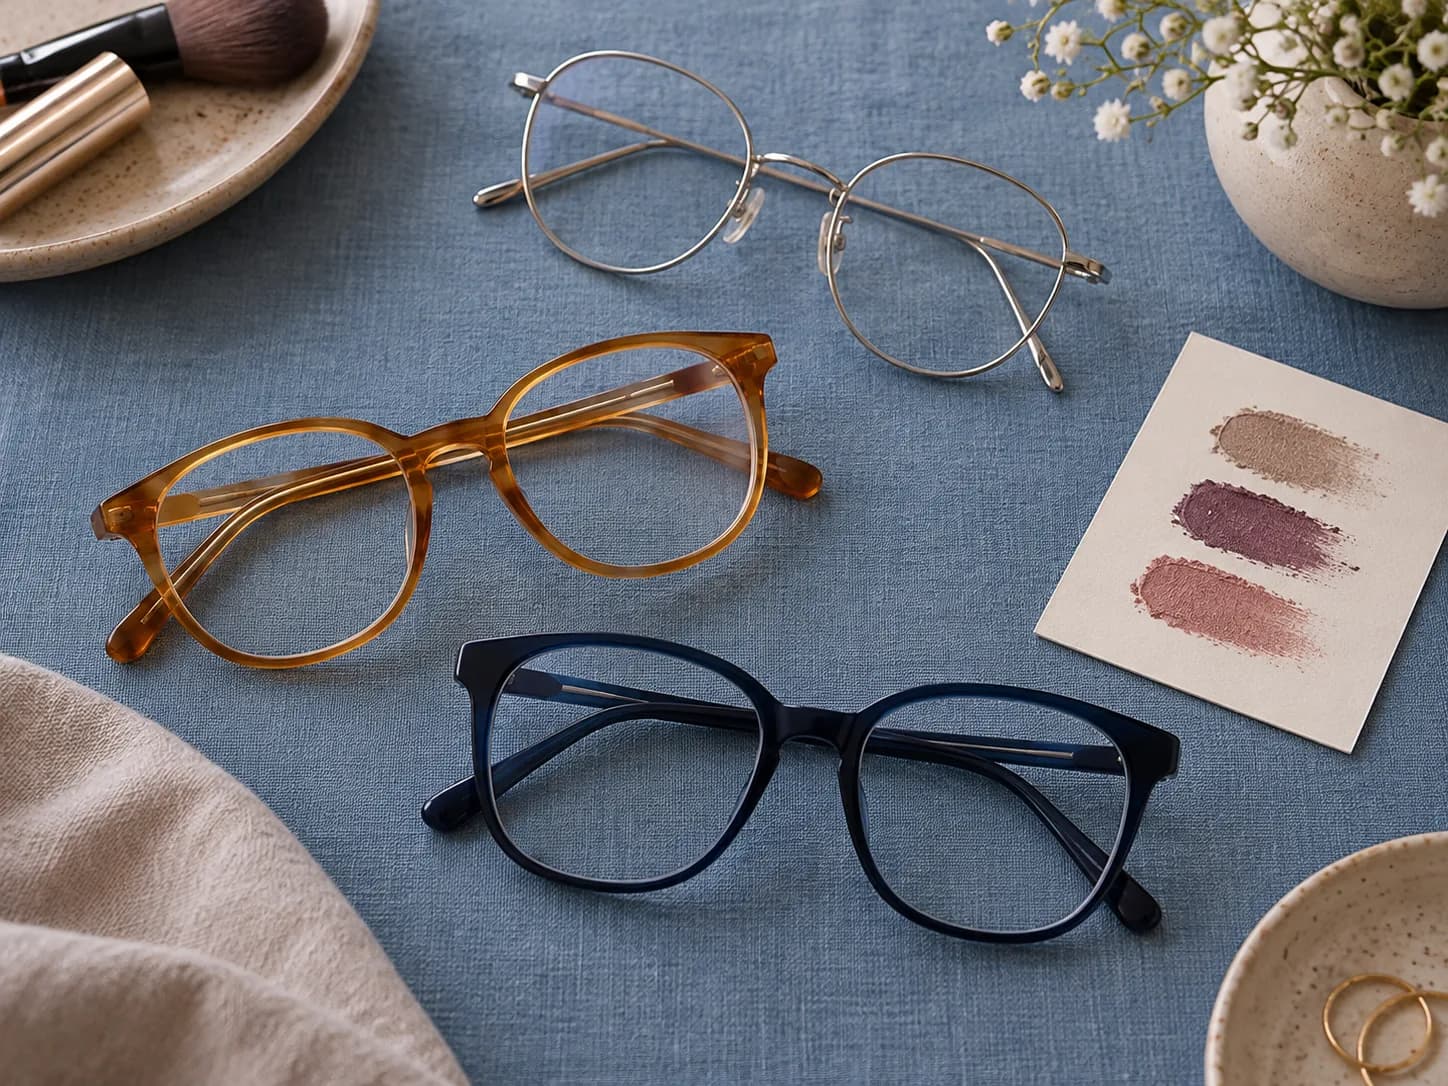
If you rotate between pairs, choose one for the first test. Comparing makeup across a silver wire frame and a bold navy frame at the same time adds too many variables. Note color near your face, frame thickness and the position of the nose pads. Your prescription may alter apparent eye size through the lens, but the effect depends on the actual lens and fit. No need to compensate automatically. Ask instead which feature you want visible: lash line, lid color, brow, cheeks or lip.
Photograph the face for a fair preview
Take a sharp front-facing portrait with eyes, brows, cheeks and lips clearly visible, in soft neutral light. Keep the camera near eye level and avoid beauty filters. Make one photo without glasses so the makeup placement is readable, then take a second reference photo wearing the chosen pair in the same light. If lenses reflect the window strongly, move slightly rather than tilting the camera into a distorted angle. The two photographs serve different jobs: the clear face supports visual planning, and the glasses photo reminds you what will cover or change the result.
Use the same source portrait throughout your first MaqAI comparison. Different crops, exposure and lighting can make one lipstick or shadow look stronger for reasons unrelated to the chosen look. Follow the in-app disclosure before selecting the photo for processing and use an image you have the right to submit. Keep the original and frame reference together. A crisp preview can help compare emphasis, but it cannot model the prescription's optical size change, the exact tint of coatings or the way the frame physically sits.
Compare makeup with glasses in three directions
Make three versions on the same face: a quiet eye with a clearer lip, a defined lash line with a soft lip, and a softly colored lid with a natural brow and lip. These are starting contrasts, not three styles everyone must wear. In MaqAI, hold the photo and overall complexion steady so one meaningful variable changes at a time. Look at the versions at equal size, then refer to the glasses photo. Would the rim obscure the shadow placement? Does the lip bring balance to a frame that already supplies strong lines?
Save a small shortlist of two directions, not every attractive render. Name the reason for each choice: perhaps a visible upper lash line or a lip that relates to the frame color. Now recreate the two directions lightly with products you own and put on your actual glasses. Check straight on and at a slight angle. If the first preview promised a larger-looking eye but the real lens changes it differently, follow the mirror. Screen color and generated texture are approximate; a preview does not certify shade, formula, wear or fit.
One source photo, three different points of emphasis, two finalists and one real-glasses check.
Place liner where the frame leaves room
Open your eyes and trace the visible space between the lashes and the upper rim. A tiny line pressed close to the lashes may add enough definition under a heavy frame. If you prefer a wing, check its endpoint with glasses on before extending it; the temple and outer edge of a frame can hide or visually double a wing. A thin frame does not forbid bold eyeliner, and a thick frame does not require it. Compare line thickness at normal distance and stop when the intended shape reads clearly.
Shadow can sit on the mobile lid, at the outer corner or softly above the natural crease depending on what the lens reveals. Try one placement with a familiar shade before changing depth and color together. ZEISS describes how prescription lenses can change the apparent size of the eye, but an individual result is more useful than a fixed near- or far-sighted palette rule. If an optical effect makes a line seem heavier or lighter, adjust the real line in small steps rather than compensating from a diagram alone.
Check brows and lashes as physical details
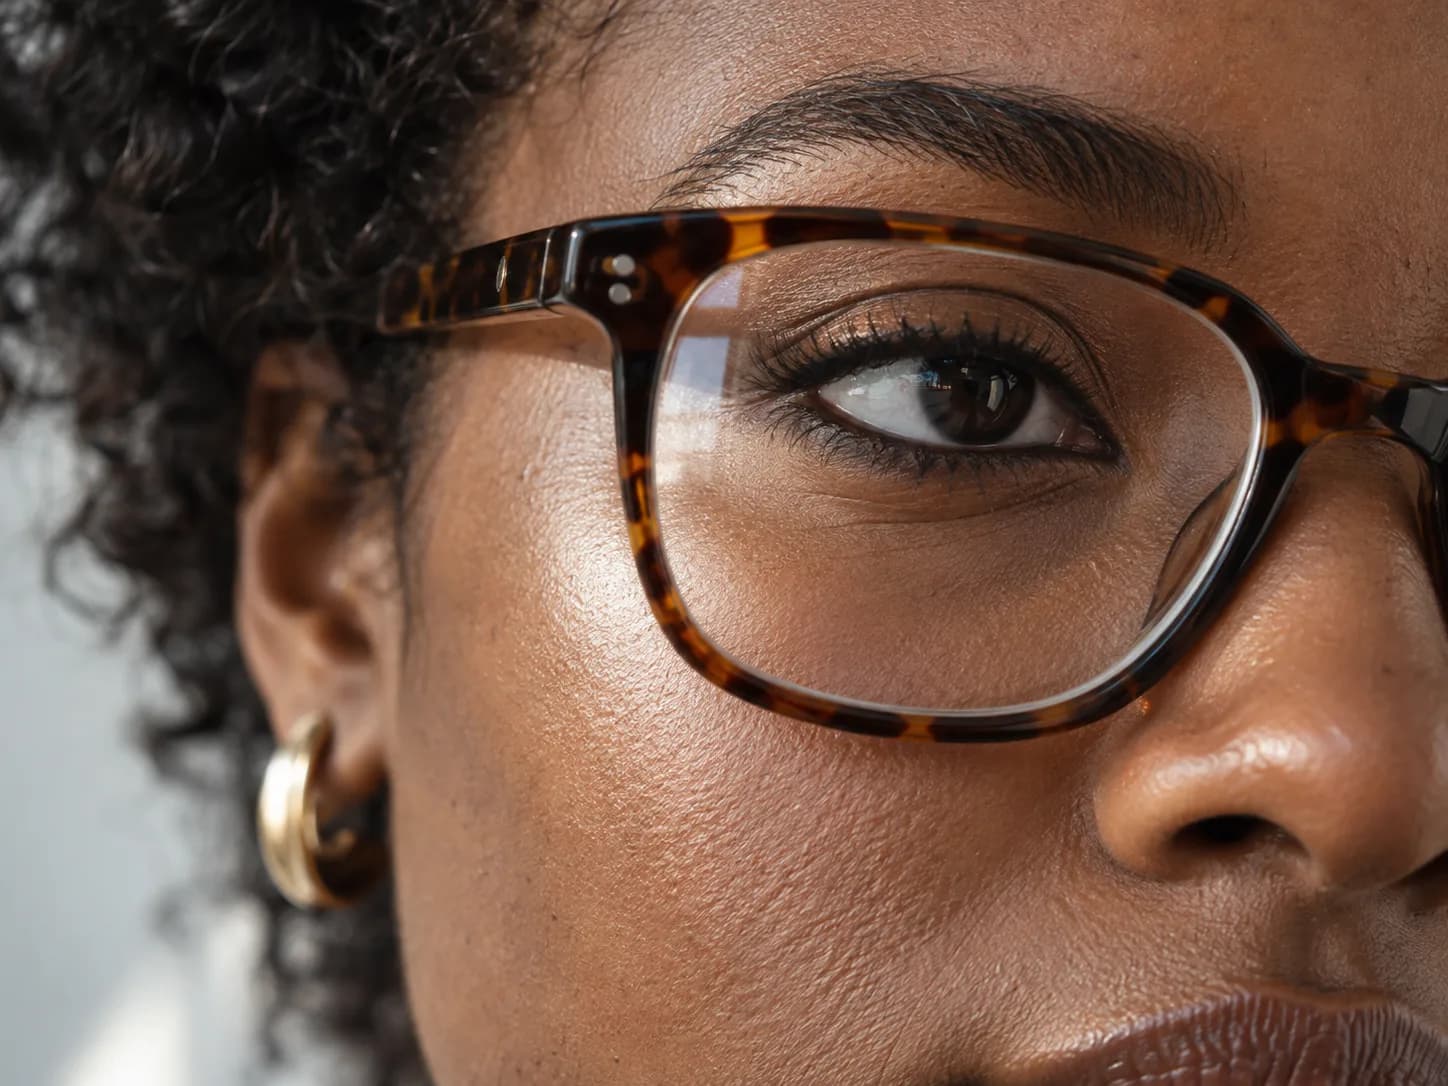
Brush the brows into their natural shape, put on the glasses and see which parts remain above the top rim. Fill an obvious gap only if it changes the expression you want. A brow that looks sparse in a close-up may be balanced at conversational distance; a heavy block can compete with an already dark frame. You can also use a lip or cheek accent to redistribute attention instead of adding more eye pigment. Keep the test about the whole face, not a demand for perfect brow symmetry.
Lashes need a separate comfort check. Before applying mascara, put on the glasses and blink several times. If natural lashes already brush the lens, long extensions or a projecting mascara layer may worsen the contact. A gentle curl and a measured coat can alter direction, but comfort and eye safety come first. Warby Parker notes that lashes touching lenses can leave streaks and irritation. If the frame fit is the cause, ask an optical professional about adjustment rather than building a more complicated makeup solution.
Keep the bridge and cheek contact points light
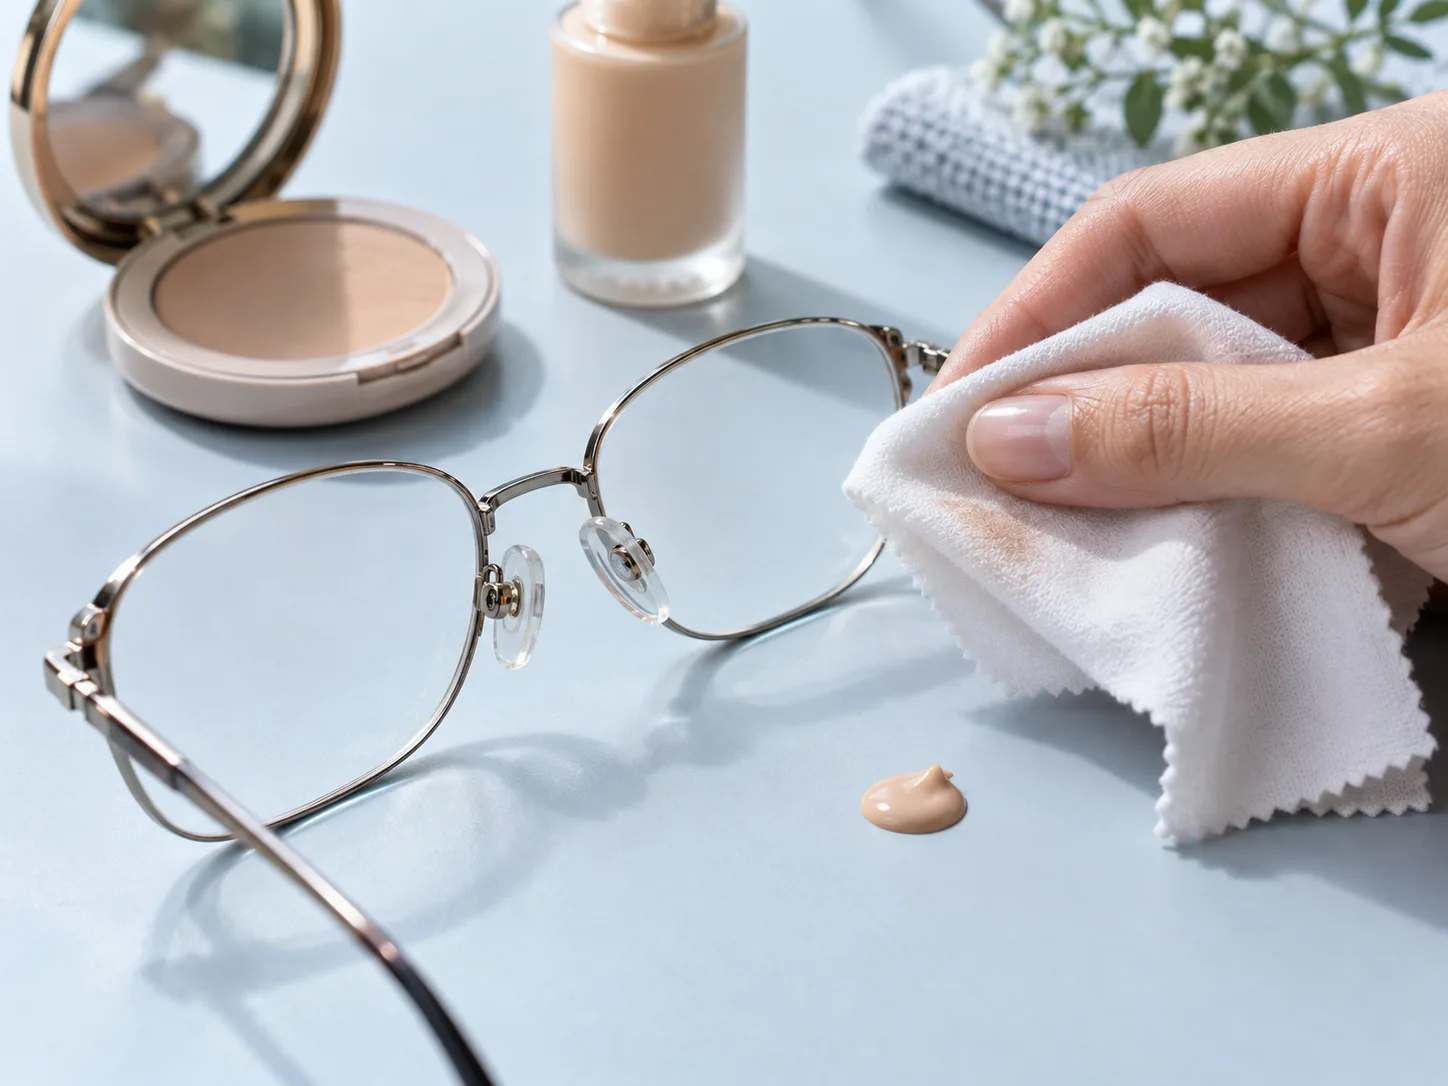
Locate exactly where the nose pads or bridge and lower rims touch your face. Build complexion coverage around those points, then use a thinner amount directly beneath the contact. A thick slippery stack can transfer to the frame and reveal a sharp mark when you remove it. Let skincare and sunscreen settle as directed, apply a restrained complexion layer and test the frame for ten minutes before adding powder. If powder helps your own combination, press a small amount only where needed. More powder is not a universal solution.
Do not reduce necessary sunscreen just to keep nose pads clean. Keep protection according to product directions and handle the cosmetic layer separately. Clean the parts of your glasses that touch skin according to the frame and lens maker's instructions; do not rub makeup remover onto optical coatings without checking compatibility. If the glasses slide or press painfully even on bare skin, fit may matter more than makeup. A licensed optician can assess the frame. A beauty preview cannot diagnose or correct physical pressure.
Test the complete look in your everyday light
Once you have two promising directions, apply each on separate comparable days with the same frame. Look in daylight and under the indoor lighting where you spend time. Take a face photo and a wider outfit photo. Lens reflection can hide the eye in one image without hiding it in conversation, so turn your head slightly and check the mirror as well. Notice whether the brow, liner, cheek and lip read together, and whether the frame color seems deliberately repeated, contrasted or simply neutral.
Revisit the result after several hours, not only at the mirror immediately after application. Inspect mascara marks on the lens, smudging at the upper rim, transfer at the bridge and areas where the lower frame meets the cheeks. Record the first meaningful change and how often you removed the glasses. If one eye look needs constant cleaning, simplify its lash texture or check frame fit. If a bright lip balances a dark frame in daylight but feels too strong indoors, test a nearby depth while leaving the rest unchanged.

Make a repeatable routine for your own pair
Write a short final brief: chosen glasses, visible eye shape, one or two colors, lash approach, lighter contact-point coverage and the products that survived the wear test. Repeat it once before an event so a good photo is not mistaken for a comfortable routine. Carry only what your rehearsal showed you need, perhaps a clean lens cloth and lip color. If you change to a different pair, reassess the look from conversation distance; the makeup itself may need only one small adjustment.
You can wear strong eyes and strong lips with glasses, or hardly any eye makeup at all. The useful choice is the one that works with your frame, vision, comfort and style. MaqAI can organize visual alternatives and reduce random color changes, while your real mirror and glasses decide placement, optical appearance and wear. Neither an app nor a static article can promise an exact product shade or tell whether a lash will touch your lens. Let the practical check finish the plan.