
Eyeliner technique
Free uneven eyeliner guide: balance mismatched wings
Map the effect with relaxed eyes, build both wings in small passes and correct the weaker side without turning two fine flicks into heavy triangles.

A free uneven eyeliner guide should do more than promise identical wings. It should help you see why one side looks higher, longer or heavier and show the smallest useful correction. Eyes, brows and lid folds are naturally different, so copying the same geometric line on both sides can create two different effects. The practical target is visual balance when your face is relaxed, not mathematical symmetry in a magnifying mirror.
Work with a clean mirror, steady light and the eyeliner you already own. First decide the effect you want, then mark two small endpoints, build the difficult eye first and compare both sides from normal distance. If something drifts, remove or soften the excess before adding more to the better wing. That order prevents the familiar cycle in which every correction makes both sides thicker.
The eye area is delicate. Use only products intended for that area, keep hands and tools clean and stop if a cosmetic causes irritation. Never correct liner in a moving vehicle or press a sharp applicator toward the eye. Technique is useful only when it remains comfortable and safe.
Define balance before drawing the first line
Choose three variables before application: where each wing should end, the direction it should travel and how much visual weight the lash line should carry. A tiny outward flick, a lifted classic wing and a straighter elongated wing are different designs. If you begin on one eye without deciding which design you are making, the second eye has to imitate a moving target.
Stand or sit far enough from the mirror to see both eyes at once. Relax the forehead, look straight ahead and notice the visible lid space, outer corner and brow tail on each side. One fold may sit lower or one eye may open wider. Those differences are not faults to erase. They tell you where the liner can remain visible and how the two wings can create a comparable lift.
Use effect words instead of measurements alone. Decide whether the pair should feel soft, crisp, lifted, elongated or subtle. Two wings may need slightly different paths to produce the same word. This is especially important for uneven creases or hooded lids, where an identical closed-eye triangle can fold differently once the eyes open.
Aim for matched effect with your eyes relaxed, not identical lines on two naturally different lids.
Prepare a small correction kit before you begin
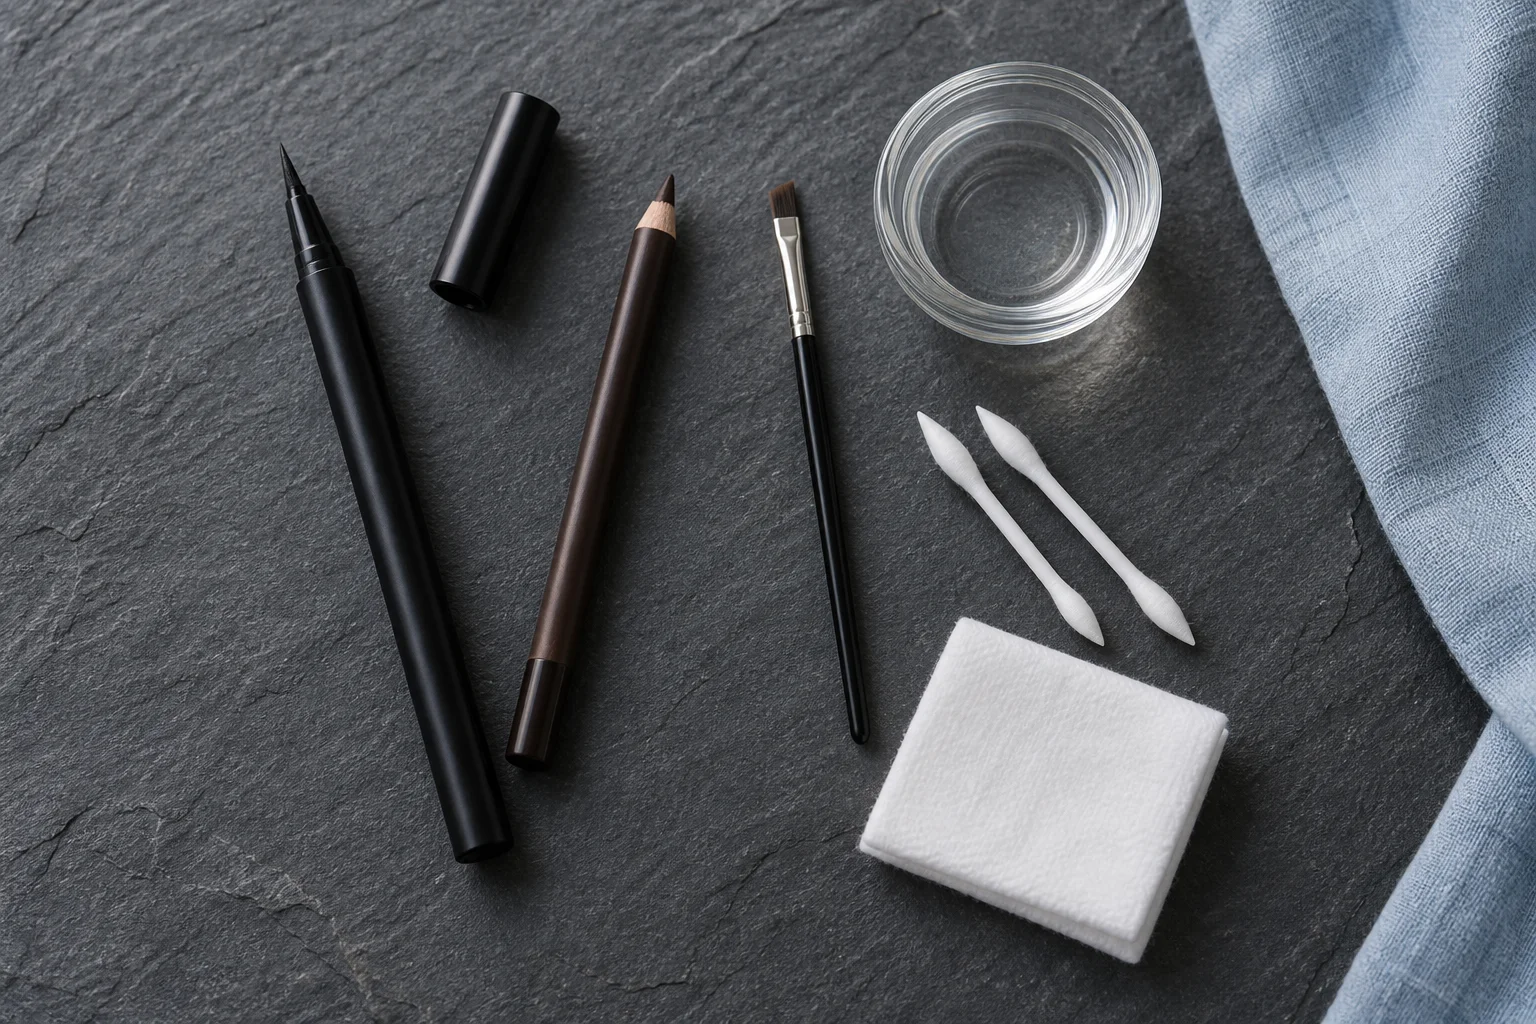
Keep the setup minimal: your chosen liner, a clean fine or angled brush if the formula needs one, pointed cotton buds, a lint-free pad and an eye-area remover compatible with your products and skin. Place everything on a stable surface. Searching for a cotton bud while liquid liner dries often turns a cleanable edge into a rushed second layer.
Check the applicator before it reaches the lid. A frayed brush, dry felt tip or blunt pencil creates skips that look like hand-control problems. Wipe excess from a liquid tip according to the product directions, sharpen a suitable pencil cleanly and test one short stroke on a separate clean surface. The line should start and taper predictably without a large bead of product.
Do not share eye cosmetics or use a communal tester directly around the eyes. The US Food and Drug Administration advises clean hands and instruments, warns against applying eye makeup in a moving vehicle and recommends stopping immediately if irritation occurs. Replace products that have changed unexpectedly and follow their storage and use directions.
Review the FDA eye cosmetic safety checklistClean makeup brushes without damaging their shape
Map endpoints with both eyes open
Face the mirror squarely with your chin neutral. Place one tiny guide mark beyond each outer corner while both eyes remain open and relaxed. Compare the height of the marks against the whole face, not only the nearest brow hair. Then check whether their distance from the eyes feels similar. These points are destinations, not commitments, so keep them faint and small.
Use the lower lash direction as one possible reference, but do not force it when the two eye shapes differ. A slightly flatter angle may stay visible on a hooded side, while the other side can take a more direct line. The endpoints should create a related lift and length in the front view even if their exact relationship to each crease is different.
Take one step back or use the mirror at arm's length. Close-up vision exaggerates a half-millimeter shift and encourages constant editing. From conversation distance, ask whether one endpoint makes the eye look longer, higher or heavier. Move only that mark before filling any wing. A clean map is faster to change than finished opaque liner.
Use the free uneven eyeliner guide on the harder eye first
Start with the eye whose crease, hand angle or visibility usually makes application harder. If you perfect the easier side first, the difficult side must copy a shape it may not physically support. When the challenging eye establishes the realistic length and angle, the easier eye can adapt to it with less product and fewer corrections.
Brace the elbow on a table and let the side of the hand touch the cheek lightly if that position is comfortable. Use short presses or strokes instead of one airborne sweep. Draw from the endpoint toward the outer lash line, then connect only the space that remains visible with the eye relaxed. Avoid pulling the lid tight; the shape can shift when the skin returns to rest.
Build the tail before thickening the entire lash line. A successful small wing can always gain a little depth, but a thick base is difficult to remove without disturbing nearby shadow or complexion makeup. Finish one light outline on each eye, open both eyes and compare. Only then fill gaps or deepen the color.

Compare angle, length and thickness separately
When the pair looks uneven, name the variable before touching the liner. Angle describes whether one tail rises more steeply. Length describes how far it extends. Thickness describes visual weight at the base and tail. A wing can share the same endpoint yet look heavier because its lower edge begins farther inward. Treating every mismatch as a length problem adds product in the wrong place.
Check angle first because it changes the expression most strongly. If one tail drops, remove a tiny part of its lower outer edge or lift the endpoint rather than raising the other wing immediately. Next compare length at normal distance. Finally squint slightly to read the dark shapes as masses and decide whether one side carries more area.
Photograph the face straight on in neutral light if the mirror remains confusing. Do not flip, reshape or beauty-filter the image. A still frame can reveal a head tilt or raised brow that made the application look uneven. The portrait should confirm the relaxed effect, not become another surface for pixel-level perfection.
Practice the motion away from the eye
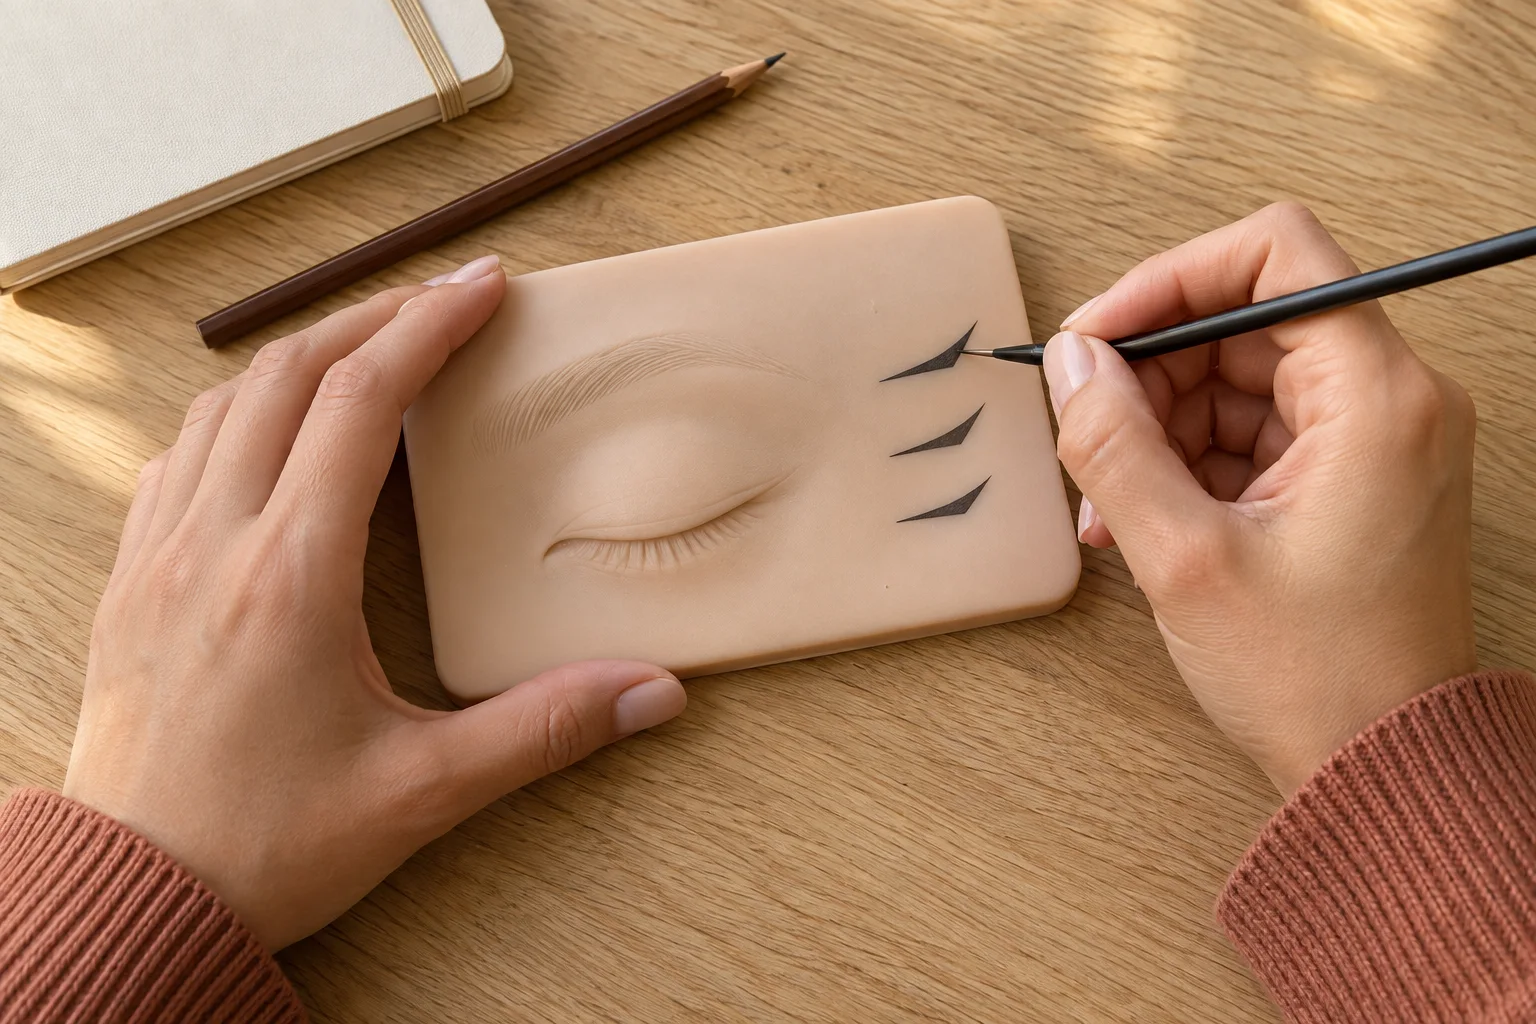
If the second wing repeatedly changes direction, practice the wrist motion on a clean reusable makeup practice surface or paper intended for that purpose before working near the eye. Draw three small tails using the same grip and pressure. Notice whether the line is easier when it travels toward or away from the center and whether rotating the surface gives the non-dominant side a steadier angle.
Practice with inexpensive shadow and a clean angled brush when you want a forgiving map. The goal is not to waste liquid liner or create perfect calligraphy. It is to learn how little pressure creates a tapered end and where the hand needs support. Five controlled strokes teach more than repeatedly thickening a finished wing on sensitive skin.
Transfer only the most repeatable motion to the lid. You can sketch both tails with soft shadow, assess them with open eyes and trace the accepted shape with pencil, gel or liquid liner. Keep the sketch thin enough to disappear under the final line. This separates design from precision and makes the permanent-looking step much calmer.
Fix eyeliner without starting over
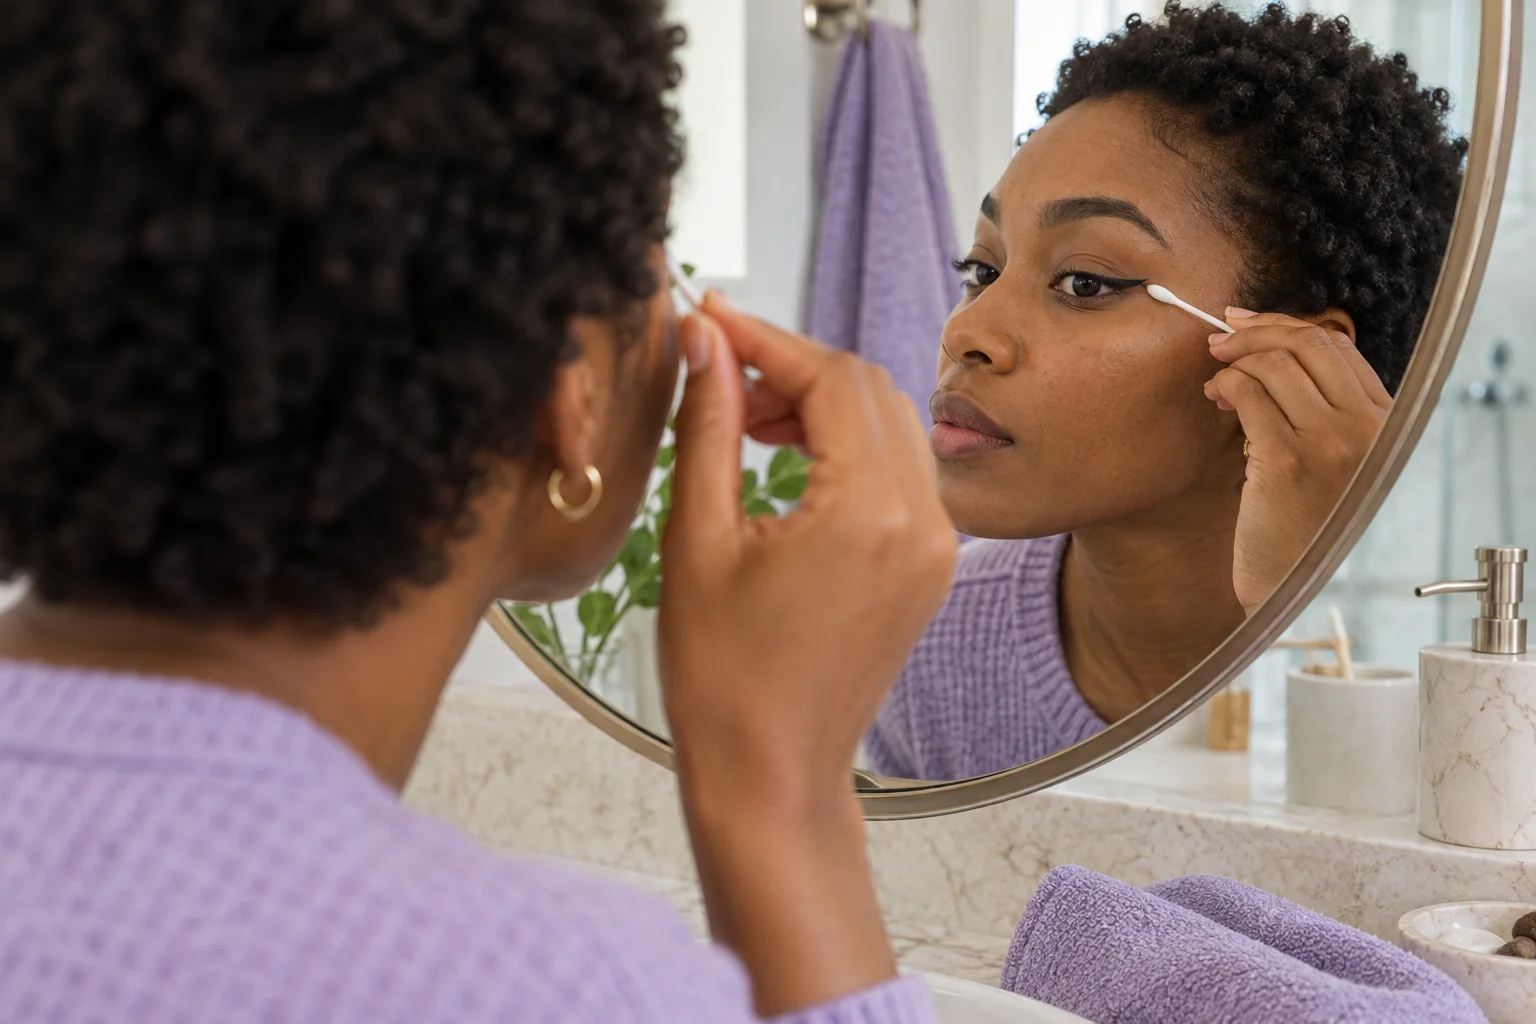
Correct by subtraction before addition. If one wing is too long, remove a tiny section from the tip and recreate the taper. If it is too thick, clean the lower edge in short outward motions rather than rubbing across the whole tail. If the angle is wrong, erase back to the last point where both sides still felt related and remap the endpoint.
Use the smallest amount of remover that softens the formula. Saturated cotton can spread pigment, disturb foundation and enter the eye. Keep the eye closed or comfortably directed away as appropriate for the product, work only on outer skin and follow remover instructions. Let the area dry before drawing again so a fresh line does not bleed into residual liquid.
When the mistake sits along the lash line, a soft shadow or pencil may be easier to diffuse than to erase completely. Turn a minor skip into a deliberate soft edge on both sides only if that still matches the intended look. Do not redesign the entire eye merely to protect one error. A small, clean correction usually preserves more of the original plan.
Protect the eye area while refining the edge
Keep eyeliner on the external skin where the product is intended to be used. The American Optometric Association notes that liner applied along the inner rim can migrate into the tear film and advises contact lens wearers to remove lenses before removing makeup. Follow your eye care professional's instructions and the specific label, especially if you wear contacts or have sensitive eyes.
Do not continue through burning, persistent watering, swelling or redness. Remove the cosmetic gently, stop using the suspected product and seek medical advice if symptoms persist or are severe. Cosmetic balance is never worth a scratched eye or irritated lid. Also discard eye makeup used during an eye infection rather than returning it to the routine.
At the end of the day, remove liner without aggressive side-to-side rubbing. Give a compatible remover time to loosen the formula, then wipe gently with a clean pad according to its directions. Clean the reusable brush and close products firmly. A controlled removal routine protects the skin for the next practice session and shows whether the liner was genuinely easy to live with.
Read optometrist guidance about eye makeup and contact lenses
Keep the version that works in movement and real light
Check the liner while talking, smiling and blinking. A wing that looks aligned in a frozen close-up may disappear into one crease or transfer above the lash line after several minutes. Look in daylight and the light in which you will wear it. If one side transfers, solve placement, preparation or formula behavior instead of making the visible side thicker.
Record a compact recipe: difficult eye first, endpoint reference, approximate tail length, product type, stroke direction and the correction that worked. A simple note such as short flat brown wing, mapped open, outer edge cleaned once is more repeatable than a heavily edited photo. It also helps you notice whether a new product changes control or only changes color.
The useful outcome of this free uneven eyeliner guide is a pair that reads as intentional without demanding identical anatomy. Keep the smaller successful wing, adapt each path to its lid and stop once the effect feels balanced at normal distance. Precision improves with repetition, but restraint is what prevents a minor mismatch from becoming two oversized wings.