
Lip gloss technique
How to apply lip gloss with a lighter first layer
Control the first amount, keep corners clear and refresh only what is missing with an actual gloss routine you can repeat.
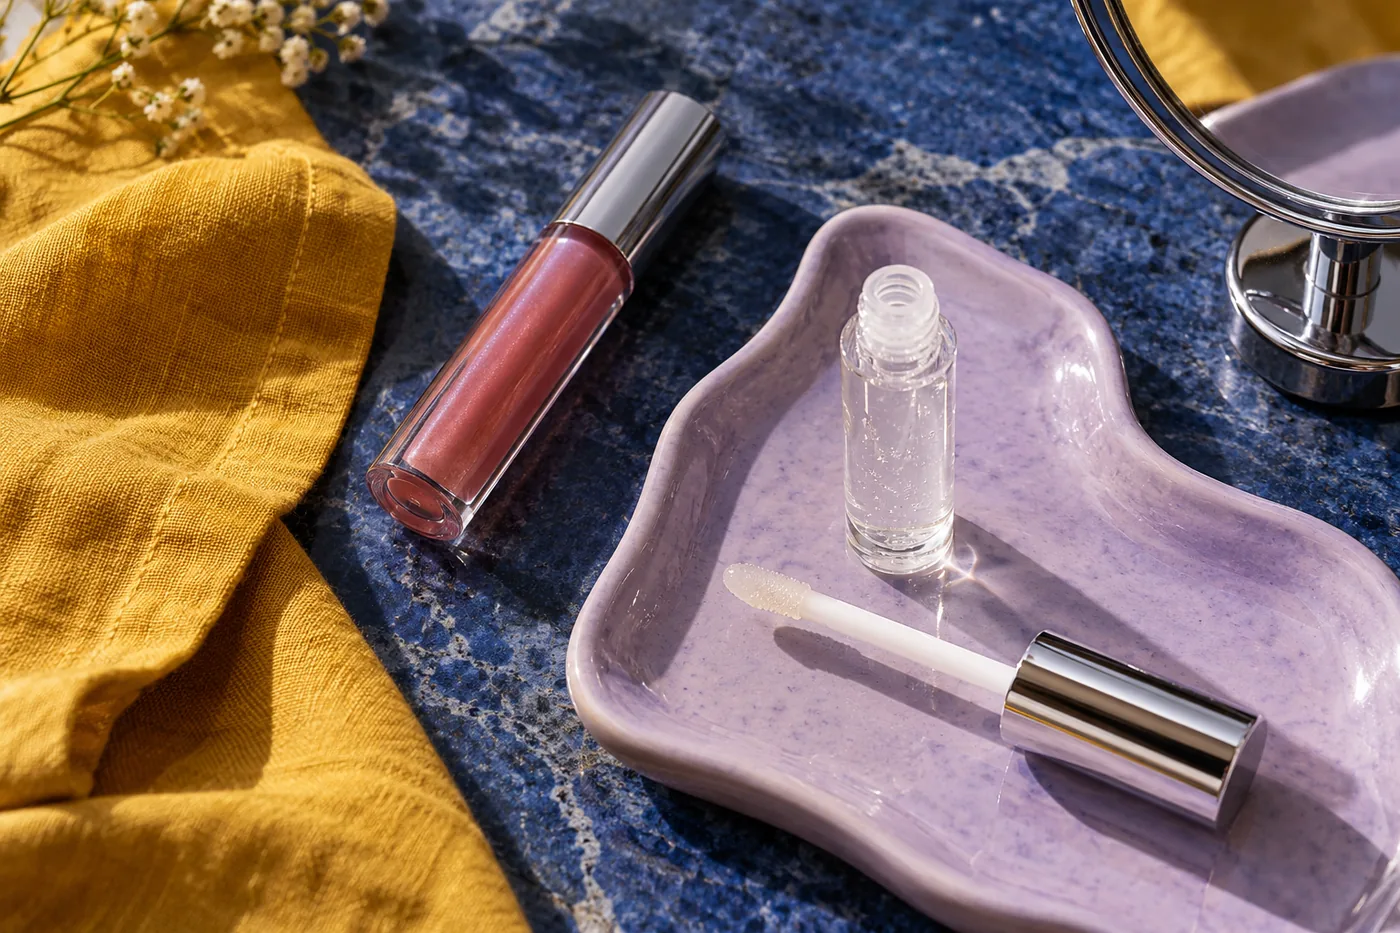
Learning how to apply lip gloss is mostly a question of controlling the first deposit. A generous swipe can look appealing in the mirror but collect at the corners, move onto the teeth or feel heavier once you speak. Begin with a small amount on the visible lip surface, spread it within your natural outline and pause before reloading. More reflection does not always require a thicker coat across the whole mouth.
This MaqAI guide teaches a physical routine with the gloss and tools you already have. You do not need an app to follow it. The aim is a manageable glossy layer, alone or over a compatible lip color, with room for natural texture and ordinary movement. Product directions, comfort and your actual application matter more than a perfectly smooth promotional photograph.
How to apply lip gloss starts with the intended layer
Decide whether you want a small reflected highlight, a more even glossy surface or a tinted glossy lip. Those jobs require different amounts of visible color, but none automatically calls for repeated full coats. Look at the product itself: a sheer gloss may leave natural pigment visible, while a more opaque formula changes the color as well as the reflection. Do not keep adding a transparent product simply because it never becomes lipstick-like coverage.
For the first trial, use the gloss alone on comfortable lips so that you can recognize its own behavior. If you already know the formula and want to put it over lipstick, keep that separate step for later in this sequence. Set out a mirror, clean tissue and any applicator intended for your product. A stable position and a clear view of both corners help you stop before the layer reaches places where you do not want it.
Check comfort before trying to smooth the surface
Notice how the lips feel without product. Do not pick at loose skin or repeatedly scrub to make the surface resemble an edited image. If the lips are sore or cracked, a decorative layer is not a treatment. Give comfort priority and postpone the gloss if necessary. The American Academy of Dermatology advises stopping products that burn, sting or otherwise irritate the lips. Tingling is not proof that a cosmetic is improving the skin.
If you normally use a suitable non-irritating balm, allow it to settle and assess any excess slip before applying makeup. Follow the particular products' directions rather than assuming every balm and gloss work together. A visibly mobile balm layer can make it harder to understand where the gloss itself is moving. Gently remove excess where appropriate instead of piling on another formula. Keep natural lines visible; gloss can reflect from them without requiring you to erase them first.
Read the applicator and reduce the first load
A doe-foot, brush tip and squeeze tube release different amounts. Withdraw a wand as instructed and inspect what remains after the package's wiper. If the tip carries a large bead, use the package's intended dosing method before touching the lips. Avoid scraping forcefully against packaging or improvising a new opening. With a tube, dispense gradually according to its directions instead of squeezing until a large amount has already escaped. You can add a little later.
Keep hands, containers and reusable tools clean, and do not share lip cosmetics. These handling principles are consistent with the FDA's general cosmetic-use guidance linked here. Do not dilute thickened gloss with water or another liquid, and do not treat a change in smell or appearance as a blending problem. Follow storage and replacement instructions. A separate clean lip brush can help with control when the product permits it; it does not make a shared or questionable product appropriate to use.
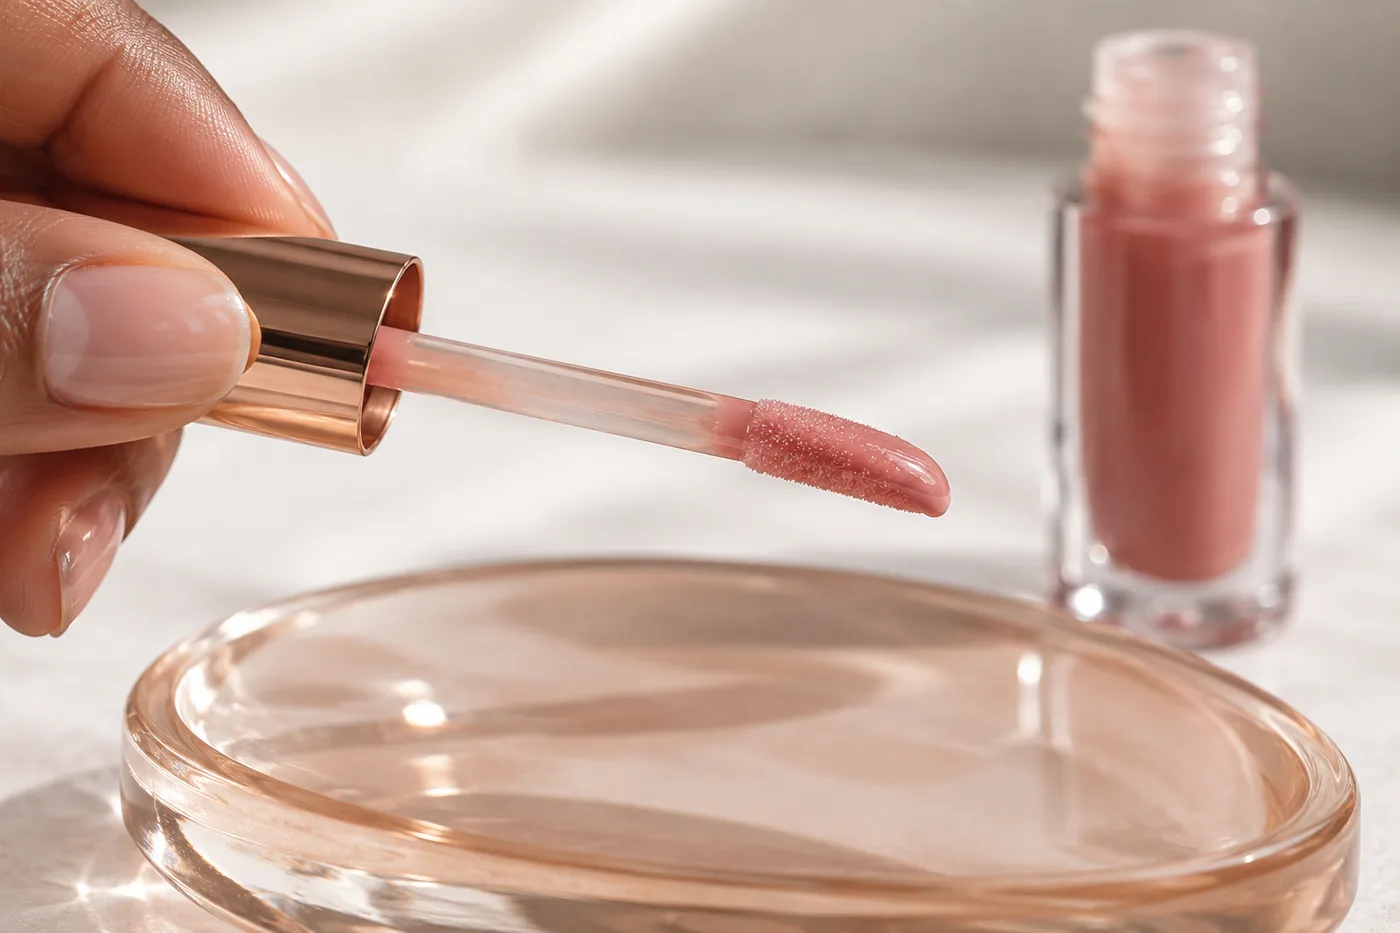
Place the first touch away from corners and inner contact
Start with a small touch on the visible center of the lower lip, staying away from the wet inner surface that meets the teeth. Use the remaining product to spread outward in short, controlled strokes, stopping within the natural edge. This center-first starting point gives you space to distribute the initial load. It is not an instruction to leave a thick mound in the middle or to drag the applicator beyond the lip border.
Work on the upper lip with what the applicator still holds before deciding to reload. Follow your own visible outline, including its natural asymmetry. Near the corners, use less product and a small movement rather than sweeping a loaded tip directly into the crease. Keep the mouth relaxed enough to see the shape you actually wear. A stretched smile may help expose a corner briefly, but return to a normal expression before deciding whether the boundary is finished.
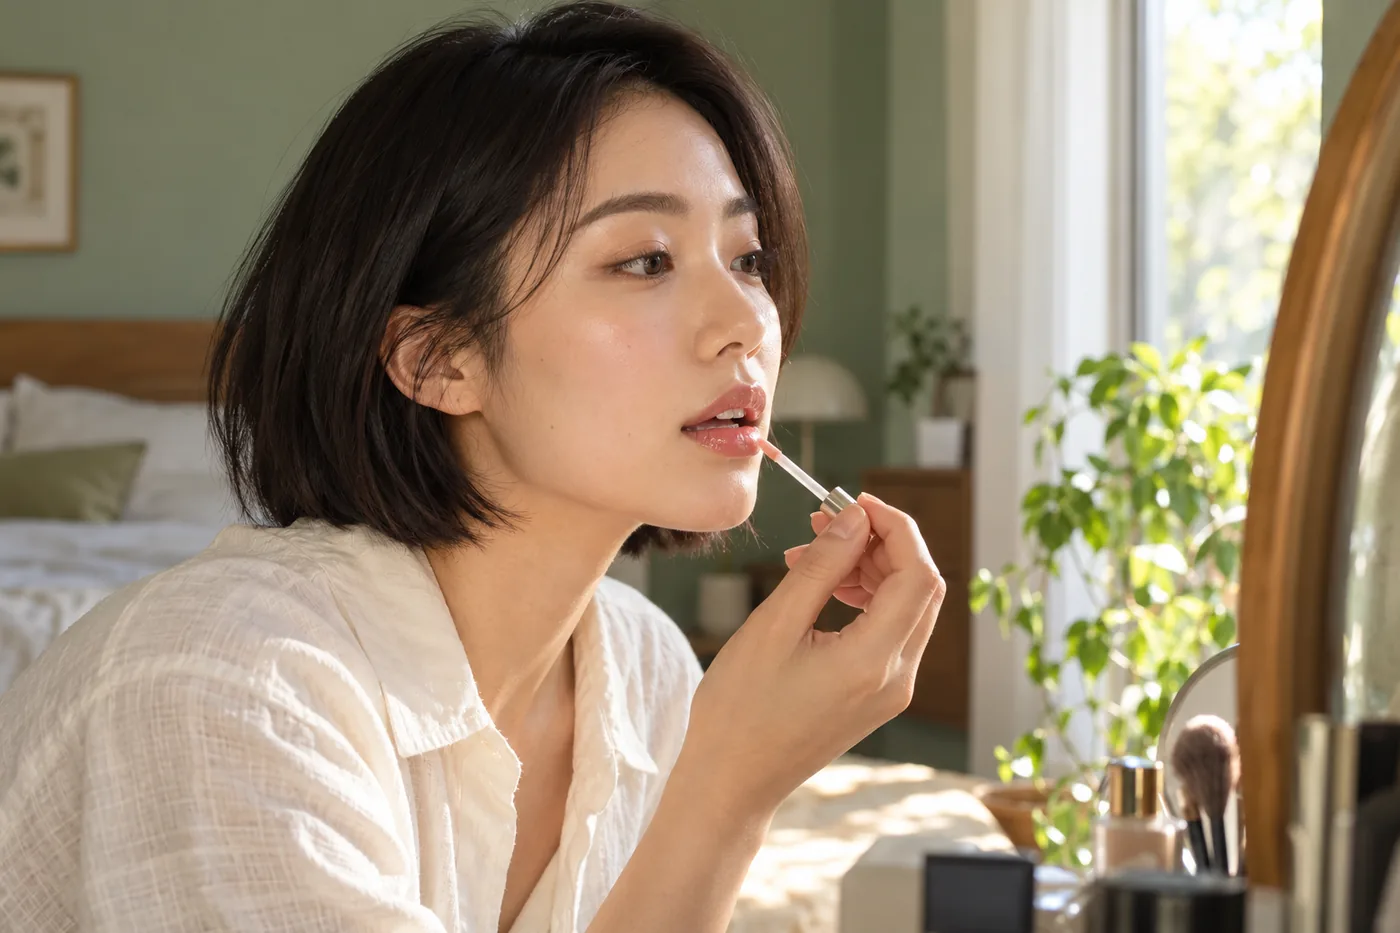
Pause, move the mouth and decide whether more is needed
Let the first thin layer distribute as the product is designed to do. Do not repeatedly rub the lips together to force every formula into an identical finish. Gently close and open the mouth, say a short sentence and inspect the corners and inner contact area. Check reflection from normal viewing distance as well as close up. A bright window can create a broad highlight on a small amount; a dim room can make the same layer appear less glossy.
If one visible area genuinely lacks product, add a tiny local touch there. When the whole lip already feels heavily coated, another complete swipe is unlikely to solve the problem. Remove excess rather than trying to hide it with more color. The linked ordinary-light guide explains why changing the viewing conditions is useful before changing the makeup. Your target is the amount you can wear comfortably, not the highest shine obtainable from the package at that moment.
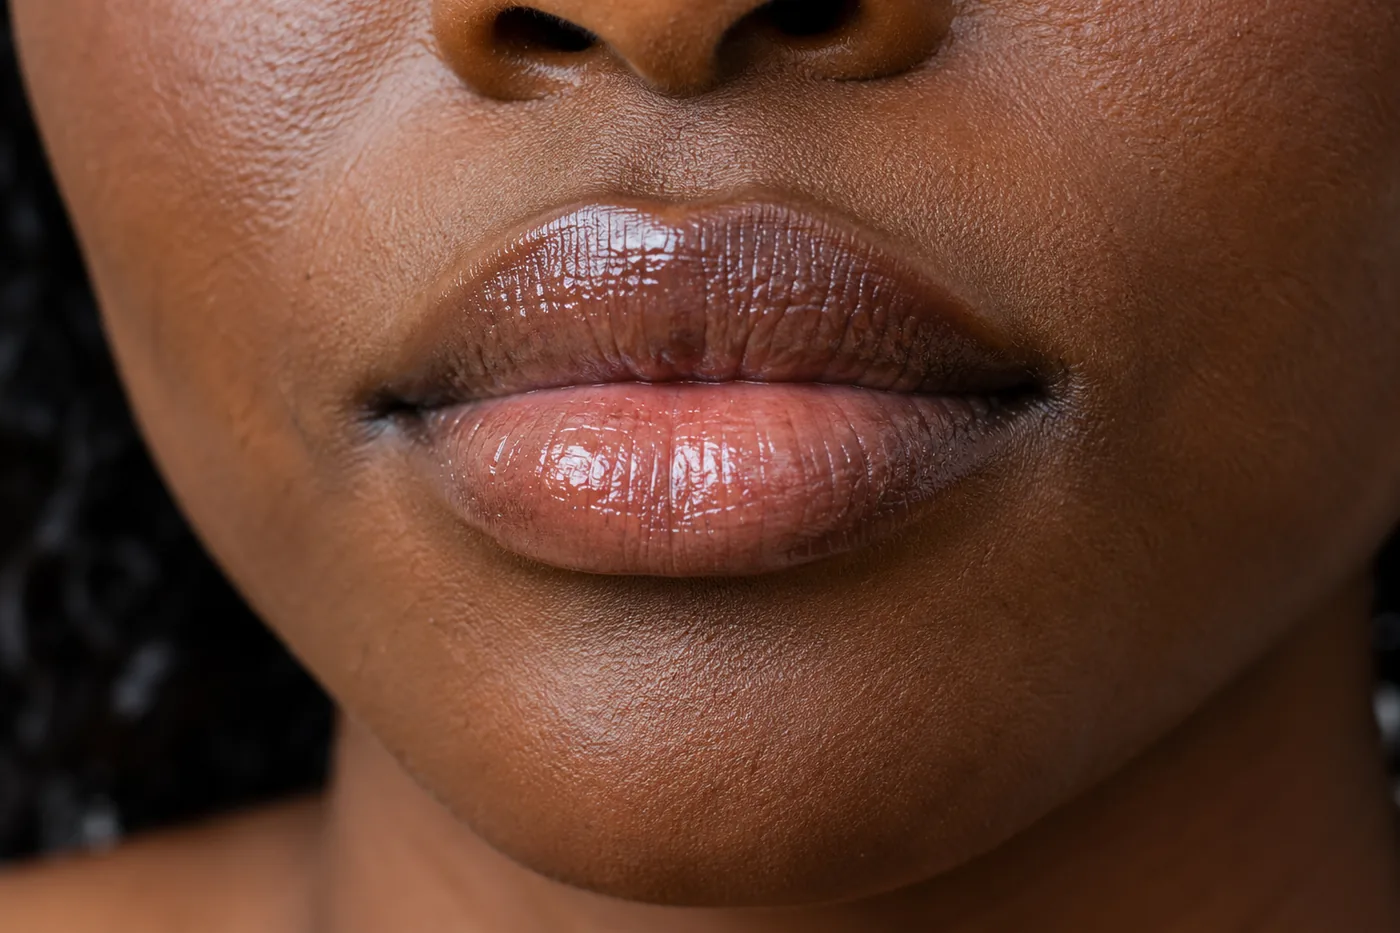
Layer over lipstick only after a small compatibility trial
Check whether your particular lip color allows a gloss on top and whether it needs to reach a specified setting state first. Do not assume every long-wear film, stain, pencil and gloss can be combined. Begin with a small area, leaving the lipstick application otherwise unchanged. If the color lifts, streaks or moves onto the applicator, stop and reassess. Pressing harder or making more passes can disturb the base further instead of joining the layers smoothly.
Where permitted, a separate clean brush and a small separately dispensed portion can limit color being carried back into a clear gloss container. Handle the product as its packaging allows and do not return a used portion. You do not need a liner merely because the top layer shines. If you want a defined boundary, use your familiar pencil lightly and check it with the gloss in place. The older lip-shade comparison considers color and reflection; this step tests the actual combination.
Remove a local excess before it becomes a full correction
For gloss collected at a corner, touch clean tissue gently to that small area and lift rather than rubbing across the whole lip. Inspect again with the mouth relaxed. A little local removal may be enough; you do not have to reconstruct both lips every time. If the layer is broadly sticky or mobile, a gentle restart may be easier to repeat than several cycles of tissue, powder, lipstick and more gloss over the same surface.
Check the teeth after speaking, especially if product has reached the inner edge. Remove any accidental mark with an appropriate clean method, then reduce the lip's contact-zone excess. Do not lick around the outline as a cleanup technique. If the problem keeps returning, change the starting quantity or inner placement on the next attempt. A formula that remains unpleasant at a small dose may simply not fit your preference; you do not owe it a more elaborate rescue routine.
Refresh the missing area instead of adding another full coat
Eating, drinking and talking can change the layer, and a cup mark does not automatically mean every part needs reapplication. Use a mirror to identify what remains. Remove food residue gently before applying more product, with clean hands and suitable tools. If color and gloss are still even around the edges but the center has faded, replace only the missing amount. Carrying a tube is useful only if you can apply it cleanly and see what you are doing.
Distinguish a cosmetic preference from a promise of transfer-proof wear. A glossy surface may need maintenance, and different formulas behave differently over the same lipstick. For an event, try the actual combination through an ordinary drink and conversation beforehand rather than relying on a product photograph. Record where it first needs attention and what a small touch-up changes. You can choose a smaller reflective area if that makes maintenance easier without treating stronger shine as a mistake.
Record the amount and keep the routine practical
After the trial, note the product, whether there was a base underneath, how much you used and where the first touch landed. Add one observation about comfort and one about later movement. On a different day, change only the amount or the base if you want to learn more. Changing color, lip preparation and gloss together makes it hard to identify the useful adjustment. There is no universal number of dips because applicators and formulas release different quantities.
If you use Hair Muse for optional look inspiration, keep that visual idea separate from this physical test. MaqAI is the website publisher; Hair Muse is the app. A generated preview cannot establish exact shade, oxidation, texture, wear, skin response or the final real result. Save your real routine and an ordinary-light photo instead. A good application is one you can distribute within the intended boundary, move in comfortably and refresh without accumulating unnecessary layers.