
Makeup brush care
Free makeup brush cleaning guide for a safer routine
A practical wash, rinse, dry and storage routine that protects the bristles, ferrule and your next makeup application.

A brush can look acceptable and still hold old foundation, concealer, skin oils or several weeks of powder colors. That buildup changes more than cleanliness: it can make a soft brush feel stiff, turn a sheer product muddy and encourage you to press harder because the bristles no longer release pigment evenly. This free makeup brush cleaning guide gives personal-use tools a complete route from dirty to fully dry. It separates a quick color change from a real wash, protects the glued base of the bristles and makes the routine easy enough to repeat.
There is no single calendar that fits every brush, formula, skin condition and climate. A brush used daily with cream foundation usually needs attention sooner than a clean fan brush used occasionally with powder. Shared or professional tools also require stricter practices than a private set. Use the schedule below as a decision system, then follow the care instructions supplied with your particular brush and cleanser. Stop using a tool that smells unusual, sheds heavily, feels tacky after washing or repeatedly causes discomfort.
Start the free makeup brush cleaning guide with a realistic schedule
Sort brushes by what they touch and how often they work. Put tools used with liquid or cream complexion products in one group, eye and lip tools in another, and dry powder brushes in a third. Note whether a brush touches broken or irritated skin, is carried loose in a bag, or is ever shared. This is more useful than assigning every tool the same wash day. High-use, damp-product brushes deserve the shortest interval; occasional dry brushes can be assessed by visible residue, feel, smell and performance.
Create two levels of maintenance. Between looks, remove loose dry pigment on a clean towel or an appropriate dry-cleaning surface so the next shade stays clear. Schedule a true wash when product remains near the base, bristles clump, color transfers after wiping, or application becomes streaky. A spot cleaner may be useful when its label allows it, but evaporation is not proof that a dense brush is clean inside. Do not keep spraying fragrance over buildup and calling the task finished.
Choose a recurring moment when the brushes can remain untouched until completely dry. Cleaning immediately before applying makeup invites damp bristles, hurried heat and a wet tool returned to storage. A small weekly check is easier than waiting for the entire collection to become unusable. Keep a short note on the mirror or in your routine: complexion tools, eye tools, powder tools, used sponges and the date each group was properly washed.
Troubleshoot a base that still looks heavy after using clean tools
Prepare the sink, cleanser and brush before water starts
Read the brush maker's care directions first, especially for natural hair, specialty fibers, retractable tools or handles made from wood. Clear the sink, wash your hands and place a clean towel nearby. Use lukewarm water rather than very hot water. Select a mild cleanser intended or suitable for the brush material, and avoid combining random disinfectants, oils and household chemicals. More foam does not mean a cleaner result; too much cleanser simply takes longer to rinse from a dense knot.
Remove loose powder before wetting the brush. Hold the handle so the bristles point downward or slightly sideways, never with water running toward the ferrule. The ferrule is the metal collar that holds the bristles and usually hides adhesive. Repeated soaking can loosen the bundle, swell some handles and trap moisture where air moves slowly. If the handle has makeup on it, wipe it separately with a lightly damp cloth and dry it immediately rather than immersing the whole tool.
Review dermatologist guidance for washing personal makeup brushes
Wash the bristles without flooding the ferrule
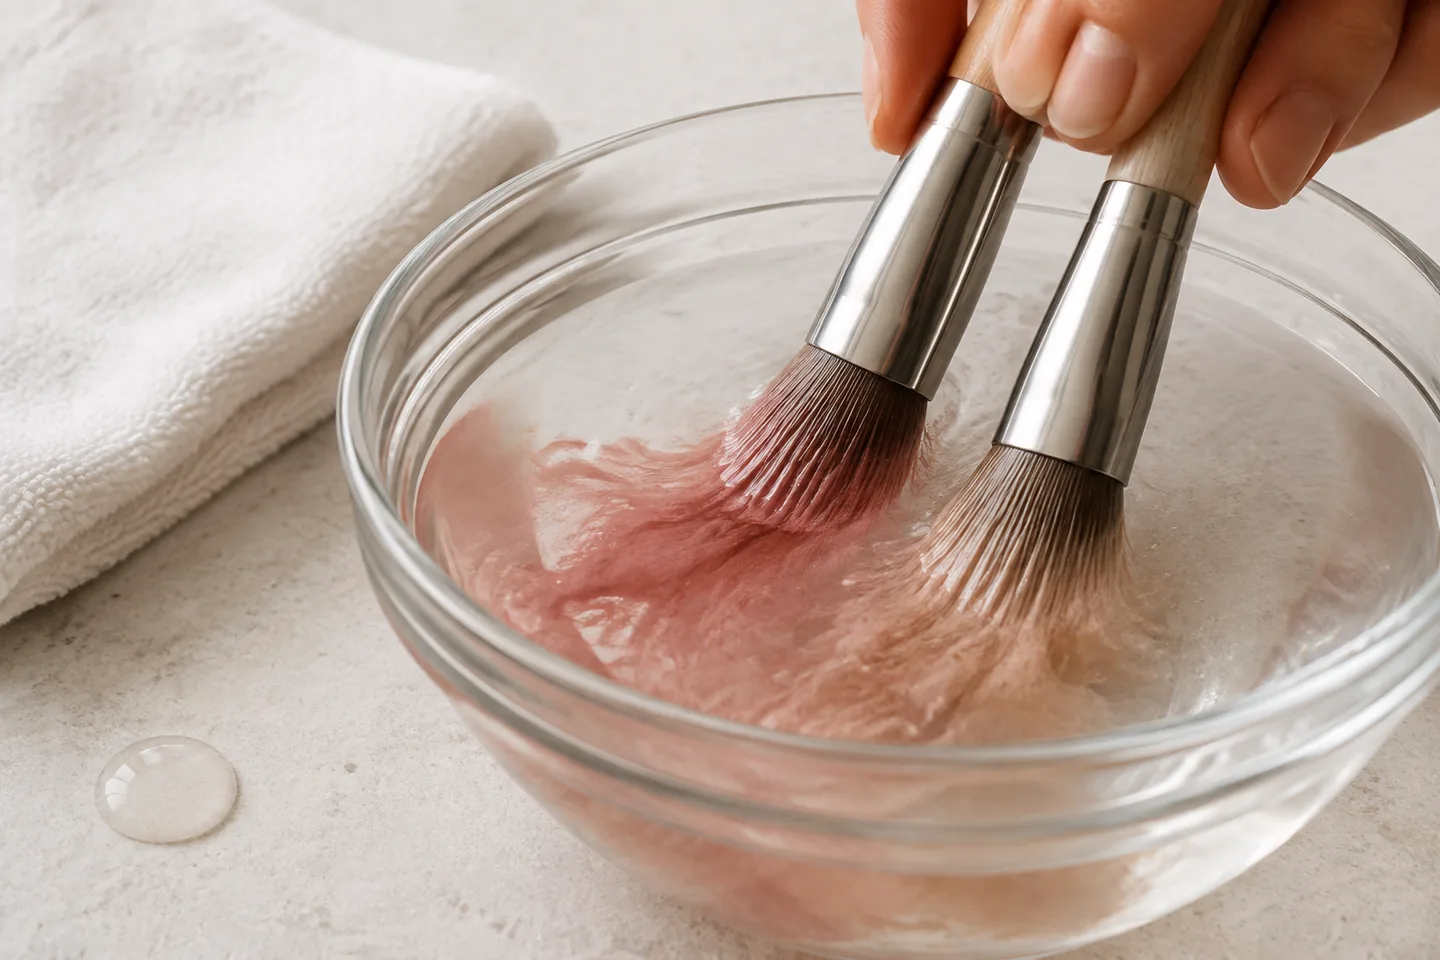
Wet only the bristle portion under a gentle lukewarm stream. Place a small amount of cleanser in your palm or on a clean textured pad, then move the brush lightly through it. Let the fibers flex without grinding the tip flat. Dense foundation brushes may need several short passes because product sits between layers; delicate eye brushes need less pressure. Add a little water as needed rather than submerging the head and handle in a full basin.
Work from the tip toward the middle of the bristles and avoid forcing foam up beneath the ferrule. Squeezing the bundle hard, pulling individual hairs or scraping it against a rough surface can deform the shape. Clean is a process, not a perfume: the useful signs are released residue, flexible fibers and clear rinse water, not a strong scent. If color continues to leave the brush, repeat with a small fresh amount of cleanser instead of one long aggressive scrub.
Pay attention to product type. Long-wear foundation, cream blush and waxy concealer often take more patience than loose powder. An oily pre-cleanse should only be used if the brush maker and cleanser directions support it, because oil left inside the knot can affect later application. Never mix bleach or strong household disinfectants into a beauty-tool routine. If you need a professional sanitation protocol, use rules and products designed for that setting rather than improvising from a personal-use article.

Rinse until residue is gone, then inspect the whole bundle
Rinse with the brush angled downward while gently opening the bristles with clean fingers. Rotate the handle so water reaches each side. Continue until the stream is clear and the fibers no longer feel slippery or soapy. A dense brush may look clear on the outside while holding foam near the center, so compress it softly and check what comes out. Do not twist the bundle as if wringing a cloth; that can loosen hairs and distort the cut.
Press excess water into a clean towel, starting near the ferrule and moving toward the tip. Do not yank, rub back and forth or snap the brush. Reshape the damp head to its original silhouette: a point should return to a point, a flat brush to a clean edge and a rounded face brush to an even dome. This is also the best time to notice damage such as a loose collar, cracked handle, persistent odor, sticky residue or an unusual amount of shedding.
If the brush still feels coated, wash it again with less product and a longer rinse. If it repeatedly stays greasy or smells after complete drying, replacement may be more sensible than harsher treatment. The goal is a tool that performs predictably, not to preserve every brush indefinitely. Photograph or note any brush that repeatedly causes streaks; if clean fibers still fail, the problem may be the tool's condition, the formula pairing or application pressure.
Dry makeup brushes flat with space for air
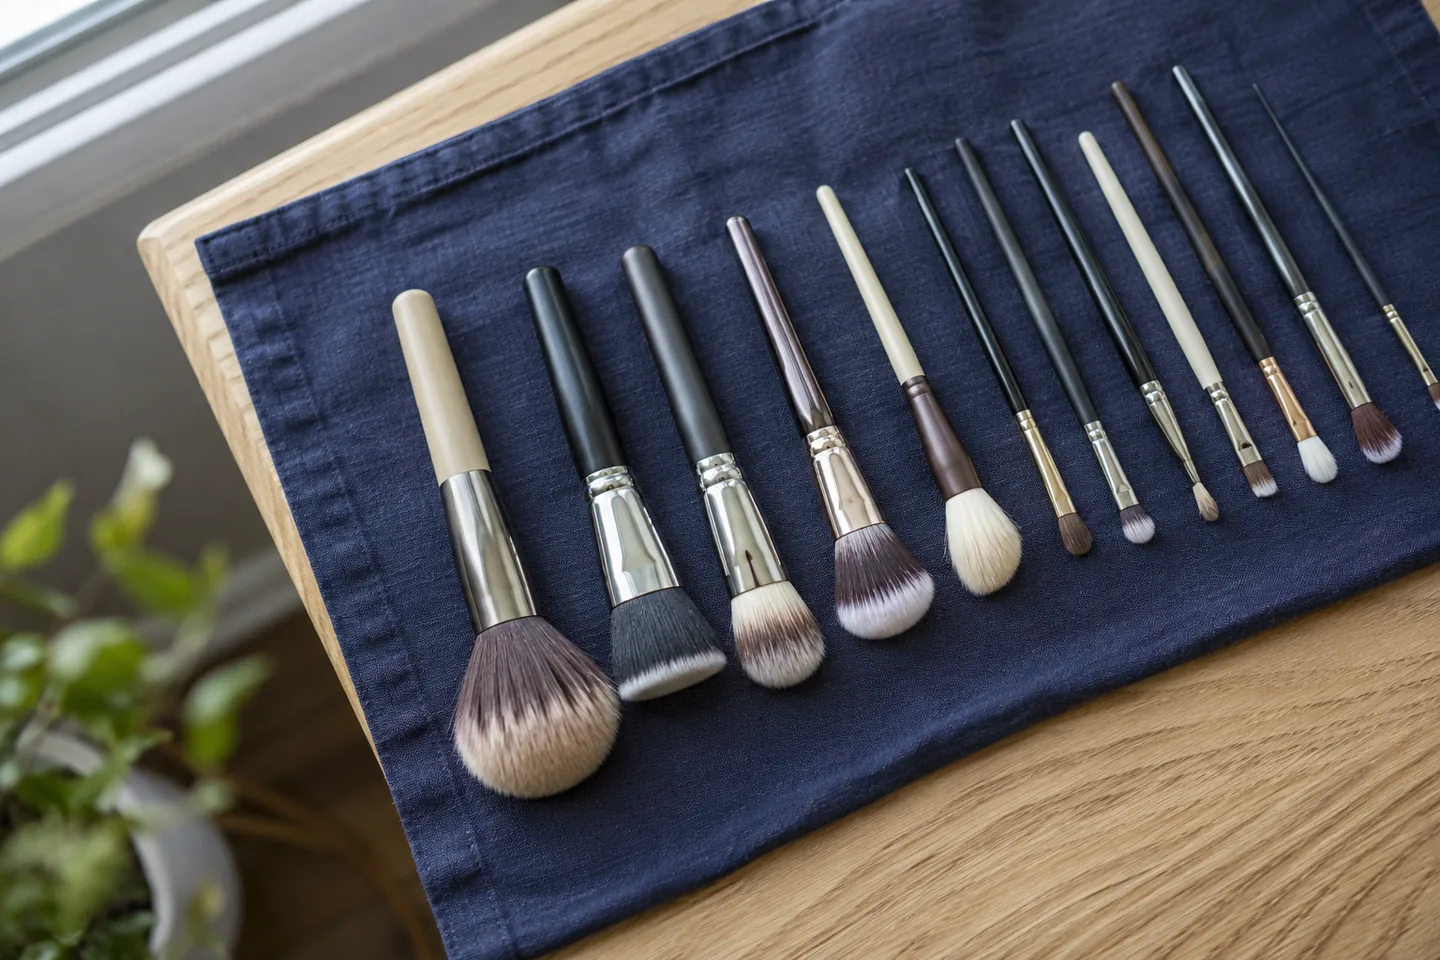
Lay each reshaped brush horizontally on a clean dry towel in a ventilated room. If practical, let the bristle heads extend slightly beyond the edge of a counter so air reaches all sides, while the handles remain supported and cannot fall. Do not stand wet brushes bristle-up in a cup: water can travel toward the ferrule. Do not leave them bristle-down with the tips crushed either. Turn or move them only if the underside of the towel becomes damp.
Avoid hair dryers, radiators, direct high heat and intense sun. Fast heat can make some fibers brittle, alter handles or encourage glue failure, while a closed bathroom can slow evaporation. Thick face brushes may need much longer than small eye tools, so dryness should be checked inside the bundle rather than guessed from the surface. Separate the center gently with clean fingers; if it feels cool or damp, give it more time before use or storage.
The Cleveland Clinic also emphasizes regular cleaning and complete drying as part of brush care. Treat the drying period as part of the wash rather than an optional final step. A clean brush trapped damp in a bag is not ready. Plan enough duplicates or timing so you are never forced to apply makeup with a wet foundation brush simply because the only tool you use has not finished drying.
Read additional clinical advice on cleaning and drying brushes
Store only clean, fully dry tools
Return brushes to storage only when the center is dry and the handle and ferrule are clean. An open cup works for daily tools in a calm, dry room, but a covered case can protect rarely used brushes from dust. Keep the container itself clean; placing freshly washed brushes into a cup coated with powder defeats part of the routine. Do not crowd damp sponges, cotton buds and brushes together, and avoid storing personal tools directly beside a toilet or open splash zone.
Separate clean tools from used ones while traveling. A washable pouch, brush roll or individual guards can prevent bristles rubbing against loose products, but tight guards should not be placed over damp heads. When you arrive home, unpack the case instead of leaving it sealed. Label professional or shared kits clearly and use the hygiene rules required for that work; a personal storage system is not a substitute for client-safe sanitation and single-use practices.
Reduce the collection to brushes you can recognize and maintain. Owning five near-identical foundation brushes is not helpful if none has a clean status. Two cups marked clean and used, or a simple tray divided by task, makes the next wash obvious. Keep complexion brushes that hold creams apart from clean powder tools until wash day. This small visual system is more reliable than trying to remember which brush touched which product a week ago.

Know when cleaning is not enough
Retire a brush when the ferrule stays loose, the handle is cracked or swollen, the bristles remain misshapen, sharp or sticky, or an odor returns after a complete wash and dry. A few hairs from an older brush are different from continuous shedding into the face. Do not repair a loose bundle with random glue near skin or eyes. Keep the old tool for non-cosmetic craft use only if it can be clearly separated from the makeup set; otherwise dispose of it according to local material guidance.
Pause makeup application if a tool seems connected to persistent irritation, swelling, pain, discharge or worsening redness. Washes described here are routine cosmetic care, not treatment for a skin or eye condition. Seek advice from a qualified health professional when symptoms are significant or do not settle, and replace tools or products if instructed. Never share eye or lip brushes casually, and avoid double-dipping a used brush into products another person will use.
Use a ten-minute check to keep the routine working
Once a week, place the set in good light and inspect it by group. Wipe loose powder from low-use brushes, move cream and liquid tools to the wash queue, empty the used cup and clean the storage surface. Look for clumping at the base, unexpected color transfer, bent tips and residue on handles. This check does not replace washing; it prevents a large anonymous pile from forming and tells you which tools need enough drying time before the next makeup session.
After drying, test one cleaned brush with a familiar product. It should pick up and release color evenly without a stale smell or rough feel. If the application changes, consider whether old buildup had been masking the brush's true density or whether the cleanser was not fully rinsed. Adjust the next wash with less soap, gentler movement or more rinse time. Record only what helps: brush group, wash date, drying conditions and any tool nearing replacement.