
Eye makeup
Eyeliner for hooded eyes: find a visible line
Map a line with your eyes open, compare one placement at a time and test the real liner before committing.

Eyeliner for hooded eyes can look precise with the lid lowered and almost disappear when you look straight ahead. The moving lid folds under the skin above it, so a line copied from a closed-eye tutorial may occupy space that is hidden in your normal expression. The result is often a thicker line than you intended, a wing broken by the fold, or an outer point that changes direction as soon as you blink. This is a placement problem before it is a shopping problem.
Begin with a relaxed, open-eye view of your own face. Choose between a thin lash-line definition, a short outer extension and a soft shadow-like edge; change only the placement in each comparison. MaqAI can help you plan those directions on one clear portrait, but a preview is not a precise map of skin movement or a promise about pigment, formula, wear or comfort. Keep two candidates, then use a product intended for the eye area and verify the shape while your eyes move in real light.
Eyeliner for hooded eyes starts with the relaxed open eye
Face the mirror at eye level and look forward without raising your brows. The visible strip between the upper lashes and the fold may be narrow at the centre and wider at the outer corner, or it may differ between your two eyes. Do not press the lid flat to imitate another person's anatomy. Mark mentally where a thin line can remain visible as you blink and glance sideways. If your lids differ, map each eye on its own; equal line length on closed skin is less useful than a similar effect when both eyes are open.
Take a step back from the mirror. At conversation distance, note whether you want more lash depth, a slightly longer outer contour or a graphic wing. Those are distinct aims. A dark band across the entire lid can close off the small space you wanted to keep visible, while a tiny outer mark may provide definition with less coverage. Photograph the relaxed result only as a reference for placement, not as evidence that a particular formula will hold. Avoid labeling every fold or asymmetry as a flaw that makeup must correct.
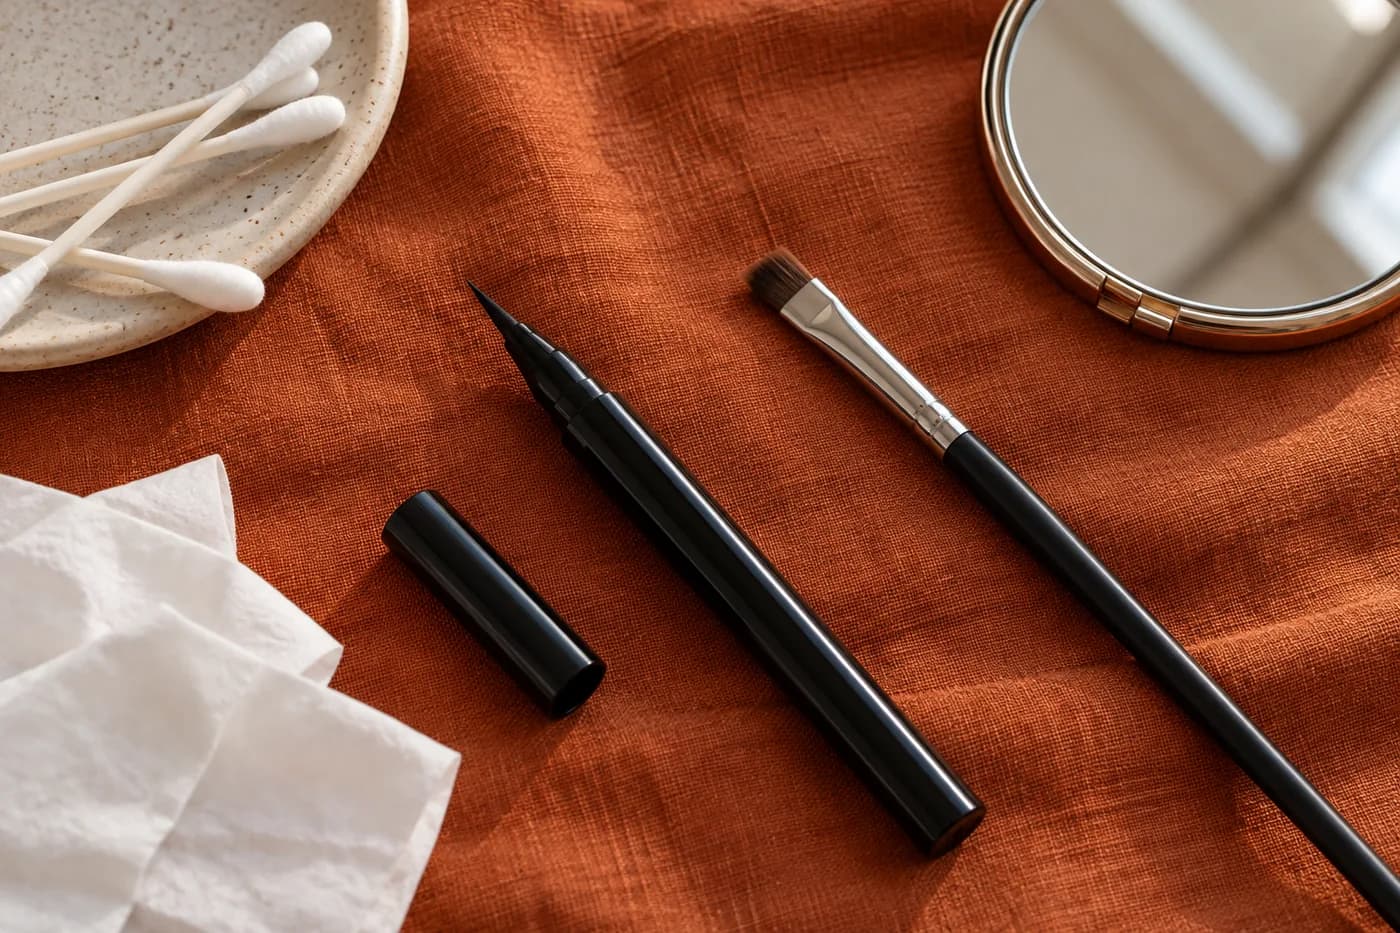
Choose the smallest line that does the job
For everyday definition, begin close to the upper lash roots on the outer third. Keep the line fine enough that you can still see some skin or shadow above it with the eye open. A pencil or clean angled brush may let you build in short touches; a liquid tip may make a crisp edge if your hand is steady. The tool is a control choice, not a ranking of brands or a universal rule. Put the first mark where you can see it with your normal gaze rather than thickening blindly on a closed lid.
If a short line already gives the depth you want, stop there. If you want an extension, place a small point beyond the outer corner while looking forward, then connect it back in short movements. The fold may bend the path on lowered skin; that is acceptable if the open-eye line reads cleanly and feels comfortable. You do not need to fill a large triangle. Compare the full-face effect with the other eye and your brows relaxed. A visible, repeatable small wing is often more useful than a dramatic shape that only appears when the lid is stretched.
Make one clear source photo before comparing styles
Use one sharp, unfiltered portrait with the phone near eye level, the face looking forward and the brows relaxed. Soft neutral daylight makes the eyelid fold, lash roots and outer corner easier to read than overhead glare or a deep side shadow. Keep hair, glasses rims and long false lashes away from the upper lid while recording the source image. The photo does not need to be a studio portrait, but the eye area must be visible at normal size. If one eye is blurred, retake it rather than treating an invented line on a vague source as a useful result.
Hold the photograph constant through the comparison. Changing camera angle, expression or lighting can make a wing appear more visible without changing the eyeliner at all. A subtle brow lift can also create lid space that vanishes when you relax. Check the whole face first, then zoom into the outer corner to inspect placement. Our source-selfie guide explains how to keep angle, light and framing stable for a meaningful makeup preview. Save the original beside the candidates so you can return to your actual starting point.

Compare three placements without changing the whole look
In MaqAI, use that single portrait to sketch a thin upper lash line, then a short outer extension, then a softer outer shadow edge. Hold the rest of the makeup, liner color, apparent darkness and photo lighting as steady as the preview allows. Change placement first. If you switch from brown to black, add lashes and brighten the photo at the same time, you cannot tell which change made the eye seem more open or the line more visible. Give each candidate a plain label, such as lash line, outer point or soft edge.
Check each candidate with the eyes open at normal viewing size. A close zoom can make a tiny mark look dramatic, while a full-face view shows whether it supports the face. Ask where the visible line starts and ends, whether the outer point collides with the fold and whether both sides still feel related. The preview cannot reproduce the precise crease pattern of moving skin, a real liquid stroke or the feel of a product near the eye. Treat it as a planning sketch, not a fitting tool. Keep no more than two directions for a real test.
Translate the chosen direction into a real, careful application
Start on clean, comfortable skin with a product labeled for the eye area. Rest your elbow on a stable surface and use small strokes. Draw the outer reference while looking straight ahead; then lower the gaze briefly to connect the line along the lash roots without pulling the skin taut. Open the eye again after each short section. If the result disappears, move the next trial outward or make the outer mark slightly more visible instead of immediately coating the entire lid. If the line is too strong, remove or soften only that area before adding another layer.
The FDA advises keeping eye cosmetics clean, not sharing them and avoiding application in a moving vehicle because an applicator can injure the eye. These are practical boundaries during a close application, not a claim that one liner shape is medically superior. If the eye area is inflamed or the product irritates, stop and follow the product's safety directions. Avoid using a lip pencil or a product with unclear eye-area suitability. A preview cannot evaluate those conditions or tell you whether a particular formula will transfer, oxidize, flake or feel comfortable after hours of wear.
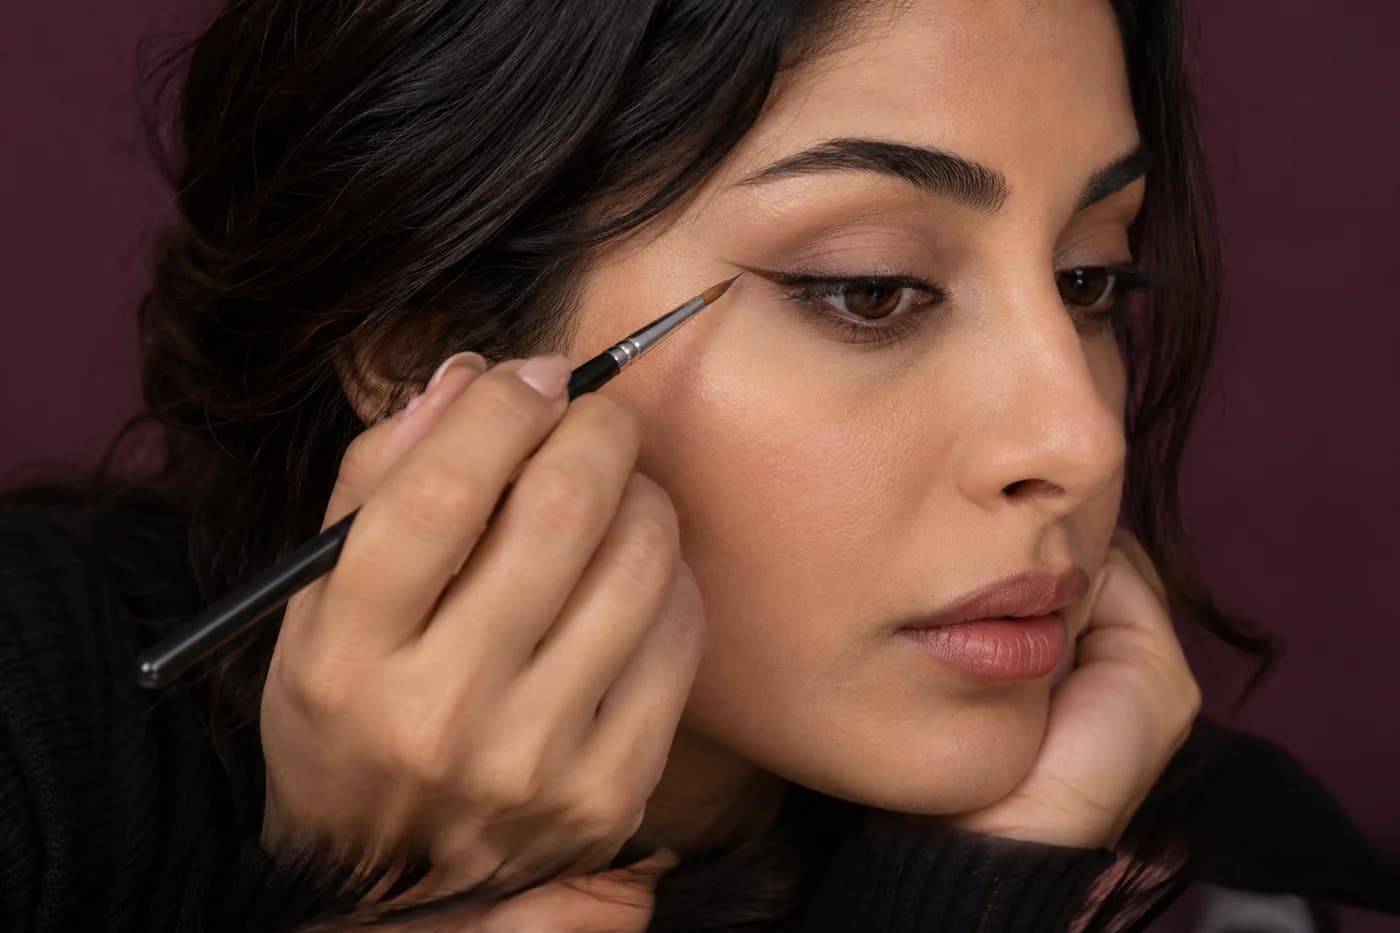
Check the moving eye rather than a still pose
Blink, look up and down, smile and turn the head in ordinary light. The line should remain comfortable and legible in the expressions you actually make. A point that looks elegant in a still photo can seem abrupt when the fold moves; a very dark line may stamp onto skin above the lid. Record those observations separately from color or photo quality. If one eye carries more hooding, aim for comparable open-eye weight instead of forcing both closed-eye outlines to match exactly. Your two sides need not be mirror drawings to look balanced together.
Test two small versions on different ordinary days if a same-day removal would irritate your skin. Keep the face base, mascara and lighting similar. After a few hours, inspect transfer above the crease, fading at the outer corner and any discomfort. A face preview is only a planning aid; the actual product and your skin determine texture, wear and reaction. If an outer wing keeps folding away, a shorter lash-root line or soft shadow edge may serve you better. The point of comparison is a repeatable choice, not proof that the first candidate was wrong.
Troubleshoot the visible result one cause at a time
When the line disappears, first locate where: centre, outer third or tip. A hidden centre suggests keeping that section very fine or leaving it bare. An outer point that folds inward suggests moving its tip a little farther from the crease or shortening it. If the line looks too heavy, reduce width before abandoning the entire idea. If it stamps onto the lid above, let the formula set as its label directs, then examine whether thickness and placement increase contact. Do not promise that a waterproof label will solve every type of transfer.
A jagged edge can come from a moving hand, a dry tip, excess product or an attempt to pull the whole stroke at once. Support the elbow, clean the tip according to its instructions and work in short segments. Stop if repeated wiping irritates the area. Do not hide a placement problem under more concealer and powder. Our guide to eyelid creasing addresses product collecting in a fold; here the first question is whether the visible liner path suits the relaxed eye. The diagnosis differs even when both problems appear on the same lid.

Keep a short plan you can actually repeat
Write down the placement in practical terms: outer third only, thin brown line at the lash roots, short point beyond the fold, or no point at all. Note which tool let you control the first small stroke and which light you used for the check. Save one clear preview and one real-life observation, not a gallery of nearly identical wings. If the real liner needed a different angle than the preview, update the plan to match the product and the moving eye. The physical result takes precedence over the image.
A successful routine should fit the time and comfort you have. On a rushed day, a fine outer lash line may be preferable to a wing that needs several repairs. For an occasion, you might add a more defined point only after a real rehearsal. Neither direction is a universal fix for hooded lids. Use the photo comparison to make the first choice smaller, the real test to learn what survives your expressions, and your own preference to decide how much definition you want.