
Makeup wear
Stop makeup transferring onto clothes: start at the collar
Find the contact point, reduce excess product, test the finished base and handle a mark according to the fabric label.

To stop makeup transferring onto clothes, first work out when the mark appears. A white collar can pick up foundation as you pull a shirt over your head, during repeated rubbing under the jaw, or when a freshly applied base has not settled. Those are different problems. More powder over the whole face is not a reliable answer to all three, and no ordinary face product can promise that friction, sweat and a moving collar will never lift pigment. The useful goal is less contact and less loose product where contact is unavoidable. A small test before dressing tells you more than a product's transfer-proof label.
Lay out the clothing you plan to wear and notice where its neckline reaches your face and neck. Keep skincare and sun protection as directed; do not sacrifice them to keep a shirt spotless. Apply your usual complexion product and make one controlled change at a time. This guide covers application, dressing order, a gentle tissue check and fabric-safe care if a mark still happens. You can complete every step with a mirror, clean tissue and the garment itself.
Stop makeup transferring onto clothes by locating the contact point
Inspect the inside edge of the collar before changing products. A single clear mark near the opening often points to the moment a top passed over the face. A soft, repeated band along the inner collar suggests contact throughout the day, especially when the fabric sits close to the lower cheek, jaw or neck. Pigment on a sleeve may come from a hand or a touch-up rather than the base itself. Photograph the location once if that helps you compare a later trial, but do not treat a photograph as proof of a particular ingredient. Note whether the garment is cotton, wool, silk, a washable blend or dry-clean-only; that matters if you later need to treat a mark.
The face-to-cloth distance changes with posture. A high coat collar can brush the base every time you look down; a loose shirt may touch only during dressing. Put the garment on without makeup once and identify the actual contact line. You may discover that bronzer was carried too low, foundation extends too far down the neck, or a scarf is the main source of friction. Fixing the contact pattern avoids an unnecessarily heavy setting exercise. An accurate shade match can often be blended at the jaw without painting the fabric-facing side of the neck.
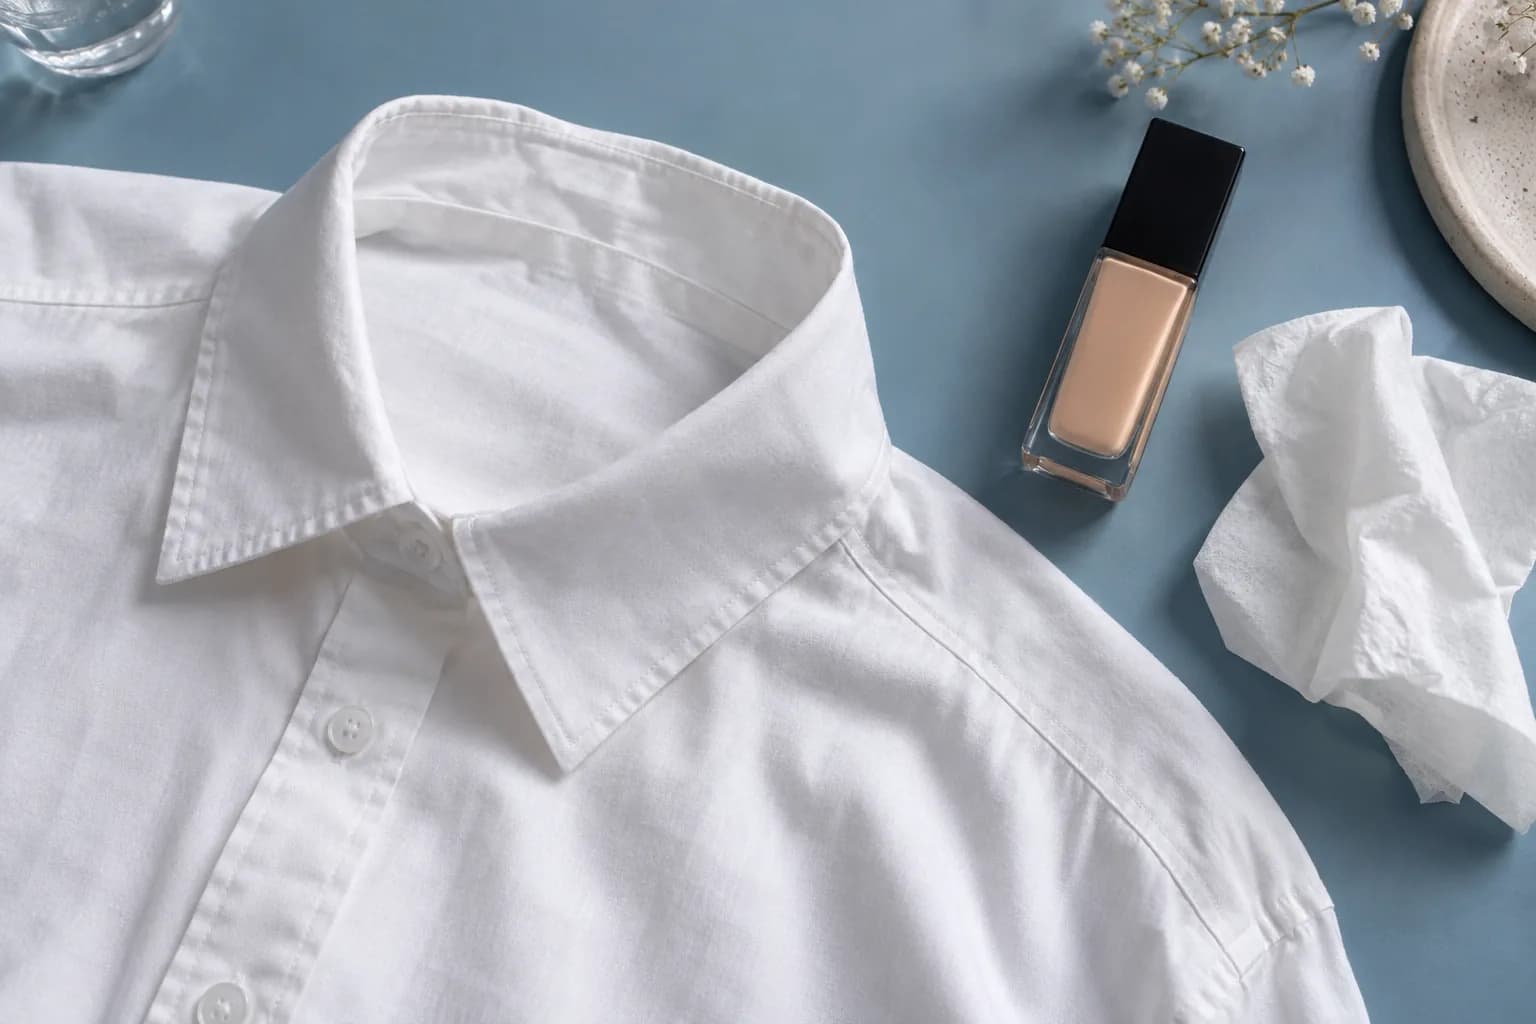
Check the shade direction if neck coverage is hiding a color mismatch
Build a thin base near the contact zone
Let moisturizer and sunscreen settle according to their instructions before foundation. Do not dilute sunscreen with foundation or apply less than its label directs; instead adjust the colored layer over it. Start the foundation where coverage is needed most and use the residual product on the brush or sponge toward the jaw. That produces a softer transition with less pigment at the collar. If a specific patch still needs coverage, add a small amount there rather than another full layer over the neck. A thick film at the exact place where fabric rubs has more material available to move, whatever the marketing language on the bottle.
Check the result at conversation distance. If the jaw differs from the neck, the solution may be a closer shade, not more foundation down the throat. Look in daylight too. Bronzer or cream contour can leave a warmer collar mark even when foundation stays in place, so identify which product touches the fabric. Clean the applicator rather than letting residue drop onto the shirt later. Our guide to a cakey base explains how too many layers change finish; restraint also makes a collar test easier to interpret.
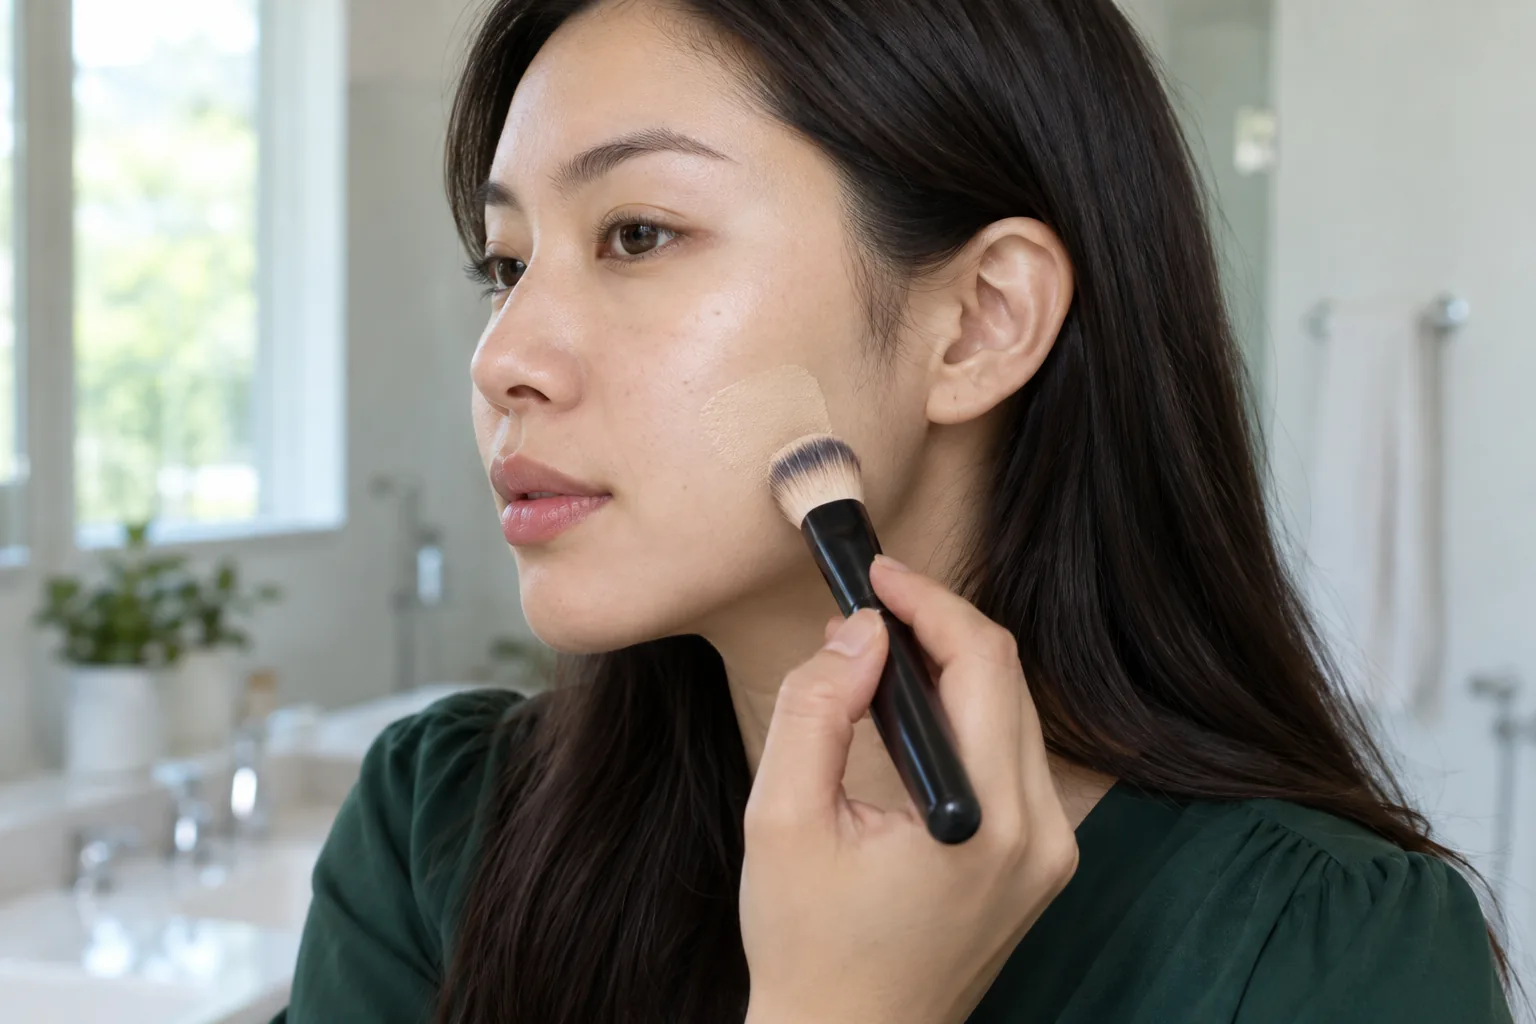
Use a lighter application if added setting layers make the base look heavy
Set only where the fabric actually touches
Give liquid or cream products a few minutes to form their normal finish. If you use powder, press a small amount over the zone that contacts the collar and brush away loose excess; do not bury the whole face beneath repeated layers. A setting spray may help a particular formula wear as intended, but it must be used according to its instructions and allowed to dry before clothing touches it. Neither powder nor spray creates an impenetrable barrier against pressure and rubbing. If the skin feels tight or the makeup becomes patchy, reassess the amount rather than adding yet another fixing step.
A split trial gives better evidence than changing several products at once. On one day, wear your existing base with a lighter jaw application; on another comparable day, add only targeted setting. Use a similar clean neckline and record any mark. Heat, moisture and activity vary, so this is a practical observation, not a guarantee. Do not spray hair products, fragrance or unknown stain repellents onto a collar as a barrier. They can mark textiles, irritate skin or conflict with the care label. Reducing contact is often more dependable than coating the garment.
Use a tissue check before dressing
When the base has settled, touch a clean white tissue very lightly to the lower jaw and any neck area that a collar will meet. Do not rub. A faint impression may still occur with a comfortable formula; a heavy wet print means loose product remains and your next step is to remove or spread the excess, not automatically to add powder. Repeat once after a short wait if needed. The tissue is a low-pressure rehearsal for a collar, so it cannot predict all-day friction or the way a wool scarf behaves. It does reveal whether you are about to drag an obviously wet foundation layer across a clean shirt.
Look at the tissue and the skin together. If a large amount came away and the base now has a sharp edge, blend the edge with a clean tool using what remains on the face. If color is still moving, wait longer or reduce the layer. Do not repeatedly press until the base disappears and call that a successful setting method. A test should tell you what to adjust, not become an abrasive removal routine. Keep a separate clean tissue for any later check; reusing a pigment-covered one can put color back onto a different part of the face or clothing.
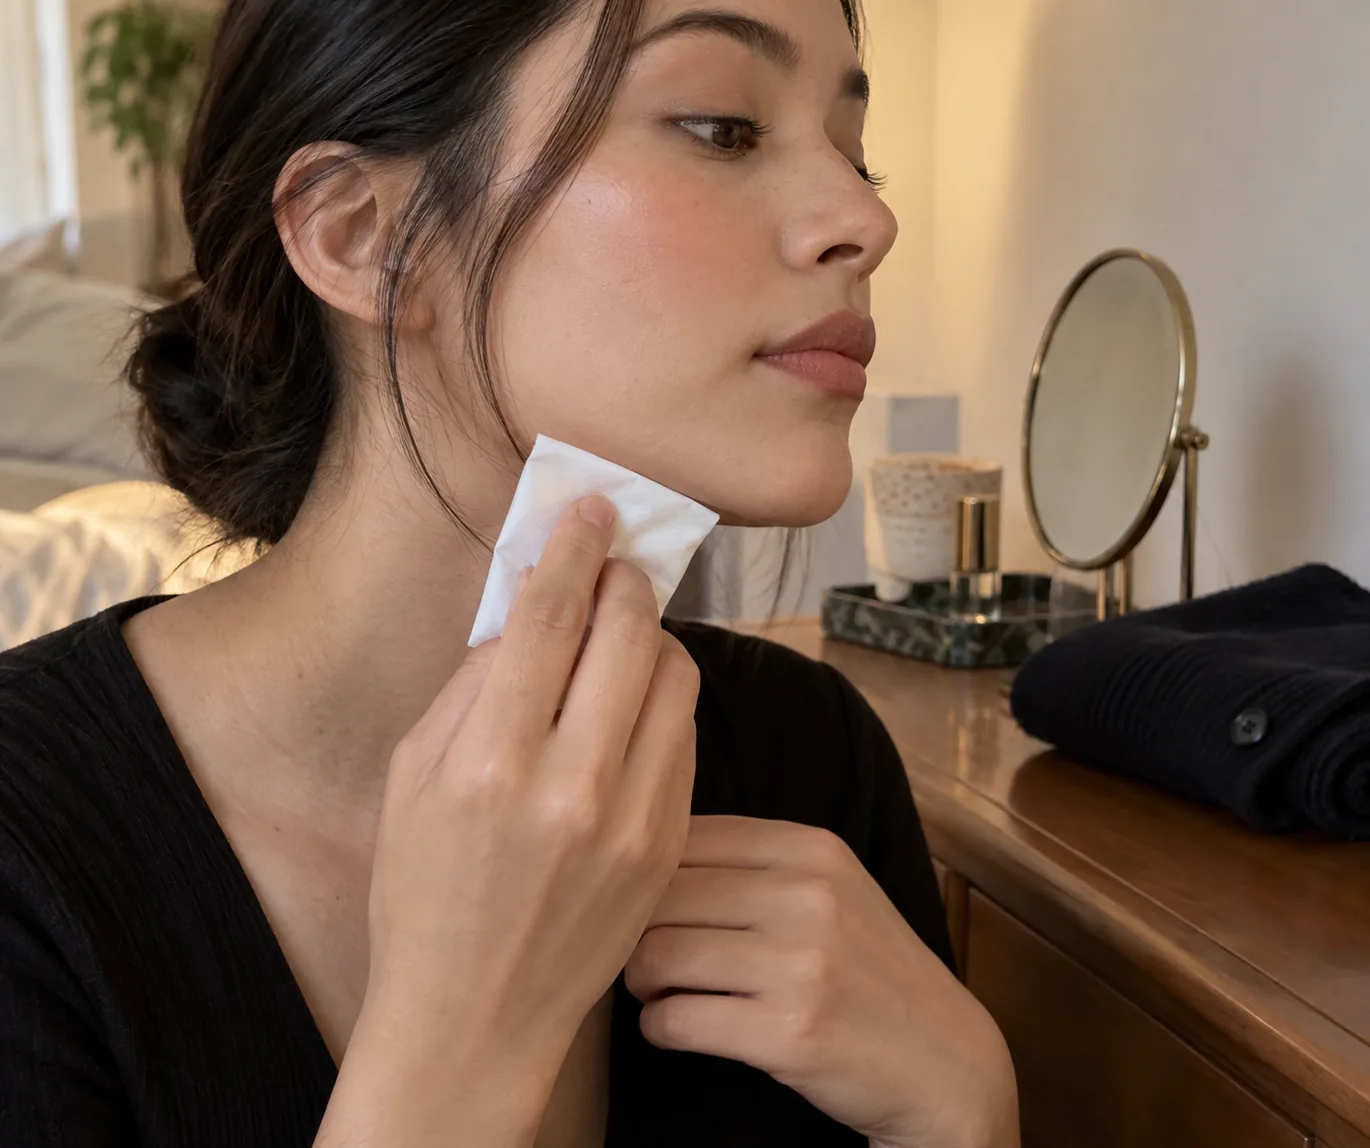
Dress in an order that protects the neckline
If the garment can be put on first without interfering with the makeup, dress before applying foundation and cover the neckline with a clean washable cloth while you work. If you must pull a narrow top over a finished face, let the makeup dry, open any fastening fully and hold the fabric away from the jaw as it passes. A loose clean scarf or dressing shield can protect the inside of the opening temporarily, but remove it once the top is in place and avoid dragging the shield across the base. Buttons, zips and wide necklines make this step easier than a tight crew neck. Plan for the garment you actually own rather than buying a special tool for a single morning.
A coat or scarf worn for hours needs a different approach. Check its fit and where it moves when you turn your head. Leave the neck mostly uncolored where possible, and keep the collar slightly lower or looser if that is comfortable and weather appropriate. A close-fitting item will still collect some cosmetic residue over time, even from a well-applied base. Decide whether an occasional washable mark is acceptable or whether a different garment or makeup placement is the better trade-off. Do not let the fear of a stain push you toward an uncomfortable, drying routine that does not improve the real contact point.
Deal with a fresh mark without spreading it
If foundation reaches the cloth, stop before rubbing it into a larger area. Remove any loose excess gently with a clean edge or blot from the outer edge with an absorbent cloth, keeping the stain small. Check the garment's care label and the stain product's instructions before adding water or cleaner. A washable cotton shirt and a dry-clean-only silk blouse do not get the same treatment. The University of Georgia textile guidance specifically begins by telling readers to read the care label. For a delicate, valuable or dry-clean-only item, show the mark to a professional cleaner and identify the cosmetic if you can; improvised solvents can damage dye or finish.
For a machine-washable item, use a suitable prewash stain treatment according to its label and test an inconspicuous area when the fabric or dye is uncertain. Work gently rather than scrubbing the weave. Do not pour face makeup remover, hairspray or bleach onto clothing merely because it removes pigment from skin; skin and textiles have different tolerances. Keep the marked area away from the rest of the garment until you can treat it, and avoid a hot iron or tumble dryer while a mark remains. Heat can make a missed residue harder to remove. If the mark is already dry, first lift what can be removed without grinding it farther into the fibers.
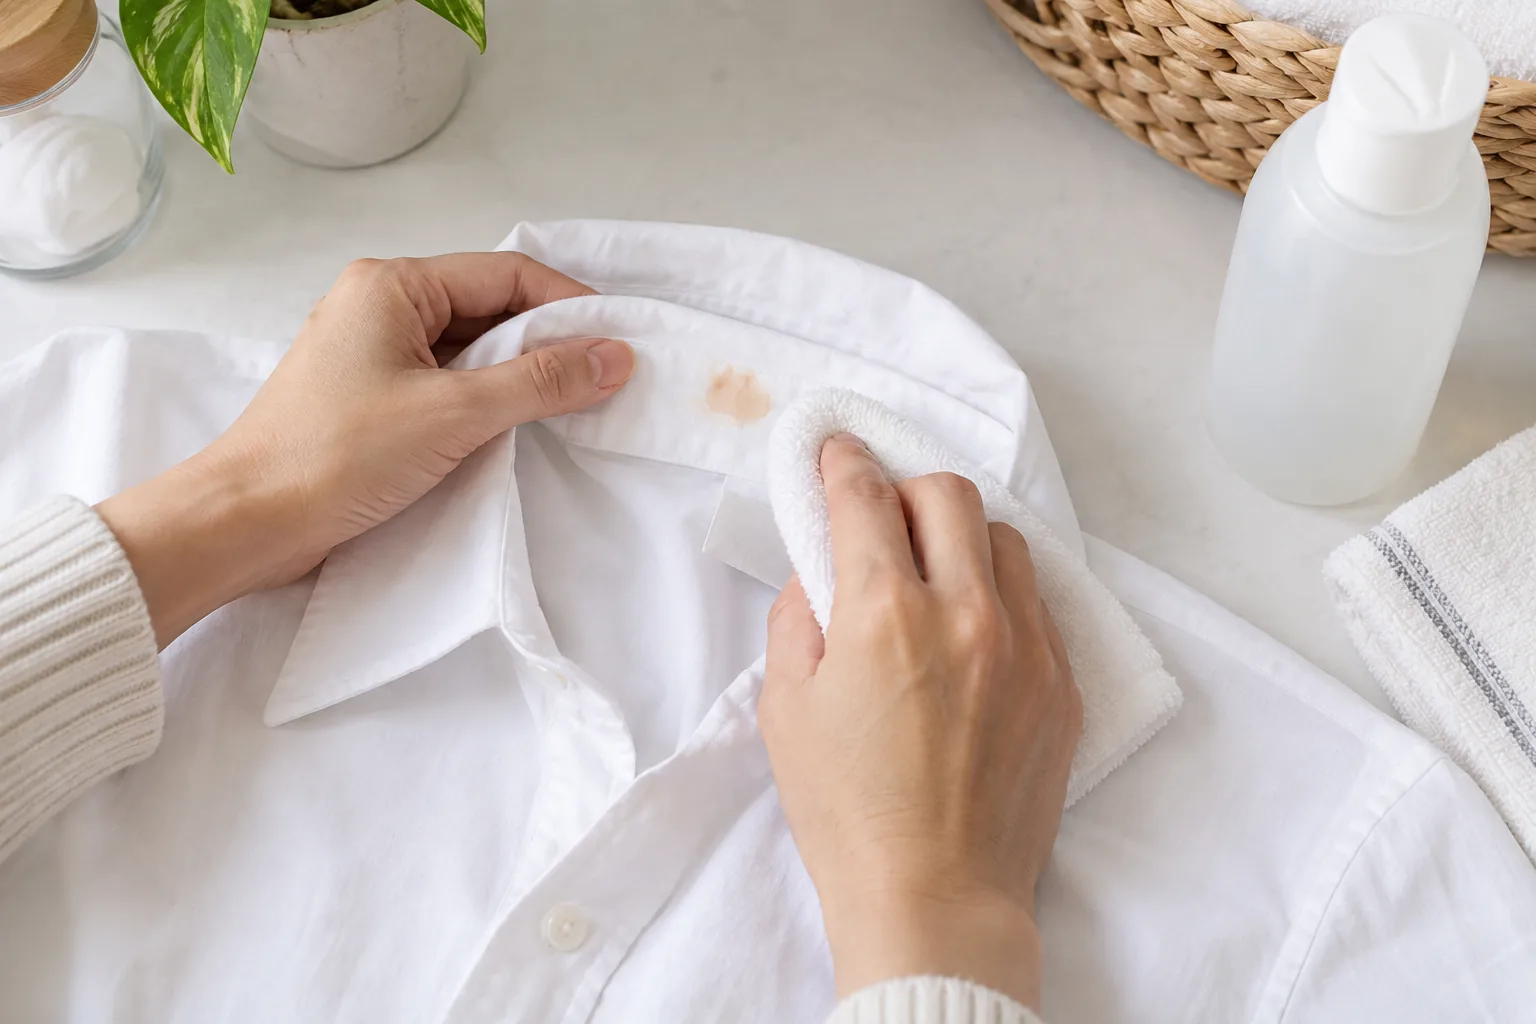
Read the University of Georgia's fabric-specific cosmetics stain guidance
Wash, inspect and repeat only if the fabric allows it
After pretreatment, launder a washable garment within the temperature and cycle permitted by its label. The American Cleaning Institute advises a prewash stain remover for makeup marks followed by laundering in the hottest water safe for that fabric. 'Safe for the fabric' is the important limit; it is not permission to wash every shirt hot. Inspect the area before drying. If color remains, repeat a label-compatible treatment or consult a cleaner rather than setting the stain with heat. Wash and stain products have their own dwell times and safety directions, so follow the actual package instead of combining several strong cleaners in an attempt to work faster.
A pale shadow after washing can be pigment, oil, a changed fabric finish or even abrasion from earlier scrubbing. More detergent is not always the answer. If the mark has spread or the dye is lifting, stop home treatment. On patterned or dark cloth, test at a hidden seam first so the treatment itself does not make a larger light patch. Record which method succeeded on your everyday shirts; that becomes useful if the same collar is exposed regularly. Good stain care solves the garment problem, but it should not distract from adjusting the application or clothing contact that caused repeat marks.
See the American Cleaning Institute's makeup-stain wash advice
Make the next collar check a small habit
On the next normal day, change only the most likely cause. If the mark appeared while dressing, change the dressing order. If it grew gradually along the collar, keep the foundation farther from that contact line and assess the garment's fit. If a tissue lifted a large wet print, reduce product or allow more settling time before testing targeted setting. Keep the same base and similar conditions for the first comparison so you can tell which adjustment helped. You do not need to declare a product universally transfer-resistant because it survived one quick tissue touch; ordinary wear includes pressure, sweat, weather and movement.
The outcome is concrete: your base still looks like skin, the jaw joins the neck without a painted band, and the collar has fewer marks after real wear. Occasional transfer remains possible. If residue returns, note the product and spot rather than buying sprays on the strength of a label claim. Prioritize clean tools, comfortable skin, sensible clothing contact and the garment's care instructions. Repeat those choices tomorrow with a shirt, coat or low neckline.