
Complexion guide
Cakey foundation, solved: a lighter routine that still gives coverage
Diagnose dry patches, separation, excess coverage, and powder buildup, then rebuild a thinner base that still meets your needs.
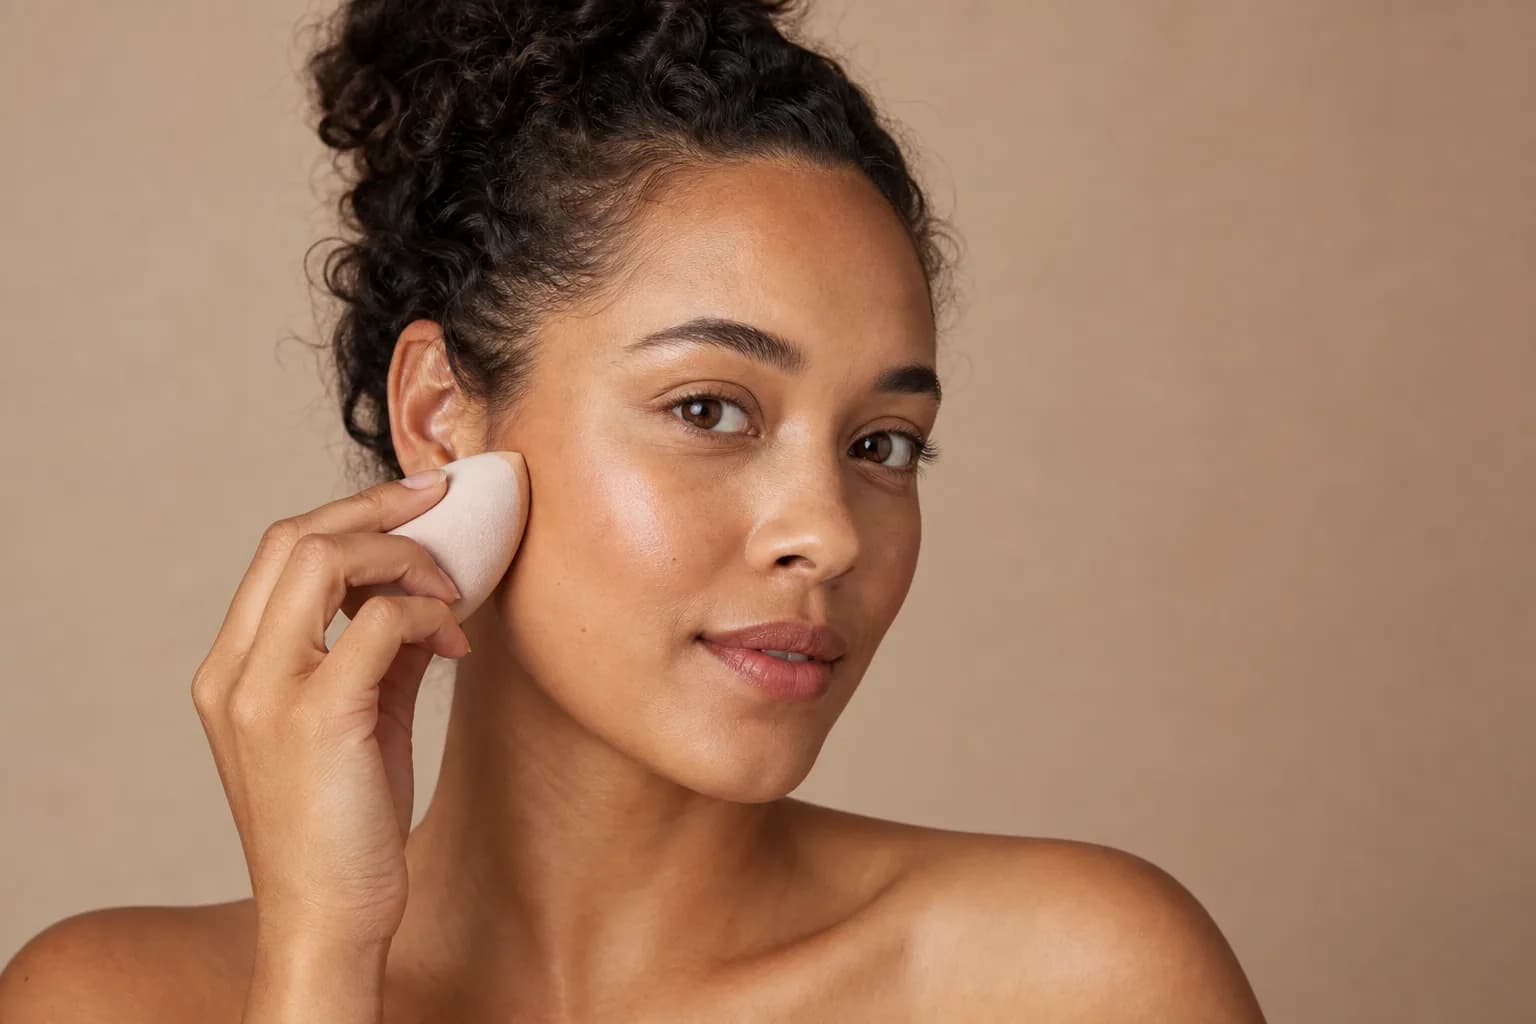
To stop foundation looking cakey, first identify whether the base is clinging to dry areas, separating over oil or skincare, collecting in lines, or simply sitting too thickly on the skin. Then change one variable: preparation, amount, tool, powder, or formula. Adding more foundation usually hides the problem only briefly and can make texture more visible.
Real skin has pores, movement, fine lines, and changing shine. The goal is not a filter in daylight; it is an even, comfortable finish that still reads well at normal distance. MaqAI can help you compare sheer, satin, soft-matte, and fuller-coverage directions on one portrait. Treat those previews as a planning aid, because only the real products can reveal texture, compatibility, oxidation, and wear.
Diagnose why foundation looks cakey
Check the base immediately after application and again after one or two hours. Flakes and product gripping around dry areas suggest a preparation or formula mismatch. Beading, gaps around the nose, or makeup sliding apart suggest oil, moisture, friction, or incompatible layers. Thickness around pores and expression lines often points to excess product or powder.
Photograph the whole face in window light before zooming in. A phone close-up exaggerates normal texture, while a bathroom mirror can hide unevenness. Write down the first place the base changes and when it happens; that evidence is more useful than replacing every product at once.
Cakey is a visual result, not one single cause. Fix the first failure you can observe rather than adding another universal step.
Prepare skin for the finish you actually want
Use a familiar, comfortable skincare routine and allow each layer to settle. If the surface still feels wet, greasy, or tackier than your chosen base expects, gently remove excess rather than piling makeup on top. Sunscreen remains important; adjust timing or makeup technique instead of skipping necessary protection.
Aggressive exfoliation is not a quick makeup fix. If skin is irritated, sore, peeling persistently, or reacting to a product, stop the experiment and seek appropriate professional advice. Makeup guidance should not be used to diagnose or treat a skin condition.
- Dry-looking areas: prioritize comfort and flexible, thin coverage
- Oil-related breakup: control only the zones that need it
- Pilling: test fewer layers and give them time to settle
- Sensitivity: stop when a product stings, burns, or worsens irritation
Apply less foundation, then place coverage precisely
Start with a small amount in the center or in the areas that need evening, then press or blend outward into a very thin edge. Do not automatically coat clear skin to the same depth as redness or discoloration. A brush can spread efficiently; a clean damp sponge can press away excess. The better tool is the one that creates an even layer with your formula.
Let the first layer settle before deciding whether to add more. Use a second thin pass only where the first did not meet the goal, or add compatible concealer to a small area. This keeps coverage purposeful and avoids turning the entire face into a thick correction layer.
Coverage and thickness are not the same thing. Concentrate pigment where it is useful and preserve a thin layer everywhere else.
Use MaqAI to compare skin-like finish directions
Upload one clear, front-facing portrait in even light. In MaqAI, keep color palette, brows, eyes, cheeks, lips, crop, and lighting direction stable while you compare three complexion briefs: sheer satin, targeted medium coverage, and soft matte with controlled shine. Describe finish and coverage rather than asking for poreless or flawless skin.
Read the results at full-face size. Choose the version whose balance supports the complete makeup, then turn it into a real-product specification: where coverage is needed, which zones may stay luminous, and where powder should be minimal. A generated preview cannot select an exact shade or predict how formulas will interact on your skin.
- Version A: sheer satin with visible natural texture
- Version B: medium coverage only where needed
- Version C: soft matte through the center, flexible elsewhere
Set selectively instead of burying the base
Before powder, check whether the liquid or cream layer has already collected. Press out a crease or lift excess with a clean sponge rather than sealing the buildup. Apply a small amount of powder only where movement, shine, or transfer requires it, and use a clean tool so old product does not create uneven deposits.
Finishing mist can change the surface appearance, but it cannot reliably repair incompatible or excessively thick layers. Let any mist dry without repeatedly touching the face. Compare the result in ordinary daylight and indoor light rather than judging only the moment when the skin is still wet.
- Powder the center only if the perimeter already looks balanced
- Use less around mobile lines and dry patches
- Clean brushes and sponges regularly and let them dry fully
- Do not dilute or mix products unless their instructions allow it
Run a wear test and make the smallest repair
Wear the exact routine for the time and conditions that matter: commuting, indoor heating, humidity, photographs, or an event. Check after application, after the first hour, and near the expected end. Note comfort, shine, flaking, separation, transfer, and whether the finish still looks intentional at conversation distance.
For a dry, heavy patch, try pressing away excess before adding anything. For oil, blot first and replace only the coverage that moved. For a crease, press out collected product before a trace of powder. If the same area fails repeatedly, revise preparation, amount, or formula there on the next test instead of layering over the failure all day.