
Makeup tool care
How to clean a makeup sponge without rough scrubbing
Check the material, wash gently, rinse thoroughly and leave open drying time before storing a personal reusable makeup sponge.
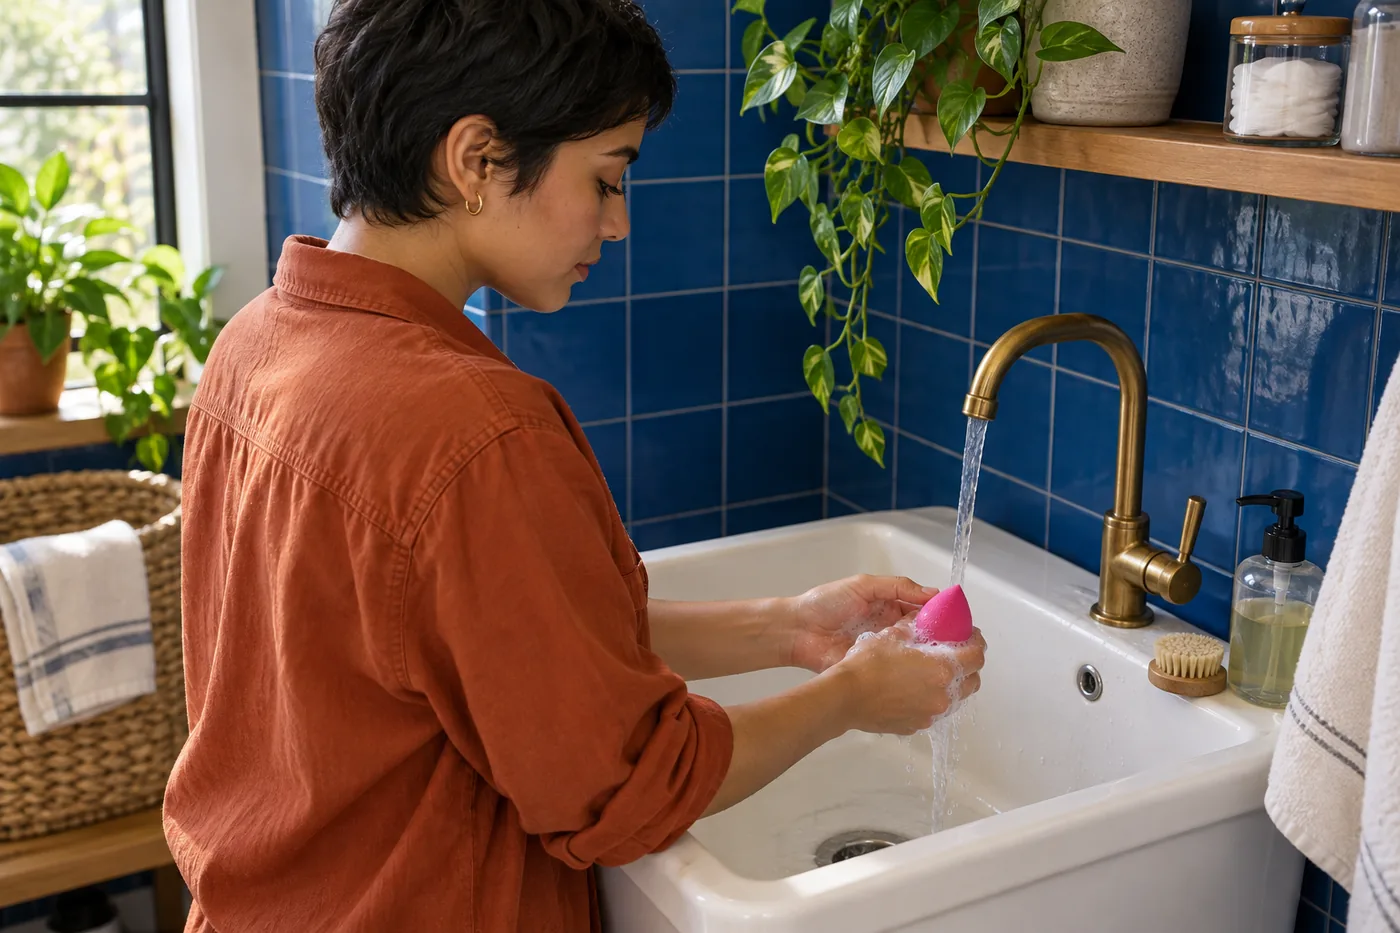
Knowing how to clean a makeup sponge means more than washing the visible foundation patch off its surface. A reusable foam tool needs a suitable wash, a thorough rinse and enough open drying time before it goes back into storage. Begin with the sponge manufacturer's care instructions: a reusable foam blender, a single-use wedge and a flocked powder puff are not automatically maintained in the same way.
This guide from MaqAI covers a personal, washable makeup sponge, with gentle handling and a clear stopping point when its condition is uncertain. You do not need an app to complete the routine. Hair Muse, the app linked from this website, can help plan a makeup look, but no preview can demonstrate that a tool is clean, dry, intact or appropriate to use. Those decisions belong to the real sponge and its care directions.
How to clean a makeup sponge: check the material first
Find the care information for your actual model before choosing a cleanser or water temperature. Check whether it is designed for repeated washing, which cleaning products are permitted and whether any special coating needs different treatment. If it was supplied as single use, washing it does not automatically turn it into a reusable tool. Treat an unidentified sponge cautiously rather than assuming its color or shape identifies the material.
Inspect it before getting it wet. A split edge, loose crumbs or a permanently misshapen section may make another wash pointless. Separate a sponge you are retiring from the tools you intend to clean, so it does not accidentally return to your makeup bag. This is a condition check, not an attempt to identify microorganisms by looking at foam.
Choose one manageable sponge to work on. Cleaning several at once in cloudy water makes it harder to observe what each releases and which one still feels soapy. You can repeat the same sequence for another reusable tool with compatible instructions, using fresh water and a clean working area.
Prepare hands, counter and drying space
Wash your hands and clear a small area away from open cosmetics. The FDA's guidance on using cosmetics safely emphasizes clean hands, following labels and not sharing makeup. Keep the sponge and its wash water away from open foundation bottles, powder pans and jars. Water used for washing a tool is not something to add to a cosmetic to change its texture or extend its life.
Set out the permitted cleanser, a clean bowl if you need one, and a clean absorbent surface for removing excess water. Decide where the sponge will finish drying before you begin. An open support or clean paper towel in a ventilated place is more practical than washing first and then discovering that the only available storage is a zipped pouch.
Keep used tools separate from washed ones. A small washable dish can mark the waiting area; it does not need to be a branded organizer. Clean that dish as part of the routine. Avoid putting a rinsed sponge back on the same makeup-smeared counter where it was resting before the wash.
Wet the sponge and add a compatible cleanser
For a washable foam sponge, follow the permitted wetting method and temperature. Let water reach the material rather than treating only the stained surface. Compress and release gently so the sponge can take up fresh water. There is no benefit in stretching its tip or dragging fingernails across the foam to make it expand faster.
Use the cleanser and quantity allowed by the care directions. More foam is not evidence of a better wash, and a large dose can make the final rinse unnecessarily difficult. If the instructions specify a cleansing bar, work against it gently rather than grinding a delicate point into its edge. If they specify a liquid, distribute it as directed.
Do not substitute a strong household cleaner, stain remover or improvised mixture merely because foundation is stubborn. A product suitable for a kitchen surface is not automatically suitable for a cosmetic sponge that will touch your face. When the maker's instructions are unclear, seek the actual care information rather than inventing a stronger recipe.
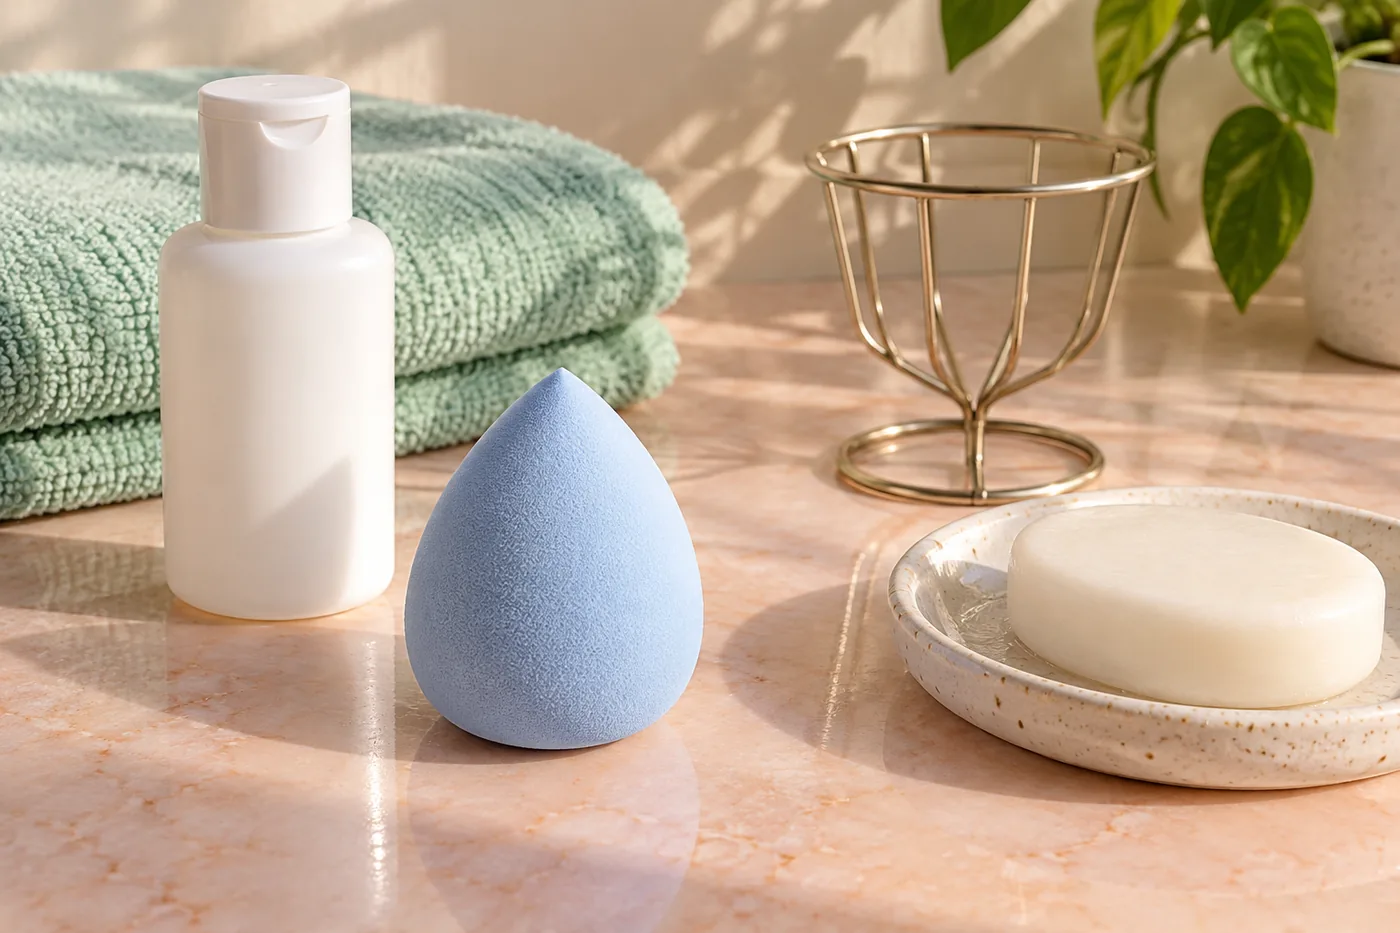
Massage with broad pressure instead of rough scrubbing
Support the wet sponge in your palm and use broad, gentle compressions to move the wash through it. Work around the rounded base and tip without twisting them in opposite directions. The aim is to release residue while keeping the structure intact, not to force the sponge back to a new-looking color by any means available.
If your permitted cleaning method includes a textured surface, use the pressure specified for that tool. A firm brush-cleaning mat can be too aggressive when treated like a scrubbing board for soft foam. Stop if the material begins to snag, tear or shed. Repeated rubbing over the same small mark is not a useful response to visible damage.
Observe the process rather than counting a universal number of squeezes. Pigmented wash water tells you that material is being released, but it does not certify the sponge's hygienic condition. The action can be gentle even when the water looks heavily colored. Keep any soak within the specific instructions instead of leaving it indefinitely in a bowl.
Rinse thoroughly and reassess the remaining mark
Move to fresh running water at the permitted temperature. Compress and release so the water passing through the sponge is replaced, checking different parts rather than only the broad base. Continue until visible cleanser and released makeup have been rinsed away. Pay attention to slippery residue or persistent suds when you gently press the tool.
If the care instructions permit another wash and the sponge is intact, repeat a modest cleaning cycle rather than increasing force. Change the water in a bowl instead of repeatedly pressing the tool into the same dirty mixture. Keep the cleanser container clean, too; do not press a dripping, makeup-coated sponge against its opening.
A remaining pigment stain is not the same observation as active foam, greasy residue or a damaged texture. It also cannot prove that a tool is safe to keep. Combine the wash result with its age, care instructions and overall condition. If you cannot get a reassuring result, replacing the sponge is more sensible than chasing the stain with harsher methods.
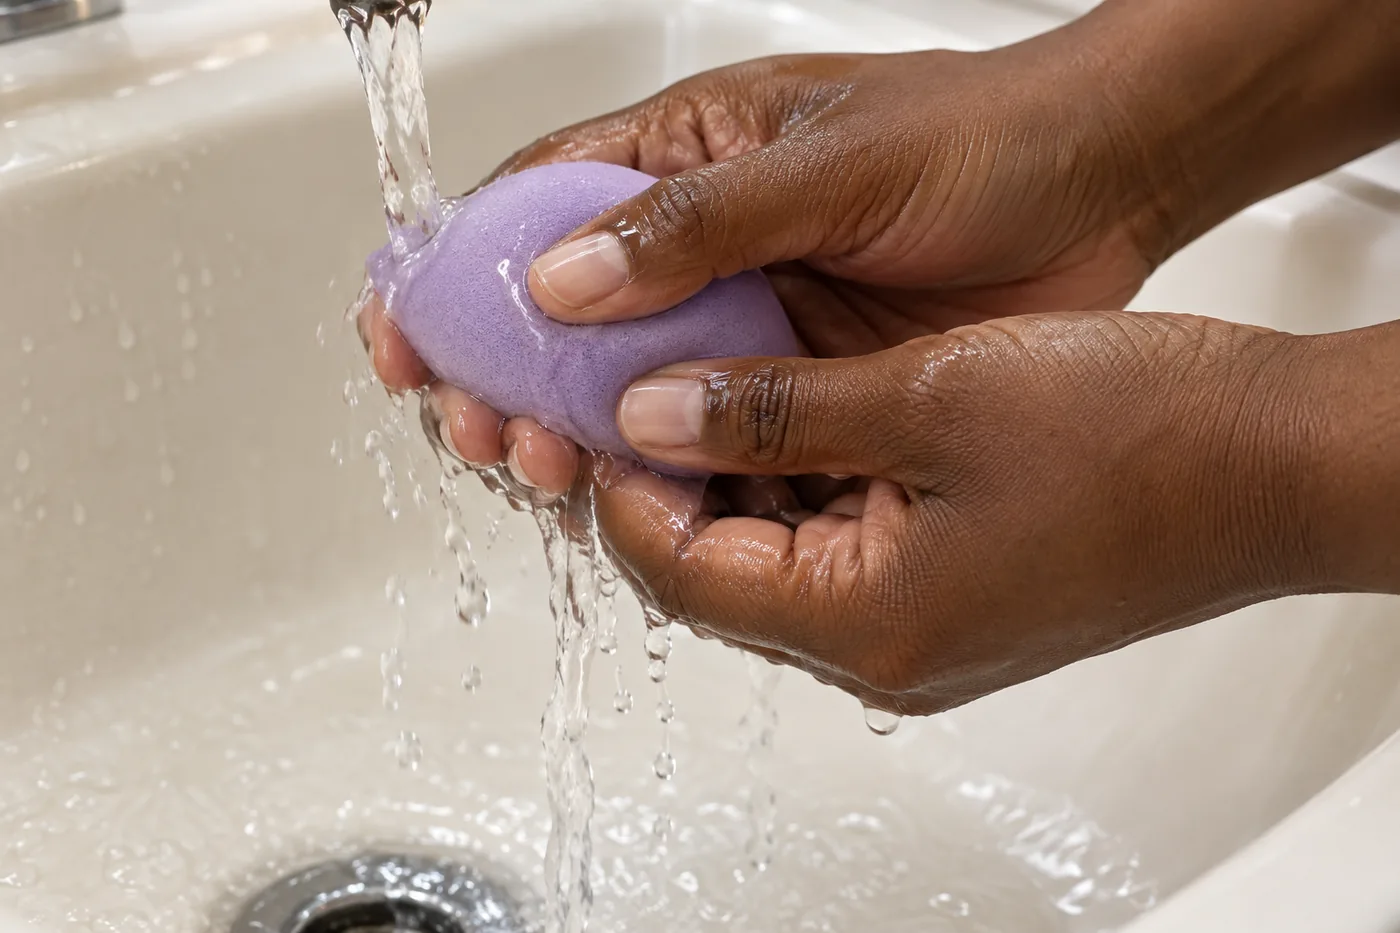
Remove excess water and allow open drying
Gently press out excess water without wringing. A clean absorbent surface can take up moisture with light pressure; avoid flattening the sponge under a heavy object. Then leave it where air can reach it. Keep it away from splashes, used towels, open cosmetics and surfaces that have not been cleaned.
The American Academy of Dermatology advises cleaning makeup sponges after every use and letting them air dry after rinsing and squeezing out excess water. That guidance supports making drying part of the routine, rather than treating it as an optional storage detail. Follow any additional care requirements for your model; a brush-cleaning interval is not a reason to postpone sponge care.
Do not promise yourself that a fixed number of hours will dry every sponge. Size, retained water and room conditions differ. A surface that feels less wet does not necessarily settle the condition of the center. Avoid a sealed bag while it is drying, and do not use a microwave, radiator or hot hair dryer as an improvised shortcut.

Inspect the dry tool and know when to retire it
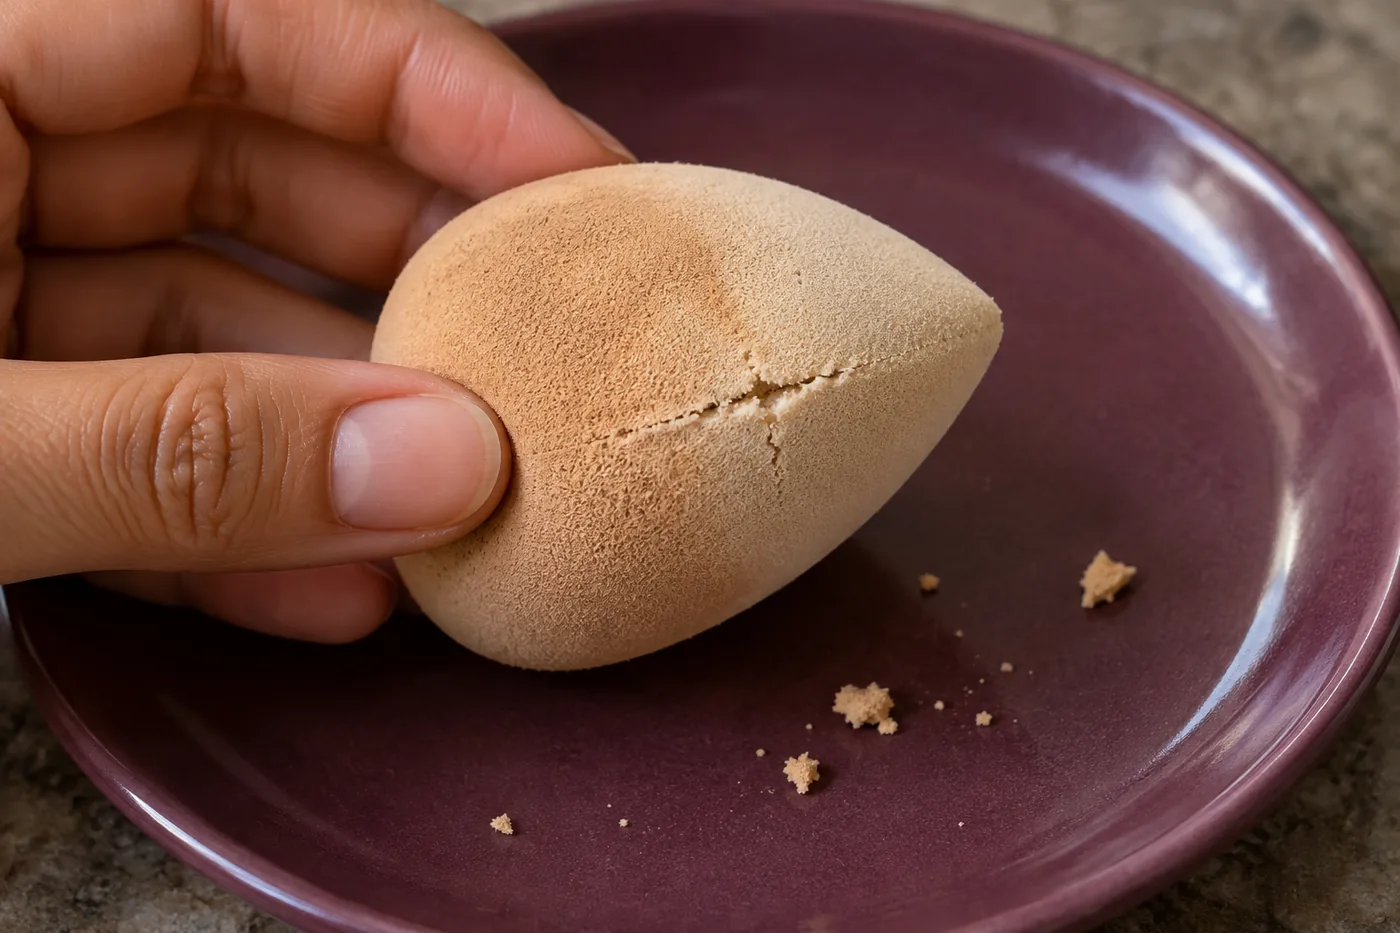
Before returning it to use, look at the tip, broad surface and any seam or edge. Check whether it returns to its usual shape without releasing crumbs. A torn area can catch during application and makes the sponge harder to handle predictably. The aim is not to diagnose a cause, but to decide whether this actual tool is still suitable for its intended job.
Do not mask a persistent unusual smell with fragrance. Set aside a sponge with questionable discoloration, unresolved residue or a condition you cannot confidently assess, and follow replacement guidance. Neither the absence of odor nor a clean-looking photograph establishes microbial safety. If a product or tool is associated with irritation, stop using it rather than repeatedly washing and retrying against uncomfortable skin.
Use the manufacturer's replacement advice as a limit, not a promise that every sponge will last that long. Damage or uncertainty can require earlier retirement. A universal monthly calendar cannot account for every material and use pattern. Note the start date somewhere separate from the foam if that helps you remember its history.
Make care work around mornings and travel
Link washing to the end of your makeup routine, while leaving enough time for open drying before storage. If that conflicts with a rushed morning, plan which clean, suitable tool you will use next rather than putting the wet sponge into a pouch and forgetting it. An extra tool is only useful if it receives the same care; it is not a way to postpone cleaning indefinitely.
For travel, separate the used sponge from clean products until you can wash it properly. A transport container and a drying location have different jobs. Ventilation during travel does not itself perform a wash, and a closed carrying case is not a substitute for drying first. Clean the container according to its own instructions before returning a washed tool to it.
Keep the system small enough to maintain. One waiting area, one washing sequence and one clean drying spot can be easier than an overflowing collection. You are organizing actual handling, not building a sterilization station. This personal-use routine does not replace professional infection-control requirements for tools shared between clients.
Return to application with a separate preparation step
When the sponge is clean, fully dry and in suitable condition, store it as its instructions allow. If your next makeup application calls for a damp sponge, prepare it with fresh water at that time and remove excess water as directed. Dampening for application is a new step; it is not a reason to keep a previously used tool wet between sessions.
Keep cleaning decisions separate from choosing a brush or sponge for a formula. A clean sponge may still be the wrong format for a particular product, and washing cannot correct every streak, patch or finish problem. Check the cosmetic's directions and make a small application before deciding that tool care explains the entire result.
Record anything useful about the routine: cleanser used, rinse difficulty, drying location and the condition check. Change one practical detail if maintenance is awkward. MaqAI's guide can structure that task, while Hair Muse remains optional visual inspiration for a later look. Neither a planning image nor an attractive foam color proves cleanliness, drying, formula performance, skin response or final makeup results.
Separate sponge preparation from cleaningCompare brush and sponge application separately