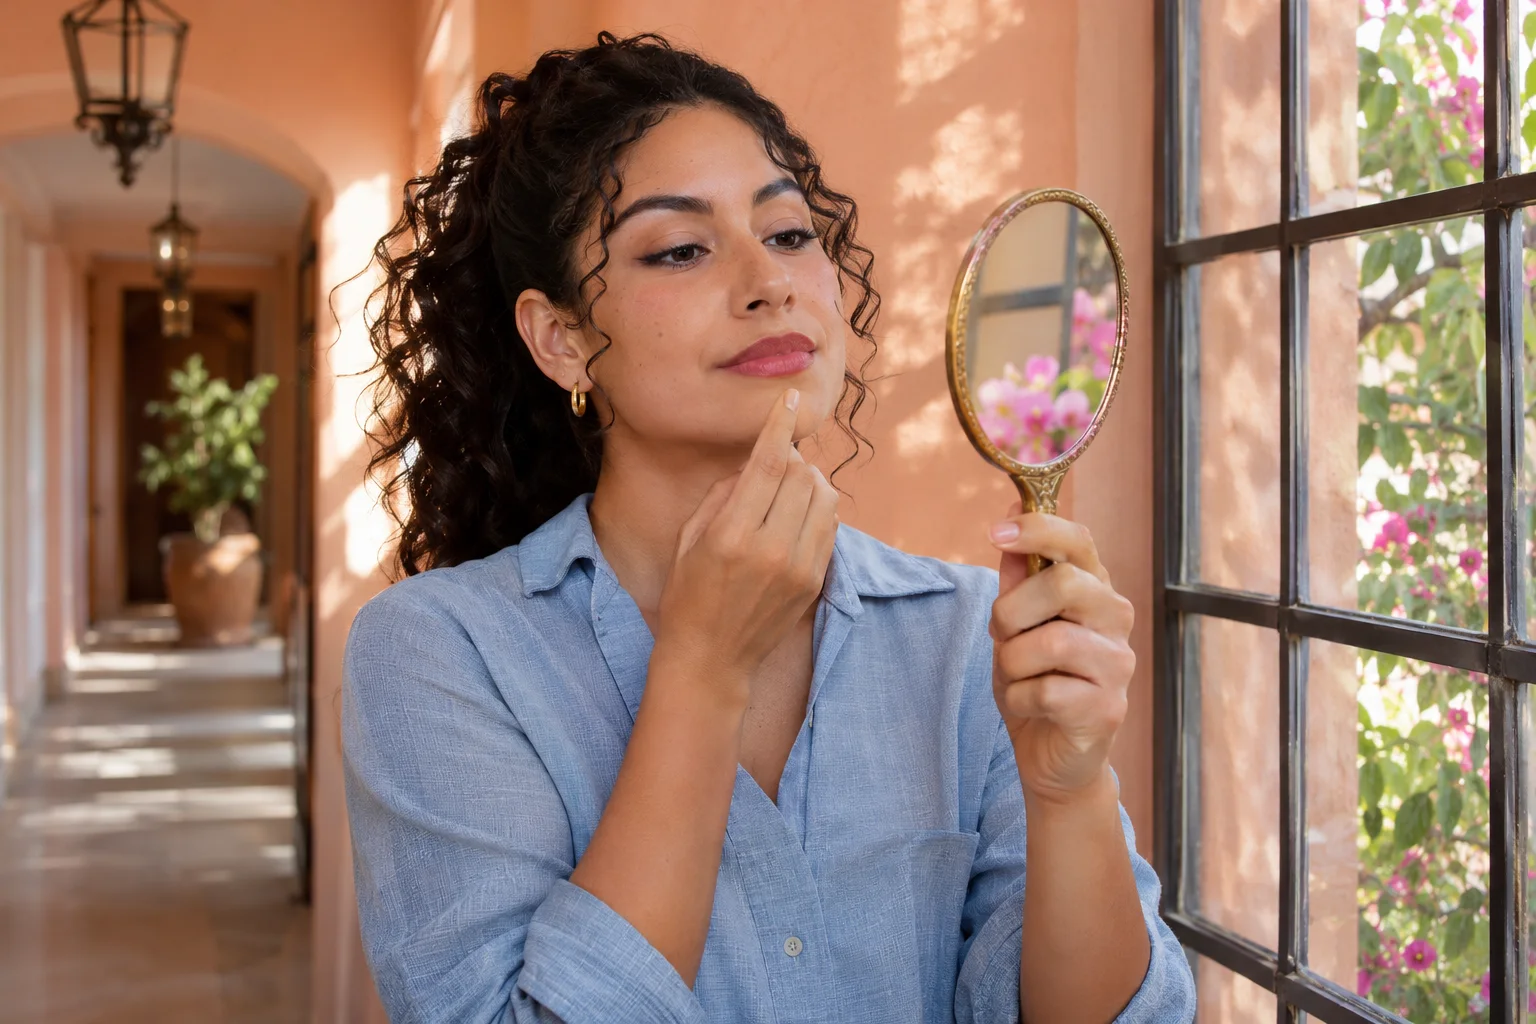
Lip liner
Apply lip liner with a light, connected outline
Build a light connected lip outline in short sections, keep the mouth relaxed and make local corrections before adding color.

Apply lip liner in short, controlled marks that meet along the boundary you have chosen. Keep the mouth relaxed, begin with a small amount of pigment and check the complete outline before filling or adding lipstick. A connected result does not require one uninterrupted sweep around the mouth. Breaking the job into visible sections makes it easier to notice where the pencil starts dragging, where the line becomes too heavy and where a small gap still needs attention.
This MaqAI guide focuses on the physical application of an ordinary cosmetic lip pencil around the existing lip boundary. It does not choose a new shade, reshape your lips or promise to stop every formula from moving. Hair Muse can help with visual makeup planning, but a preview cannot establish pencil pressure, actual texture, comfort or wear. You can complete this method with your own suitable product, clean tools, a mirror and ordinary light, without using an app.
Apply lip liner with one clear job for the edge
Decide what the pencil is meant to do today. You may want a light guide for lipstick, a softly visible contour or a deliberately clearer edge with a compatible lip color. Choose one of those jobs for the first application rather than switching between them as you work. A pencil that was intended only as a quiet guide does not need to become darker simply because you can see a small interruption when leaning very close to the mirror.
Keep the chosen shade stable while learning the movement. If the color itself looks too dark, warm or pale, change that separate decision before trying to repair it through repeated pressure or blending. The lipstick shade comparison guide helps organize a color question, but a physical swatch and real lip check remain necessary. For today's application, use the accepted pencil and concentrate on a readable, manageable line. You will be able to understand the effect of each small adjustment more clearly.
Prepare the actual lip surface without adding a slippery layer
Follow the directions of the products you plan to use. Preparation suitable for one pencil or lip stain is not automatically right for another. If you use a usual lip-care product, assess the surface it leaves before drawing. Obvious excess may make it harder to place a controlled mark. Manage that excess gently with a clean suitable tissue or tool rather than covering it with more pigment. Do not turn this into repeated rubbing or aggressive exfoliation to obtain an unrealistically smooth surface.
Look at the lips as they are now. Normal lines and texture do not mean that every area needs another layer. If the skin is sore, damaged or uncomfortable, postpone this cosmetic trial instead of forcing the pencil across it. This guide is not a treatment for a lip condition. When the surface is suitable for your product, pause long enough to observe it in the mirror. Keeping the preparation consistent helps you recognize whether a later problem comes from the pencil movement or from what is underneath it.
Check the pencil type, point and first mark
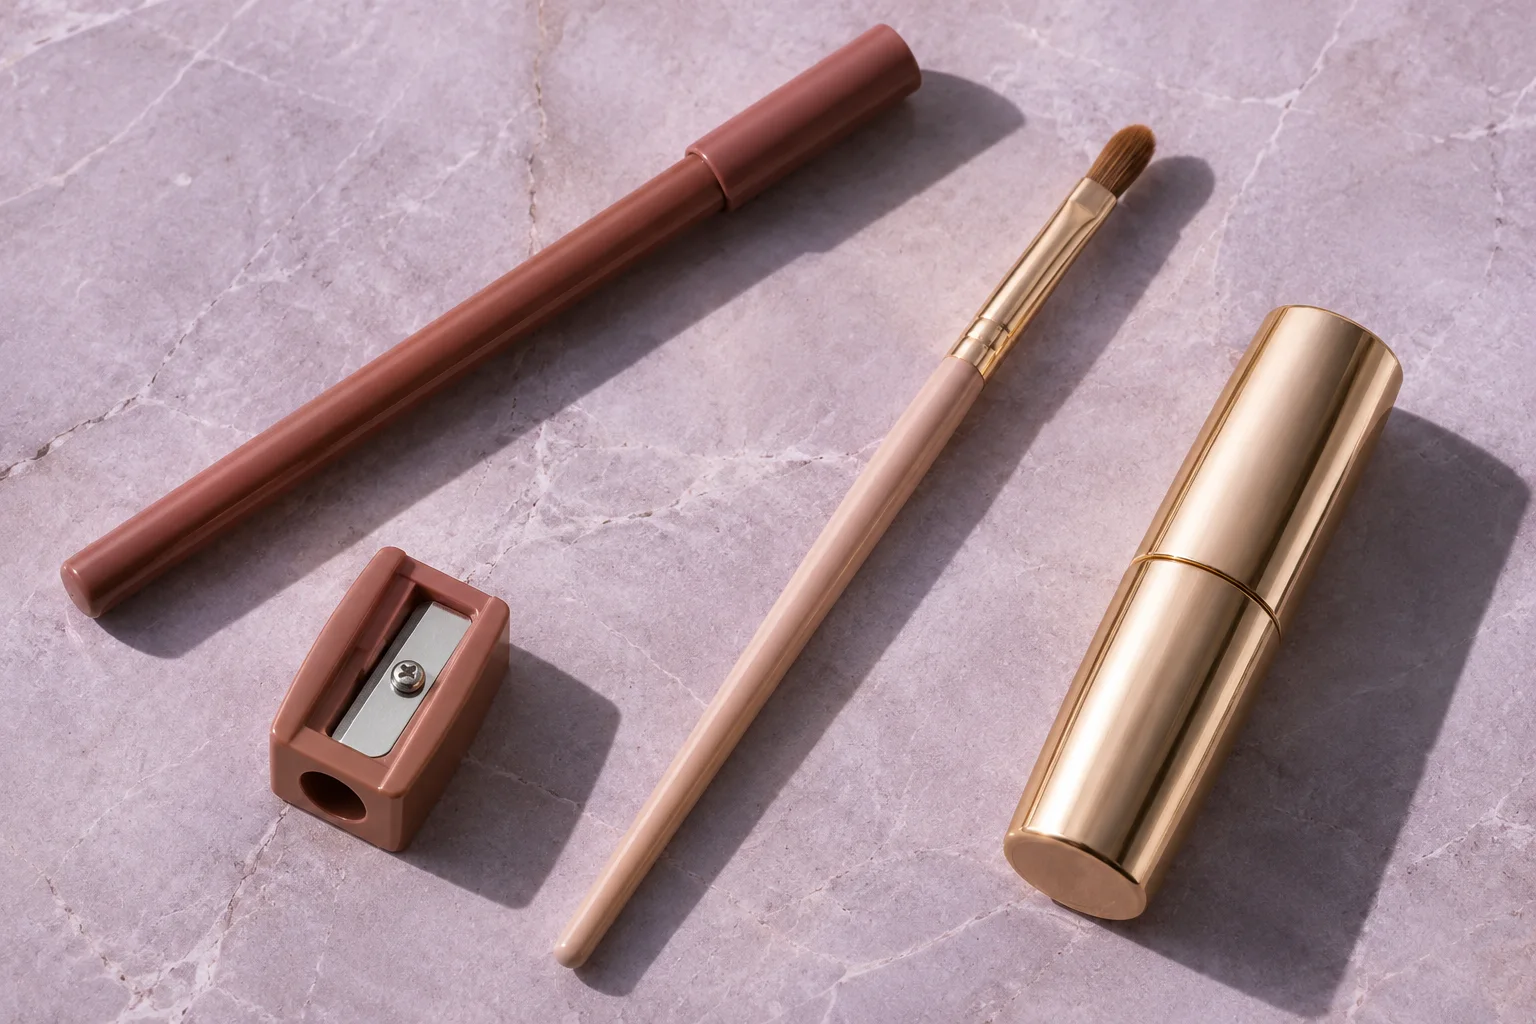
Use a product intended for lip application and identify its mechanism before changing the tip. A wooden cosmetic pencil may need a compatible sharpener; a retractable pencil may only need a small amount exposed. Do not treat the two mechanisms as interchangeable. The aim is a controlled working surface, not the sharpest possible point. Our lip liner sharpening guide covers that preparation separately so you can resolve the tool condition before concentrating on the outline.
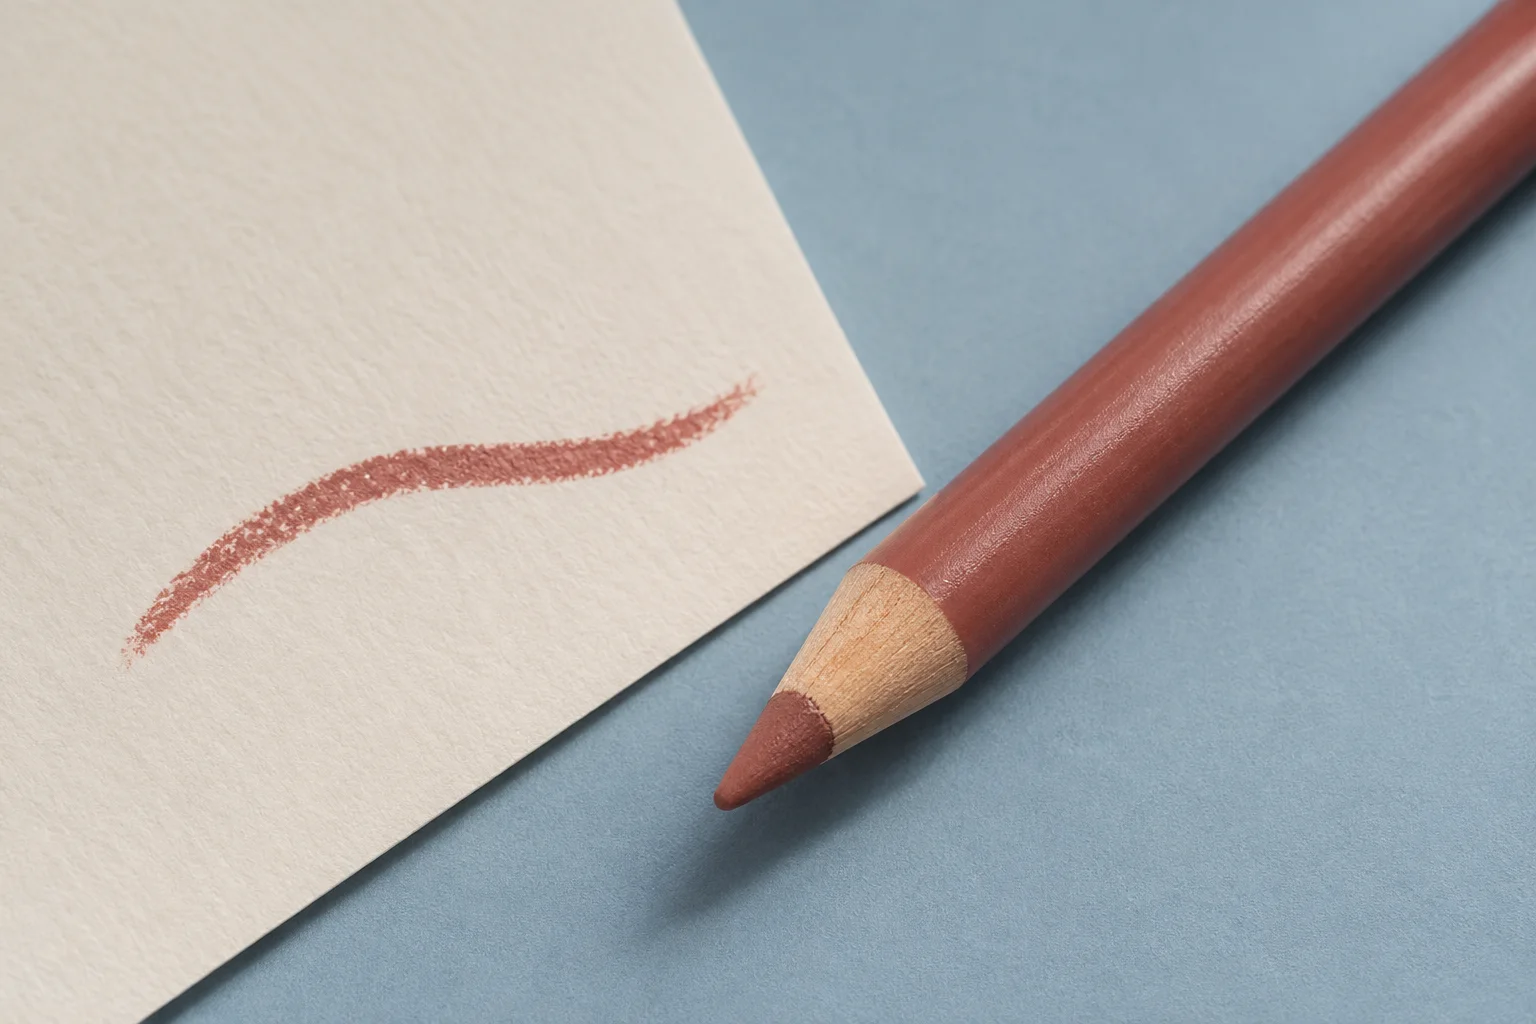
Make a light test mark on an appropriate external surface if the product directions allow it. Notice how wide and dark the mark becomes without pressing hard. A hand swatch can help you understand pigment pickup, but it does not prove the exact appearance on lips or replace any manufacturer testing advice. If the point drags or crumbles, assess the product and its instructions before increasing pressure near your mouth. You want to begin knowing what a gentle contact actually deposits, rather than discovering it halfway through a long line.
Find the boundary with the mouth in a relaxed position
Set the mirror where you can see comfortably and arrange a stable position for your hand. Keep the lips relaxed and gently closed or slightly parted as needed to see the section you are working on. Avoid holding an exaggerated smile or stretching the mouth into a shape you will not keep after application. The outline needs to make sense when your face returns to its ordinary expression, not only during the particular pose that made one section easier to reach.
Observe the visible transition between the lip color and surrounding skin. It may not be equally sharp all around the mouth, and the two sides need not be identical. For this method, stay with the existing boundary you can identify rather than inventing a larger contour in uncertain areas. A deliberate shape change is a separate makeup choice. If a section is difficult to read, improve the light or viewing angle instead of automatically making its line wider. You do not need to mark every small natural variation as a defect.
Connect small sections instead of drawing the whole mouth at once
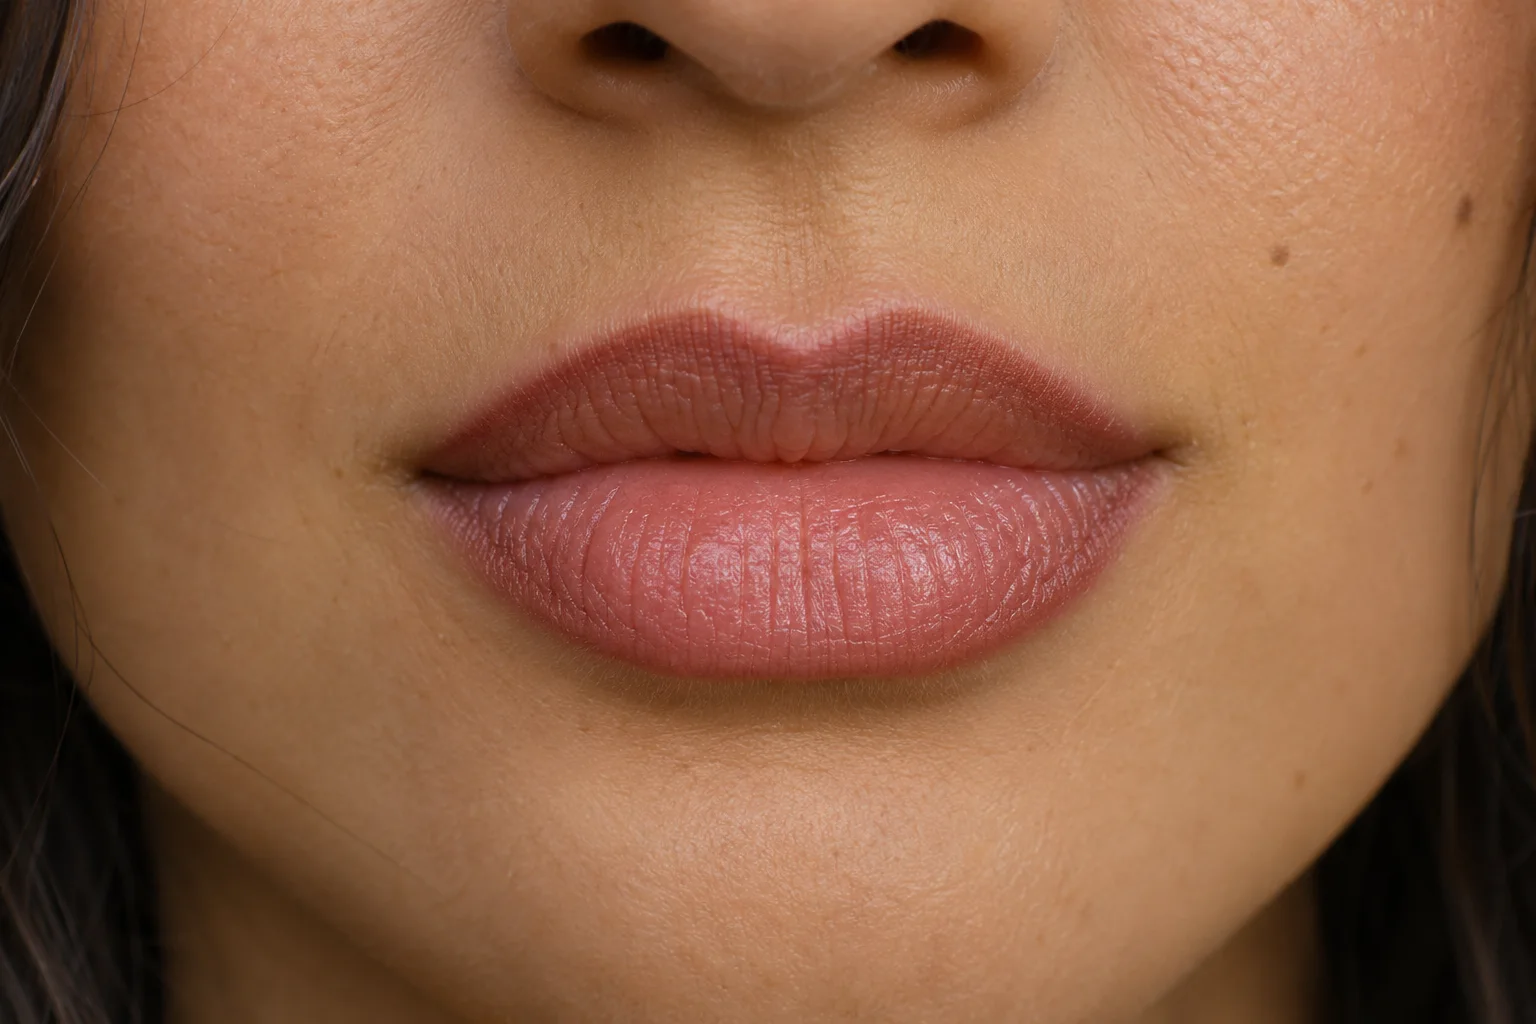
Begin with a short light mark in a section you can see clearly, such as part of the upper center or the lower middle. Lift the pencil, inspect the deposit, then continue toward the neighboring section. The direction can vary with your hand control and the area; there is no requirement to force one long stroke from a corner to the center. Keep each movement small enough that you can stop without having drawn across an area you could not properly observe.
Let the marks meet rather than repeatedly retracing their entire length to make them darker. Check the upper center without exaggerating a point merely to match a drawing or template. Work gradually toward the outer portions, keeping the original small goal in mind. A fine connection that is visible at normal distance can be sufficient. If a mark becomes heavy, pause there before extending that density around the whole mouth. One local excess does not need to set the thickness of every section that follows it.
Approach corners gently and reassess with ordinary movement
The corners can be less easy to see because the mouth changes position as you work. Open only as much as needed for a clear view, use a small controlled contact and avoid pushing the pencil into the inner mouth. This guide concerns external cosmetic application, not coloring the wet inner lip. You do not need to pack pigment into a corner to make the border appear unbroken in a very close photograph. Check what happens when the mouth returns to a relaxed position.
Look for a small missing connection, an unnecessarily dark spot or a mark extending beyond the boundary you intended. Address the specific observation instead of thickening both corners for symmetry. A slight difference between sides can remain compatible with a balanced overall result. If you cannot see or comfortably reach the area, pause and improve the setup rather than continuing by feel. A usable outline is one you can apply with control and wear in an ordinary expression, not one that only works while the lips are held in a strained pose.
Choose how the inner edge will meet the lip color
Once the outline is connected, decide whether it needs a softer transition inward. A light contour can be softened carefully with a clean suitable lip brush or another method permitted for the product. Keep the movement directed toward the lip surface rather than spreading the line outward onto the surrounding skin. Inspect a small section before working around the rest. Blending is a controlled adjustment, not a reason to rub until every mark disappears and then draw a thicker replacement line.
If you plan to add lipstick, apply it according to its directions and observe where the two products meet. You can leave a deliberate visible border if that was your original choice, or aim for a quieter connection with the lip color. Neither result needs an automatic extra layer over the entire outline. Filling all the lips with pencil is also product-dependent; do not assume every formula permits or requires it. Keep the first combination simple enough to understand which product or movement changes the boundary you just created.
Correct one section without rebuilding a larger border
Step back before correcting a mark. At normal viewing distance, a small irregularity may be less important than it seemed in the close mirror. If you still want to change it, use a clean appropriate tool and a removal or softening method suitable for your products. Keep the correction local so you do not unnecessarily move the neighboring liner, lipstick or face makeup. Let the area settle before deciding whether it needs a new small mark. Repeated removal and redrawing can make the original decision harder to judge.
Do not use a broad concealer perimeter as an automatic answer to every uneven edge. It introduces another color and texture that also needs to fit the rest of the face. Sometimes lifting a single dark spot or reconnecting a short gap is enough. If an area becomes uncomfortable, stop instead of alternating more pencil with more rubbing. Your aim is a comfortable contour that reads clearly with the whole face visible. It does not require identical sides or a perfectly opaque boundary in every enlarged photograph you take.
Review the complete lip look and keep a repeatable routine
Check the outline with relaxed lips, then with ordinary speaking and smiling movements. Look at the upper center, lower curve, corners and inward transition together, rather than judging each section as a separate drawing. Review in steady normal light and the light relevant to your day. Notice the actual texture and feel as well as the visible edge. A neat first application does not establish how the product will wear later, and a planning image cannot guarantee that a particular combination will remain unchanged.
Keep a short practical record: the pencil used, the preparation that suited it, the small starting pressure and any section that needed a local adjustment. You do not need a fixed stroke count or an elaborate new diagram for every use. Cap and store the product as directed, and care for any brush according to its own instructions. Next time, begin with the same manageable sequence and change only what you can observe. A connected outline built from small understandable steps is easier to repeat than an idealized result you cannot translate into a real application.