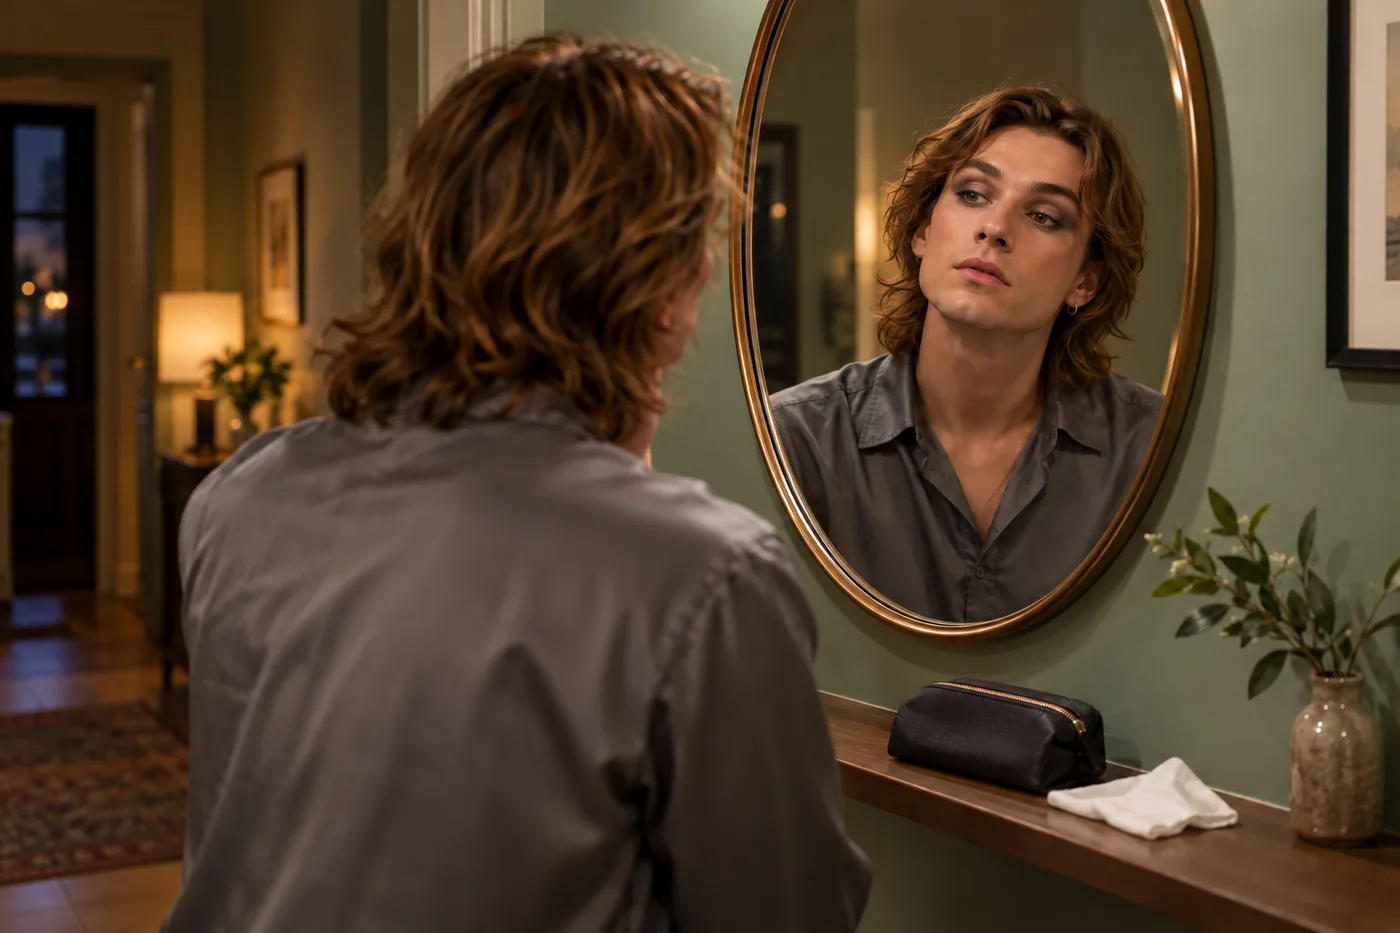
Eye shadow planning
Soft smokey eye: how far should the shadow go?
Compare a compact and a wider upper-lid shadow, keep two ideas in Hair Muse, then build and check a restrained gradient with real eye products.

A soft smokey eye can feel heavier than expected even when the eyeshadow itself is quite light. Often the decision is about how far the dark area travels, rather than whether you chose brown instead of black. Start with a compact shadow close to the upper lashes, then compare a slightly wider version before committing to more makeup. A soft boundary can still surround a very dark center; softness and low contrast are different choices.
MaqAI publishes this guide. Hair Muse is the app used for the optional visual planning stage: one clear portrait, one placement variable and a shortlist of two ideas. The practical decision comes afterward, with actual eye cosmetics and ordinary light. The method below helps you decide what to try; it is not a product test or a promise that a generated image predicts application, comfort or wear.
Define your soft smokey eye by its dark footprint
Give the look a concrete job. Perhaps you want the upper lashes to look more defined without a dark lower rim, or you want a small shadow visible when your eyes are open. Write that down before selecting colors. Otherwise a successful blended look can keep expanding simply because there is always another edge to soften. Your stopping point should follow the original preference, not the amount of space still available.
Separate three observations: the darkest point, the area covered by that depth, and the transition into surrounding skin. For the first trial, keep the darkest point near the outer upper lash line and leave room around it. This is a starting option, not a requirement for an eye shape. If you prefer a rounded distribution rather than an outward extension, keep that direction in both candidates so the comparison stays readable.
Prepare a portrait that keeps the lid readable
Use a current, straightforward photograph with the camera around eye level, eyes comfortably open and brows relaxed. Face a broad source of neutral light without a bright stripe across one lid. Remove tinted glasses for the planning photograph if you normally can do so comfortably; put your everyday frames back on during the physical check. Keep the original photograph available so that you can identify changes beyond the requested makeup.
Avoid a beauty filter, a deliberately widened gaze or a head tilt that conceals one side. Existing shadow may obscure the very boundary you want to compare, so begin with little visible eye color where practical. The source-photo guide linked here explains the capture details. You do not need a collection of portraits: changing the source between candidates also changes shadows, expression and the apparent space above the lashes.
Choose a small color set without fixed complexion rules
Pick a color family you actually want to wear and can approximate with suitable products. Taupe, brown, plum or charcoal can each create a restrained result, depending on depth and area. Brown is not automatically subtle on every face, and black is not automatically excessive. Judge the contrast against your own skin and lash color. Keep the finish similar across the two planning candidates so that reflection does not masquerade as lighter coverage.
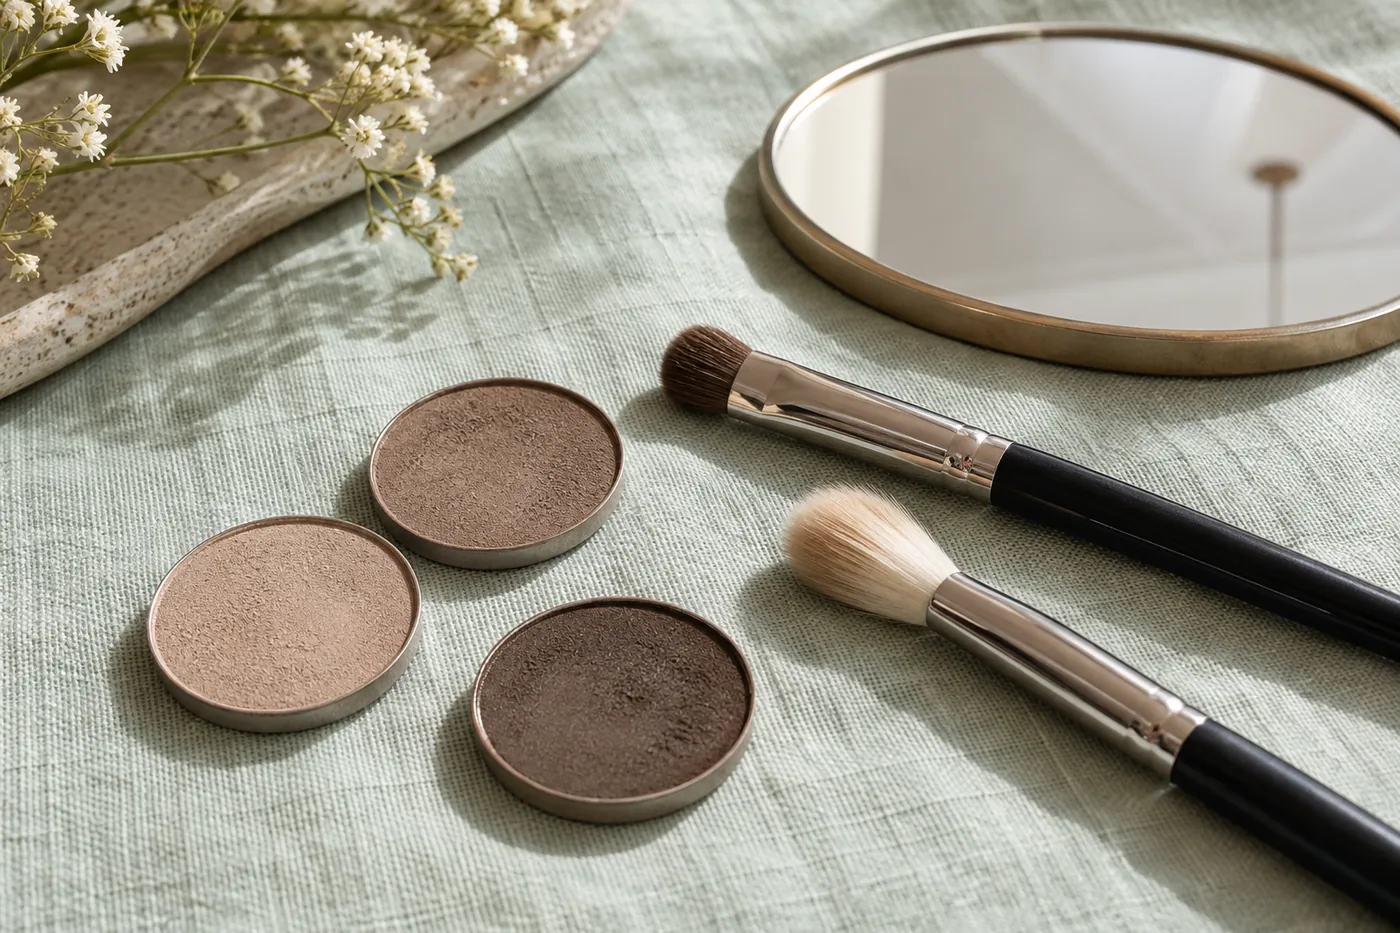
For a first physical attempt, identify a middle tone and a deeper tone within that family. A third bridging shade is optional rather than an obligation to buy a palette. Inspect the products' intended use before considering application. The FDA's eye-cosmetic guidance supports using products intended for the eye area, keeping hands and instruments clean, not sharing and stopping if irritation occurs. A lip color with a convenient shade is not automatically suitable for eyelids.
Compare a narrow and a wider upper-lid shadow
In Hair Muse, describe the first idea as a small diffused upper-lid shadow, with depth concentrated close to the lashes and a restrained outer boundary. For the second, ask for the same color family, apparent depth and finish with a modestly wider fade. Keep brows, lashes, lower lid, cheeks and lips as similar as possible. This isolates the footprint rather than comparing two entire beauty looks with several competing differences.
Review both at the same display size and brightness beside the original photograph. Check whether the app also changed eye shape, lash density, skin texture or the direction of the gaze. If it did, treat that candidate cautiously or request a simpler comparison. A convincing portrait is not automatically a controlled experiment. Reject an attractive version when its unrelated changes are doing most of the work, and retain only the useful placement idea.
Before deciding that the lower area needs correction, turn toward the light and then return to your starting position. A structural shadow may move or lighten while deposited pigment stays in place. Do not keep adding brighter makeup beneath the eye to compensate for every changing shadow. If the wider upper shape seems to dominate, compare it again at conversation distance rather than only enlarging the eye crop. This checks whether the effect comes from the planned area or from the way you are viewing it.
Save two ideas and name the boundary you prefer
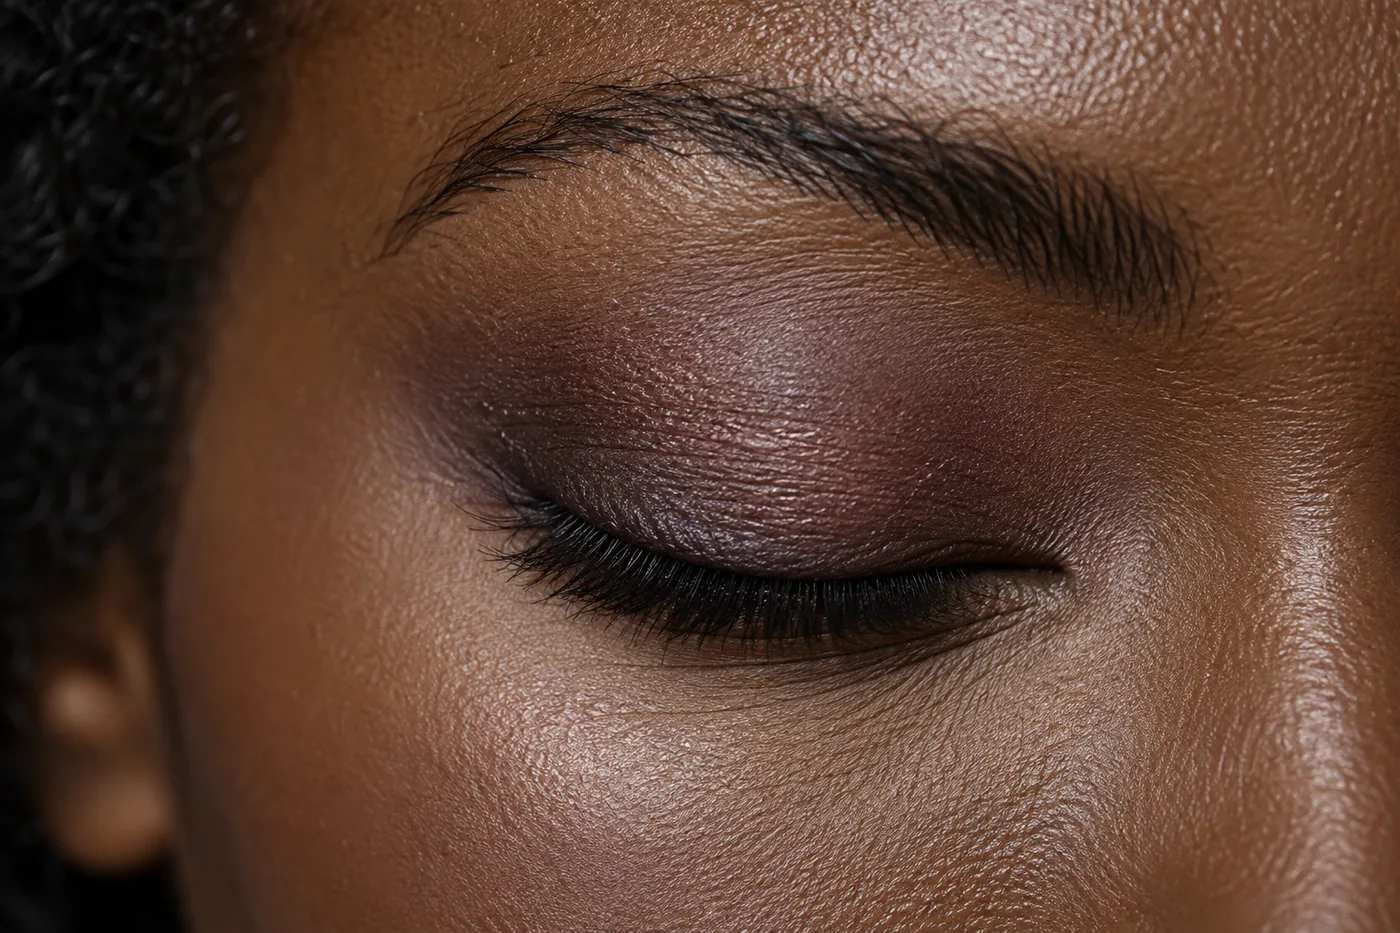
Keep at most the compact and the wider candidate. For each, note where the deepest color sits, where the fade ends and whether you want anything under the eye. Describe locations relative to features you can see on your own face, not a fixed millimeter measurement copied from the screen. A short note such as upper lashes defined, center still lighter, no lower shadow is easier to reproduce than a vague request for softness.
Choose the candidate that fits your original task when viewed as a whole face. If neither works, change one detail next: reduce the width while keeping color, for example. Do not simultaneously switch to shimmer, add a wing and increase mascara. Those changes can be worthwhile later, but they prevent you from learning why one footprint feels more manageable. The preview-to-routine guide linked here helps turn the saved direction into specific product and tool steps.
Build the real gradient with a restrained first deposit
Set up while stationary, with clean tools and enough light to see the eyelid clearly. Follow the products' directions for preparation and layering; do not assume that a face primer or concealer is approved for every eye-area use. Use a modest load of the middle tone on the selected upper-lid area. Start inside the intended boundary. It is easier to judge a small deposit than to recover pigment spread beyond the planned shape.
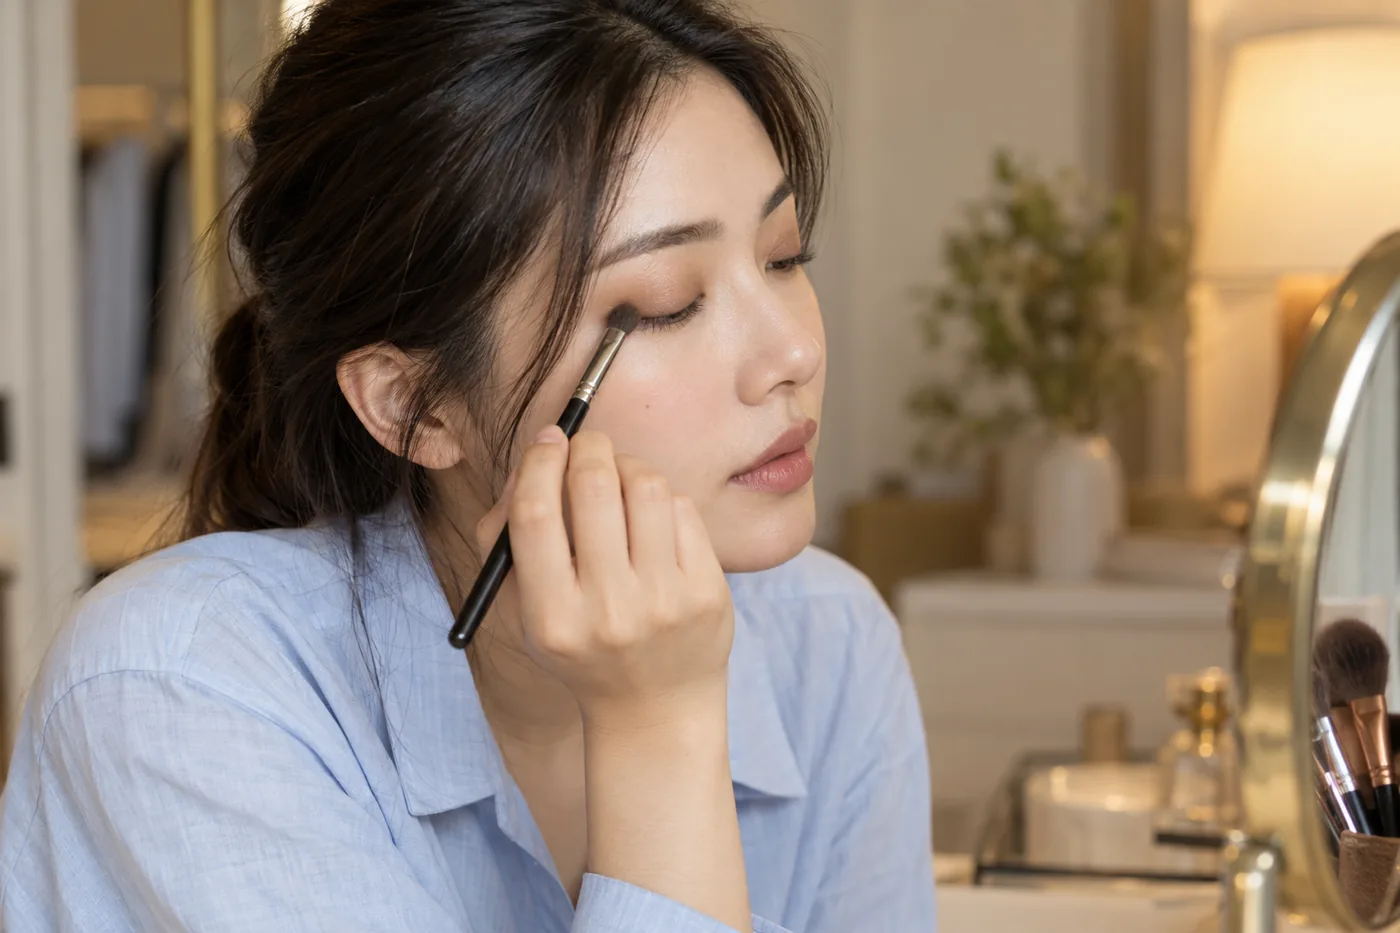
Place a little of the deeper shade close to the outer upper lashes, keeping it on external skin and away from the eye itself. Soften the transition with a clean suitable brush using light, limited movements. Work at the edge instead of sweeping the darkest deposit across the whole lid. Open your eyes between short passes. A gradient may look complete with the lid lowered yet disappear into a fold or extend farther than intended when you relax.
Keep the lower edge and lashes as separate decisions
A smoky look does not require a dark lower rim or product on the waterline. Start with the upper-lid plan alone. If you later want a lower accent, consider a very small external shadow where the particular product permits it, then reassess the whole face. Adding a continuous lower band changes the overall footprint substantially. Treat it as a new decision rather than the automatic last step needed to make the look legitimate.
Likewise, use your familiar mascara amount first if you choose mascara. A heavier lash coating or sharper eyeliner can make the same shadow feel much stronger. You can add those details after the placement trial, but record them separately. Keep tools away from the eyeball and stop rather than push through discomfort. Do not apply while travelling in a moving vehicle. The aim is a routine you can control comfortably, not a technically elaborate demonstration.
Correct a spreading edge without enlarging everything
If the shadow has grown too wide, stop blending before adding another transition shade. Inspect whether the problem is excess pigment at the outer boundary, an isolated patch or simply lighting. A clean brush may help soften a small edge, but repeated broad strokes can carry color farther. Follow the formula's instructions; where a local correction is not practical, remove the affected area gently with an appropriate eye-makeup remover and restart with less product.
Do not cover scattered dark pigment by applying increasingly thick concealer over it. Deal with the particles before restoring a small area of base, without dragging them toward the eye. Nor should you darken the better side automatically to match an accidental larger shape. Natural lids differ. Match the intended visual balance with eyes relaxed, allowing each side a slightly different placement when necessary. Comfort and a clear stopping point matter more than a mirror-image outline.
Check ordinary light, expression and actual wear
Step back to normal conversation distance, then look in the lighting where you expect to wear the makeup. Blink, smile and turn your head. Check whether you still like the shadow's visible width and whether the lower area remains as clear as you intended. A close photograph can reveal a boundary but also exaggerate texture; use it alongside the mirror rather than as a final verdict. Screen brightness cannot correct an unsuitable real application.
After a realistic period of your own activity, record any movement, creasing, discomfort or maintenance required. Change the application or formula separately on a later trial if needed. Hair Muse cannot establish the exact shade, texture, oxidation, wear time, skin response or finished real result. Save the real routine with the products, small placement note and one ordinary-light photo. A successful soft smoky direction is one you can recognize, recreate and comfortably keep within the boundary you chose.