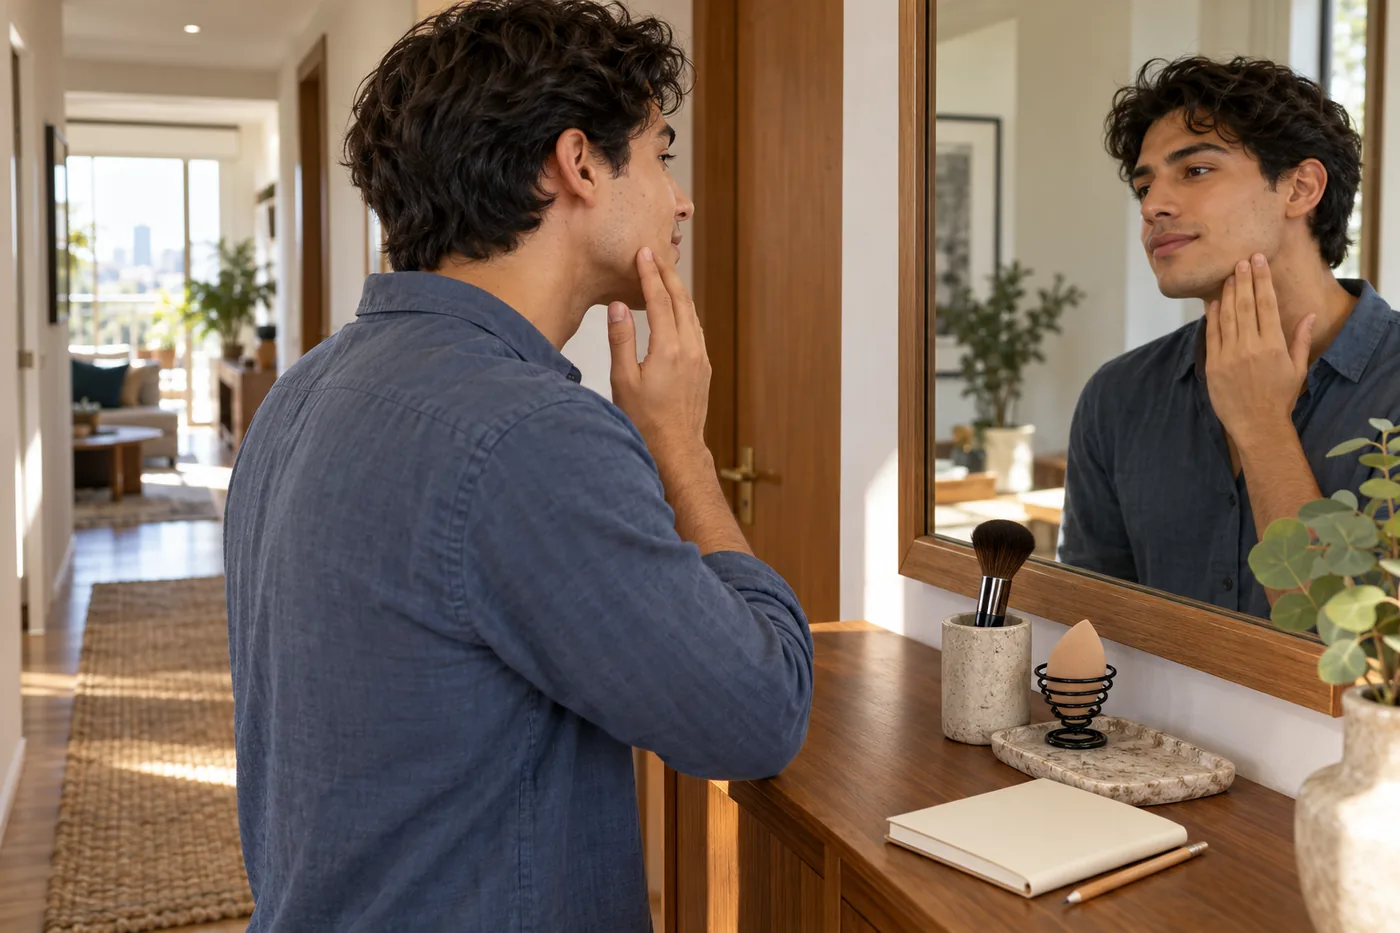
Foundation tools
Foundation brush or sponge for a controlled first layer
Compare contact, load and motion with your actual foundation, then choose a manageable tool routine with clean applicators and ordinary-light checks.
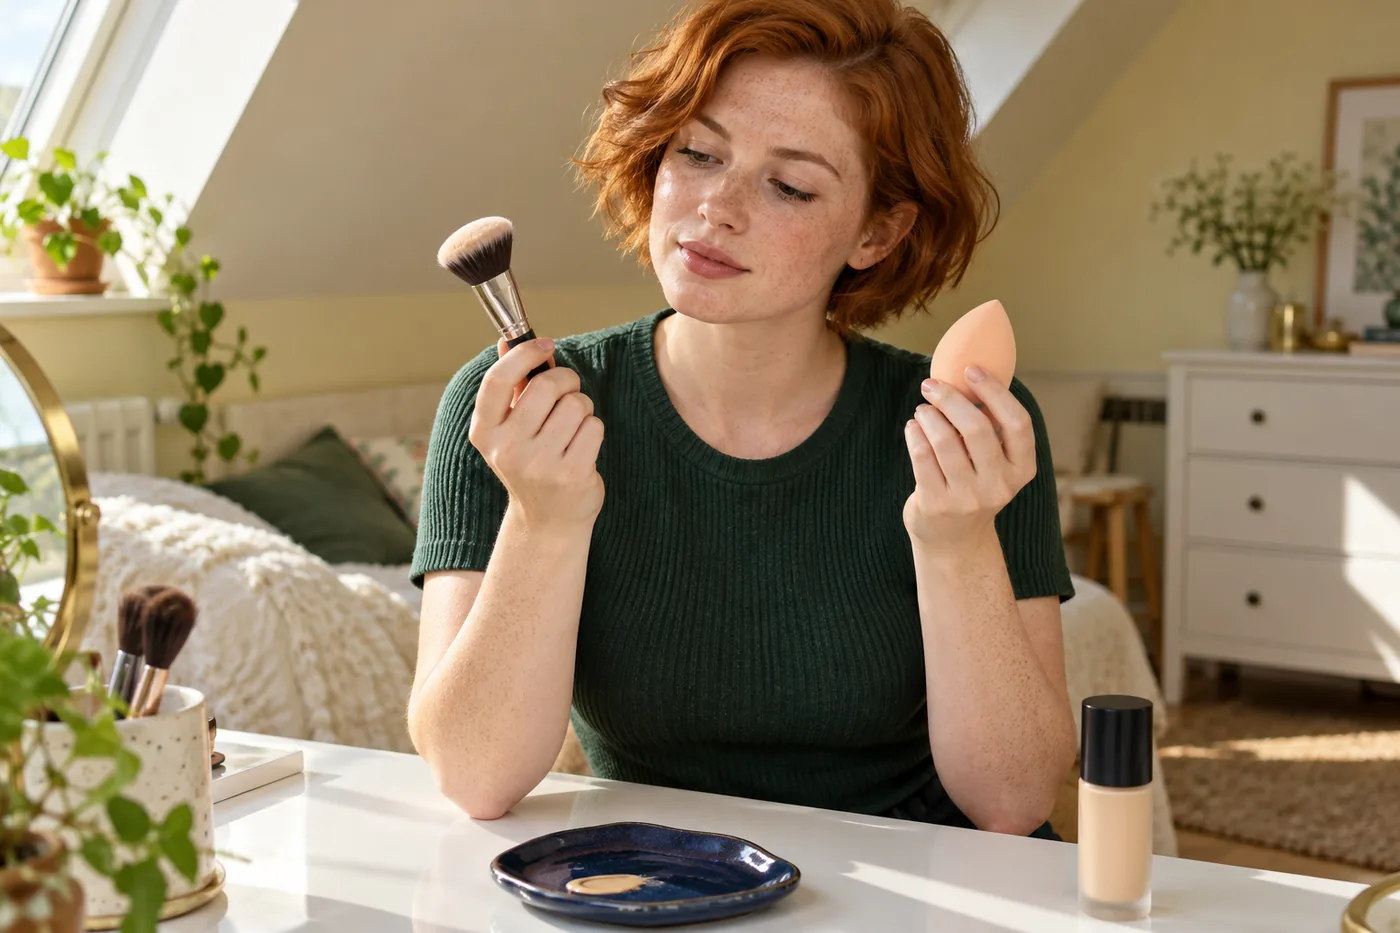
Choosing a foundation brush or sponge is easier when you compare what your hand actually does, rather than expect a tool to guarantee a particular finish. A brush gives you a field of bristle tips; a sponge gives you a compressible surface. Either can leave too much product, move a layer underneath or work well with a particular foundation. The useful question is which contact you can control with the formula you already have.
Start with clean tools, comfortable skin and the product directions. Try a small area with a modest amount, look at the first deposit, then check whether the edge needs more work. Keep coverage, softness and handling as separate observations. You do not need to buy both tools or use both every morning. This guide provides a physical comparison you can repeat, without a product ranking or a promise that one method suits every skin type.
Foundation brush or sponge: define the task first
Write down the result you want in practical terms: even out the center of the face, keep freckles visible, or cover one area without spreading a thick film everywhere. “Flawless” is too vague to tell you when to stop. Decide which visible variation you want to soften and which natural features can remain. Normal pores and moving skin do not mean that a tool has failed.
Next name the difficulty. Do you see lines immediately after a brush stroke, patches after a sponge press, or an initially smooth layer that changes later? These are different observations. A tool comparison should concern the first deposit and your ability to distribute it. Later separation, color change or discomfort may involve the foundation, preparation and wearing conditions as well. Keep those questions for a separate check instead of blaming the tool from one glance.
Check the formula and prepare a fair starting point
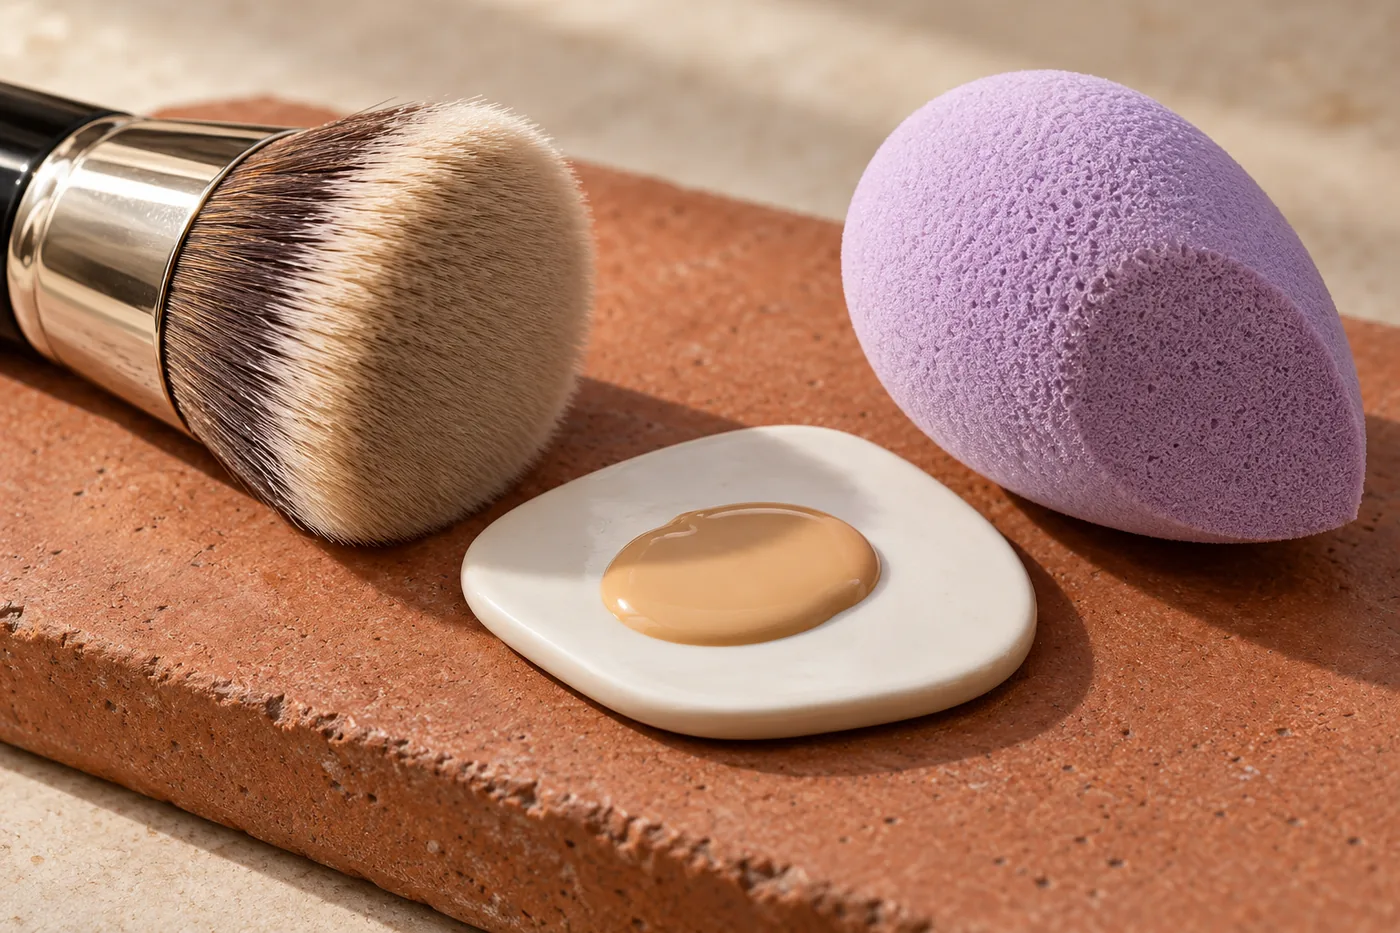
Read the foundation and tool instructions before choosing a motion or introducing moisture. A liquid, cream, stick and powder are not interchangeable testing materials. Start with one familiar foundation that permits the method you want to try. Do not dilute it in its container, add water to rescue old product or improvise a mixture simply to make the comparison work. FDA cosmetic-use guidance emphasizes following directions and keeping hands and containers clean.
Use your usual comfortable preparation and allow the layers to reach their intended state. Avoid changing moisturizer, primer, foundation and tool together. Otherwise, a different result cannot tell you which change mattered. If you need a closer look at permitted damp preparation, the separate sponge guide explains that decision. Here, prepare the sponge consistently according to its instructions, and compare the tool contact rather than repeatedly changing its water content.
Read FDA advice on cosmetic labels and clean handlingChoose permitted damp or dry sponge preparation
Learn the brush contact before adding more product
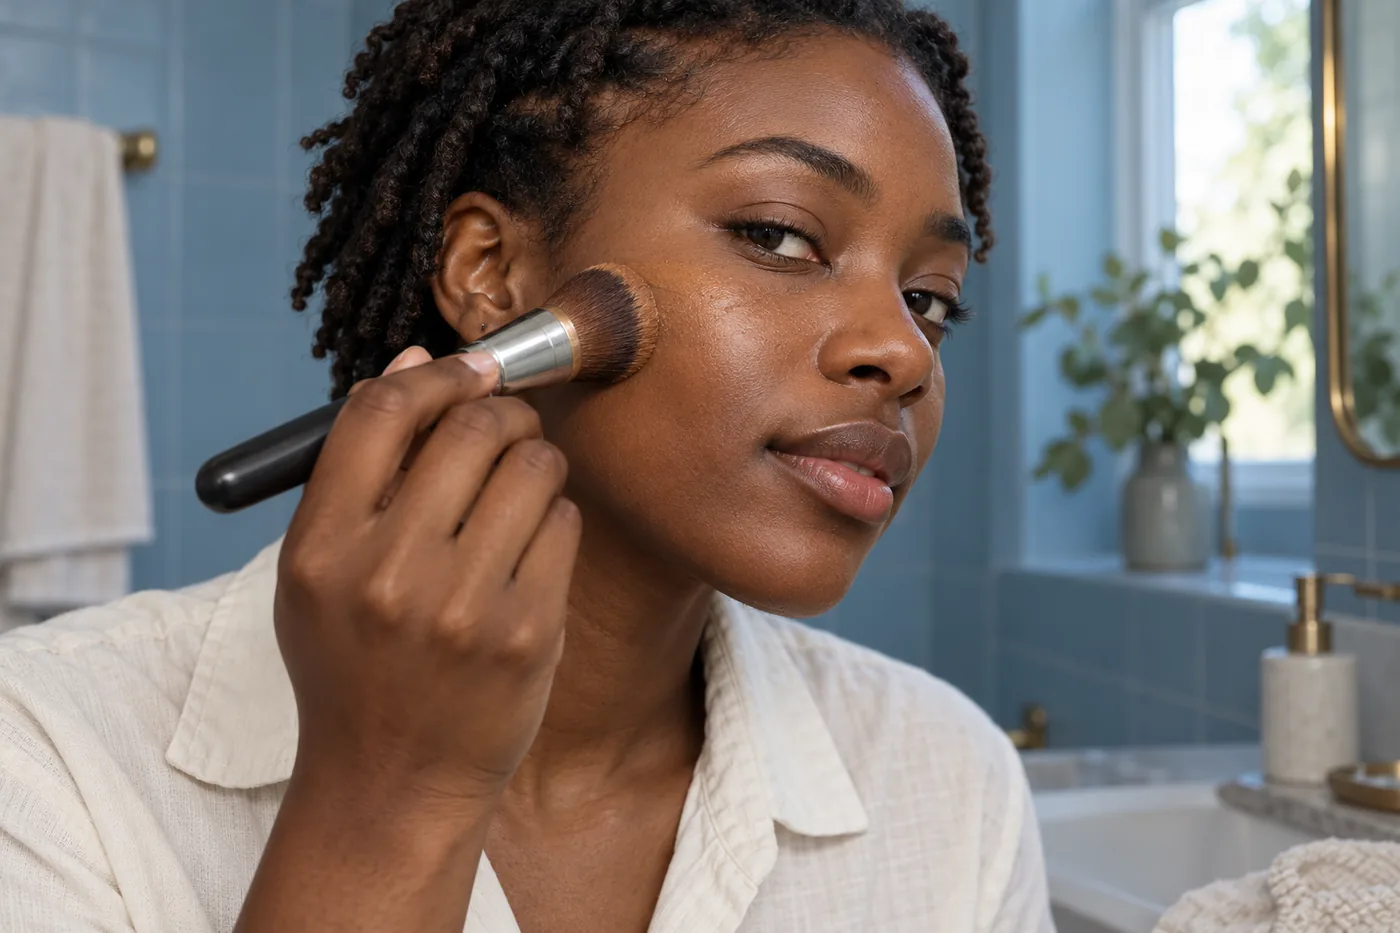
Inspect a clean, dry brush for a secure head, comfortable tips and its intended product use. A broad rounded head and a flat paddle present different contact areas, so “brush” does not describe a single technique. Use what you own and notice how much of the head meets your cheek. Hold the handle lightly enough that you can reduce pressure without losing control. Bristles should not need to scratch or bend hard against skin.
Take a little foundation onto a clean palette if the packaging permits dispensing that way. Touch a modest amount with the tips rather than saturating the whole head. Begin on a small outer-cheek area and distribute with short gentle contacts appropriate to the brush and formula. Watch the first mark. If it becomes a heavy stripe, stop loading and spread that deposit before reaching for more. A smaller starting area makes this easier to observe than a row of large dots across the face.
Use the sponge as a press, not an eraser
Prepare the sponge only as its directions allow. If damp use is permitted, remove excess water until it is not dripping; that does not authorize adding water to the cosmetic itself. Choose a surface that rests comfortably on the area. The broad side can cover an outer cheek, while a smaller curve can approach an edge without forcing a pointed tip into delicate areas. You should be able to place and lift the tool with little pressure.
Pick up a small amount and press, release, then move a short distance. Avoid dragging the sponge repeatedly as though scrubbing a stain. Observe whether the first contacts deposit pigment, redistribute an existing layer or lift it away. If the surface looks increasingly bare, more bouncing may continue the same problem. Pause and check moisture, load and the state of the base. A sponge is not automatically gentle merely because it feels soft in the hand; pressure and repetition still matter.
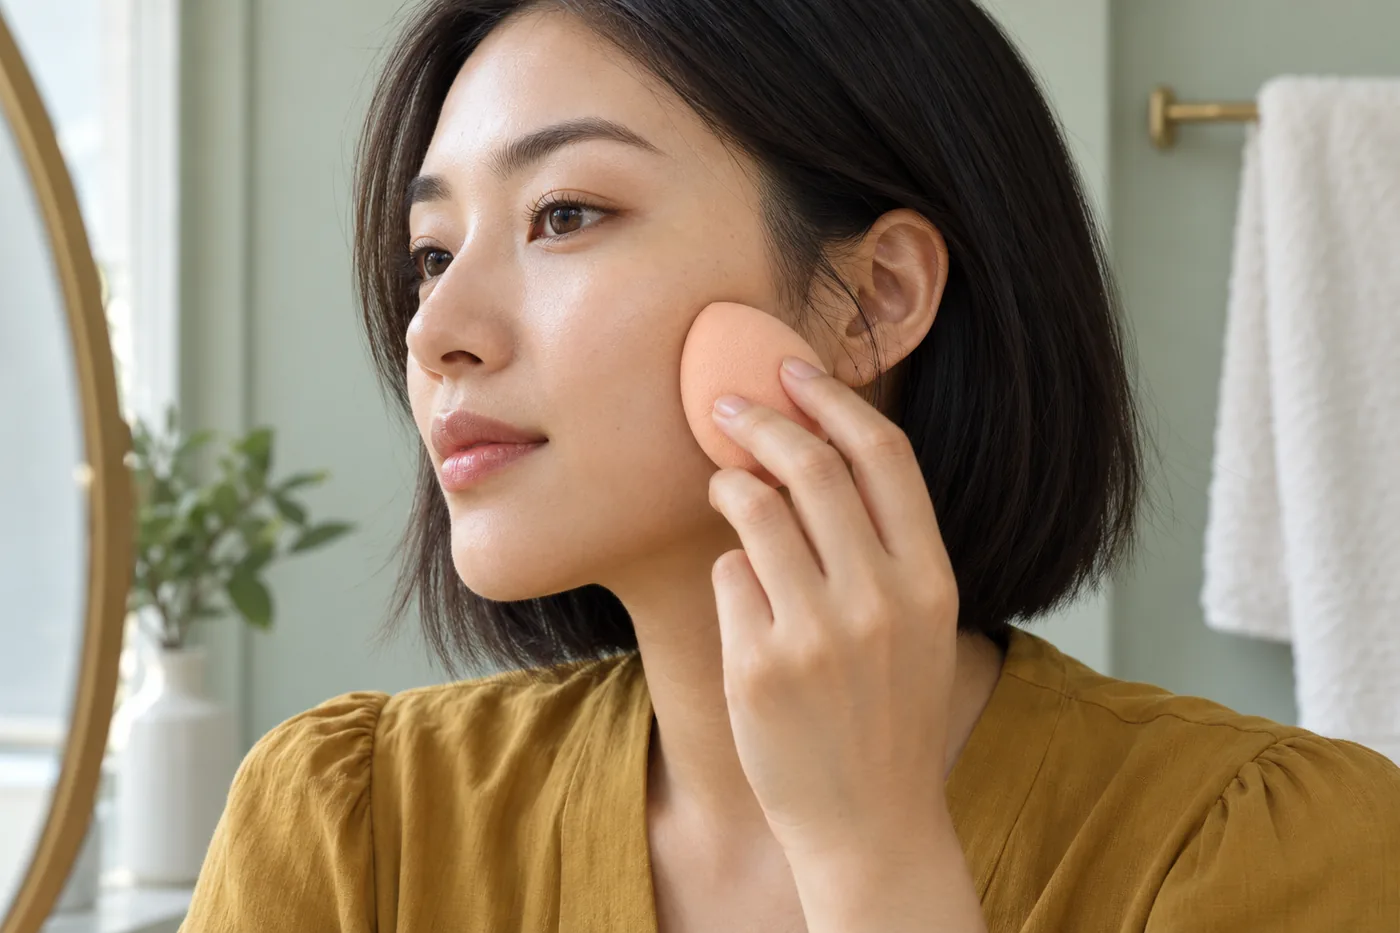
Compare small areas without declaring a winner too early
For a first trial, choose comparable outer-cheek areas and keep the foundation, preparation and light the same. Use small separately dispensed portions, but do not treat equal pump counts as a laboratory measurement: tools and packaging handle product differently. The aim is to learn control, not publish an absorption statistic. Record which side used which method so a natural difference between cheeks does not become an invented tool benefit.
Look after the first pass and again after the foundation's instructed settling stage. Can you leave a thin edge? Can you add coverage only where wanted? Is one grip easier to repeat? Reverse sides on another ordinary day if the comparison seems useful. Skin, light and application are not perfectly identical even then. Choose the method that meets your own practical brief, with that uncertainty visible, instead of awarding a universal victory to the smoother photograph.
Read marks before trying to polish them away
A brush line can be a concentration of pigment at the end of a stroke. Before adding foundation, use a clean part of the suitable tool with a light touch to distribute that small edge while the formula is still workable. If repeated contact starts lifting the layer, stop. Waiting or restarting a small area according to the product directions can be more manageable than repeatedly polishing a film that is no longer cooperating.
A sponge print may show uneven pressure or a deposit that has not joined the neighboring area. Check the tool surface and make a few gentle local contacts, then step back. Do not chase every pore in a magnifying mirror. If both tools create rolls, flakes or a broken layer, return to preparation and formula compatibility rather than escalating pressure. Burning, itching or increasing redness is a reason to stop using the product and seek suitable advice if it persists, not a blending challenge.
Combine tools only when the second has a clear job
You can apply with a brush and use a suitable sponge on a small visible edge, but combining tools is an option rather than a required professional secret. Name the second job first. Perhaps the brush placed enough coverage but one cheek boundary needs a lighter final contact. In that case, try the second tool only there. Check whether it helps before taking it across the whole face and removing coverage you meant to keep.
The reverse can also make sense when a sponge creates an even broad layer and a suitable smaller brush gives controlled local coverage. Keep the foundation and intended use consistent, and avoid moving an unclean tool between products. More stages bring more handling, cleaning and opportunities to disturb a layer. If one tool already produces the result you want comfortably, stop there. A routine is useful because you can repeat it, not because it contains every available accessory.
Include cleaning and drying in the decision
Choose a method you can maintain as well as apply. Follow the manufacturer's cleaning instructions for each tool, including what cleanser and drying arrangement it permits. Do not pack a damp sponge into a closed makeup bag just because the visible face looks finished. Allow it to dry with ventilation. A brush also needs proper drying after washing; upright storage is appropriate only once it is dry, rather than letting wash water run into its handle.
The American Academy of Dermatology's brush-cleaning guidance describes washing regularly, rinsing the tips and laying brushes flat with the tips over an edge to dry. That is brush guidance, not a promise that a quick wipe sterilizes a sponge. The existing brush-cleaning article covers the practical sequence. Do not share personal applicators. If a tool is damaged, cannot be cleaned as directed or has an uncertain condition, put it aside rather than using extra foundation to conceal the problem.
Read AAD guidance on washing and drying brushesFollow the practical brush-cleaning sequence
Make the final choice at everyday viewing distance
Check the complete face upright in ordinary light, not only the close area you worked on. Look toward the front and turn slightly so reflection moves. A bright highlight can look like missing coverage in one position. Compare the face with the jaw and the areas you chose to leave light. Your goal is a coherent application that feels comfortable, not a surface without natural texture or a photograph that hides all movement.
After an ordinary period of wear, note what changed without turning it into proof about every brush or sponge. Keep three lines: foundation and preparation, tool condition and motion, then the result worth repeating. For example, “small brush load, short contacts, sponge only on one edge” is more useful than “brushes are better.” If you later use Hair Muse for visual inspiration, remember that a generated preview cannot measure tool absorption, physical texture, formula compatibility, wear or skin response. Keep those decisions in the real routine you have just tested.