
Lip care technique
Remove lipstick without chasing a spotless pad
Read the removal directions, lift loosened color with clean material and decide when another pass would only add friction.
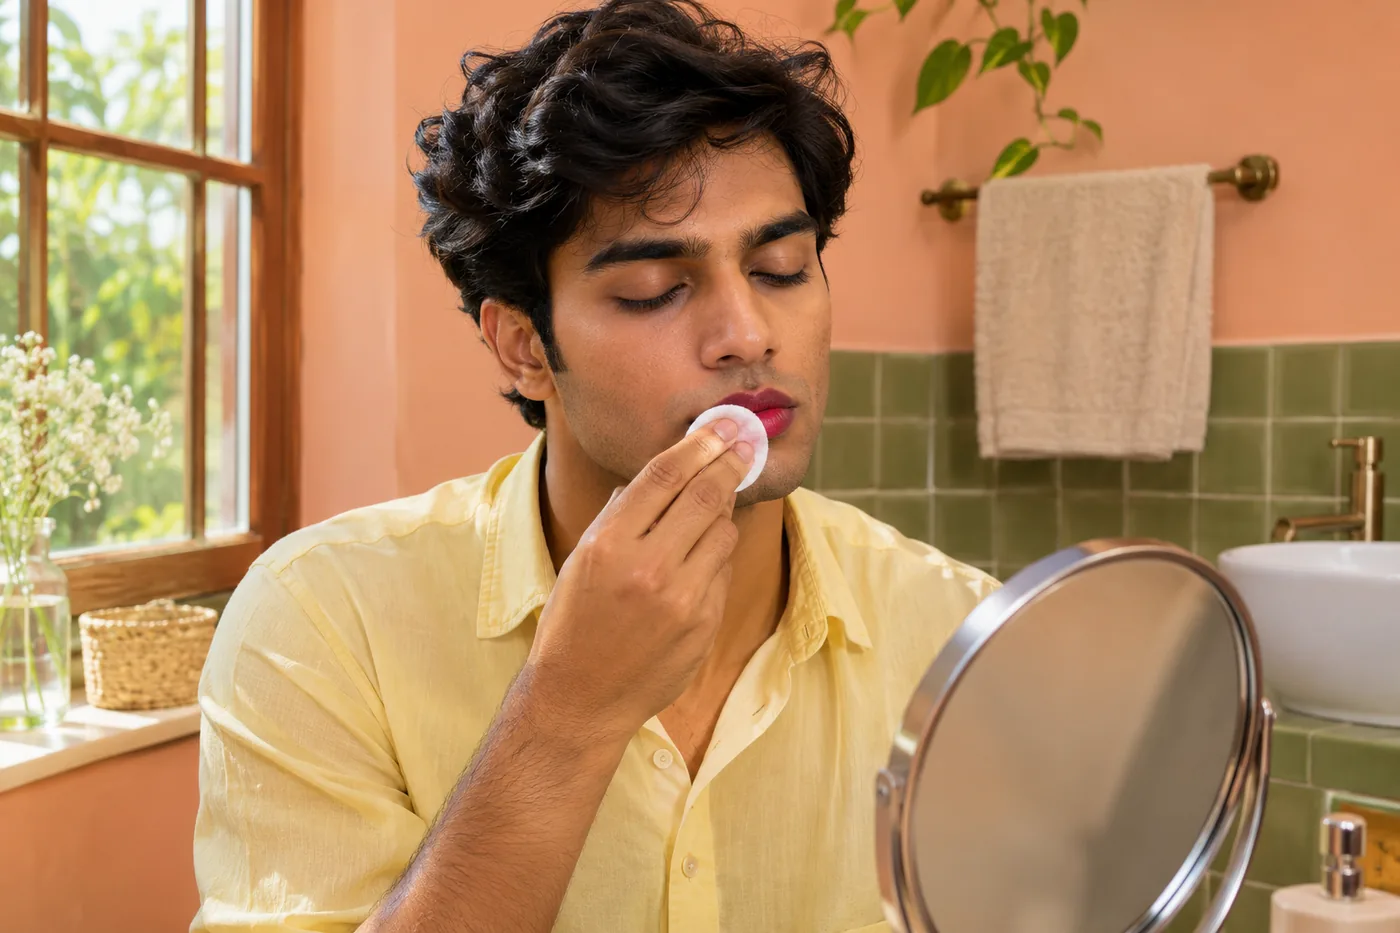
To remove lipstick, start with a cosmetic remover explicitly suitable for lips and the directions for the color you are wearing. Let the permitted product make contact before gently lifting the loosened makeup with a clean, soft surface. More pressure is not the next step when color resists. Recheck compatibility, the pad and your comfort before doing anything else.
A long day can leave an uneven mixture: a creamy layer at the edges, a more persistent patch in the middle and your natural lip pigment underneath. These do not necessarily need the same response. This guide separates the initial removal, the remaining film and the stopping decision so that a white pad does not become a target you pursue through repeated rubbing.
Remove lipstick by checking the actual formulas first
Find the lip product’s removal instructions, particularly for a long-wear liquid, tint or two-step color. Then check the remover’s permitted application areas and method. A bottle described as facial cleansing water, eye remover or cleansing oil is not automatically appropriate for lips. Names describe a category; the actual package decides how that specific product should be used. If the directions are unclear, consult the manufacturer rather than improvising a combination.
Read whether hands, a pad, dry skin, damp skin, mixing or rinsing are specified. Keep those details together instead of borrowing one step from several products. The FDA’s advice on using cosmetics supports following directions and clean handling; it does not establish that every remover works on every lipstick. Use your own cosmetics and clean hands. There is no need to start with a new purchase if a suitable product you already own has clear instructions.
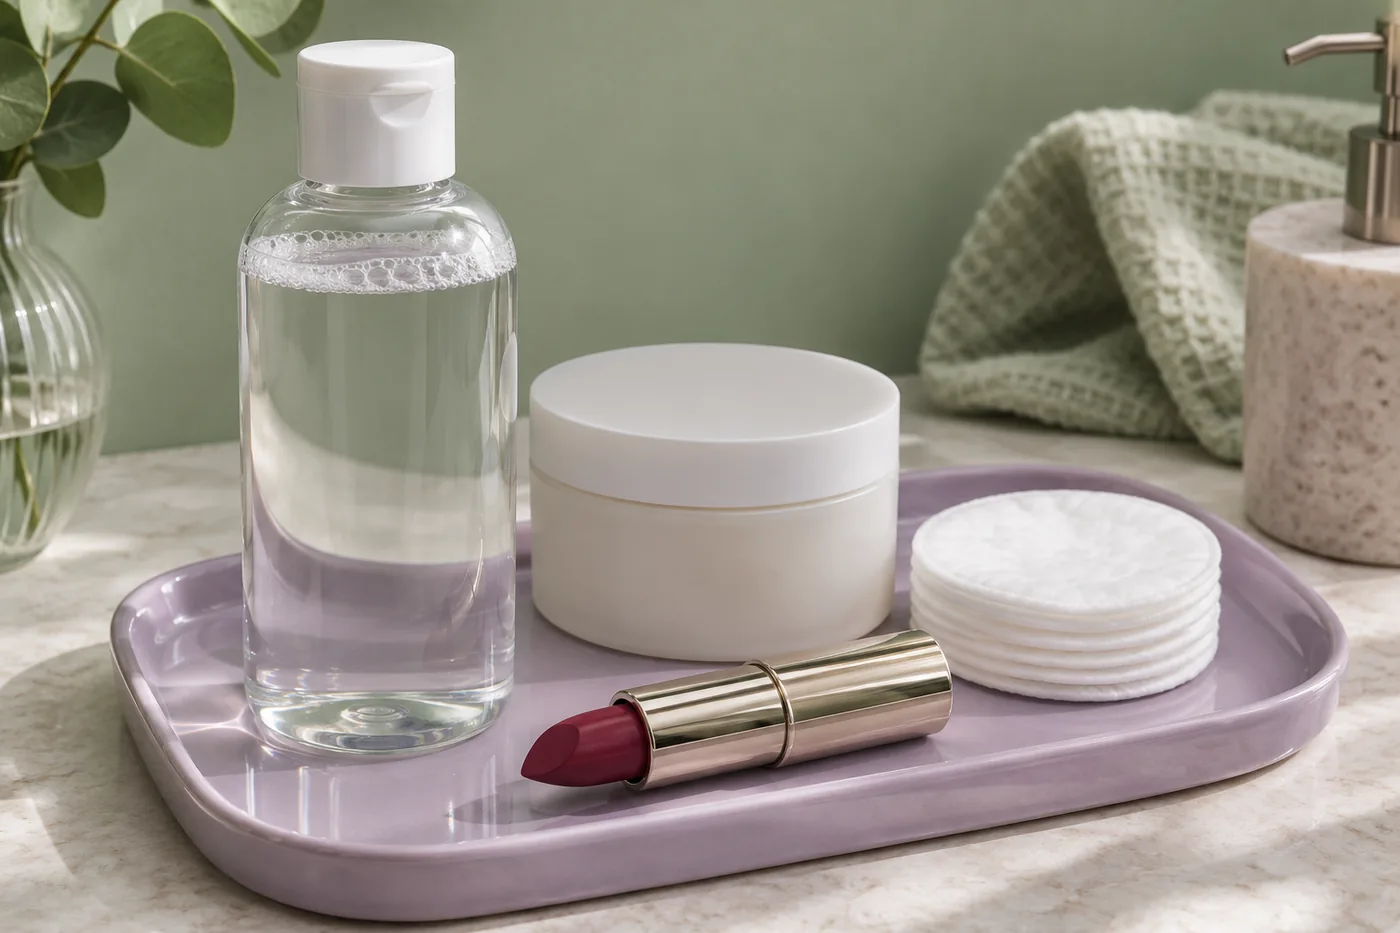
Prepare a small working area before opening anything
Put a mirror, the permitted remover and clean soft pads or the specified cloth within reach. Separate the unused supplies from the place where used ones will go. A washable pad needs to be clean and fully prepared for this use; a rough or stiff edge is a reason to choose another suitable surface. Keep the bottle opening away from pigment and used material.
Sit or stand still with enough light to see your actual lip boundary. Keep the mouth comfortably closed without pressing the lips tightly together or stretching them into a smile. You want ordinary relaxed folds, not a taut surface that changes as soon as you release it. If you wear eye makeup too, use separate clean material for that area. A lip-colored pad should not become an eye-cleaning tool, even when one remover permits both uses.
Make the first contact without a scrubbing motion
Prepare the remover exactly as its instructions specify. With a pad-based method, use enough permitted product for the contact surface to feel soft and suitably moistened, without making it drip into your mouth. Position the usable face of the pad over a manageable part of the closed lips. Let it rest for the product’s stated contact time, if one is given. Do not invent a universal number of seconds for all formulas.
With a balm or another hand-applied method, follow its own distribution and removal sequence instead of forcing it into a pad routine. The common decision is whether the cosmetic layer begins to loosen without increasing force. Keep product on the intended external area. Avoid licking the remover or drawing it inside the mouth. Stop if the process feels uncomfortable; a more forceful pass cannot establish that the product is suitable.
Lift the loosened color and inspect the contact surface
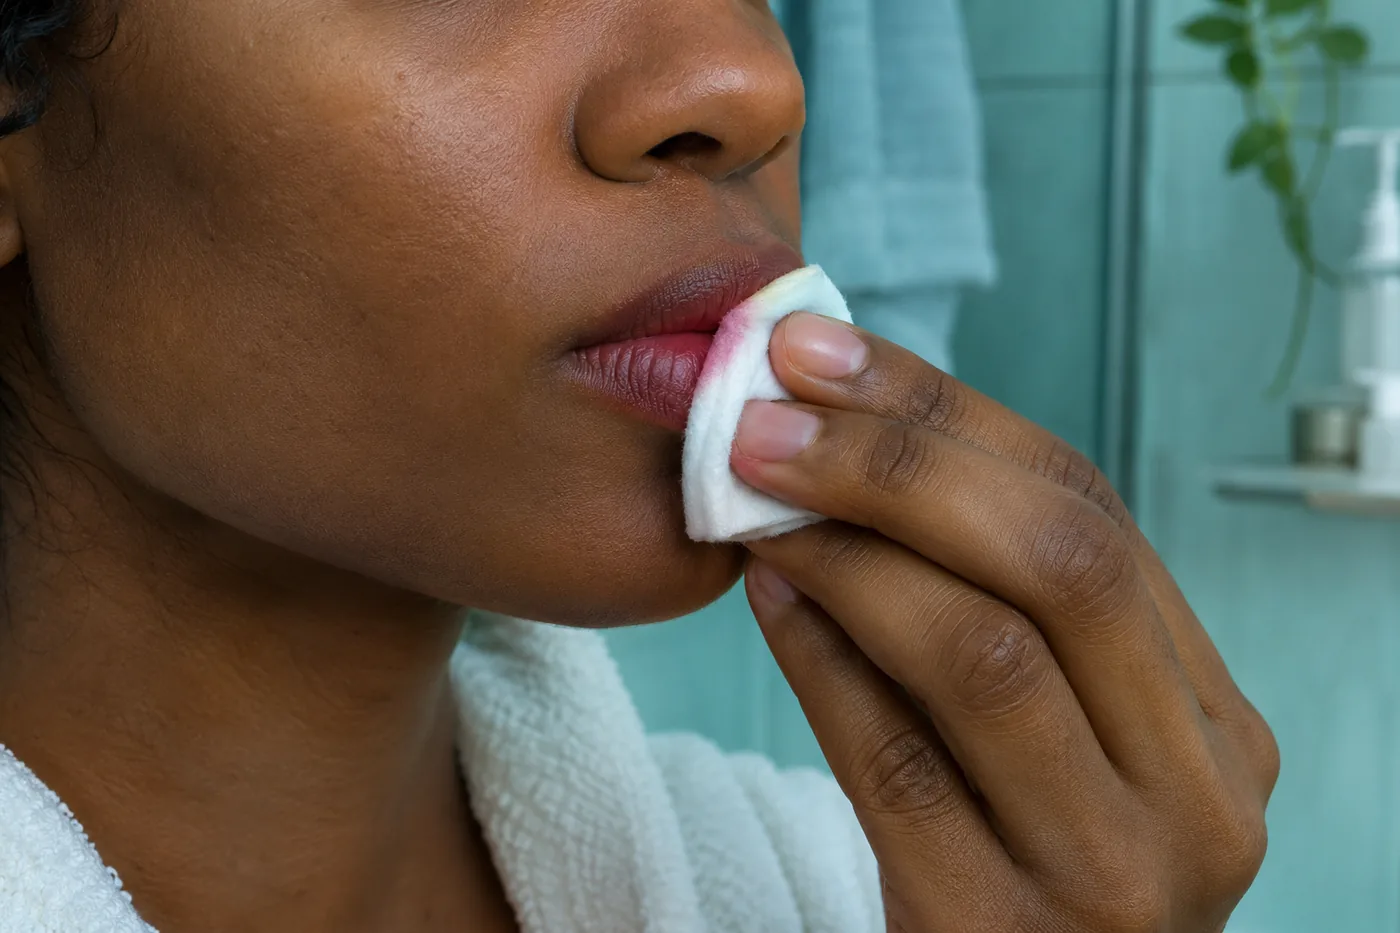
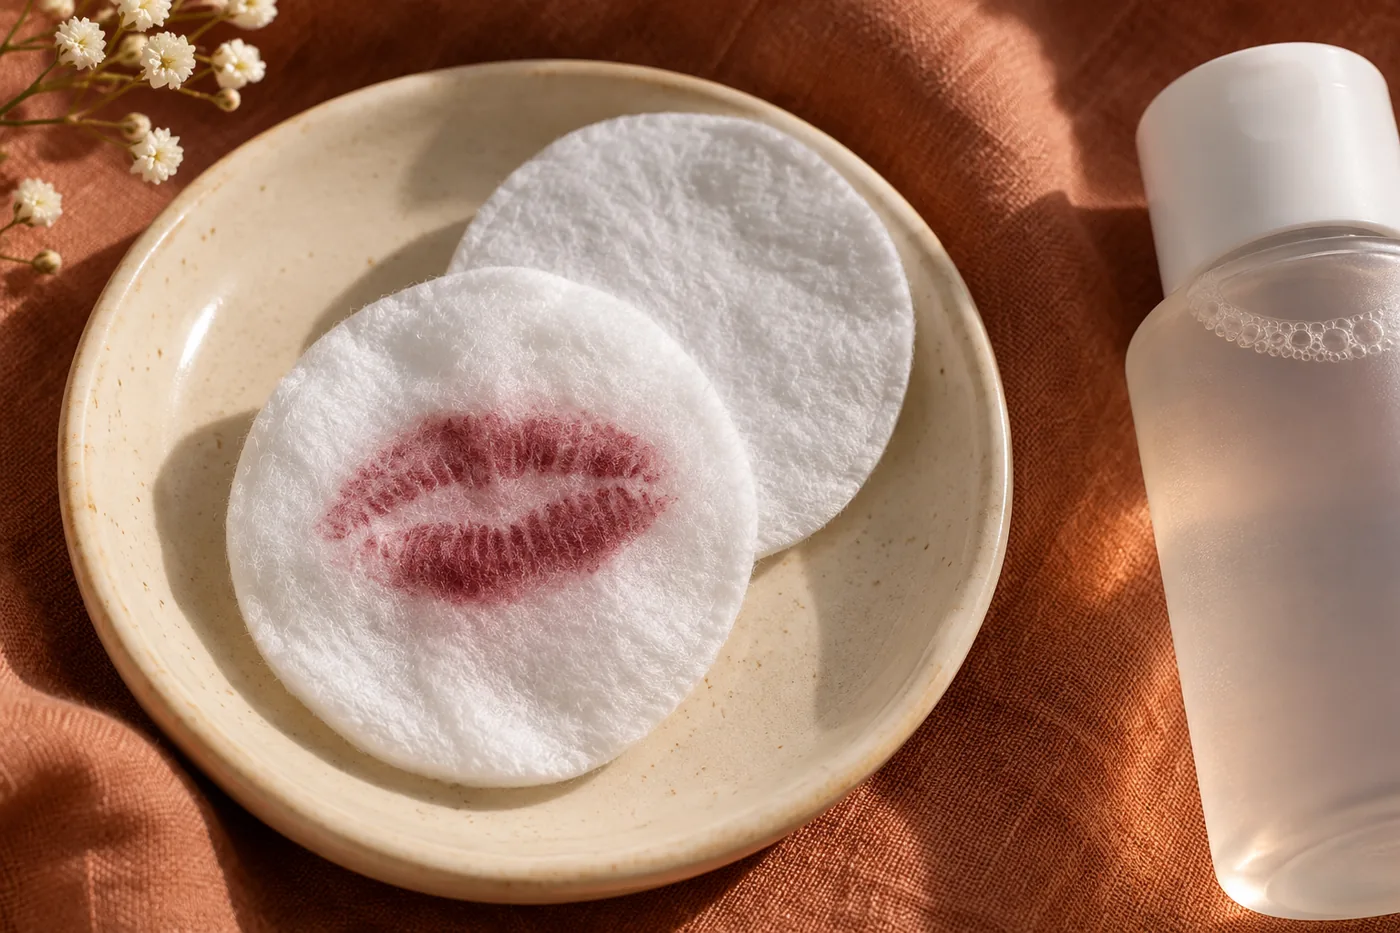
After the allowed contact, lift or wipe gently in a short controlled movement appropriate to the directions. Avoid a fast back-and-forth sawing motion. Look at the material: a visible lipstick mark shows that some color has moved onto it. It does not prove that the entire lip surface is clean, nor does a lightly marked pad prove that the remover failed. Check the lips and the pad together.
Turn to a genuinely clean part or replace the pad before placing it on another colored area. Once the working face is saturated with pigment, spreading it farther can paint the surrounding skin. Move through manageable sections without chasing the whole outline in one large sweep. If color reaches the nearby skin, treat that small area separately with a suitable clean surface rather than enlarging the original wiping motion across the face.
Decide whether the remaining color is still a surface layer
Pause and look at relaxed lips in ordinary light. A visible shiny deposit, gathered product at an edge or a small opaque patch can justify another limited removal step when the directions permit it and the lips feel comfortable. First repeat the permitted contact with clean material. Do not jump straight to more friction. Assess the change after that step instead of planning an arbitrary series of increasingly strong attempts.
A lingering tint is harder to judge from color alone. Your own lip pigment may be uneven, and a staining formula can leave a color impression without an obvious movable layer. Do not pick at folds or scrape the surface to settle the question. If you cannot distinguish remaining cosmetic film from pigment, stop escalating and consult the product’s guidance. The finish guide linked here helps separate visible reflection from coverage, but neither a photograph nor a finish label diagnoses what remains on the skin.
Handle persistent patches by changing the decision, not the force
When a patch barely changes, check whether you used the correct removal method for that exact lipstick. Look again at preparation, permitted contact and the condition of the pad. A dry corner of cotton rubbing the same place is a different situation from a properly prepared remover making contact. Correct a clear handling error only within the instructions, while the area remains comfortable. You do not need to prove persistence by rubbing repeatedly.
Do not turn to household cleaning products, nail-polish remover, abrasive sugar mixtures, a toothbrush or hot water as a stronger version of lip cleansing. Avoid layering several removers together when their directions do not describe that use. If the label requires a dedicated compatible remover that you do not have, follow the manufacturer’s advice rather than inventing a substitute. Burning, soreness or visible irritation is a stopping signal, not evidence that the makeup is finally breaking down. Seek appropriate advice for symptoms that persist or concern you.
Finish the remover’s sequence before judging the result
Rinse or complete the cleansing step when the actual directions require it. A no-rinse label on one micellar product cannot be transferred to another, and the existence of a rinse-off balm does not mean every remover needs an added wash. Keep water comfortable and the touch gentle. Pat rather than repeatedly buffing with a towel. The aim is to finish the specified method, not add a second routine just because the lips no longer look polished.
Once that sequence is complete, let the lips settle before deciding whether further cosmetics feel appropriate. If you normally use a lip care product that you tolerate and whose directions fit, follow those directions. Do not use this moment to test several new formulas or exfoliate away the last visible hint of color. A comfortably finished removal is more useful than an artificially pale endpoint. Natural lines, differences in pigment and texture remain part of an unpainted lip surface.
If you are removing lipstick to change color during the day, give this same complete sequence priority over saving every millimeter of foundation around the mouth. Protecting a base is not a reason to leave remover where its instructions require rinsing. Once finished, assess whether the lips feel ready for another application. If they do not, postpone the second color. A small cosmetic retouch on the surrounding skin can wait until cleansing is complete. Keep the used material away from the fresh lipstick applicator so that the new application does not return pigment or cleanser to its container.
Check the result at a useful distance
Use a mirror in ordinary light, first at normal face-viewing distance and then closer for the boundary. Check corners and the surrounding skin without stretching the mouth or pulling at the lower lip. Lighting can change how red or brown the area appears, especially next to a bright bathroom wall. A second ordinary-light check can clarify an apparent cast without another pass of remover. Keep the physical sensation part of the assessment.
A phone image can record the product and a visible patch, but smoothing, exposure and white balance may hide film or exaggerate color. MaqAI publishes makeup guidance; Hair Muse is the app for exploring makeup ideas. A generated preview cannot inspect residual remover, confirm skin condition or show whether rubbing is appropriate. You can plan a future lip look separately, but this removal decision belongs with the actual products, your mirror and your comfort. There is no need for an app to complete the routine described here.

Make the next removal easier to repeat
Keep a short record of the lipstick and remover names, their relevant instructions and the first step that actually released color. Note whether the pad needed replacing sooner or whether you had been judging natural pigment as leftover makeup. Avoid conclusions such as “all matte lipstick needs oil” from one successful evening. A different formula or a different remover can require different handling even when the packaging looks familiar.
Dispose of single-use material appropriately, and clean reusable items according to their instructions before storing them ready for another use. Close the cosmetics without touching the openings with used pads. Next time, prepare what worked before you begin applying pressure. The repeatable sequence is specific: check compatibility, make permitted contact, lift with clean material, complete the stated finish and stop when further attempts would only add friction. That sequence leaves room for a persistent tint without turning removal into a test of endurance.