
Lip makeup
Patchy lipstick: fix gaps before another coat
Find the first uneven deposit, control the applicator load and repair a small gap before piling on more lip color.
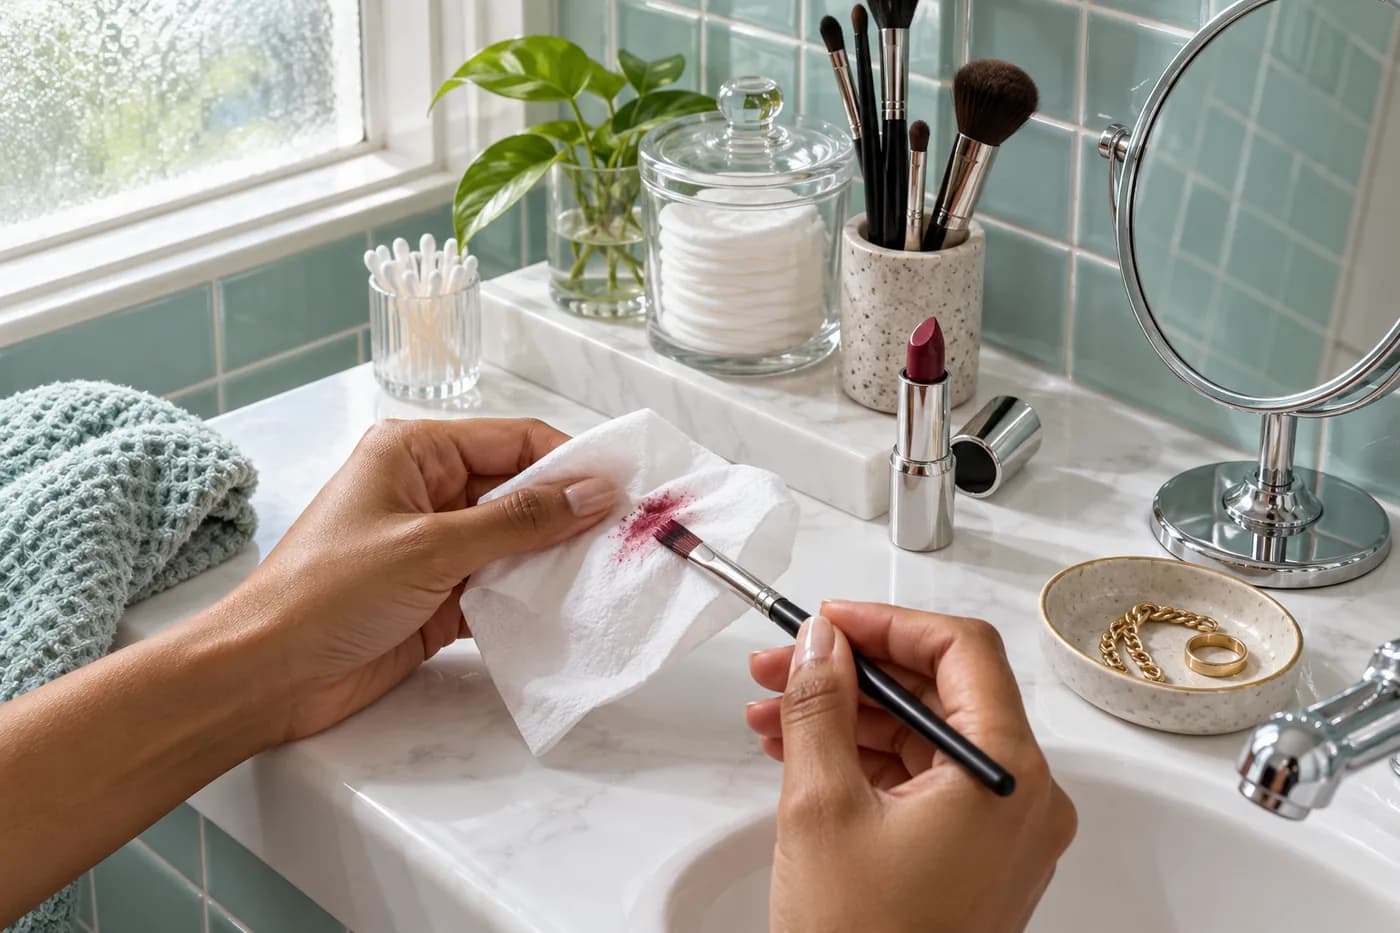
Patchy lipstick is easier to troubleshoot before another full coat hides what happened. Look for the first uneven area: did color skip during the first pass, lift when the applicator returned, or collect around a small patch of texture? Pause there. More pigment can deepen the surrounding color while leaving the original gap just as visible.
This guide from MaqAI works with the lip products and clean tools you already own. It focuses on an uneven initial application, rather than color that wears away after lunch or escapes the outline. The aim is a comfortable, reasonably even film at your chosen coverage. Natural lip lines and differences in underlying pigment can remain visible; they do not make an application unsuccessful.
Read patchy lipstick before choosing a correction
Check your relaxed mouth in a mirror at a normal distance, then move closer only to locate the gap. Turn slightly in the same light. A bright reflection may look like missing color until the angle changes. A genuinely lighter section usually stays in the same place as you turn. Avoid judging through a smoothing filter or an automatically brightened phone image.
Separate three observations. A transparent stripe suggests that the first stroke deposited less color there. A little raised ridge beside a bare spot suggests that a later stroke moved the existing layer. A rough area that was present before makeup needs a different decision from either. These are practical observations, not a diagnosis of your skin or a way to identify ingredients by sight.
Also decide what the formula is intended to do. A sheer balm or translucent lipstick may show natural variations in lip pigment even when evenly distributed. Chasing opaque coverage with that product can create unnecessary weight. Keep the intended finish and your preference in view before treating every visible difference as a fault.
Give comfort priority over a smooth-looking surface
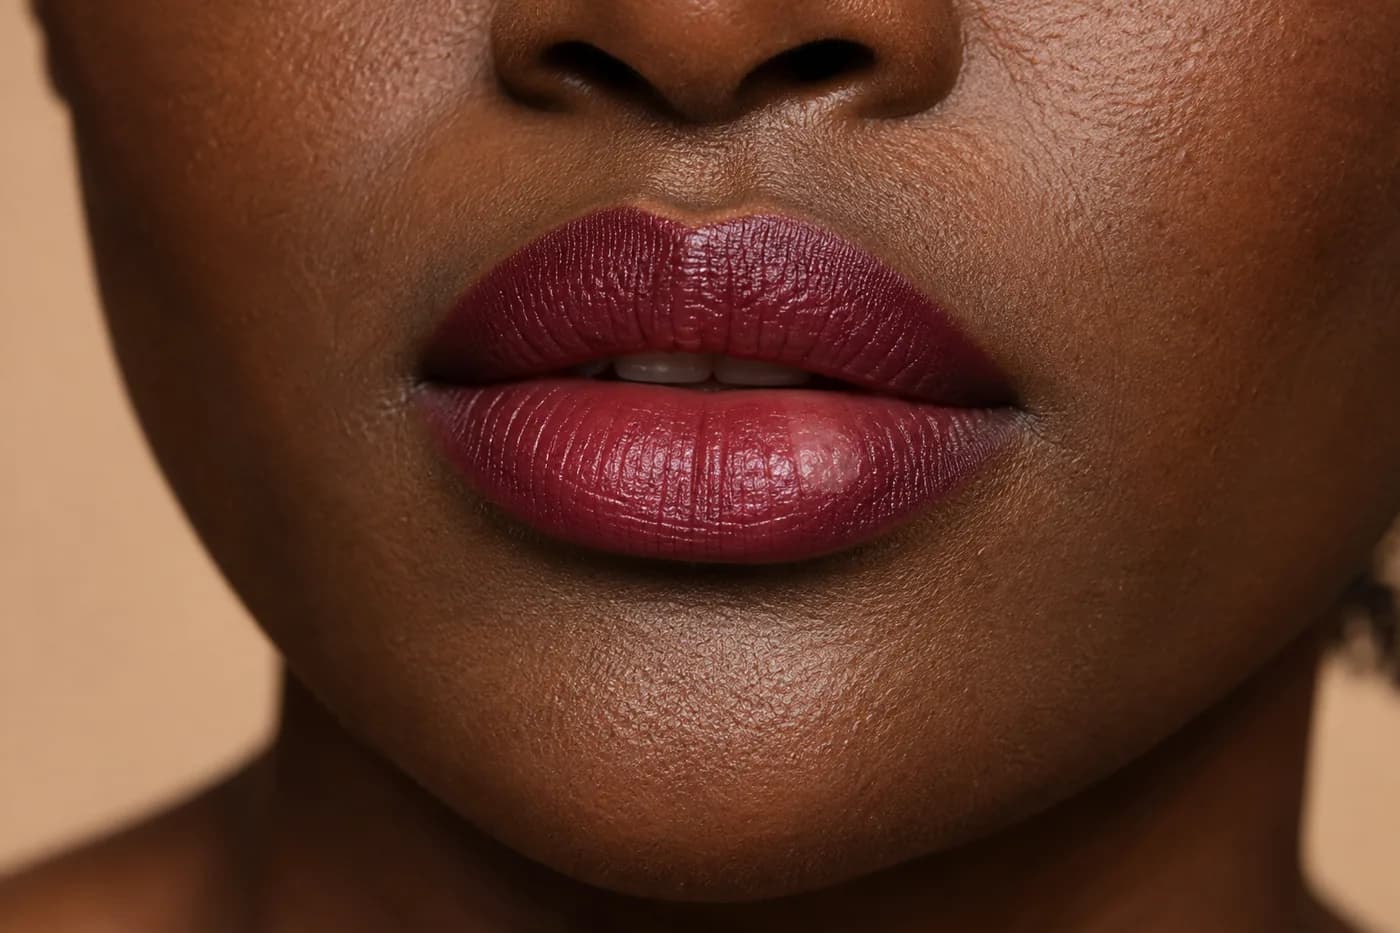
If the lips are sore, cracked, stinging or irritated, postpone the color experiment. Do not scrub, pick or peel away texture to make lipstick look more uniform. Removing an uncomfortable product gently and allowing the lips to recover is a useful result, even when it means changing the day's makeup plan.
The American Academy of Dermatology advises stopping lip products that burn, sting or cause discomfort and avoiding picking or biting dry lips. Its linked care guidance is relevant to this stopping point. It does not establish that a particular lipstick will apply evenly, and this article cannot tell why persistent irritation occurs. Seek professional advice for symptoms that persist or concern you.
On comfortable lips, use familiar care as directed. Before color, check whether a thick, mobile layer of balm remains. If the lipstick instructions permit, press away loose excess with a clean tissue without rubbing the lips dry. A surface can feel comfortable without being coated in a slippery mound of product. Do not treat a fixed waiting time as proof that every balm and lipstick combination will cooperate.
Check the product and prepare one clean tool
Read the specific lipstick directions before changing the application. Some products call for shaking, a particular preparation or a separate finishing step. Others have different rules for layering. Follow those instructions rather than transferring a method from an unrelated tube simply because both products say matte on the packaging.
Look at the product's condition and opening history. A changed smell, unexpected color change or unfamiliar texture is a reason to stop and check the manufacturer's guidance, not to repair the formula at home. Do not add water, facial oil or remover to a lipstick container to make it spread. The linked FDA guidance emphasizes label directions, clean hands, non-sharing and appropriate storage.
Use a clean, dry personal lip brush if it gives better control, or the product's own applicator when that works well. A brush with dried pigment can create drag or uneven deposits. Keep the working area clean and close the container between uses. You do not need to purchase a special primer, brush set or replacement color before finding out whether a smaller load solves the problem.
Reduce the load before changing the whole formula
Start with less product on the working edge. For a liquid applicator, use the package's intended method for removing excess; do not force a wand against the neck or scrape a damaged component. With a bullet, a light contact or a small brush portion may be easier to control than pressing the whole slanted surface firmly against the mouth.
Apply a modest amount to a small area that is comfortable to reach, then extend it with short, gentle movements. Work within the natural lip surface. Supporting the hand against a stable surface can help more than pushing harder. If the tool catches or pulls, stop rather than increasing pressure to force pigment through the area.
Watch the result of the first pass. If a smaller load distributes more evenly, keep that change and leave the other variables alone. If it is too transparent but smooth, that is a coverage question to assess after the layer settles. If it still skips in exactly the same place, examine surface comfort, remaining balm and tool condition before blaming the shade or buying another finish.
Let the first layer reach its intended state
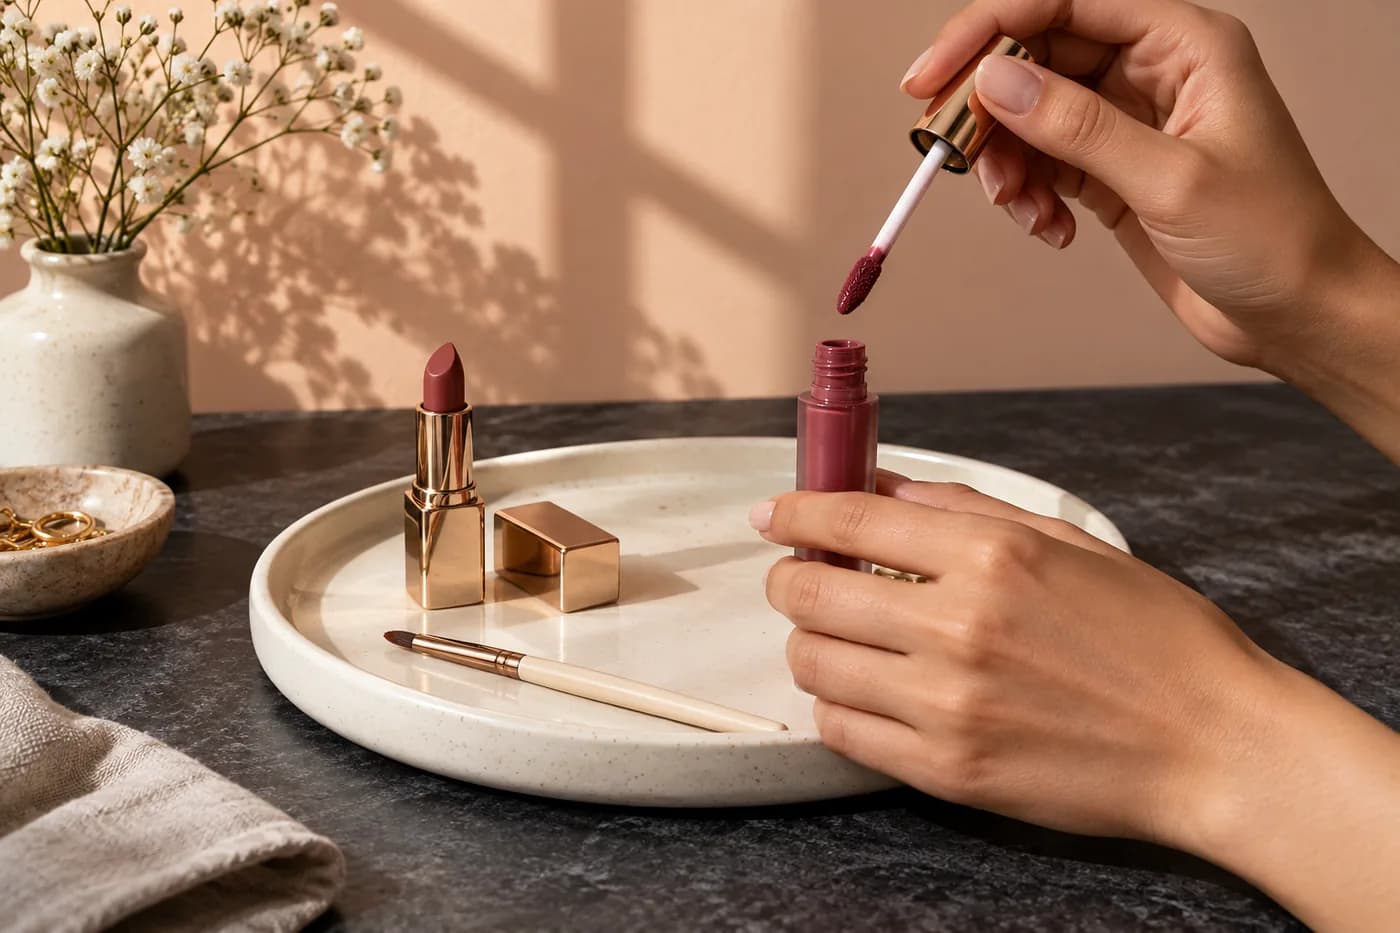
A cream bullet that remains workable and a liquid color designed to form a set film need different handling. Let the directions for your own product determine when to stop moving it. Avoid repeatedly sweeping a wand back across a layer that is beginning to change from wet to set; a stroke that worked initially may now lift color instead of placing it.
Keep the mouth comfortably relaxed while the formula settles. Do not hold a painful stretched smile to make lines disappear. Likewise, pressing or rubbing the lips together is not a universal blending step. If it creates a clear imprint or transfers color between the lips, leave it out of the next trial and compare the difference.
There is no useful promise that every product needs the same number of seconds. Observe the intended finish and follow any stated waiting time. Once the film is ready, look again before adding anything. A naturally sheer area, a reflection and a true bare gap can look more distinct now than they did during application. The decision to add another coat belongs at this stage.
Repair one small gap or choose a clean restart
If the surrounding layer is stable and the directions allow another pass, pick up a tiny amount of the same product. Touch it onto the lighter area with the applicator tip or a clean brush. Aim to connect the gap with its immediate edge, rather than covering the entire mouth again. Stop after a small correction and reassess from normal viewing distance.
A correction has failed if it pulls up the surrounding film, leaves a thicker rim or makes the mouth feel tight. Do not keep alternating pigment and rubbing in the hope that the layers will eventually merge. Several unstable patches are a good reason to remove the lip color gently with an appropriate remover used as directed, then decide whether the lips are comfortable enough to start again.
Protect nearby foundation during removal by working carefully within the colored area and using a clean part of the pad as needed. Avoid dragging a pigment-loaded pad across the cheek. A restart with less underlying slip or fewer passes gives more information than a fifth full coat. You can also choose a lighter coverage or skip lipstick; the routine should remain usable.
Keep liner and other layers out of the diagnosis
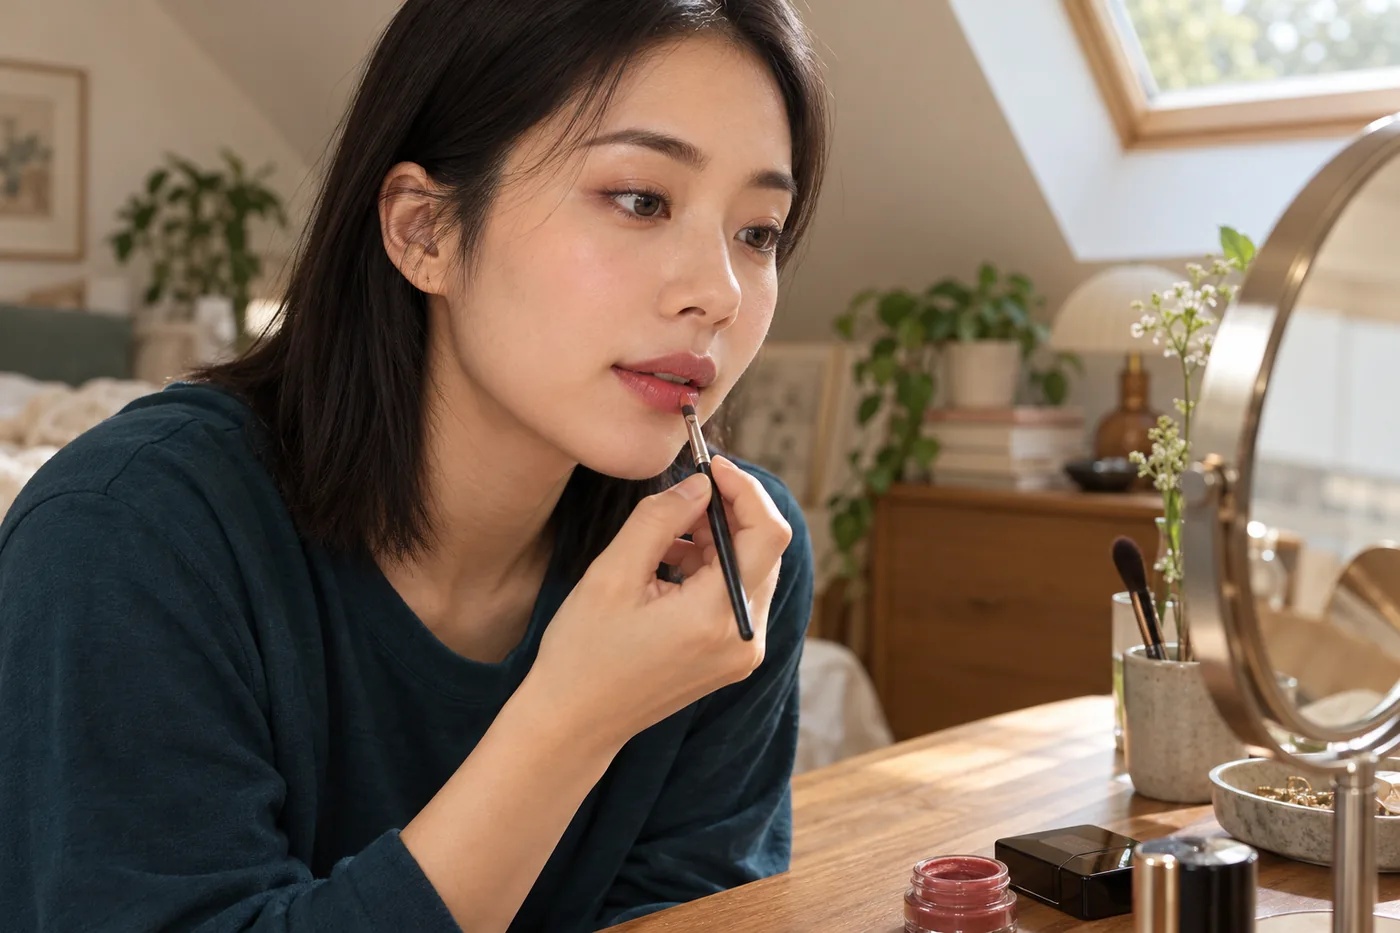
A lip pencil can help define an outline, but it is not automatically a solution for patchy color across the center. If you add pencil, concealer, powder and gloss simultaneously, you will not know which layer changed the result. First try the lipstick in the simplest arrangement permitted by its label. Add a compatible product only when you can name its purpose.
For example, if the color is even inside the lips but spreads beyond the border, the linked bleeding guide addresses that separate edge problem. If the border stays tidy but the center looks streaky immediately, keep working on deposition and timing. Increasing the outline's darkness can make the center appear lighter without actually fixing the film.
Avoid covering a troublesome layer with loose face powder or spraying a face setting product onto the mouth as a generic repair. Use products only for their intended area and according to their directions. A glossy topping may change reflection and visibility, but it does not demonstrate that the underlying application is stable. Check the physical layer before deciding to alter its appearance.
Verify the result in light and movement
Move to indirect daylight when possible and look at the whole face, not only a magnifying mirror. The linked lighting guide explains why a concentrated lamp, side light or a camera can change how coverage appears. Keep one useful reference light for future applications so that you can compare methods without silently changing the viewing conditions.
Relax the mouth, speak a few words and make an ordinary smile. Fine lines may reappear with movement; their visibility alone is not a reason for more product. Look instead for a new bare patch, a thick ridge, uncomfortable pulling or a color imprint that was not there before. These observations help decide whether the film is usable for your routine.
Later wear is a separate check. A smooth initial application does not promise resistance to meals, drinking or transfer. If the color begins evenly and disappears only after those activities, record that timing and evaluate wear on another occasion. Do not rewrite a successful application method based solely on a different problem that arose hours later.

Record the smallest repeatable change
Write one practical note after the trial: less balm excess, a smaller applicator load, fewer return strokes or a different correction point. Include the product, the tool and whether a second pass was permitted and helpful. A note such as “one light pass, leave it alone while it sets” is easier to repeat than a claim that you finally found the perfect lipstick routine.
On another comfortable day, repeat that single change with the same product before testing something else. If the result stays uneven despite a restrained method, that formula may not meet your preferred opacity or handling needs. Choosing a different suitable lip product is reasonable; it does not establish that your lips are unsuitable for a particular color family.
A generated preview in Hair Muse can help explore the visual color or finish you want, but it cannot prove real coverage, texture, comfort or how a lipstick layer sets. Those decisions come from the actual application described here. Keep the successful method small enough to use on an ordinary morning, with a clear stopping point and a gentle removal plan.