
Lip makeup
Lipstick for thin lips: a soft or defined edge?
Compare two color boundaries on your own lip shape, then test a small real application in ordinary light and conversation.
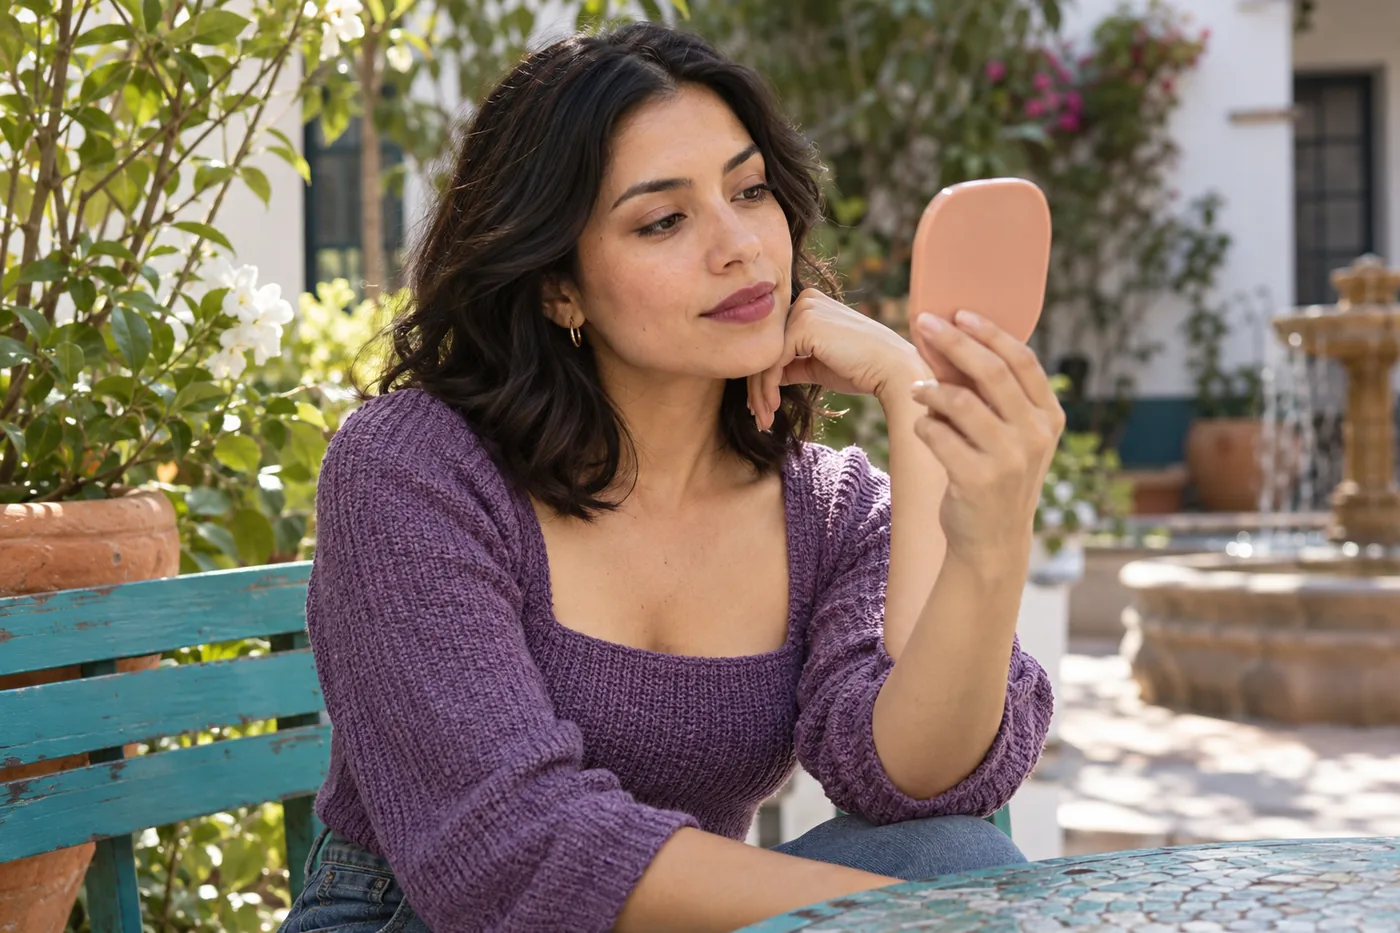
Lipstick for thin lips becomes easier to choose when you decide what you want the color edge to do. A softly diffused border can feel relaxed; a more defined border can make the same color feel deliberate. Neither requires you to redraw your mouth or treat its natural width as a problem. Start with your own visible lip boundary and compare the character of the edge before changing color, shine or coverage.
MaqAI publishes this guide. Hair Muse is the app used here to organize visual ideas on one portrait, followed by a small trial with actual lip cosmetics. A generated image cannot demonstrate exact shade, texture, skin response or wear. The useful result is a short, understandable brief that you can apply and evaluate in ordinary life.
Lipstick for thin lips starts with your preferred edge
Look at your mouth while it is relaxed, then while you speak. The visible colored surface changes with expression, and the upper and lower lip need not have equal height. You do not need to correct that relationship. Identify a specific preference instead: perhaps you want the upper border to remain readable, a softer transition at the lower edge, or less visual emphasis at the corners. A clear description is more useful than a general instruction to make everything bigger.
Choose one starting color you already enjoy. Keep its approximate depth and warmth steady for the first comparison. If a pale rose becomes deep burgundy at the same time that the border sharpens, you cannot tell which change attracted you. Likewise, a reflective highlight can distract from the shape of an edge. Save those decisions for later rather than judging several effects as one package.
Your first brief might read: muted berry, moderate coverage, restrained reflection, original outline, compare soft versus clear boundary. That leaves room for taste without assigning a compulsory color to a particular lip size. You can use a dark shade, a pale shade or no lipstick; this exercise only helps make an intentional choice.
Put comfort before a cosmetic experiment
Before taking reference pictures or applying color, check whether your lips feel comfortable. Do not rub away visible texture to force a smooth photograph. If the surface is sore, cracked or irritated, postpone the comparison and follow appropriate care advice. The American Academy of Dermatology advises stopping lip products that burn, sting or otherwise irritate. Those sensations are not evidence that a cosmetic is successfully creating your desired look.
For a comfortable surface, use the preparation and application directions of the actual products you own. A familiar care product and your chosen lipstick may need separate settling time, but there is no universal waiting interval that makes every combination work. Observe whether the first layer slides before adding a pencil or another coat. An unstable base makes a precise border difficult to interpret, regardless of lip width.
Keep your personal brush and pencil clean, follow their care instructions and do not share applicators. Set out a suitable remover as well as the color. Knowing how you will remove a small mistake makes it easier to stop after a modest trial. The goal is a manageable cosmetic choice, not tolerating discomfort or collecting enough layers to hide every natural line.
Take one useful portrait without changing your expression
Use one straight-on picture in even indirect light. Place the camera around face level, keep a sensible distance and avoid a very close wide-angle view. Let your mouth rest naturally rather than pursing, stretching or holding a smile to display more surface. Include the whole face: the same border can read differently beside the eyes and brows than it does in a cropped lip photograph.
Check that the camera has not applied a smoothing filter or an automatic beauty effect. Keep exposure and screen settings stable as you compare images. A bright screen can make a soft pigment boundary appear clearer than it feels in a mirror. If one side of your face is strongly shadowed, move into more even light before trying to compensate with makeup.
In Hair Muse, use this stable source portrait to explore the two directions. Retain the original image beside your ideas. If a generated result changes the mouth shape, lip height, expression or surrounding skin in a way that dominates the comparison, reject it as evidence for this decision. A more appealing edited face is not proof that a particular lipstick edge will work on your own moving lips.

Compare a soft border with a clear border
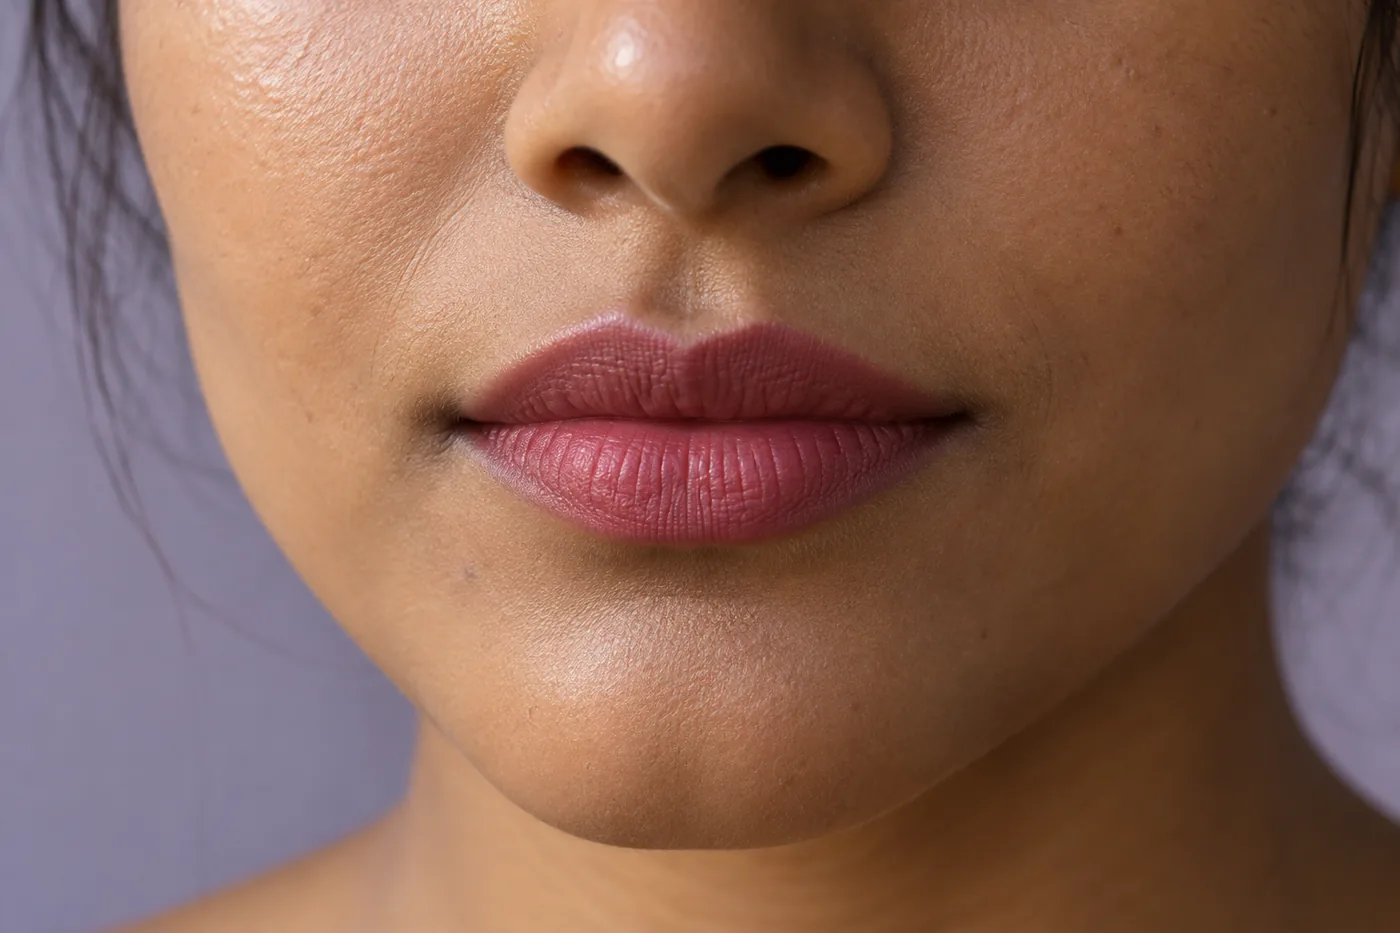
For the first direction, imagine color concentrated on the visible lip surface with a gentle transition toward its actual margin. Soft does not mean an unfinished ring or a large blurred patch on surrounding skin. The transition can remain narrow and intentional. For the second direction, imagine the same color reaching a more readable, carefully followed boundary without extending the outline. Keep the corners quiet in both versions.
Review the pair at the same size and zoom. Ask where your attention goes first and whether you can still recognize the natural mouth. Does the clear version feel expressive, or does its line demand more precision than you want to maintain? Does the soft version feel comfortable, or does the upper lip disappear at ordinary distance? These are preference questions, not measurements of a better face.
Avoid accepting a digital result just because its lips look taller. That would change the variable from edge character to anatomy. Keep the useful idea in words if the app cannot render a sufficiently controlled pair. A sentence describing a softer upper transition can guide a real trial more honestly than a convincing but structurally altered picture.
Keep two finalists and give each a practical job
Save at most two useful ideas, whether as app favorites or as a short note. Name them by the difference you intend to reproduce: soft everyday edge and clear evening edge, for example. Those names describe your plans, not rules that require soft makeup in daylight or stronger makeup after dark. Either direction can work whenever you enjoy wearing it.
For each finalist, record the color family, approximate coverage, reflection and boundary. Then add one practical constraint. You may need to apply the look without a magnifying mirror, refresh it during a short break or wear it while talking for a long time. These details help decide whether an attractive photograph describes a routine you actually want. They also prevent a later shopping trip from turning into a search for a supposedly exact digital shade.
Rebuild the idea with a small real application
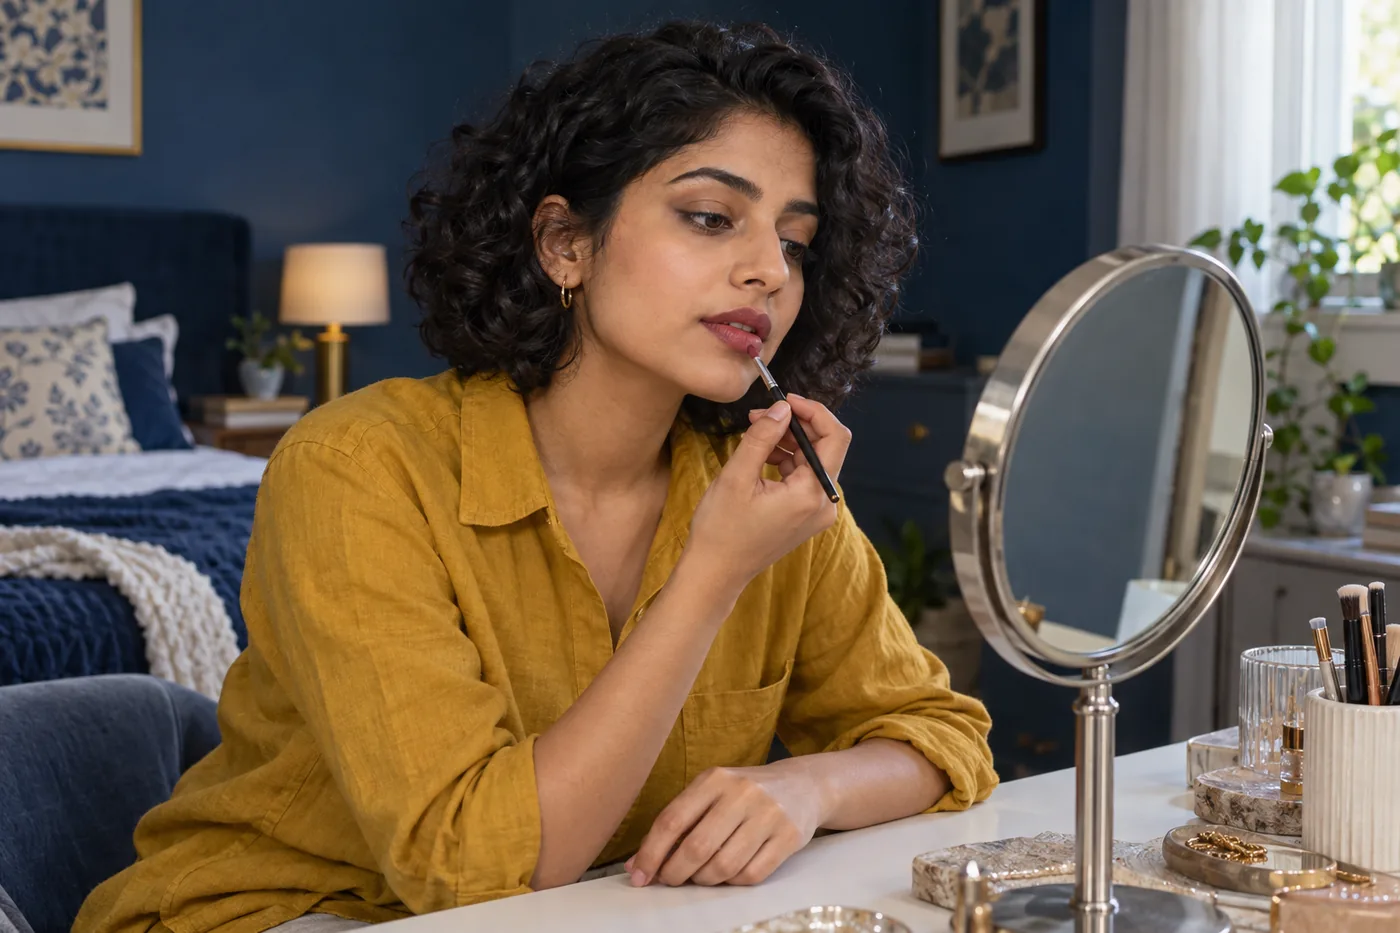
Choose one familiar lipstick and, if useful, a compatible pencil or small lip brush. Follow the product directions and begin with a modest amount. For a softer boundary, place color on the visible surface and make a limited inward softening movement where the formula permits. Check the result before repeating the motion. Continual rubbing can remove color from one spot while spreading it elsewhere.
For a clearer boundary, work in short sections along the actual visible lip margin. You do not have to draw the whole outline in one uninterrupted stroke. Pause around the upper curve and lower center, then check both sides with the mouth relaxed. A brush may give you a more convenient contact point, but it does not guarantee precision or make a particular formula suitable for every person.
Try one direction first, remove it as instructed, and try the other separately if your lips remain comfortable. Comparing two different halves of the mouth can be misleading because the sides already differ. Keep the amount, base and light as steady as practical. Record what the actual cosmetic does rather than assuming it must behave like the preview or like another product with a similar color name.
Refine corners without chasing perfect symmetry
The corners often need less product than the central visible lip. Check where the lips meet before extending a line into that contact area. If a small mark sits outside the intended border, use a suitable remover and a clean controlled applicator rather than broad rubbing. Let the corrected area return to a workable state before adding more color. A growing border is not the only way to repair an uneven section.
Look again from ordinary distance before trying to make both sides identical. Natural differences in the upper curve or lip height are visible during expression and need not become a correction project. If one side seems much heavier, reduce a local excess or simplify the clearer edge. Adding more pigment to the other side can turn a small discrepancy into an increasingly wide outline.
Concealer around the entire mouth is optional, not a requirement for narrow lips. A conspicuous pale ring may introduce a new contrast you did not intend. If you use an appropriate familiar complexion product for a local cleanup, keep the area small and review the full face. The chosen edge should remain the decision, rather than a large surrounding patch becoming the strongest feature.
Judge the result while talking and in ordinary light
Leave the close mirror and assess the full face from a normal conversational distance. Speak, smile gently and let the mouth rest again. Check whether the border remains comfortable to look at through those movements. A precise line that pleases you in a still photograph may require a refresh pattern you do not enjoy; a soft edge may be more expressive in motion than you expected.
Move into another ordinary light without treating one photograph as the final truth. Observe whether a reflection or shadow is disguising the boundary. If you wear glasses, include them. If you are choosing the look for a particular outfit, bring the actual fabric into view instead of changing the lipstick solely to match a screen image of it. These checks are about the whole composition, not a prescribed palette.
Later, inspect actual migration, uneven fading and comfort separately. A preview cannot show how a formula will move or feel. If the border has changed, identify the first place and the circumstances before blaming the original choice. You may like the visual direction and still need a different application amount, a simpler layer sequence or another familiar product that you can evaluate independently.

Keep the useful notes and simplify the next attempt
Write a short record after the real trial: actual product, preparation, tool, amount, chosen boundary and the first useful observation. Avoid reducing the note to good or bad. Upper edge readable while speaking, lower corners needed less color gives you a concrete adjustment. Distinguish an aesthetic preference from a formula problem so that the next attempt changes one thing for a reason.
For refreshing, remove or correct an unstable section according to product directions before adding more. Repeated coats over an uneven edge can make the result harder to control. If the look needs constant attention that does not fit your day, choose a simpler boundary or less coverage. Convenience is a valid selection criterion, even when the more detailed option looks attractive in a saved image.
Remove the cosmetics gently with a suitable product when you finish and stop any product that irritates. Keep only the finalist that taught you something, or retain both for different preferences. Naturally narrow lips do not require a single approved style. The successful comparison is the one that helps you choose a recognizable, comfortable and repeatable look while leaving your own shape and judgment in charge.