
Eye makeup
Matte vs shimmer eyeshadow: keep color, compare light
Compare two finish directions on one portrait in Hair Muse, then check the real formula, placement and changing light.
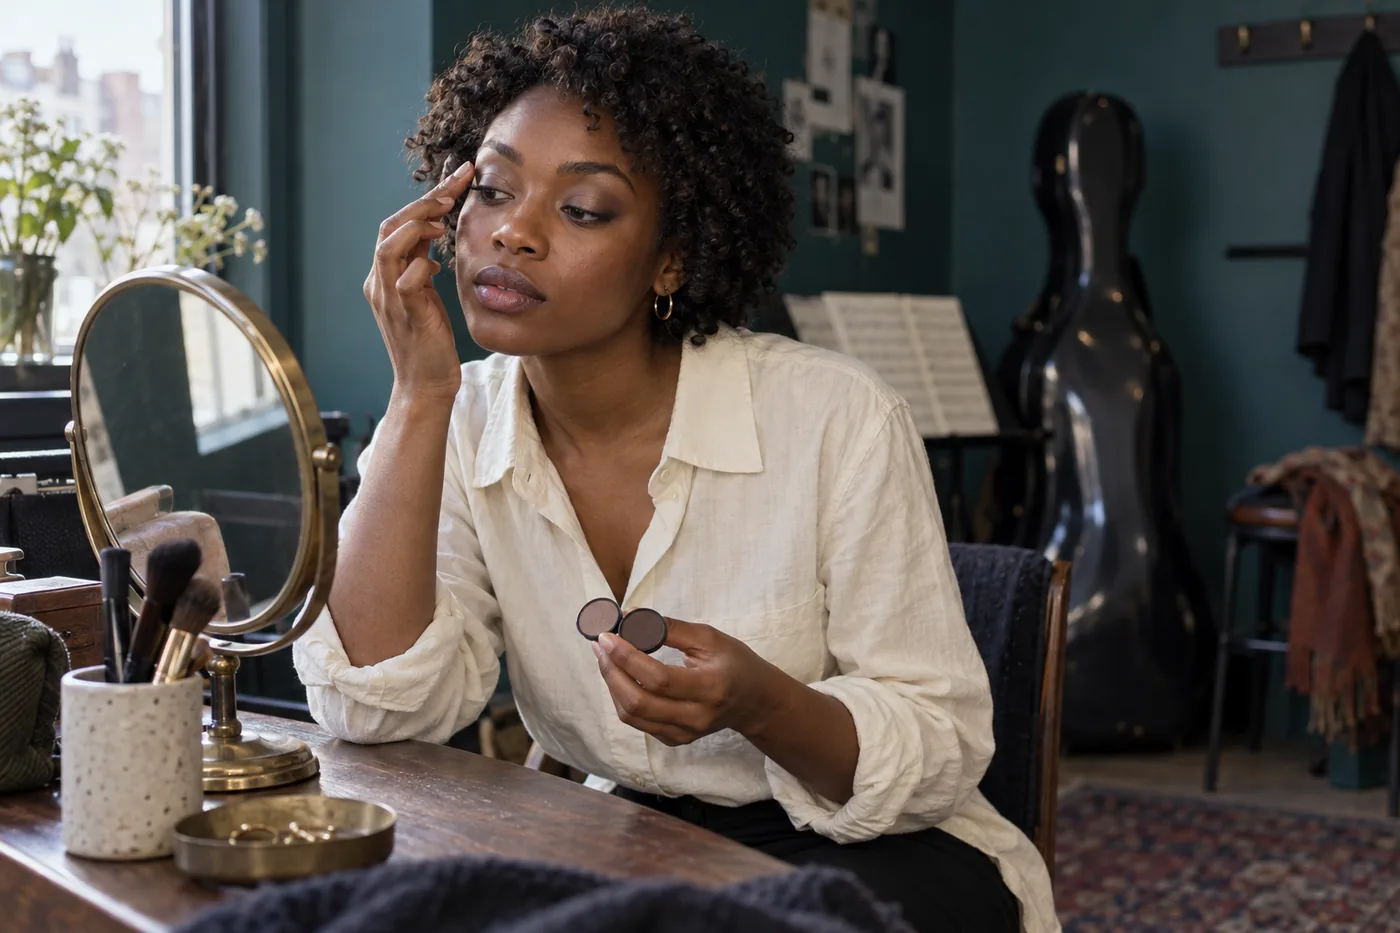
Matte vs shimmer eyeshadow is a decision about where you want light to appear, not a rule about which eyes deserve sparkle. A taupe that looks quiet in your bathroom can catch a bright reflection when you turn toward a window. A matte shade can feel beautifully restrained or unexpectedly heavy, depending on its depth and the area you cover. Before changing your entire palette, separate the finish from the color, shape and amount.
Start with one familiar color direction and compare two plausible finishes. Use Hair Muse to organize visual ideas on a clear portrait, then try the shortlisted direction with actual eye makeup in ordinary light. MaqAI publishes this guide; Hair Muse is the app used for the preview workflow. Neither a generated highlight nor a polished source photograph proves how a particular formula will look, feel or wear on your lids. The useful outcome is a small, understandable choice you can repeat with your own tools.
Matte vs shimmer eyeshadow: identify the actual difference
Matte describes a finish without an obvious sparkling or metallic reflection. Shimmer describes visible reflective interest, but the word covers a wide range, from a quiet sheen to conspicuous points of light. Satin often sits between those descriptions. Metallic can look more continuous and reflective; glitter can show more distinct particles. These names are not a shared measurement scale across every manufacturer. Look at the product itself and its intended use rather than treating the label as a precise brightness value.
Notice what bothers you in the current look. Is the color too dark, the reflective area too large, or the edge too sharp? Those are different problems. A deep matte brown and a pale champagne shimmer change color and depth as well as finish, so that pair cannot tell you whether reflection alone is the issue. If the overall look is pleasant until you move your head, light response deserves attention. If it looks heavy from every angle, first reconsider color depth and coverage.
Keep the color and footprint steady
Choose a color family you already enjoy: muted rose, taupe, copper or soft brown. For a first comparison, aim for similar apparent depth and keep the colored area the same. Do not put matte into a narrow crease and shimmer across the whole lid, then conclude that one finish makes your eyes larger. Placement changed too. Sketch the intended footprint mentally: for example, a soft wash across the visible movable lid with a restrained outer edge.
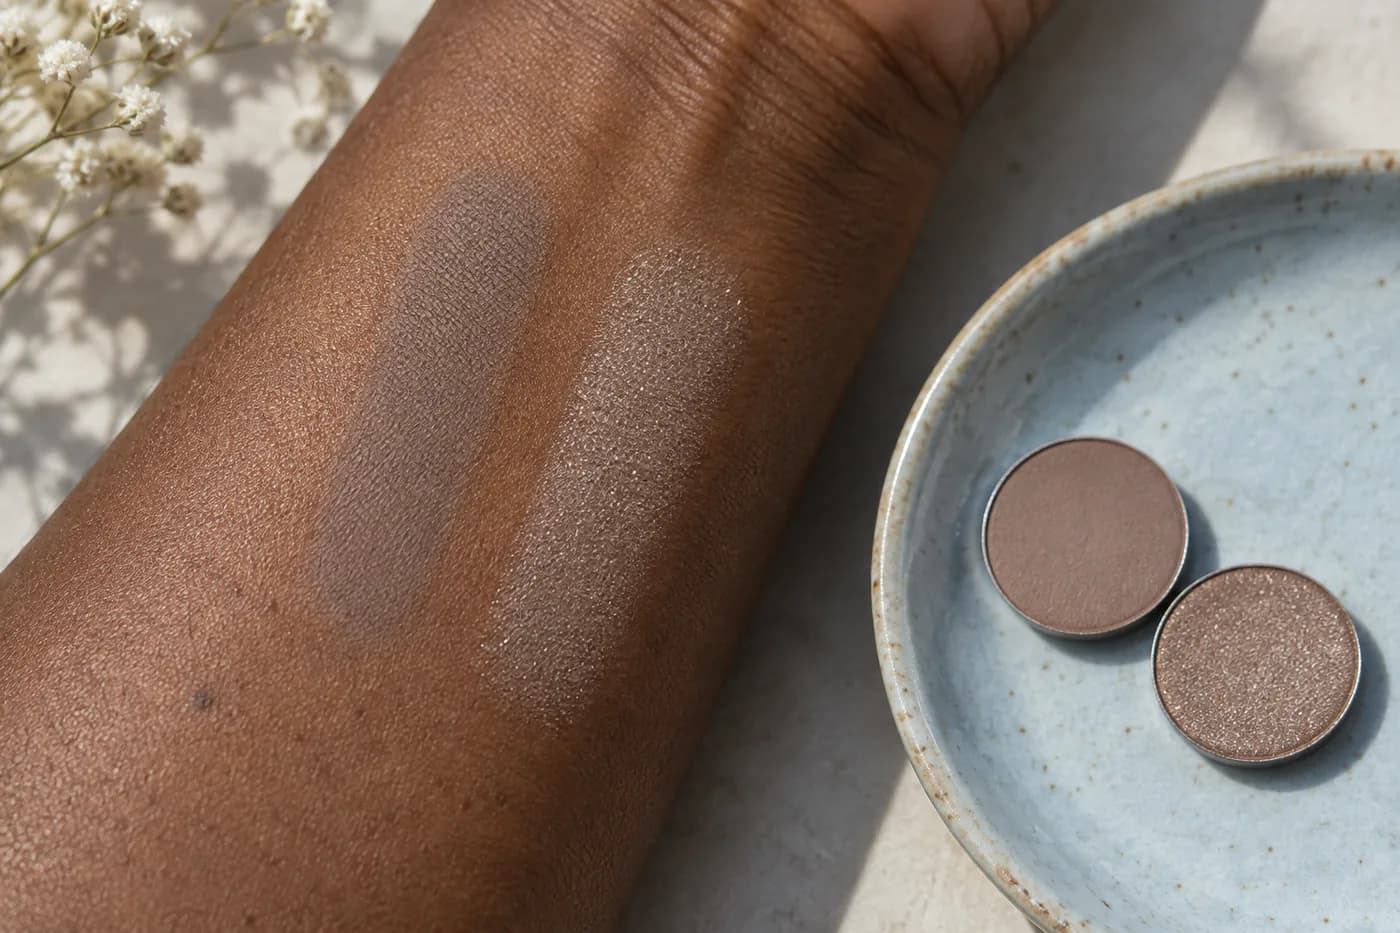
Real products rarely form perfectly matched pairs. One taupe may lean gray while another is pink, and reflective particles can change its apparent lightness. A forearm swatch can reveal that mismatch before you blame finish. Make two small marks of comparable size and density with clean tools, then look straight on and at a slight angle. The arm is a preliminary color check, not a substitute for the lid. Record any difference in warmth or depth so your later conclusion stays honest about what you compared.
Prepare a portrait that leaves your eyes readable
Use a clear photograph with your face level and eyes comfortably open. Even, ordinary light should reveal the lid without a hard bright stripe covering it. Keep the phone far enough away that your eyes and the whole face remain readable together. Avoid a beauty filter that smooths folds or changes eye shape. A neutral starting image with minimal existing eye color makes the proposed finish easier to interpret than a photograph already filled with a dramatic metallic look.
Keep this source photo for the whole comparison. Changing camera angle, expression and lighting between ideas can create a more convincing difference than the makeup itself. If a window reflection overwhelms the lid, take a better source rather than trying to judge through it. The linked portrait guide explains a repeatable setup. Save a brief description of the starting conditions, such as soft window light, eyes open and no filter. You can use that description again when checking real makeup, without expecting the phone to reproduce every tiny reflection accurately.

Compare one finish direction in Hair Muse
Begin with a restrained matte version of the chosen color and placement. Then explore a similar direction with a small amount of shimmer while keeping the rest of the face stable. Use the makeup comparison workflow available in Hair Muse; describe the visible goal rather than a product number. For instance, ask for a muted taupe lid with soft edges, then a comparable taupe idea with a subtle reflective center. The exercise is about organizing possible appearances, not identifying an exact pan.
Reject a comparison that changes liner, lash density, brow shape, skin finish or the eye's geometry at the same time. A more attractive whole image does not prove that shimmer caused the improvement. Return to the same source and simplify the request. If the output cannot hold those features steady, use it as broad inspiration and make the finish decision through a physical trial. Hair Muse previews do not guarantee exact shade, formula, oxidation, texture, wear, skin reaction or the final result. A generated reflection also cannot establish how particles behave when you blink.
Save two useful options rather than endless variations
Give each finalist a practical name. One might be a soft matte wash; the other might be that same wash with a small reflective accent. Describe the accent's area and strength, not just its mood. A note such as center of the movable lid, below the upper blended edge, is more useful at your mirror than glamorous or luminous. Keep both candidates visible alongside the original portrait so the untouched starting point remains part of your decision.
Ask what each option would require in your routine. Can you make the smaller accent with a brush you already use? Does the all-matte version need several layers to become visible? Would the reflective idea distract from a lip color you want to lead? These questions turn a pleasing screen image into a realistic plan. Stop at two candidates you can explain and test. Collecting more images after the difference is already clear usually adds decisions without answering the original question. You can revisit color or shape later, after the finish comparison has a useful outcome.
Check the real formula before applying the idea
Read the actual product instructions and use only cosmetics intended for the eye area. The FDA advises keeping hands and eye-area tools clean, avoiding shared eye cosmetics and stopping use if irritation occurs. A decorative pigment intended for crafts or another body area does not become an eye product because its reflection resembles your preview. If discomfort persists, seek medical advice rather than continuing a beauty comparison.
Set out a clean brush and the two candidates, then follow the product's application directions. Keep your usual preparation steady instead of introducing a new primer, setting product and damp brush together. Begin with a small amount on the intended lid area and assess the first thin layer before adding more. If one formula needs a different technique, note that distinction: your final choice involves both appearance and handling. This is not a laboratory test or a wear ranking. It is a personal trial whose conditions you can describe, making it easier to repeat the option that feels comfortable and looks useful.
Look at movement and ordinary light
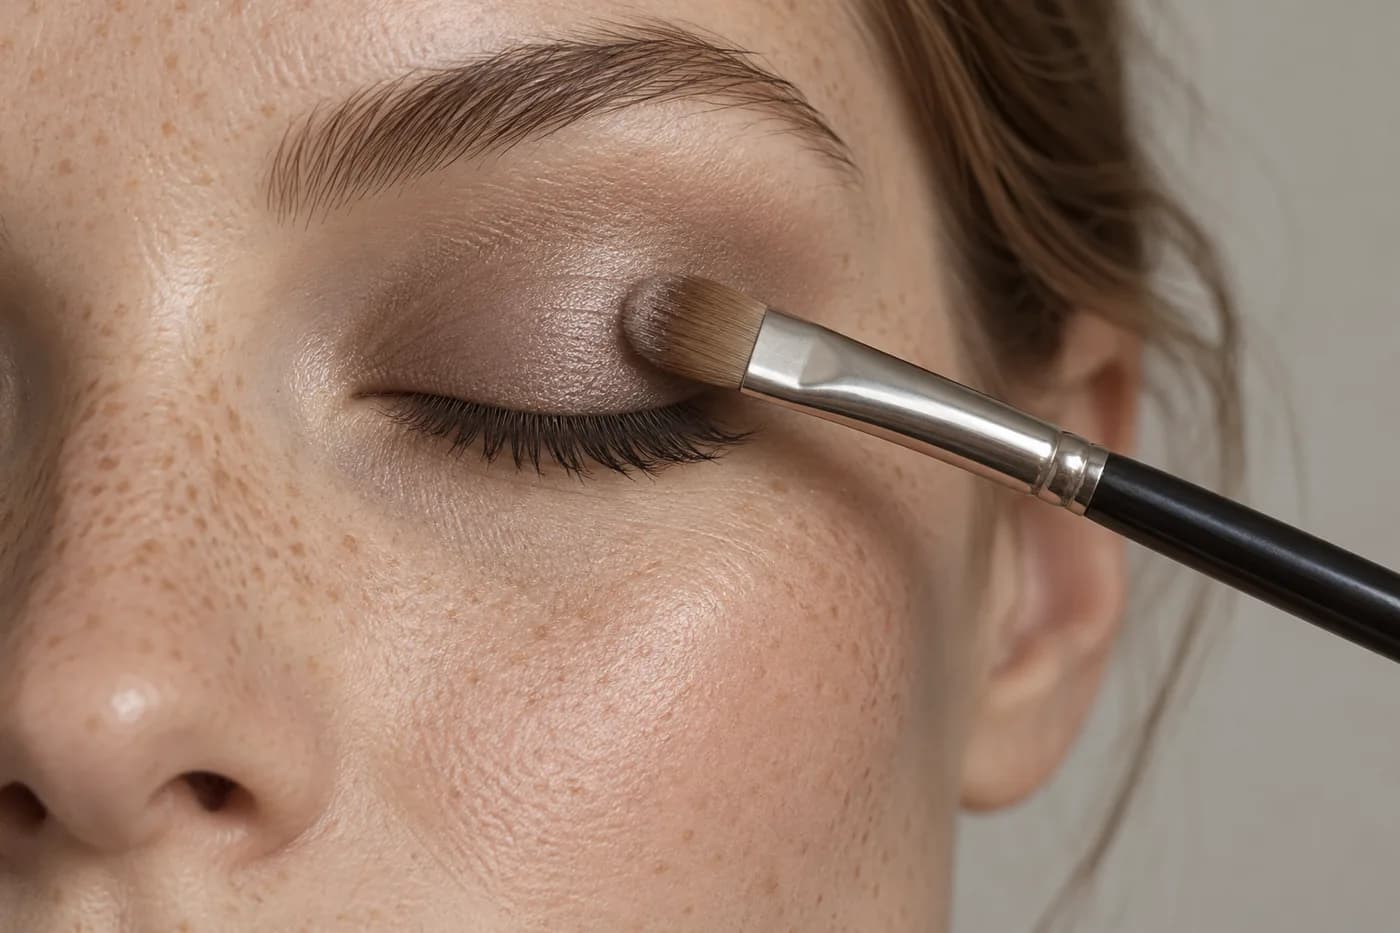
Check the full face at conversation distance with your eyes open. Then turn your head slightly and blink normally. A shimmer accent may appear briefly under one angle and quieter under another; a static screen cannot show that sequence. Do not judge only by a close photograph with the lid shut, because that displays an area other people may rarely see. Keep the amount unchanged while making this first light check so you can observe the effect of viewing conditions.
Look near a window and in the indoor light you actually use. You do not need to find one supposedly perfect light that declares the winner. The goal is to learn whether the chosen accent remains enjoyable in both settings. If it feels too broad, reduce the reflective area on the next trial before switching every color. If the matte version feels flat, try a lighter application or a tiny accent rather than assuming your entire look needs more shine. The lighting guide helps separate an ordinary environmental change from an actual color or finish problem.
Separate finish preference from wear and comfort
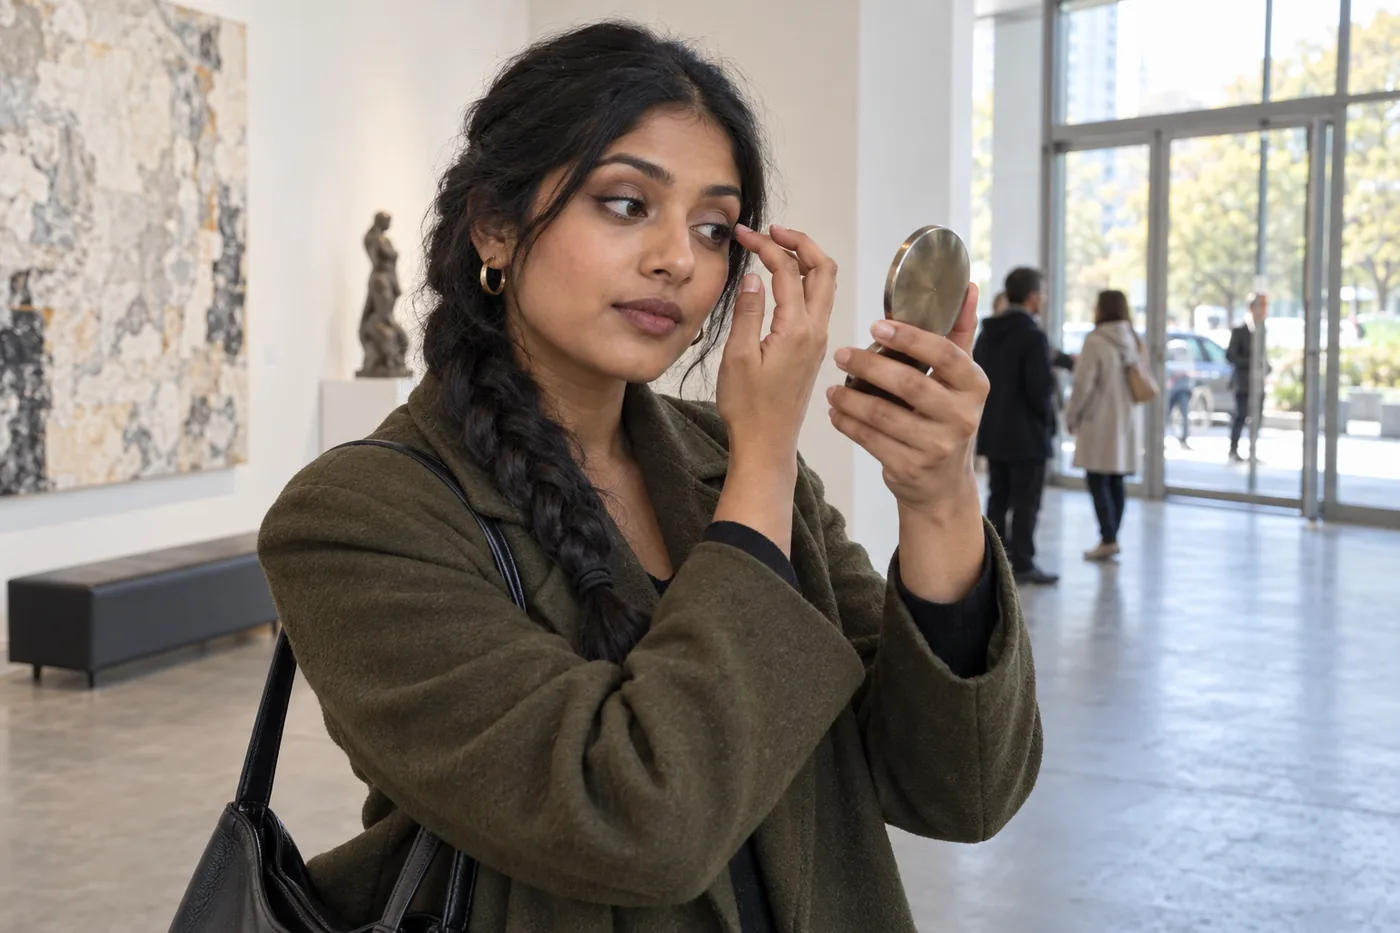
After a normal stretch of your day, examine what changed. Color gathering in a fold, loose particles below the eye and an accent looking different under a lamp are separate observations. A flattering shimmer preview cannot prove resistance to creasing or fallout. An all-matte idea cannot guarantee a smoother texture. Record the actual formula, preparation and amount, and describe the first visible change rather than writing only that the look failed.
Your lids naturally fold and move. Their texture is not a flaw that a particular finish must erase. If you like the reflection but dislike how a formula handles, keep the visual direction and investigate application or a different suitable product later. If the formula is comfortable but the accent dominates your face, change its footprint. Remove makeup according to the product instructions and avoid rubbing to force a stubborn layer away. A useful result includes comfort and manageable removal as well as the moment the look appears attractive. Those parts of the decision require real experience, not a generated image.
Choose the combination you can repeat
You do not have to choose an entirely matte or entirely reflective eye. A quiet background with one modest accent can be a complete look, just as a matte wash can be complete without added shine. Choose according to the emphasis you enjoy, the light you expect and the time you want to spend. There is no automatic ban on shimmer for an age group or lid shape, and no requirement that daytime makeup be matte.
Keep one final routine note: color family, placement, finish area, brush, approximate amount and the light checks that mattered. Add the real observations beside your two saved Hair Muse ideas. On the next attempt, reproduce that plan before changing anything else. If you still prefer a different result, adjust one detail that you can name. A smaller accent, softer edge or quieter color depth is an actionable change. The decision is finished when you understand the effect well enough to wear it comfortably, not when a screen image appears flawless from every possible angle.