
Lip makeup
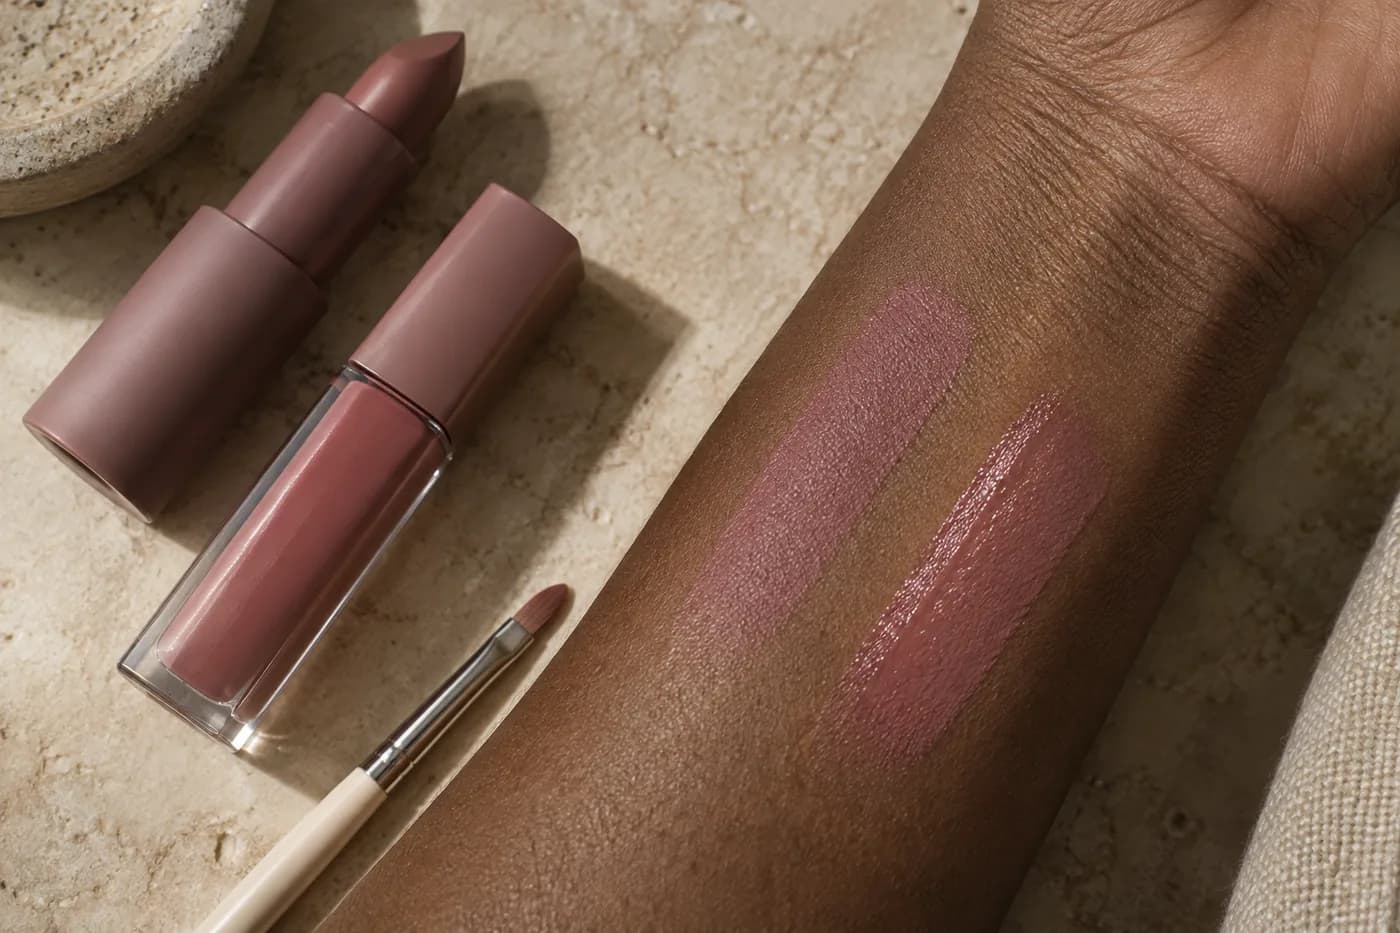
Matte or glossy lipstick? Keep the color, change the light
Compare two finish ideas on one photo in Hair Muse, then check the real lip formula, ordinary light and the upkeep your routine needs.

Matte or glossy lipstick can change the impression of a familiar rose shade without changing the rest of your makeup. Yet many comparisons quietly alter the color, the lip outline and the amount of coverage at the same time. A deep opaque matte beside a pale transparent gloss does not isolate finish. It asks you to choose several different looks at once, which makes the result difficult to translate into your actual routine.
Begin with the question you can answer: do you want a quieter surface or a visible reflection within the same color direction? Use one clear photo in Hair Muse to explore those two ideas, keeping your face, lip shape and other makeup steady. Then narrow the choice to two real products and test them at your mirror. A generated image can organize a visual decision; it cannot tell you how a formula feels, behaves, wears or matches your natural lip pigment. The useful result is a small, understandable shortlist rather than a perfect digital mouth.
Matte or glossy lipstick: name the effect first
Matte describes a restrained reflection, while glossy describes a more visible light-catching surface. Between them sit satin, soft sheen and other descriptions that vary across products. Treat those words as starting directions, not precise standards shared by every brand. A softly reflective lipstick may be closer to your goal than a strong gloss. A thin matte application may suit you better than the dense, completely opaque version shown in a promotional photograph.
Describe what you want at ordinary viewing distance. You might want the lip color to read clearly while the surface stays quiet, or a small moving highlight that feels lively when you talk. Neither choice requires changing your natural outline. Avoid assuming that glossy means fuller lips or that matte must look sophisticated on every face. Those associations are preferences, not guaranteed outcomes. Write a brief sentence about reflection and keep it beside your comparison so you do not drift into a different shade decision halfway through.
Keep color, depth and outline steady
Choose one familiar family, such as muted rose, soft brick or berry, before comparing finishes. Hold its warmth and approximate depth as steady as the preview permits. If a glossy candidate becomes much paler, ask for the original color direction again instead of interpreting the difference as an effect of shine alone. If the matte version gains a dark border, remove that change. A new outline can change the whole expression independently of the surface reflection.
Keep coverage in mind too. Sheer color allows more of your natural lip pigment to remain visible, whereas opaque color replaces more of that starting appearance. You can eventually choose either, but mixing coverage and finish in the first comparison makes the reason for your preference unclear. The linked lip-color guide helps with warmth and depth if those are still unresolved. For this trial, use the same approximate colored area and a believable amount. You are planning a direction, not specifying the exact optical properties of a product.
Prepare one readable source photograph
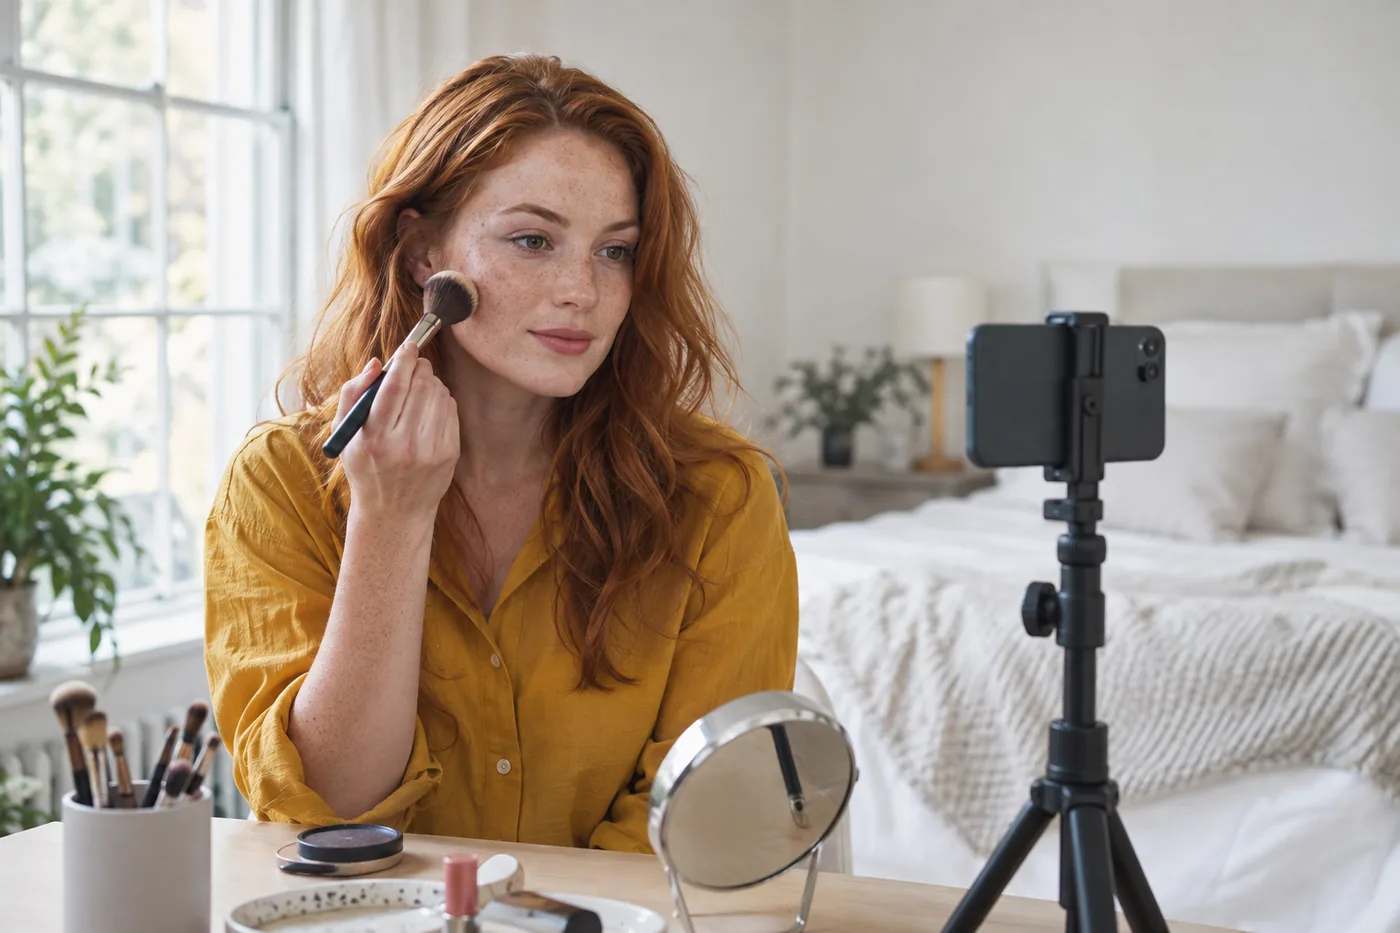
Take a clear portrait with a clean camera lens, even window light and your head in a comfortable position. Keep the mouth relaxed and closed rather than pursed or stretched into a large smile. Make sure the lip border is visible without a strong shadow falling across one side. A photograph with heavy existing shine, a dark outline or a filter can make it harder to tell which part of the result belongs to the requested change.
Use one source for the whole comparison. Retaking the photo between candidates changes expression, light and camera processing, so the apparent difference may have little to do with lipstick. The portrait guide explains the practical setup in more detail. Keep any jewelry, glasses and surrounding makeup consistent when they matter to the full look. You do not need to erase normal lip lines or skin texture to make the image useful. A readable starting point is more valuable than an excessively polished portrait that hides the features you will see at your mirror.
Compare two restrained ideas in Hair Muse
Start with a quiet matte direction in Hair Muse, using the color and outline you have already chosen. Then compare a softly glossy direction on the same source. Ask for one meaningful change: lip reflection. Keep eye makeup, cheeks, skin finish, hair and facial geometry consistent. If a result changes those elements, treat it as a different look and repeat the comparison more narrowly. Do not choose a candidate simply because unrelated lighting or smoother skin makes the whole picture more attractive.
Read the result as an illustration of an idea. A generated highlight may be too even, too bright or positioned differently from real light on your lips. The preview cannot establish an exact shade, formula, oxidation, texture, wear, skin reaction or final outcome. It also does not prove that a particular product exists with the appearance shown. Save or note only two useful directions, with a short description of what each changes. A small shortlist helps you move to a physical trial instead of repeatedly generating slightly different images without a decision.
Review the whole face before choosing
Look at the two candidates at a similar scale, including eyes, cheeks and the neckline rather than zooming into the lips alone. Notice whether the finish supports the emphasis you wanted. A quiet mouth can leave more attention with the eyes; a reflective mouth can add another point of light. That does not mean one must be reserved for a certain occasion. The useful question is whether you like the overall balance with the makeup and clothing you actually plan to wear.
Inspect the borders and expression critically. Reject a version that enlarges the mouth, sharpens every line or changes the natural resting position when your goal was only a finish comparison. If both ideas work, keep both instead of forcing a winner. You may prefer restrained reflection during the day and a little extra shine for another context. Record the visual difference in plain language. This is the point where the app has helped enough: the next uncertainty concerns the real formula and needs an actual application.
Try the real formula with clean tools
Choose products that are in suitable condition and intended for use on lips, following their instructions. The FDA advises keeping hands and containers clean, not sharing cosmetics, not adding water or saliva, and following the manufacturer's storage directions. Those practices apply to your actual trial, not to a digital preview. Do not modify a formula to imitate a generated reflection. If a product's condition or history is uncertain, resolve that before comparing its appearance.
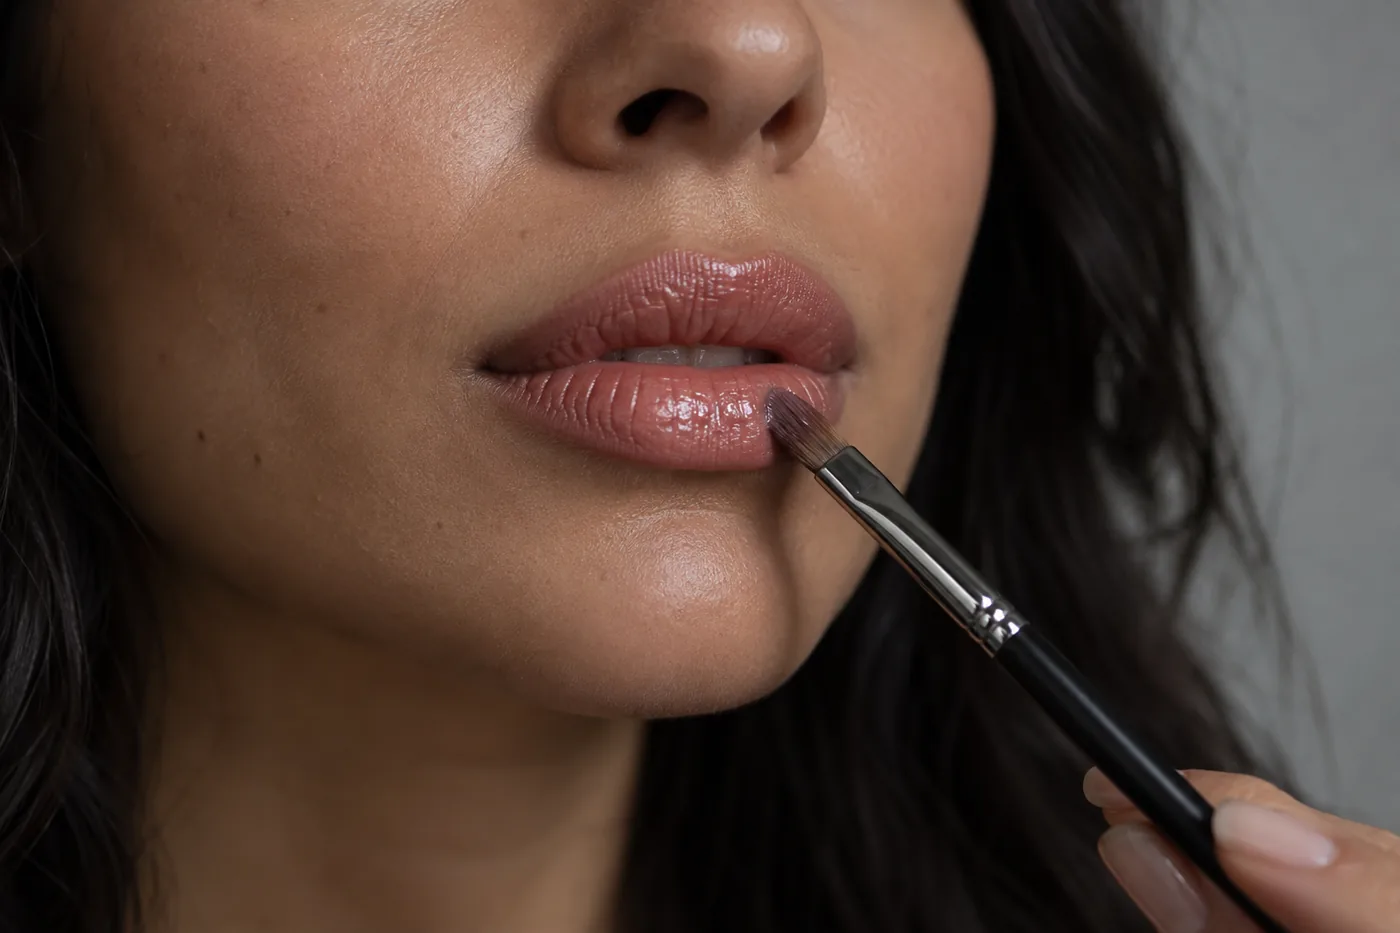
Apply a small amount using the product's own recommended method. Keep preparation and outline similar for each trial, and note any lip liner or base used. A matte and a glossy product may require different handling, so aim for comparable visual intensity rather than identical movements or measured product weight. Check how the real shade combines with your natural lip color. Stop using a product that causes discomfort rather than adding layers to hide the sensation. The comparison should tell you whether this particular product is manageable in your routine, not whether an entire finish category is universally comfortable.
Check light, movement and ordinary contact
Look near a window, then under the indoor lighting you usually meet. Keep the amount unchanged while checking those conditions. A reflection can move or become less visible as you turn your head, and a warm bulb can change your impression of the color. Observe at conversation distance before inspecting a close mirror. Neither a bright phone screen nor one flattering photograph is a complete account of how the finish reads when you move through a room.
Talk, smile and carry on with a normal part of your day. Note whether the product gathers at an edge, feels inconvenient, marks an ordinary cup or needs a small repair. Do not assume matte means transfer-proof or gloss means short-lived. Those outcomes depend on the actual formula, amount and use. Avoid applying several products at once just to reproduce a smooth screen surface. Your observations can be simple: the shine stayed where you wanted, the color changed after drinking, or a corner needed attention. Separate appearance, comfort and maintenance so one attractive reflection does not answer every question.
Adjust reflection without losing the plan
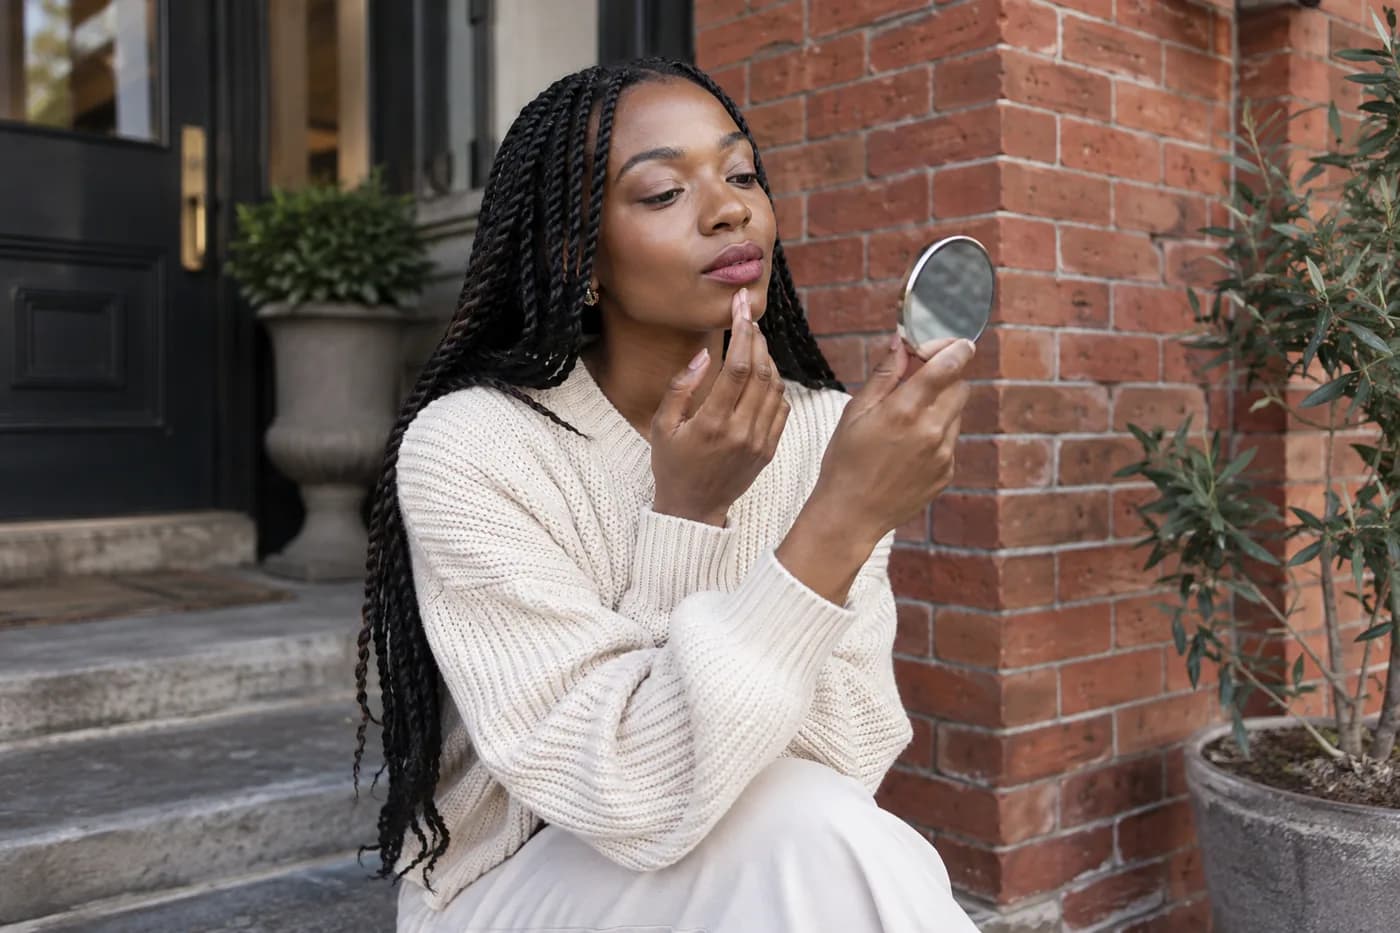
If you like the color but the reflection is stronger than intended, try a smaller amount on the next application rather than immediately changing shade. Follow the formula's directions; some products set and are not designed to be rubbed or repeatedly blotted. If you want a little shine over an existing lip product, first check whether that combination works physically. Adding a second formula can change color, feel and movement, so it becomes a layered routine rather than a pure comparison between two finishes.
Keep any adjustment local and describable. A small central reflective area differs from coating the entire lip surface. A softened matte application differs from a thick opaque layer. You do not need to extend the border to make either choice visible. If the real product cannot create the appearance comfortably, revise the plan instead of treating the preview as an instruction you must obey. Make one change at a time, then repeat the ordinary-light check. That preserves what you learned and avoids turning a useful two-option trial into a complicated stack of products.
Keep a shortlist that belongs to your routine
Choose the direction whose real application you understand well enough to repeat. Keep the product name, approximate amount, preparation, outline method and finish observation in a short note. Add the light conditions and first maintenance step you needed. The two saved visual ideas can remain as reminders of the intended mood, while the note records what actually happened. This separates a planning image from evidence about the formula.
You may keep both directions for different situations, or decide that a satin result sits between them and fits your routine better. That is a complete decision even when it differs from the first preview. Repeat the chosen sequence before changing another variable, especially if you are planning a specific event. MaqAI publishes this guide; Hair Muse is the app used for the visual planning stage. The final choice belongs to your face, products and comfort in real light. A useful lipstick finish does not need to win a universal ranking or match every pixel of an imagined result.