Lip makeup
Lipstick on teeth? Fix the inner-edge transfer
Find where color reaches your smile, keep the inner lip clear and test a thin application through an ordinary conversation and drink.

Lipstick on teeth can appear minutes after a careful application. The outer lip line may be crisp while a small band of color has crossed onto the moist inner edge. When you talk, smile or press your lips together, that hidden band touches the front teeth. A thicker second coat can make the problem worse even when the shade and formula otherwise suit you. The useful question is where pigment is moving, not whether you need to stop wearing a noticeable lip color.
Use a mirror, a clean tissue and the lipstick you already own. Apply a controlled layer to the visible lip, clear excess from the inner edge, blot once and make an ordinary smile-and-speech check. Then observe what happens after a drink. The method does not promise that every formula will stay fixed through a meal; it makes the transfer point visible and gives you a short way to correct it. If your lips sting or crack, comfort takes priority over keeping a perfectly even color.
Find why lipstick on teeth keeps returning
Look at the location of the mark before wiping everything away. A small patch on the center of one front tooth soon after application often means that the painted inner lip is touching it. A broad smear after a meal may instead come from food, a cup or a fresh heavy reapplication. Note whether the mark appears while talking, immediately after closing your mouth, or only when you check later. That timing suggests what to adjust. Do not assume a creamy formula alone is the cause; placement and amount can matter just as much.
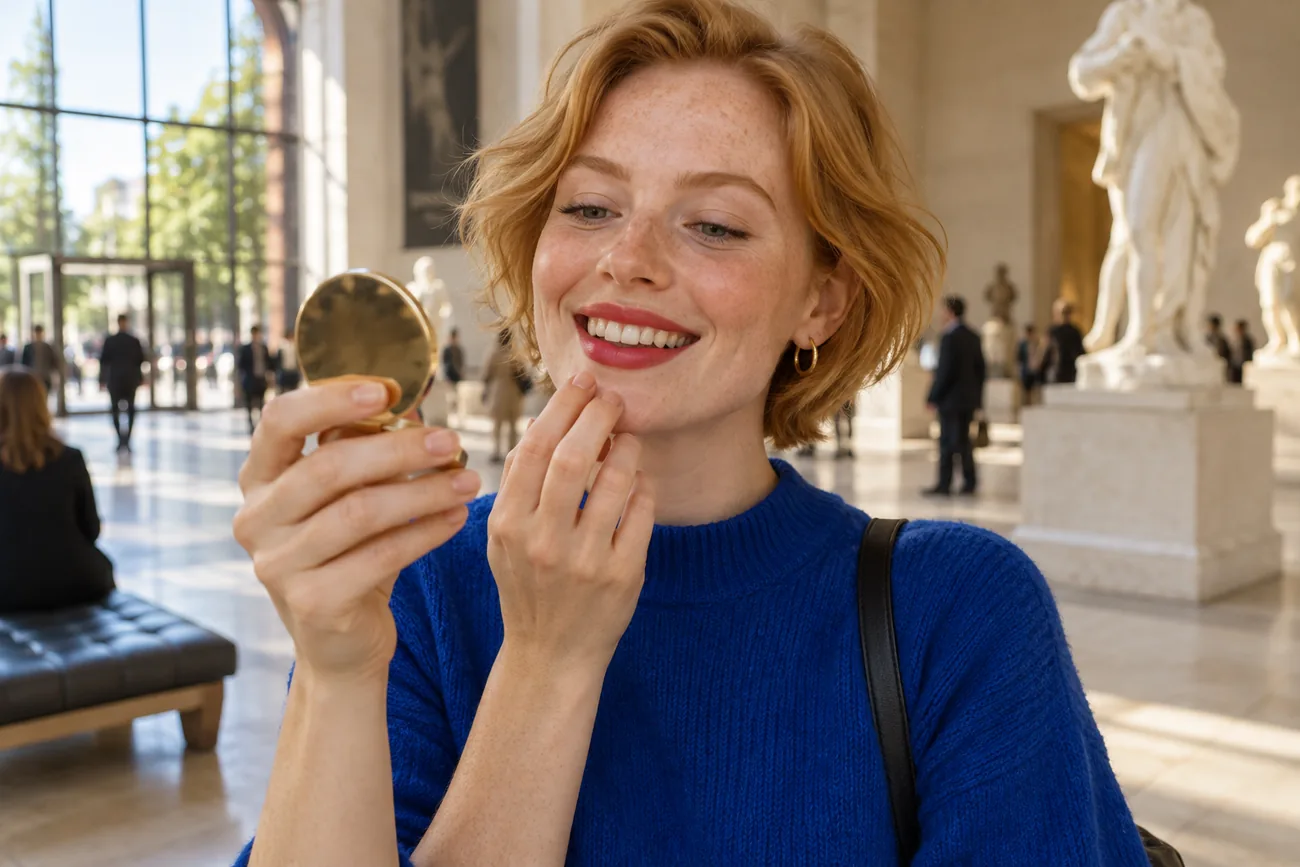
With clean hands, gently part your lips in a mirror. The visible colored surface should not need to extend deep into the wet part of the mouth. Your natural inner lip may remain visible when you open wide, and that is normal. The purpose is a coherent lip at conversational distance, not a painted interior. Smile naturally, then relax your mouth. If color rubs onto the incisors at that moment, observe where the lip and tooth meet. This is a practical contact test, not a judgment about mouth shape. Different smiles and speaking movements produce different contact, so adjust the application to yours.
Prepare the lip without building a slippery base
Start with lips that feel comfortable rather than trying to scrub them smooth. If there is loose, painful skin, do not pull it off to make a lipstick photograph look neat. A small amount of a familiar, non-irritating balm can help dry lips, but a thick layer immediately under color may let the pigment slide toward the inner edge. Give the balm time to settle and gently blot obvious excess before applying lipstick. If your lips are already comfortable, there is no reason to add a product simply because a routine says so.
The American Academy of Dermatology advises using lip products that do not sting or burn and stopping products that irritate chapped lips. That advice matters here because an aggressive matte formula or repeated wiping can turn a small transfer issue into soreness. Check the lipstick itself for an unfamiliar smell, color change or damaged packaging. The FDA recommends following the label, washing hands before cosmetic use and not sharing makeup. A clean lip and clean tools make the short transfer test more meaningful; they also keep a touch-up from becoming a reason to rub the mouth repeatedly.
Read dermatologists’ advice for comfortable lipsRead FDA guidance on using cosmetics safely
Apply one thin layer to the visible lip
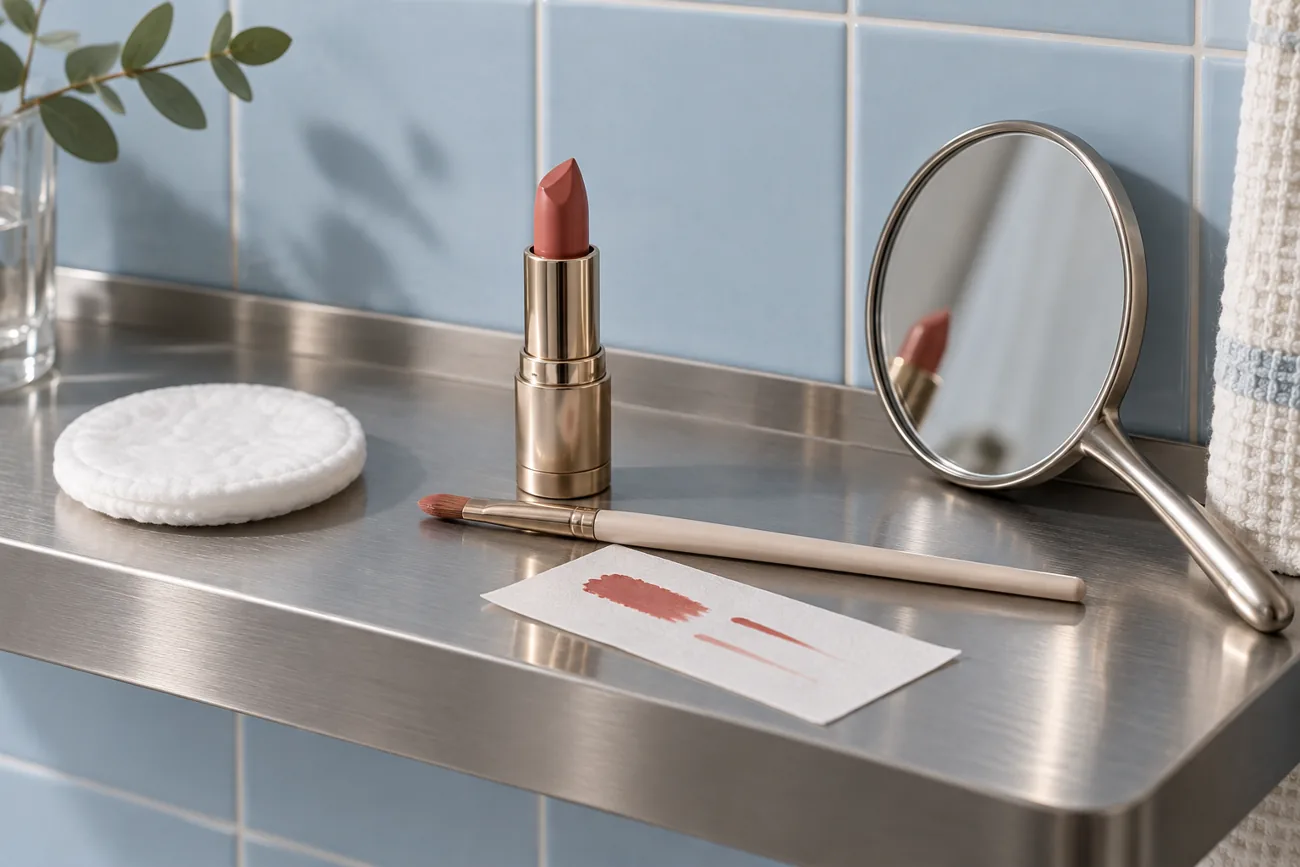
Use the edge of the lipstick bullet or a clean lip brush to draw the color where your lip is visible when your face is relaxed. Keep the first pass thin. Work from the center toward the corners, then look straight into the mirror rather than continuing to trace while the mouth is stretched open. A stretched lip exposes an interior surface that disappears when you relax; painting all of it can place product exactly where the front teeth touch. If you use liner, keep it at the outer border for shape. Liner is not a reason to fill the wet inner lip.
Press your lips together lightly once, then inspect. Strong rubbing back and forth can push a creamy layer inward and blur the edges. If one side needs more pigment, add a little only there. More color on the visible surface is different from a second full coat across the entire mouth. The earlier guide to comparing lipstick shades helps with color choice; this one focuses on keeping whichever color you selected off the teeth. Watch how your particular bullet deposits pigment. A firm, sheer product and a soft, opaque cream need different amounts of pressure, so let the mark on your own lips set the pace.
Clear the inner edge without erasing the whole lip
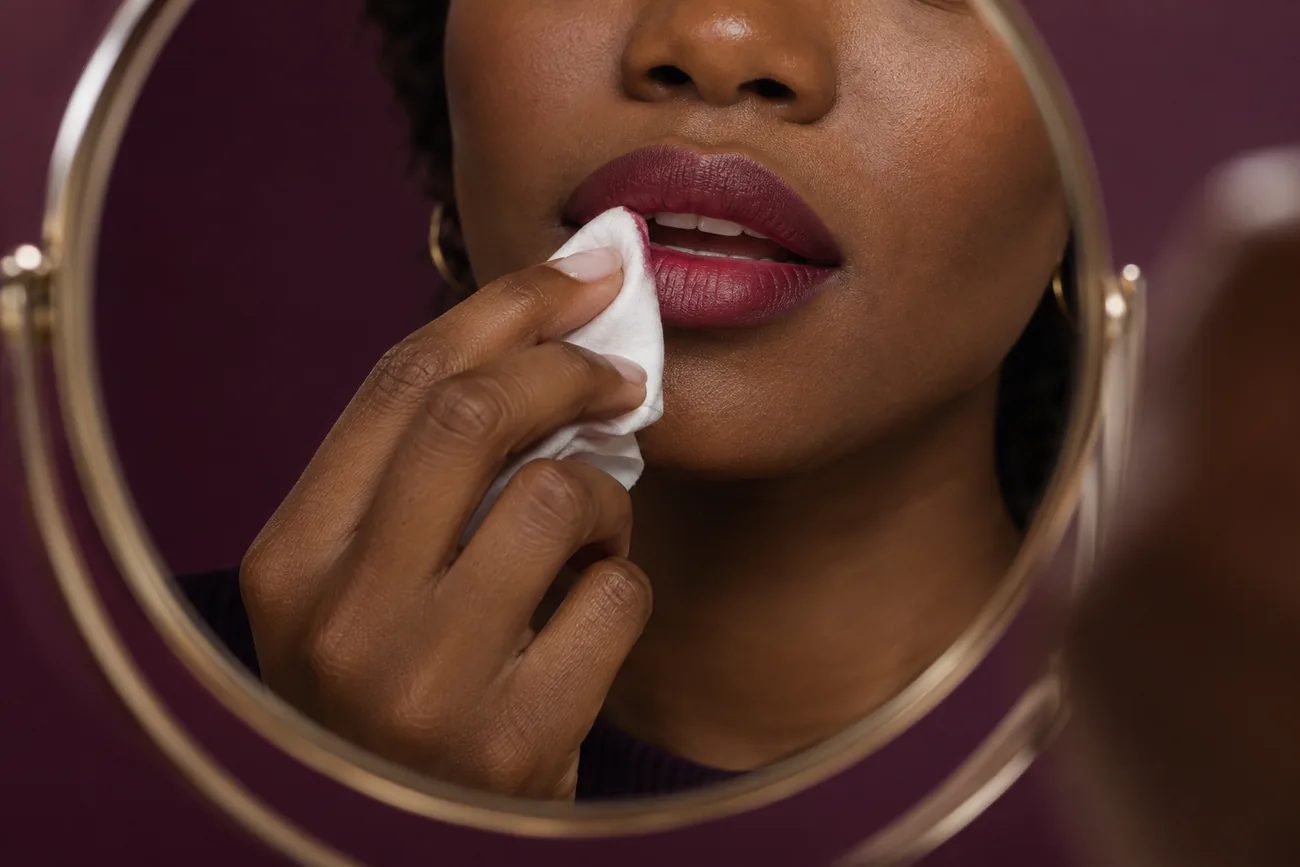
Fold a clean tissue into a narrow edge and lightly touch the part of the lip that becomes visible only when you open your mouth. The aim is to lift the small band of color nearest the teeth, not to scrub the colored outer lip. You can also place a clean finger between gently closed lips and draw it out slowly, provided your hands are clean and the action feels comfortable. The familiar finger check catches some excess pigment, but a tissue may be easier to control and avoids touching inside the mouth. Neither trick compensates for a thick, still-mobile layer over the whole lip.
Look in the mirror after clearing the inner border. From normal speaking distance the lipstick should still read as a complete color, even if the innermost wet line is bare. If a very visible pale gap appears when you smile, move only a tiny amount of pigment toward the edge while keeping the direct tooth-contact area clear. Do not use a sharp tool or press a cotton swab into the gums. One careful pass is usually more informative than several forceful wipes. The exact border is personal, because teeth and lips meet differently when each person talks and smiles.
Blot once, then make a real smile check
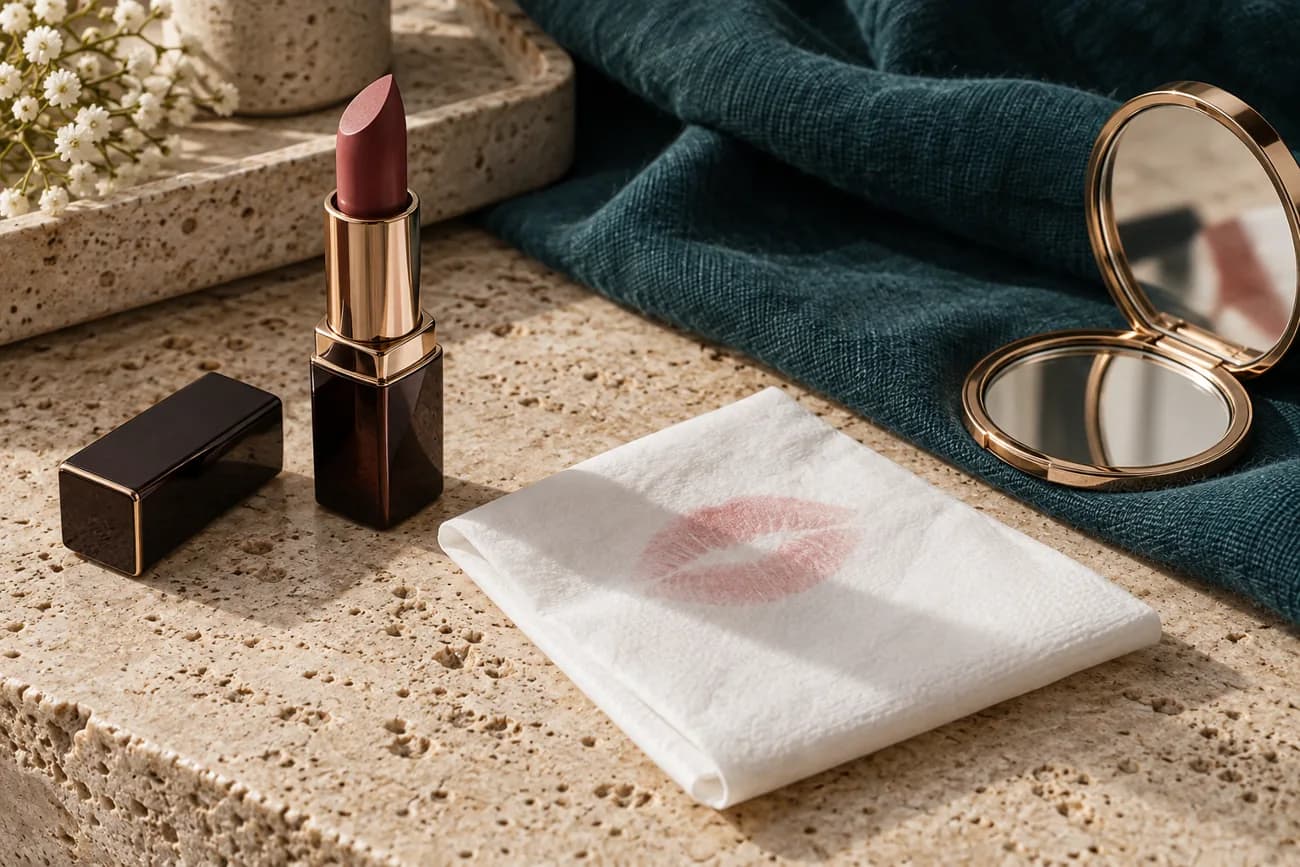
Hold a clean tissue between the lips and close them gently once. Avoid biting it hard or dragging it sideways. A light print indicates mobile excess color has moved to the tissue. If it is saturated, the first coat may have been heavier than needed; assess the visible lip before adding anything back. Some formulas settle with time, so follow the label if it specifies a drying period. Do not powder the inner lip or rely on a blanket setting trick. Loose powder near the mouth can look dry and does not change the fact that misplaced pigment can contact teeth.
Stand back from the mirror, smile as you normally do and say a short sentence out loud. Close and reopen your mouth, then look at the front teeth. A silent open-mouth pose is a weaker test because the lips may not move as they do in conversation. If there is already color on a tooth, remove it gently with clean tissue or the usual appropriate oral-care method; do not use abrasive scrubbing to rescue a cosmetic look. Recheck the inner lip rather than repainting immediately. The blotting image shows a light imprint, not a guarantee that a product will never transfer.
Test a drink and distinguish three transfer paths
Take a normal sip from the cup you would actually use and look once at the lips, cup and teeth. Color on the cup rim without color on the teeth is ordinary cup transfer; it does not mean the inner-edge method failed. A mark on the teeth after a sip may reflect the way the mouth closed around the cup, or a fresh layer that had not settled. A faded center lip without a tooth mark is a wear problem, not the same problem as transfer to teeth. Name the observation before changing technique. The guide to planning long-wear event makeup is useful when you need a broader wear test, but no routine can promise identical results for every meal and drink.
Try one adjustment at a time on another day. If the first coat was thick, use less. If the inner band remained colored, clear it more precisely. If the formula feels especially mobile despite careful placement, compare a small trial with another finish you already own, holding the application method steady. Avoid claiming a matte label alone solves transfer; a film can still break, feel uncomfortable or move when applied too thickly. Keep the experiment modest enough that you can tell which change made a difference.
Touch up after eating without rebuilding the problem
After a meal, first check the teeth and the inner edge. Use clean tissue to remove obvious residue and let the lips return to a comfortable, dry-enough surface. If you need more color, add it only to the visible faded areas. Do not automatically paint across the inner lip because the center looks lighter when the mouth is wide open. Relax your face between short strokes and compare both sides from conversational distance. Repeat one light blot and a smile check. If a product has become patchy and uncomfortable, removing it and starting with a fresh thin layer may be better than stacking more coats.
Keep the touch-up kit small: the product, a clean folded tissue and a mirror are sufficient for this particular task. A disposable applicator can help if the shared environment is messy, but do not share the lipstick or brush. Wash your hands before using a finger to check the inner line. The FDA's general cosmetic guidance also says to stop using a product that causes an unexpected reaction. A quick check should protect comfort and hygiene as well as the smile; it need not turn into a full remake of the lip in a public restroom.
Keep the method practical for your own mouth
Do one final check in ordinary light, not only in a magnifying mirror. Is the outer lip line balanced? Is the colored part visible when you talk? Are the front teeth clear after several natural smiles? If yes, the method has done its job for this application. You do not need to chase an absolutely transferless lip; lipstick can still mark a cup or wear away with food. What matters is that the direct contact band is controlled and that you know how to inspect it. If a lipstick continually moves inward despite a thin coat, keep a note of the formula and consider another product you already have rather than adding more layers.
Record the useful detail: the amount used, whether you blotted balm first, how you cleared the inner edge, and when the first tooth mark appeared, if it did. A short record prevents repeating the same heavy application next time. If your lips feel sore, pause the experiment and use a comfortable routine. If they feel fine and the color survives a conversation without appearing on teeth, you can stop testing. This guide addresses one small, observable transfer path; it does not replace your preferences about color, finish or how often to reapply. Use the result to make the next application calmer, not more complicated.