
Eye tools
Sharpen eyeliner with a small, controlled first cut
Identify the mechanism, match the cosmetic sharpener and inspect the whole tip before preparing your next real line.
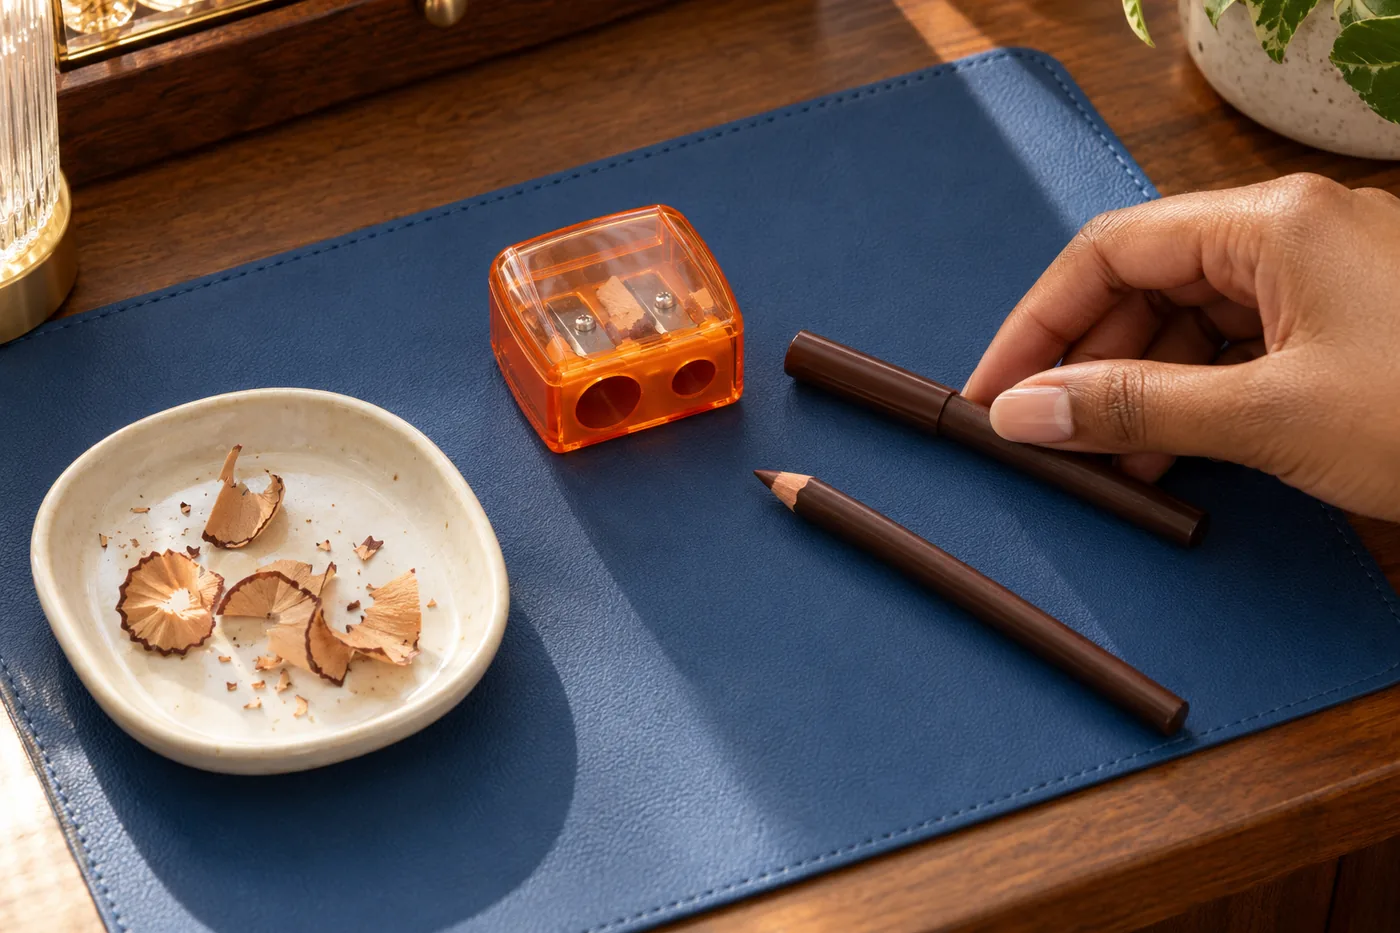
Sharpen eyeliner by checking the pencil's construction first, matching it with the correct cosmetic sharpener and removing only enough casing to restore a usable tip. A long needle point is not the goal. You need exposed color that can meet the intended application area without a rough casing edge reaching it first. If the mechanism is unclear, identify the model before forcing anything.
MaqAI publishes this practical guide. The method works with your actual pencil and tool, without an app. Hair Muse can help plan a makeup look, but a preview cannot inspect a blade, identify an unknown pencil mechanism or prove that a physical tip is comfortable. Keep those decisions on the dressing table, with the maker's directions available.
Identify the construction before turning or cutting
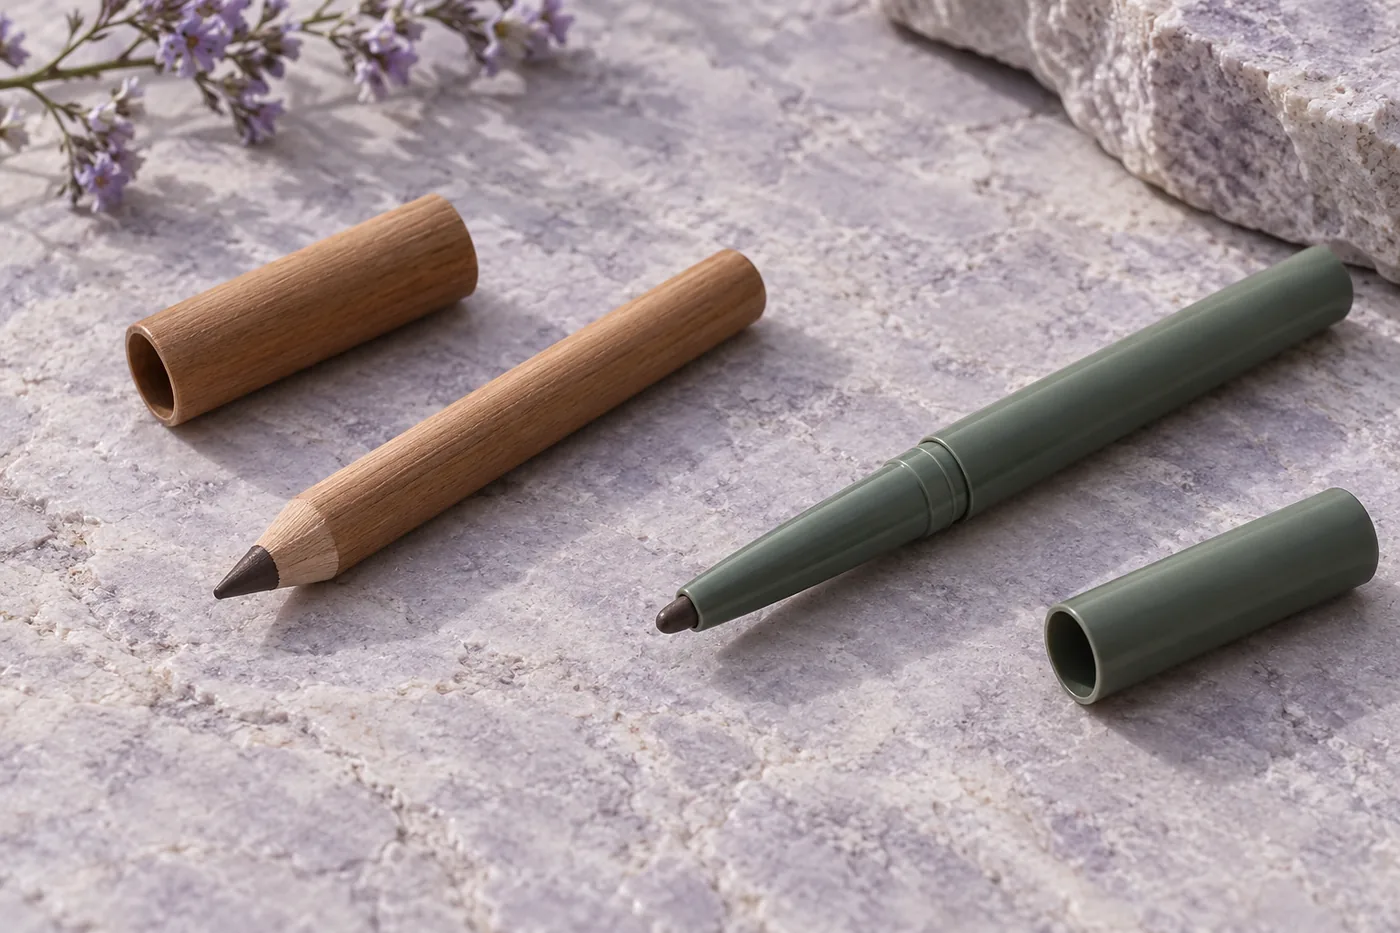
A wooden-looking pencil, a smooth synthetic barrel and a retractable mechanism do not all require the same preparation. Some products are designed to be sharpened through their casing; others advance a core by twisting and may have a separate shaping feature. Appearance alone is not enough to decide. Look for the product name, packaging instructions or the manufacturer's page for the exact model you own.
Do not push through an end cap or pull apart the barrel because the color seems finished. An unfamiliar seam is not permission to dismantle the product. Likewise, resistance at the end does not automatically mean the pencil needs sharpening. Confirm whether there is an advancing mechanism, a sharpenable casing or a specific instruction for the remaining length.
Keep the answer simple enough to repeat: this model is sharpenable with this size of cosmetic tool, or this model advances by its own mechanism. If you cannot confirm either, set it aside while you clarify. Preserving an uncertain pencil is more useful than breaking it while testing several guesses at once.
Match the opening and inspect the tool
Choose a cosmetic sharpener compatible with the pencil's actual diameter and material. A dual-opening tool offers choices, not universal compatibility. The pencil should enter the intended opening without being forced sideways or held at an extreme angle. Check whether a removable size adapter belongs to that particular tool before assuming a pencil is too wide or too narrow.
Examine the housing and visible cutting area without touching the edge. A loose body, damaged opening, heavy blockage or visibly displaced component is a reason to stop and consult the tool's directions. Tightening random screws or changing the blade position is not part of an ordinary pencil preparation routine. If the tool cannot be used as designed, choose an appropriate intact alternative.
Keep cosmetic preparation separate from stationery use. A shared desk sharpener may carry residue from other materials, and a hole that accepts the barrel does not prove the cut is suitable. You do not need to buy a ranked or expensive model; you need a compatible personal tool in a condition you can assess and maintain.
Prepare a stable surface and make a small first cut
Work at a table away from the face, with enough light to see the tip and a place for shavings. Keep the cap nearby but clear of the loose waste. Start with clean hands and a tool prepared according to its care instructions. Do not hold the pencil close to an eye while trying to watch the cutting process in a mirror.
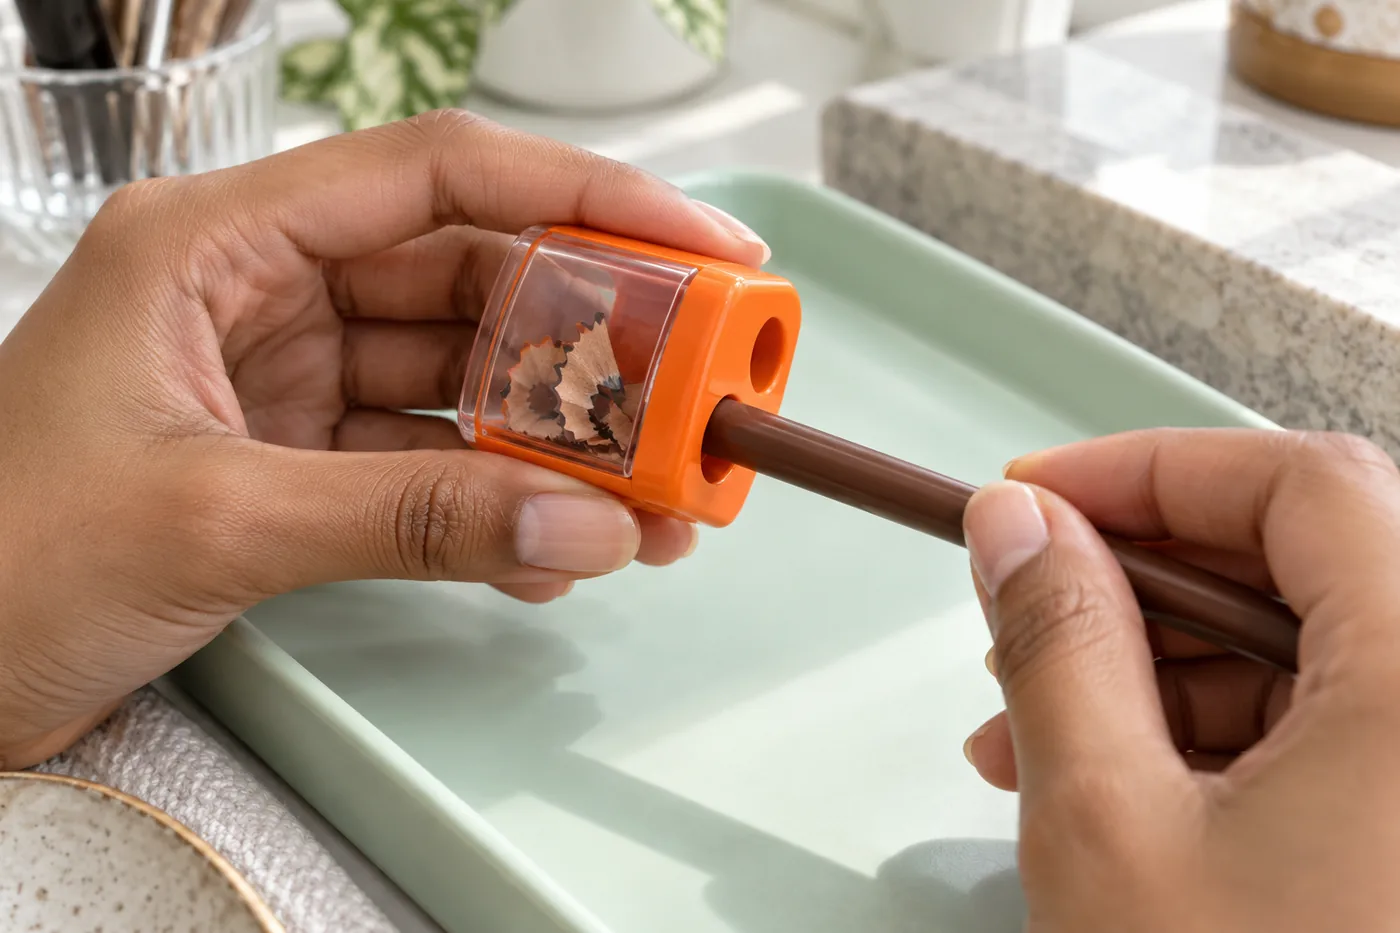
Support the sharpener and align the pencil with the opening. Follow the model's turning instructions with light, controlled movement. Avoid bending the barrel against the housing or trying to overcome resistance with a stronger grip. If the pencil stops moving as expected, withdraw it and inspect rather than forcing a long uninterrupted sequence of rotations.
Make a limited first adjustment and look at what changed. The exact number of turns depends on the casing, core, tool and starting condition, so a universal count would be misleading. You are looking for gradual removal around the casing, not a large chunk breaking away. Stop between adjustments whenever the result is difficult to see.
Inspect the casing rim and exposed color
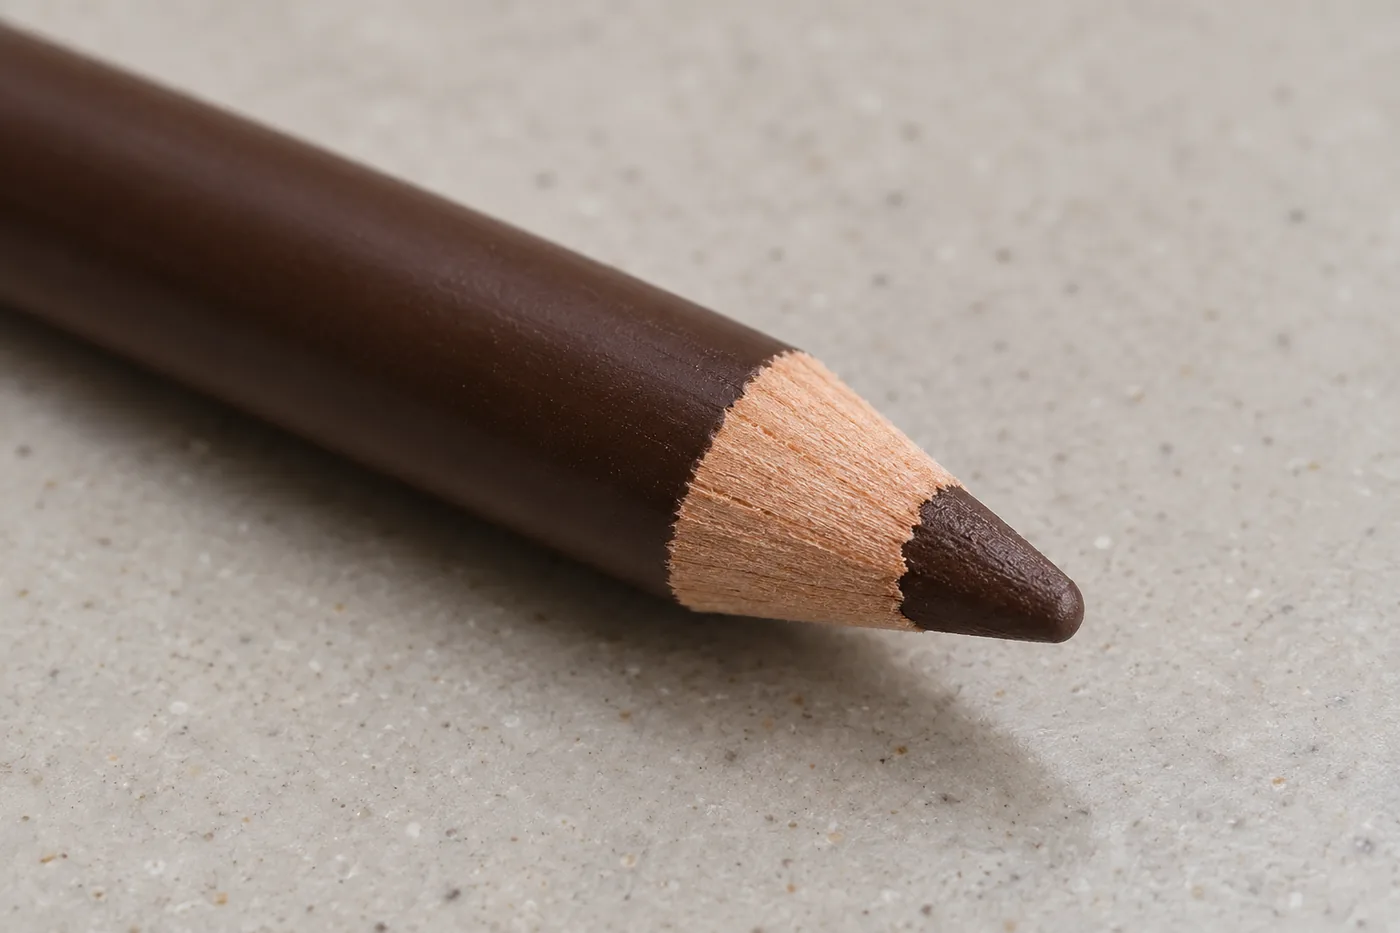
Withdraw the pencil and turn it slowly in your fingers, well away from the eye. Look around the whole tip rather than judging only the side facing you. Check for splinters, a sharp casing lip, loose fragments, a hollow beside the core or a section of color that looks cracked. An attractive silhouette from one angle can hide an uneven rim on the other.
The usable core should be accessible without a rough edge leading the contact. That does not require an exceptionally long or pointed end. If another small adjustment is permitted and the casing remains sound, make it and inspect again. If a jagged section persists or the construction seems damaged, do not move straight from the sharpener to the eye area.
Keep loose debris out of the next application. Do not blow into the tool or onto the tip, lick the color or wet it to reshape the point. Use only the maker's suitable method for clearing residual shavings. A visual inspection is a practical check, not proof that a damaged or contaminated product has become suitable to use again.
When the core keeps breaking, change the diagnosis
Repeated breakage is a reason to stop the same sequence. Notice when the failure happens: as the barrel enters, during rotation or as the point leaves the opening. An awkward fit, accumulated material or an already fractured core can look like the same problem from outside. Inspect the tool and model instructions before deciding that stronger pressure is the answer.
Change one relevant condition at a time. Confirm the opening, clear the collection area as directed or try another compatible intact cosmetic sharpener if available. Do not keep removing substantial lengths simply to see whether the next section will behave differently. If the pencil remains unusable after an appropriate small retry, seek product-specific advice or replace the unsuitable item.
Avoid generic temperature tricks. Refrigerating, freezing, heating or adding liquid is not a default repair for every eyeliner formula or casing. Follow a specific maker's direction if the model genuinely requires a special preparation, rather than adapting an internet tip from another product. Stop when the remaining barrel becomes too short to hold in the way its instructions require.
Empty and care for the sharpener as designed
Move loose shavings into waste before they spread around the tools. Open only the collection compartment or removable parts that the manufacturer identifies for normal care. Keep fingers away from the cutting edge. If an included cleaning implement is supplied, use it only as directed; a separate knife or improvised blade adjustment is not a necessary part of finishing the task.
Check the care method for the complete tool rather than assuming every housing can be soaked, washed or treated with the same cleaner. Some parts and coatings may need different handling. Do not describe an ordinary cleaning step as sterilization. If a blockage or damage cannot be addressed through the supported method, stop using that tool instead of reaching deeper into the cutting area.
After any permitted wet care, allow the relevant parts to dry fully as directed before storage or the next use. Refit the collection lid correctly and keep the pencil cap separate from remaining debris. A small routine after the task is easier to repeat than leaving a packed collection chamber until the pencil no longer enters normally.

Keep eye-product handling separate from sharpening
Sharpening prepares a shape; it does not reset a product's age, storage history or condition. If you have already decided an eye cosmetic is unsuitable to use, removing the outer end is not a reason to reverse that decision. Consider the maker's directions and any change in the actual product separately from whether a new point looks tidy.
The FDA's eye-cosmetic guidance emphasizes clean hands and implements, personal use and stopping a product that causes irritation. Those boundaries still apply after sharpening. They do not establish that cutting a fresh-looking tip disinfects a pencil. Keep your eye pencil and its preparation tool personal rather than treating sharpening as a way to make shared eye cosmetics acceptable.
Before an actual application, inspect the prepared tip once more under good light. Use the product only for its intended area and follow its directions. If a rough edge, fragment or uncomfortable contact appears, stop rather than increasing pressure to make the color show. There is no need to test a questionable point against the eye to confirm an inspection concern.
Store the result and make the next attempt repeatable
Fit the correct cap without pressing the exposed core into its end. Store the pencil and maintained tool where they can avoid loose shavings and the conditions excluded by their instructions. A cap that does not close correctly is worth resolving before putting the pencil into a crowded bag. Do not assume an open collection compartment is secure just because the outer case looks shut.
Keep a short note if a particular combination works well: exact pencil model, compatible opening, small adjustment and the condition of the final rim. This is more useful than a universal schedule. Prepare the point when its state and intended task call for attention, within the maker's instructions, rather than automatically removing the same length before every makeup session.
Finish with a manageable routine: identify the construction, confirm fit, cut a little, inspect the whole tip and care for the tool. The outcome is a physical pencil you can assess before using it. Your actual line, comfort and product condition determine whether the preparation was useful; neither a sharper silhouette nor a digital makeup preview can make that judgment for you.