
Makeup tools
Makeup sponge wet or dry? Choose a repeatable method
Read the tool and formula instructions, remove excess water and compare a small application before choosing your routine.
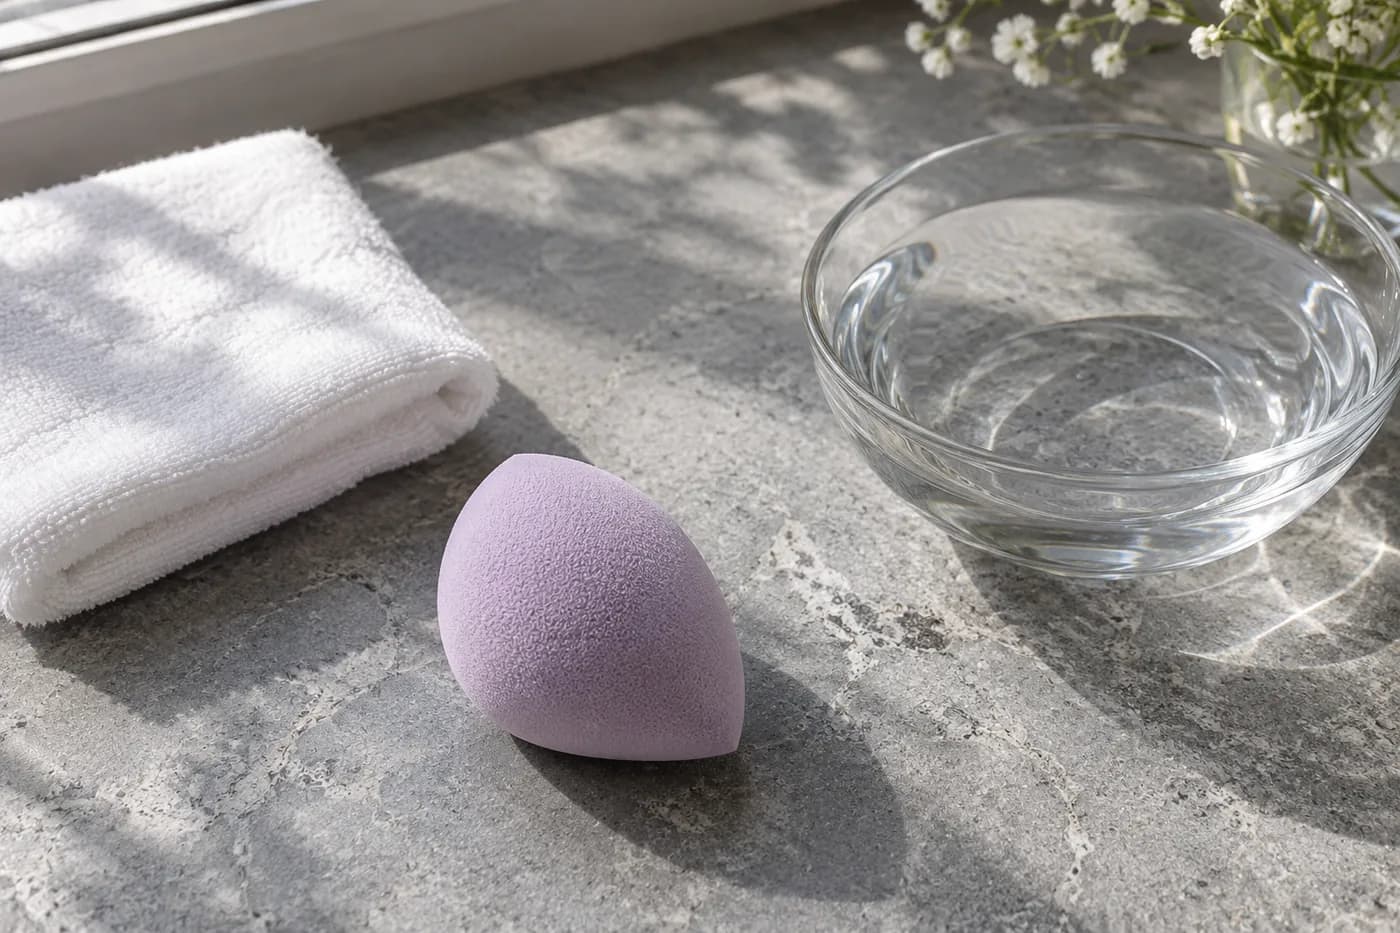
Deciding whether to use a makeup sponge wet or dry starts with the sponge's instructions and the makeup formula, rather than a rule about your skin type. A water-compatible foam sponge is often used damp for liquid foundation: wet it as directed, squeeze thoroughly, then press a small amount of makeup onto skin. Damp means flexible without releasing droplets. A dry applicator can suit certain powders or a different deposit of product, but only when its design and the makeup instructions allow it.
This MaqAI guide gives you a physical method for choosing and repeating the application you prefer. It does not rank sponges or claim that one moisture level guarantees coverage, saves a measured amount of foundation or improves wear. You can do the entire comparison with your usual products, a clean tool, a towel and ordinary light. The useful result is knowing how your particular combination behaves, including what happens when you add a second thin layer.
Makeup sponge wet or dry: read the tool first
Look for preparation and cleaning directions on the packaging or the manufacturer's official page. Some porous foam applicators are designed to expand when wetted. Others are intended for dry powder, have a different surface, or should not be soaked. Shape and color do not tell you which kind you own. A sponge that resembles a familiar product can still have different care requirements, so do not transfer another brand's instructions automatically.
Next, read the cosmetic's directions. A compact foundation may permit a damp sponge while another pressed product specifies dry application. Follow the more specific guidance instead of assuming every cream wants water and every powder forbids it. If the tool's origin or care instructions are unknown, choose an applicator with clear instructions rather than experimenting with repeated soaking. Before starting, check for tears, a sticky surface or persistent unusual odor. A damaged or questionable sponge is a poor starting point for a useful technique comparison.
Wet the sponge separately from the makeup
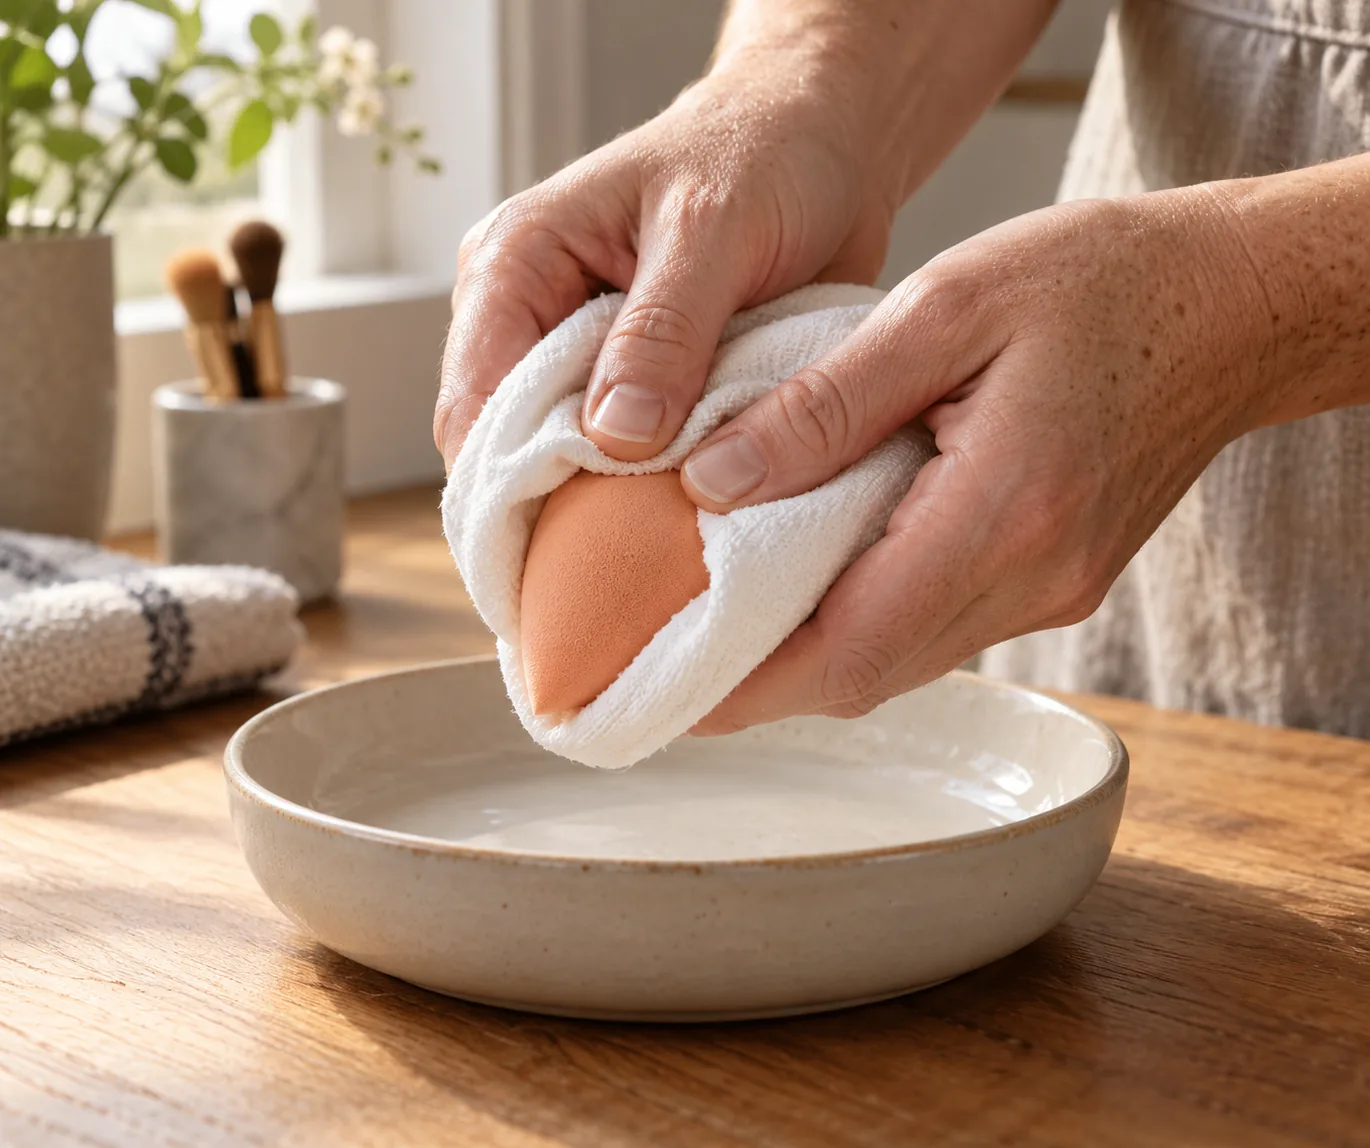
For a sponge designed to be dampened, use clean water and follow its preparation directions. Wet the foam evenly, including its center, rather than misting one corner and calling the whole tool damp. Gently compress and release it so you can feel whether the surface has softened consistently. Keep the sponge away from open foundation bottles and powder pans while doing this. Prepare the tool before putting any cosmetic onto it.
The distinction matters: dampening an appropriate applicator does not mean diluting your makeup. FDA guidance advises against adding water or saliva to cosmetic products and recommends clean hands and containers. Leave the formula in its original condition. Dispense only the amount you plan to use onto a clean surface, without returning leftovers to the container. If your routine has involved pouring water into a foundation bottle to make it spread further, stop treating that as sponge preparation; it changes the product itself.
Squeeze until the tool stops releasing water
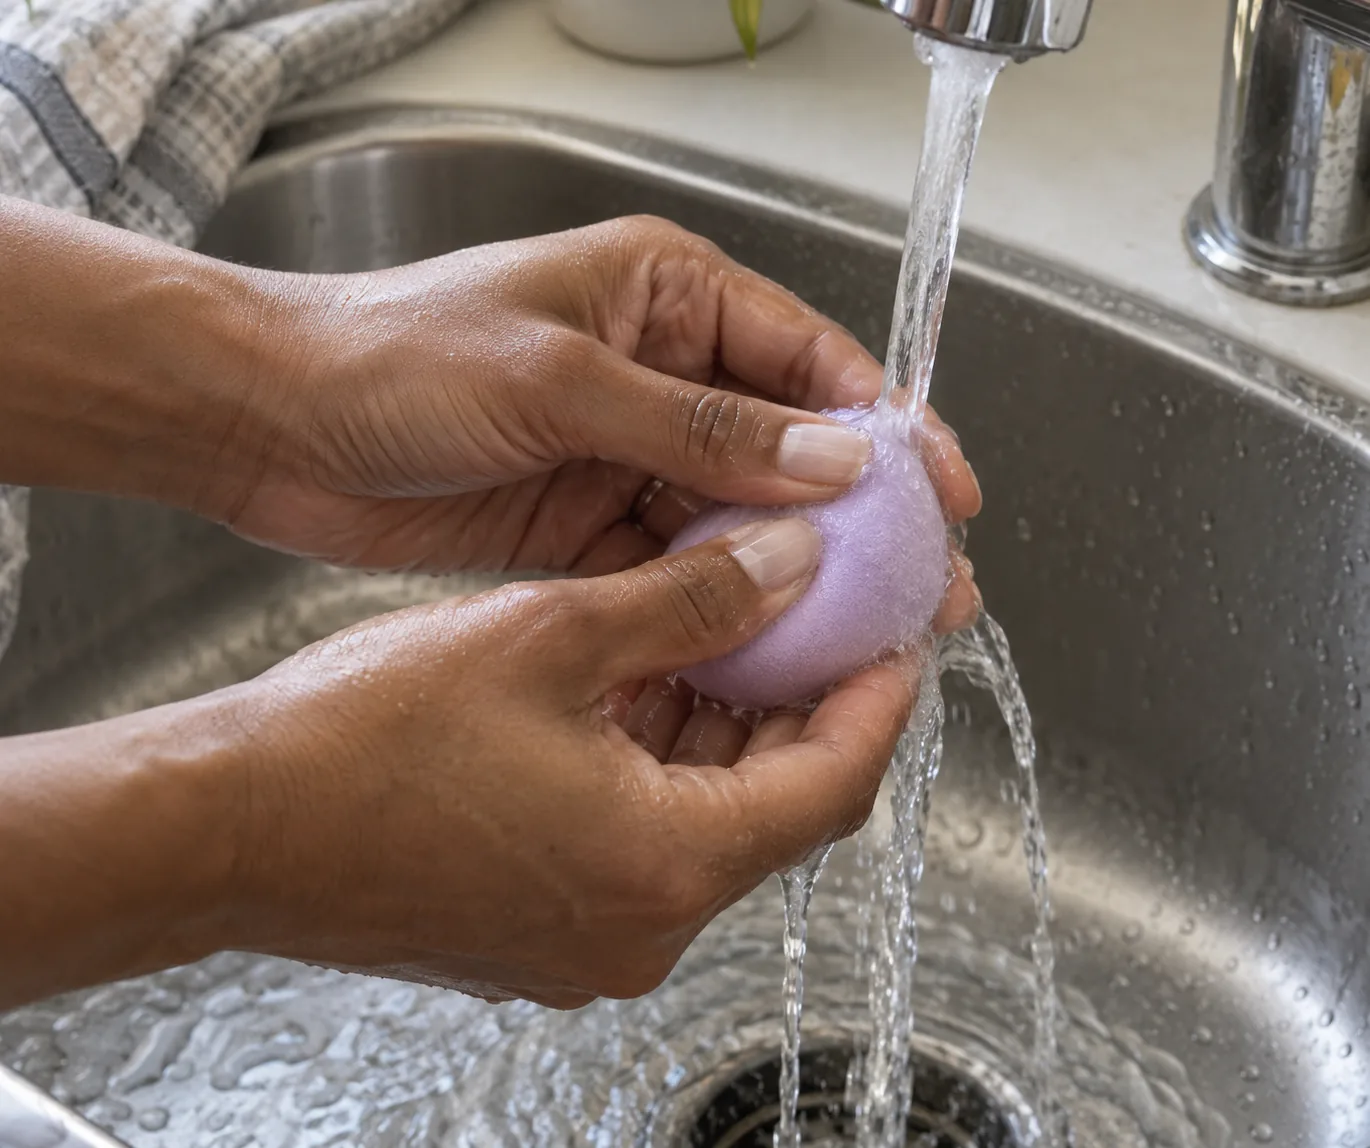
Use gentle presses to remove excess water, then press the sponge inside a clean towel if its care directions permit. Avoid forceful twisting or digging fingernails into the foam. You want an evenly pliable tool, not a dripping reservoir. Before makeup touches it, compress it once more over the sink. If drops emerge readily, keep removing excess water. A sponge can feel cool against the fingers without being excessively wet; visible release of water is a more practical check.
Do not set a universal squeeze count. A large sponge, a smaller detail sponge and a thicker foam core can retain different amounts. Repeat the same preparation with the same tool so the method becomes recognizable. Notice whether the surface leaves obvious wet patches on the towel. Once you have a usable state, apply makeup promptly instead of soaking it again whenever the finish looks imperfect. Repeated rewetting makes it harder to know whether pressure, product quantity or moisture caused the difference.
Start liquid foundation with a small, stable amount
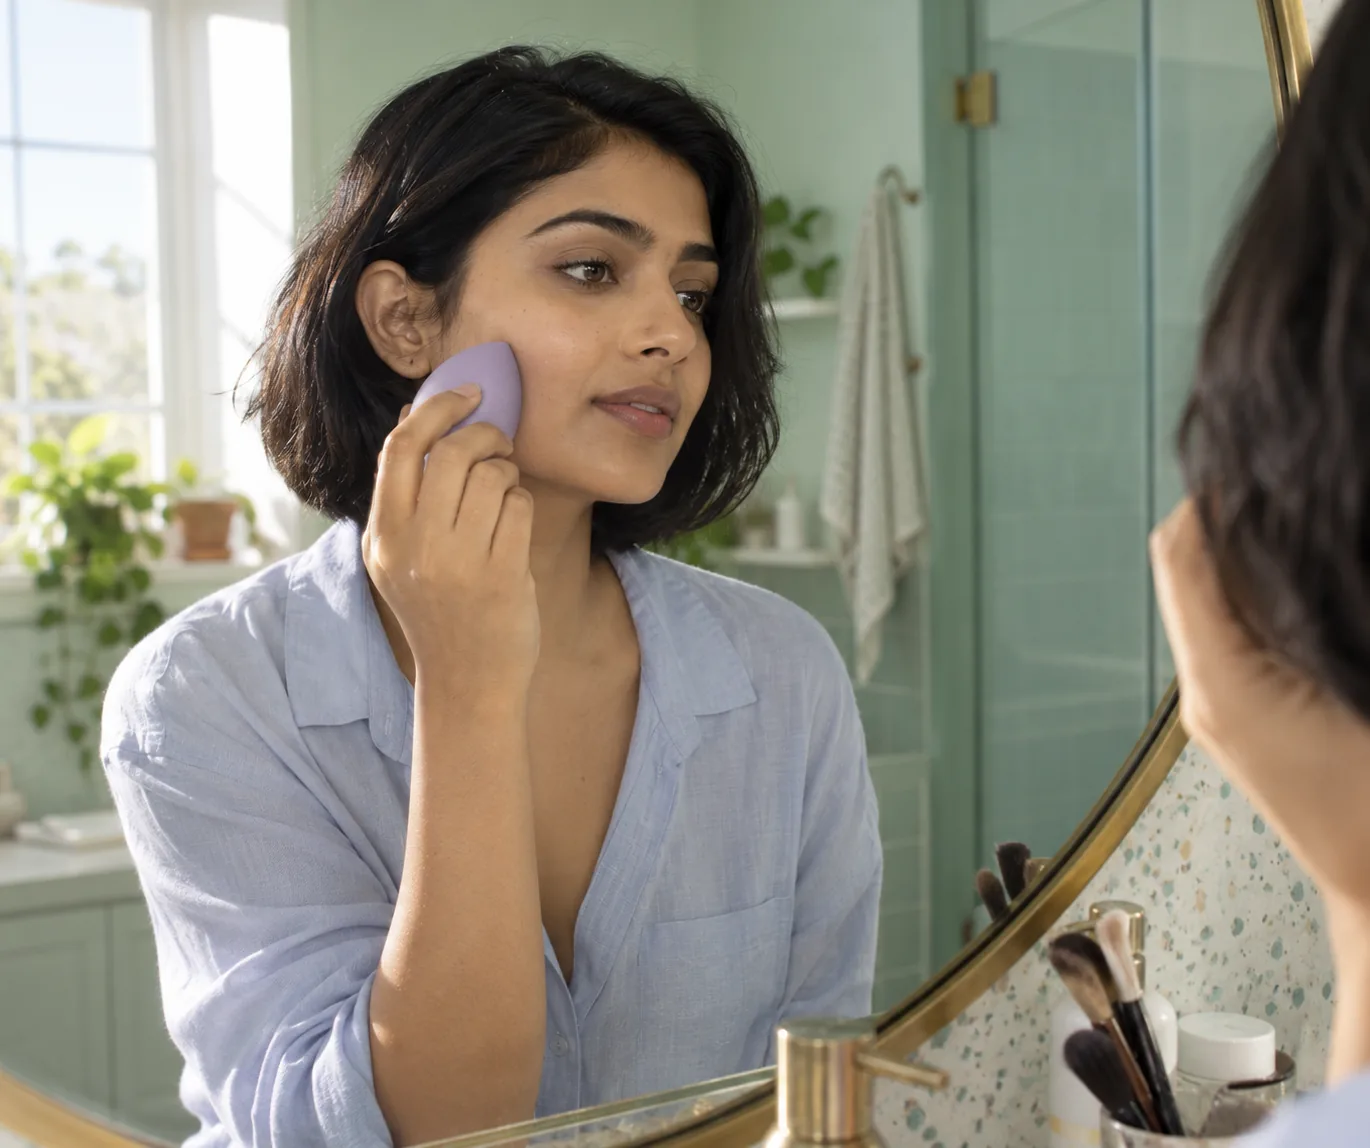
Use your normal skin preparation and allow each product to settle as its directions require. Begin on a small cheek area with a modest amount of foundation. Put dots on skin or transfer a little from a clean palette, depending on the product instructions. Lightly press and lift the sponge; do not scrub back and forth. Its broad rounded surface can cover an open area, while a smaller edge can reach around the nose without pressing into the eye.
Observe what the first layer actually does. Does it spread to a smooth edge, leave a dense patch, or lift what was already underneath? Do not immediately compensate with a full extra pump. Give yourself a chance to separate application from coverage. A visible mark may need a little more product locally, while a heavy-looking film may need less pressure or fewer passes. Keep sponge moisture unchanged during this first attempt so the observation points to something specific you can adjust next time.
Coverage depends on more than moisture
The familiar claim that damp means sheer and dry means full coverage is too broad to use as a promise. Foam density, formula, the amount dispensed, where you place it and repeated pressing all contribute. A dry porous sponge may take up liquid rather than deposit the amount you expected. A very wet sponge may disturb a layer. Neither observation proves that the foundation is unsuitable or that your skin belongs in a fixed wet-or-dry category.
After the first layer, decide whether you need more coverage in a particular area. Add a small second layer there while keeping the tool state and movement consistent. Leave the rest of the face alone if it already looks balanced. If foundation looks thick immediately, investigate that as an application problem rather than repeatedly changing the sponge. The separate cakey-foundation guide helps distinguish excess layers from visible skin texture. A sponge can distribute makeup; it cannot remove natural pores or guarantee an airbrushed surface in real light.
Treat powder as its own application decision
For loose or pressed powder, check both the formula and the applicator's instructions. A dry puff, dry sponge or brush may be the intended tool. Start with a small amount and press only where you want powder. Avoid carrying a wet sponge straight from foundation into a shared powder pan. Keeping liquid and powder application separate makes it easier to control the amount and observe what each step contributes.
Some products explicitly allow damp application. Follow those directions instead of turning that option into a rule for all powder. If the pan develops an unusual hard surface, do not keep scraping it and assuming more water will solve it. Reconsider how the product is being picked up and whether the tool is appropriate. For a small finishing area, a clean dry applicator can be simpler than trying to make one damp sponge do every job. Choose the method that fits the particular product, not the most elaborate routine.
Compare one change on a small area
Only compare damp and dry use when both are permitted for your sponge and makeup. Keep foundation, skin preparation, amount, light and movement the same. You can try similar cheek areas, but remember that the two sides of a face may differ in texture or redness. For a more useful follow-up, repeat the alternative on the same area during another ordinary makeup session. Do not present one phone photograph as proof of a universal effect.
Write down concrete observations: how easily the edge blended, whether product was lifted, how comfortable the pressing felt and whether the coverage you wanted needed a second layer. Look from conversation distance as well as close up. Check later during normal wear, without promising a particular duration. If one method works with fewer corrective passes, that is a practical reason to keep it. If both look similar, choose the simpler preparation and cleanup. You do not need to manufacture a dramatic difference to make the comparison worthwhile.
Clean after use, then let the sponge dry
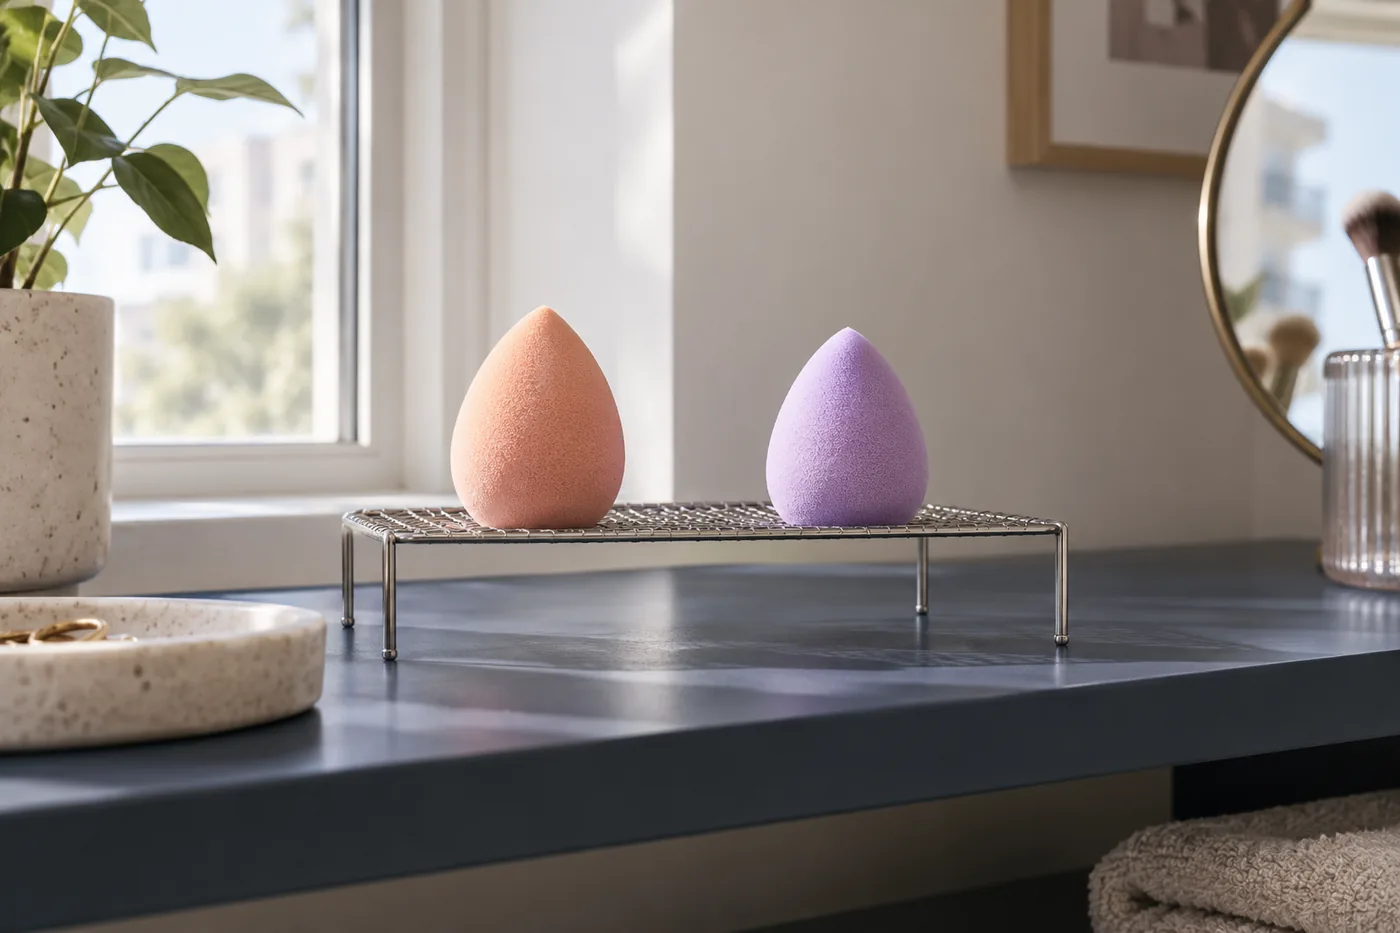
The American Academy of Dermatology recommends cleaning makeup sponges after each use, rinsing thoroughly and letting them air dry. Use the tool's compatible cleanser and care method. Washing should remove makeup residue rather than merely wet the outside. After rinsing, gently remove excess water and place the sponge on a clean drying surface with room around it. Avoid a closed cosmetics bag while it is still damp.
Do not confuse a sponge you deliberately dampened just before application with one left wet in storage since yesterday. The first is a prepared clean tool; the second needs its own care assessment. Follow the manufacturer's replacement guidance, and stop using foam that is breaking down or remains questionable after cleaning. Do not invent a disinfecting method involving boiling water, a microwave or concentrated household cleaner. Brush care has different material considerations; the separate brush-cleaning guide covers bristles and handles without treating their instructions as sponge instructions.
Read AAD advice on cleaning makeup spongesCare for makeup brushes as a separate tool type
Build a routine you can repeat tomorrow
Set up a simple sequence: inspect the clean tool, prepare it as directed, remove excess water if needed, dispense a small amount of makeup, press lightly, then wash and dry the sponge after use. Keep a clean towel available before you start. For travel, allow drying time before packing and use a different suitable clean applicator when the sponge cannot be stored dry. A sealed bag is convenient for transport but does not turn damp storage into a drying method.
Record the sponge, formula, tool state and application area in a short note. Add the one adjustment that made a difference, such as reducing the first amount or using a smaller surface near the nose. Avoid rewriting the whole routine after one uneven patch. If pressing feels painful or the skin becomes irritated, stop the application instead of applying more pressure to chase smoothness. Your final choice should produce a comfortable, repeatable layer with the products you own, while leaving room to follow different instructions when you change tools or formulas.