
Cheek makeup troubleshooting
Make blush last longer: find where color goes
A practical wear test separates real color loss from lighting changes, transfer and a base that moves beneath blush.
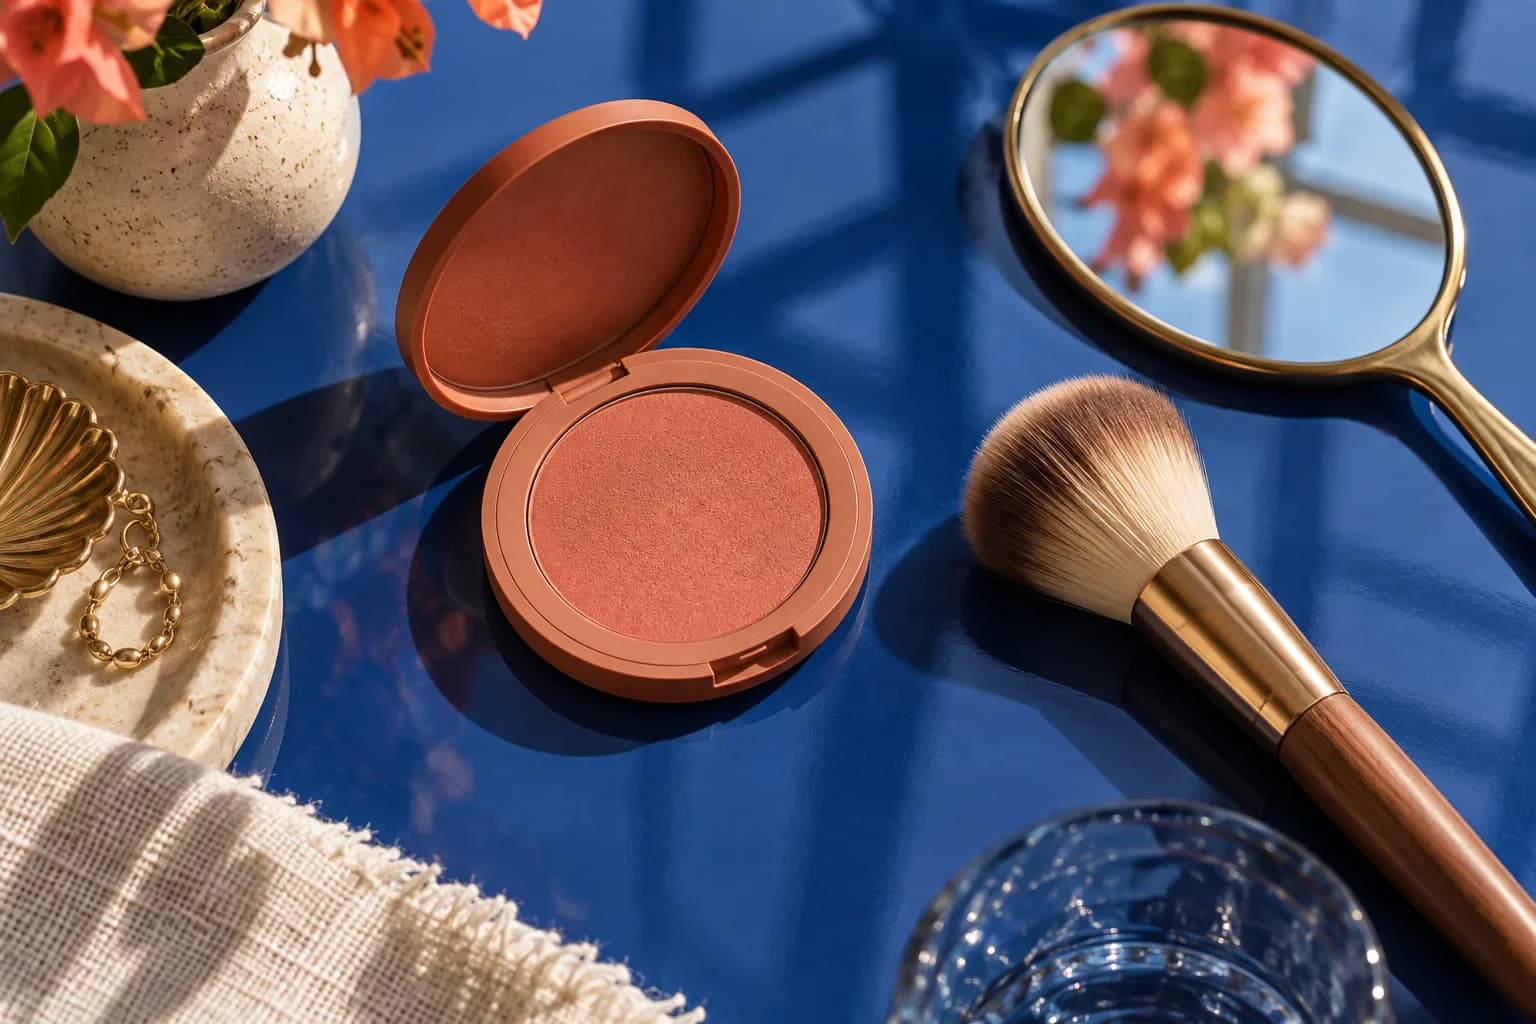
To make blush last longer, start by finding out whether the color actually leaves your cheek. A soft wash may look vivid in a warm bathroom and almost invisible under cool office lights. A phone camera can also flatten a subtle shade. At other times the pigment really does transfer onto a hand, mask or scarf, or the foundation beneath it shifts. Those situations need different fixes. Adding more blush at dawn is a poor test because it changes the starting color without telling you what happens later.
Choose one ordinary day and check the same cheek in comparable light soon after application and again at midday. Note whether the color disappears evenly, breaks into patches, moves with the base, or survives until you touch it. This guide keeps the experiment small: prepare skin comfortably, apply a measured amount, compare formulas only when needed, and carry a clean touch-up option. No blush has a guaranteed number of wear hours on every face. The useful result is a routine that looks like you want it to for your real day.
Check whether the blush faded or the light changed
Take a quick photo after finishing makeup in diffuse daylight or a steady neutral lamp. Stand in the same place, turn your face the same way and avoid beauty filters. Repeat at a planned checkpoint rather than switching from bathroom mirror to backlit elevator. Look with your eyes too: automatic exposure and white balance can alter pink, peach and red independently of the product. If the color is visible in the same light but disappears only in one room, changing the room or your reference matters more than adding pigment.
Look separately at each cheek. One side may face a window, rest on a hand during work or meet a phone more often. A single side fading points toward contact or an uneven base more strongly than a symmetrical gradual fade. Compare the cheek center and outer edge as well. If only a narrow edge disappears, repeated blending may have spread that pigment too thin at the start. If the entire cheek and surrounding foundation look different, investigate the base before blaming the blush pan.
Map the first moment and location of color loss
Record a starting image, one check after two or three hours and another before you would normally refresh makeup. Add a note about heat, exercise, rain, a mask, a scarf or cheek touching. You do not need to photograph every hour. The aim is to find the first meaningful change. Color that vanishes immediately after finishing powder may have been softened by the powder step, while color that remains until a commute may be transferring through friction. A single late photograph cannot tell these stories apart.
Press a clean tissue lightly against an inconspicuous outer cheek once during a test day. If pigment transfers, the blush is moving; do not rub to prove it. If the tissue stays clear but the cheek looks pale only under a different lamp, lighting or the original intensity may explain the impression. If both blush and foundation lift together, their combination deserves attention. Keep this as an observation rather than a universal diagnosis, because tissue pressure and product finish differ from normal wear.

Give the cheek a comfortable, stable base
Start with clean skin and the moisturizer that keeps your cheeks comfortable. Very dry patches can catch pigment unevenly, while a heavy movable layer can make the color slip. The American Academy of Dermatology places moisturizer and sunscreen before makeup in its general skin-care order. Follow the directions of the products you use and allow a layer to settle before working over it. There is no single waiting time that works for every formula, climate and amount. A light touch can tell you whether the surface still has a movable excess.
Keep sun protection in place. Do not reduce the amount of sunscreen simply to improve cosmetic wear. If blush disrupts the base, try a gentler pressing motion, a smaller amount of optional primer or a shorter set of decorative layers. If you use foundation, check whether it has settled evenly on the cheek before applying blush. A brush swept repeatedly over a still-mobile base can lift both foundation and color. If the base pills or rolls, solve that separate layer problem first rather than sealing it beneath more cheek product.
Read the AAD guidance on skin-care and makeup orderTroubleshoot a base that rolls up during makeup
Make blush last longer with a measured application
Pick the area you want to color while your face is relaxed. Load a brush lightly or place a small amount of cream on fingertips, then build in two thin passes if needed. Blend the edge, not the whole colored area until nothing remains. A controlled center with a soft boundary usually gives you more visible color than spreading the same amount across the entire cheek. Keep the blush out of places where glasses, a mask or a scarf regularly rub if that placement still suits your look.
Use a clean tool and a movement that respects the layer beneath. For cream over foundation, small pressing or tapping motions can disturb less base than a long dragging stroke. For powder, a light brush can lay color over an already settled surface without polishing it off. Neither technique promises longer wear by itself; the goal is to start with an intact film. Look at normal conversation distance before adding a third pass. A close mirror can make a balanced cheek look too faint and encourage an unnecessarily heavy start.
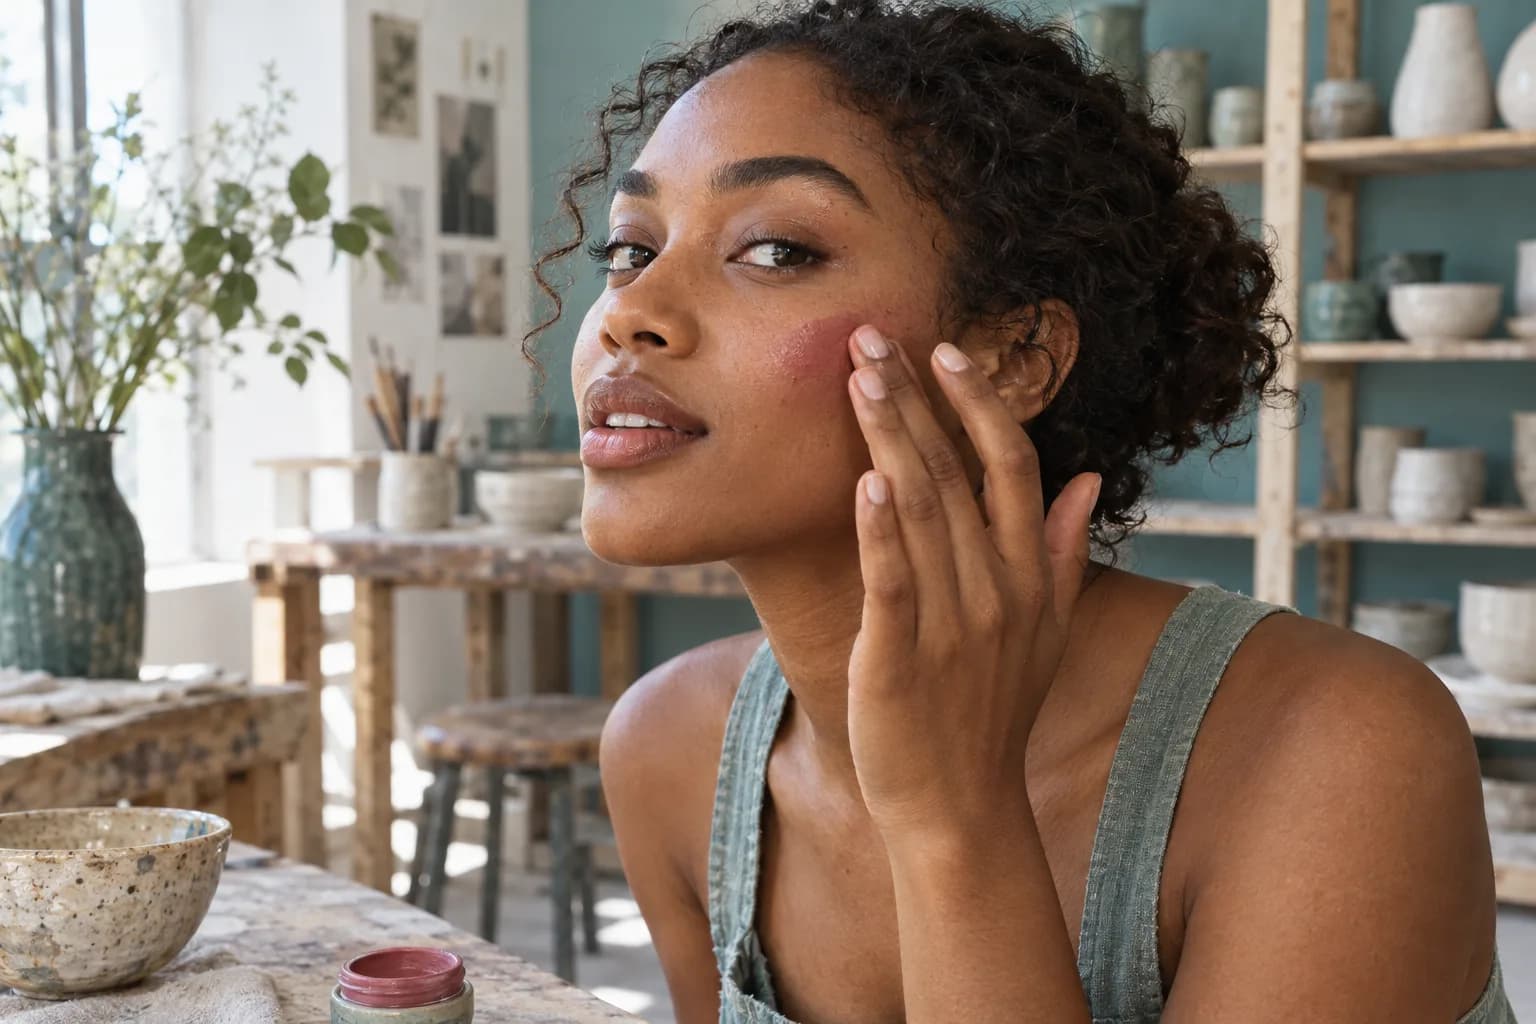
Compare cream and powder without assuming a winner
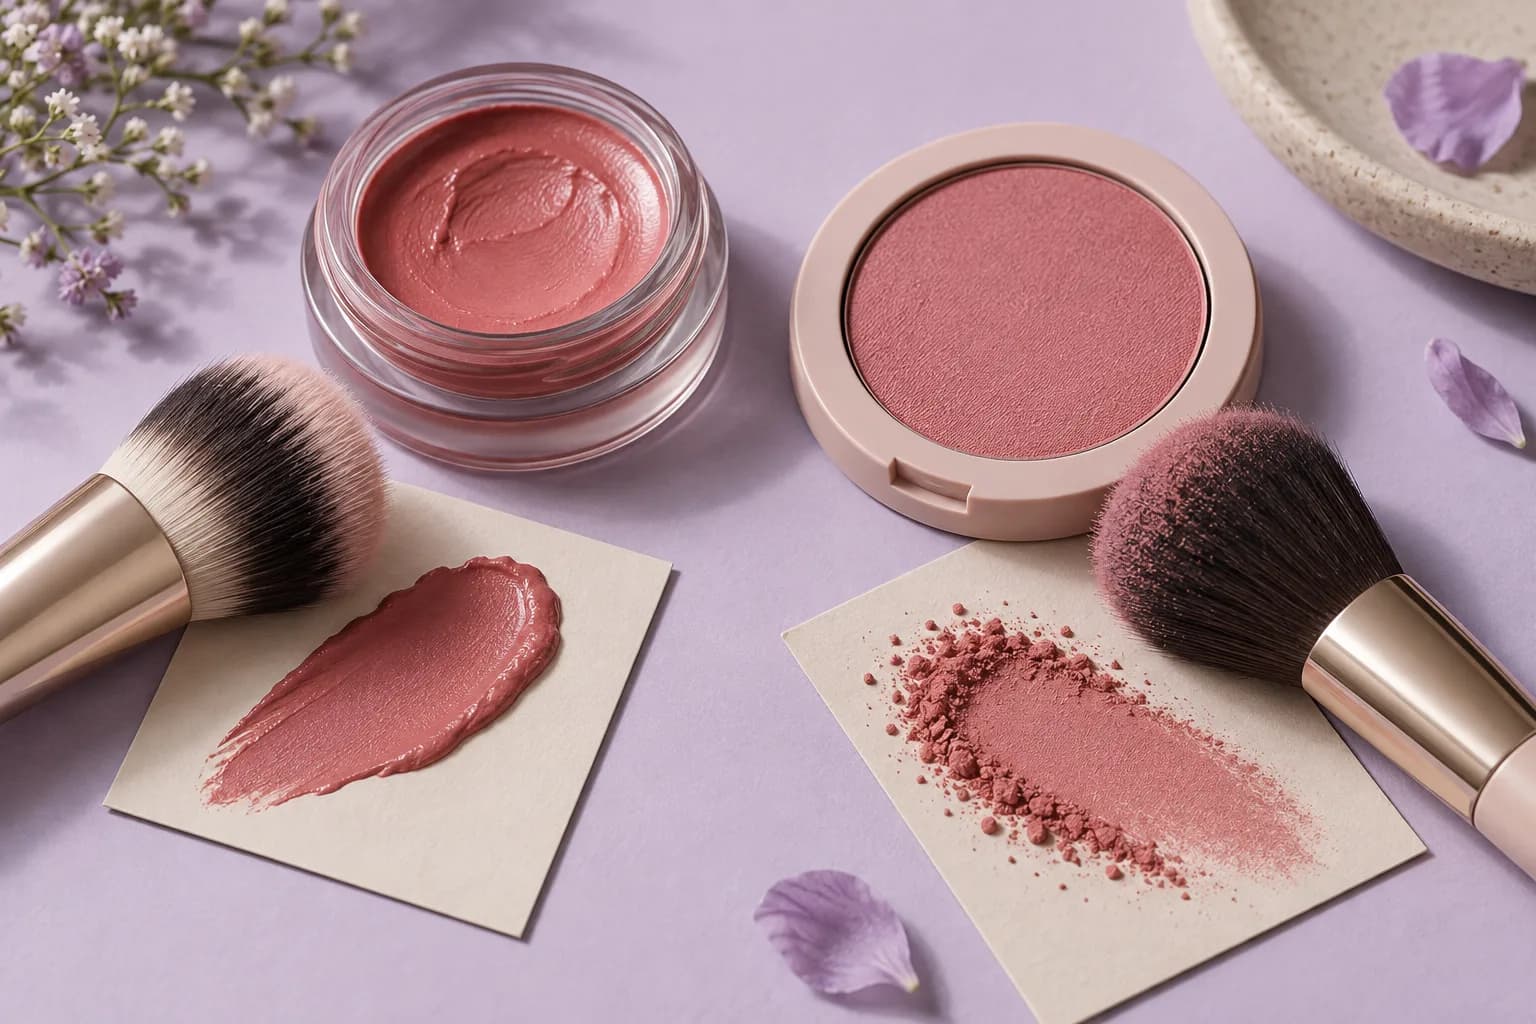
Cream, liquid and powder blushes can all wear differently because the finished formula, amount, base and environment differ. Cream may merge attractively with a hydrated base but can also move when the cheek becomes oily or is touched. Powder can stay clear on a settled surface yet catch on dry texture or disappear when over-blended. The product label is a clue, not a guarantee. Do not buy a new category simply because a short video says it always lasts longer. First compare what you already own under similar conditions.
On one test day, apply your usual cream blush to both cheeks and note the midpoint result. On a comparable day, use a powder at a similar starting intensity with the same skin preparation and checkpoint. If you own both, a third test can place a thin powder layer over a settled cream layer. Test that pairing on a small area first; some combinations grab, darken or become visibly thick. Layering is an option, not a rule, and a single formula that looks clean for your needed hours may be the better routine.
Check what your finishing steps remove
A translucent powder can mute a delicate blush if it is brushed broadly across the cheek after color is finished. Photograph the cheek before and after your normal finishing step. If the pigment looks weaker immediately, the issue is application order or the amount of finishing product, not an hours-later failure. You might powder only where shine develops and leave the colored area alone, or test a tiny layer of blush after setting the base. Choose the version that stays even at normal distance.
Setting spray is likewise a product to evaluate rather than an automatic solution. Use it according to its directions, keep the first test controlled and see whether it changes the texture or color at the start and later. A wet spray followed by rubbing can disturb a powder surface. If you need sunscreen reapplication during the day, follow the sunscreen's directions and treat the resulting makeup change as a separate real-world condition. The AAD advises proper sunscreen use and reapplication; cosmetic neatness should not replace protection.
Distinguish transfer, oil and a shade that was too quiet
If your cheek touches a phone, sleeve, mask or hand, check those surfaces and the exact contact zone. A narrow wiped strip is a transfer problem even when the rest of the blush is present. If both cheeks become shiny and color looks diffuse, remove surface oil gently with a clean blotting sheet before judging what pigment remains. Press; do not scrub. A cheek can appear less colorful because a changing skin finish reflects more light, even while some pigment remains in place.
Sometimes the chosen color was too close to the foundation and lip color to stay perceptible as the day changes. Compare a modestly deeper or clearer shade at equal application area, rather than starting with twice as much of a barely visible shade. Check in daylight and with the rest of the look. A stronger blush should still suit your preferred effect. If you are also adjusting lipstick, keep that change on a separate test day so you can tell which color relationship made the cheek easier to read.
Refresh the cheek without burying the remaining makeup
For a touch-up, wash or sanitize hands as appropriate and use a clean personal tool. Blot surface shine first, then look again before adding color. If the cheek still has an even wash, a small amount at the center may be enough. If foundation has lifted, adding powder blush over a broken base can exaggerate the patch. Gently tidy that small area and restore only the minimum layers needed. Avoid sharing applicators or putting an unclean brush back into a cream pot.
Carry one compact, brush or sponge and a small mirror if your day calls for refreshment. The best touch-up product may be the one you can apply neatly in the available setting, even if another formula had slightly longer wear in a quiet indoor test. Check the product's own hygiene and storage directions. Stop using makeup that changes smell, texture or causes irritation. The aim is a controlled refresh, not a hidden stack of increasingly thick layers that looks good only in a tiny mirror.
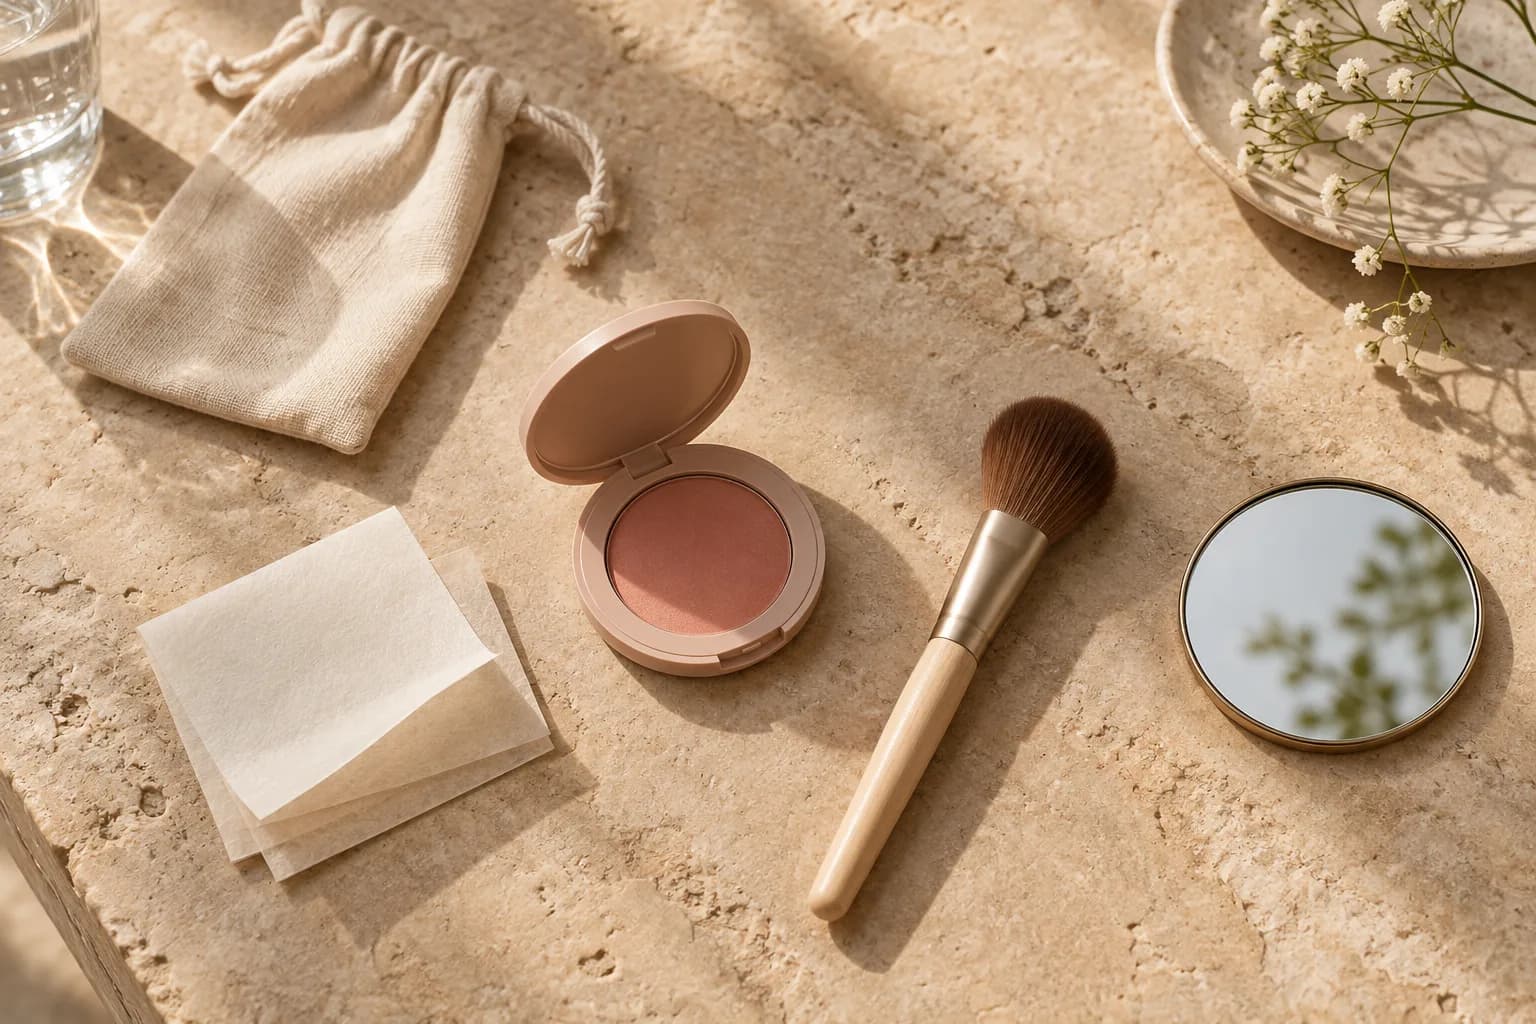
Run a three-day wear test and keep the result
Day one records your normal routine: products, order, approximate amount, tool, starting light, checkpoints and what touched each cheek. Day two changes one variable suggested by the evidence. If the finishing powder erased color, change that step; if the color transferred under a mask, try a placement outside the contact zone; if the base moved, simplify an optional layer. Keep the sunscreen and necessary skin care correctly used. An improvement means the changed variable matters in that setting, but repeat it before calling it a dependable fix.
On day three, repeat the promising version or compare one alternative formula at a similar starting intensity. Judge both the finish and comfort through the hours that matter to you, not an arbitrary all-day claim. Note whether one cheek behaves differently, whether color survives your commute and whether a small touch-up is acceptable. Keep the shortest routine that produces the appearance you want without irritating skin or compromising protection. MaqAI can help plan a cheek color direction visually, but a preview cannot measure formula wear, transfer, oxidation or skin response on your face.
Record the start, the first visible change and the likely contact or layer involved. Change one variable on the next comparable day.