
Lower lashes
Lower lash mascara: a light fringe or bare lashes?
Compare a light lower fringe with bare lashes on one portrait, then test real mascara, comfort and lighting.
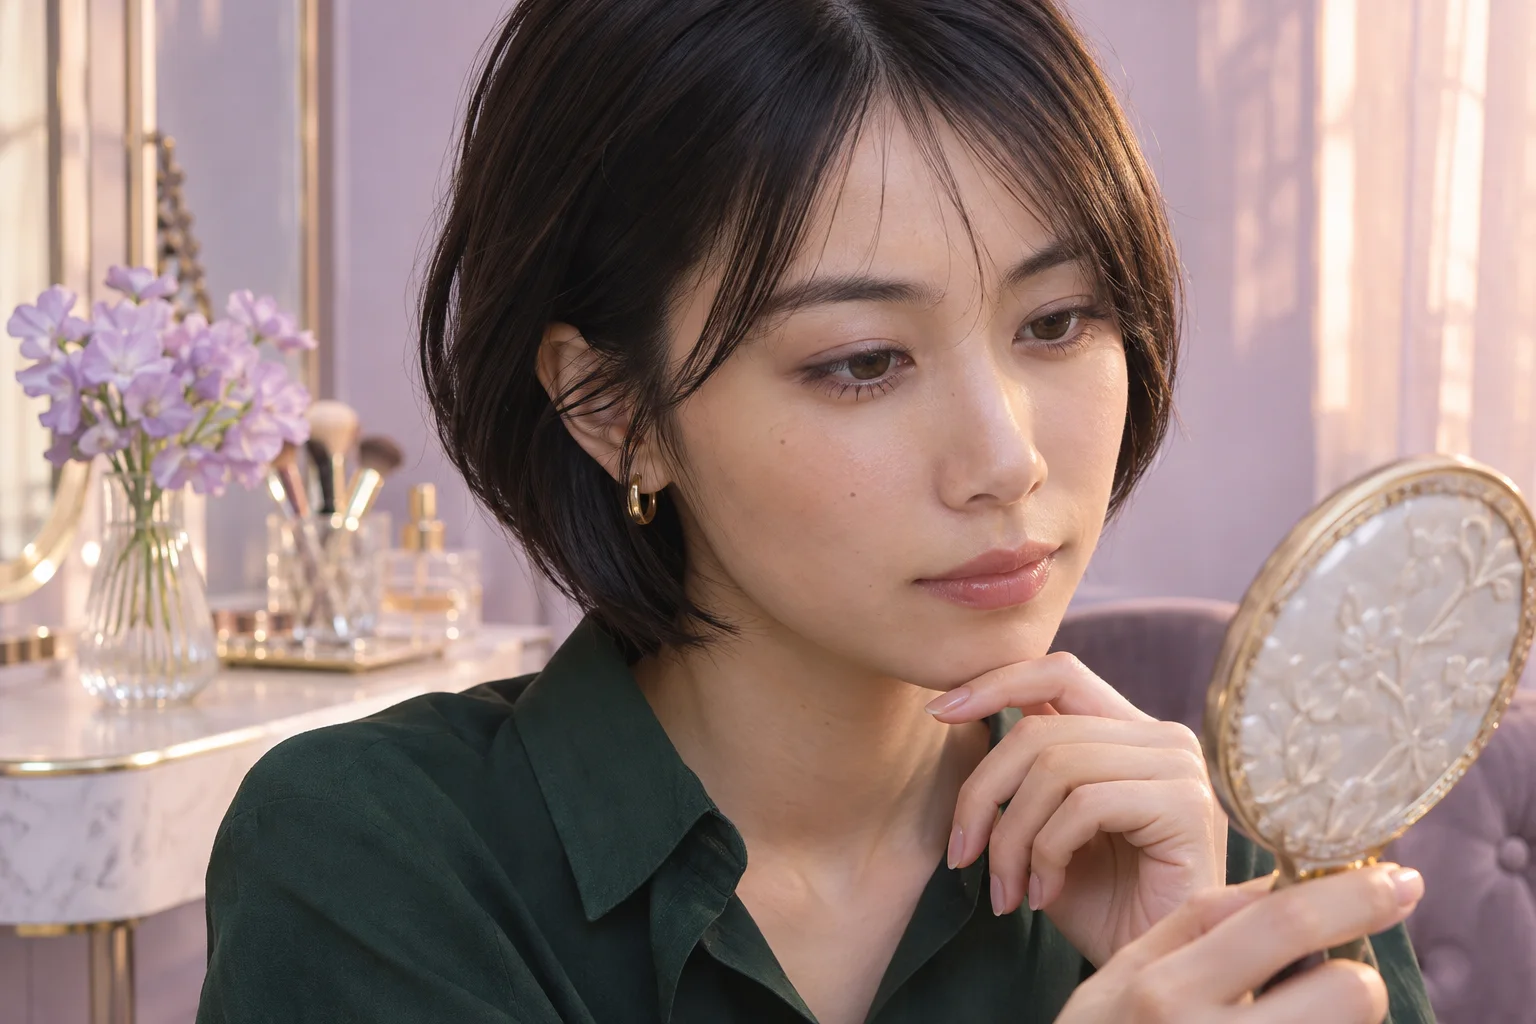
Lower lash mascara can make the bottom of an eye look more clearly outlined, yet a bare lower fringe may feel better with exactly the same upper-lid makeup. Start by deciding whether you want that extra line of small dark marks. You do not need to coat every lash, buy a special brush or follow a rule based on age or eye shape. A small, controlled comparison is more useful than a dramatic makeover that changes the entire face.
MaqAI publishes this guide as a makeup-planning exercise. Hair Muse is the app for exploring a visual direction; the physical mascara trial comes afterward. Keep one portrait, one upper-eye look and one mascara color, then compare an understated lower fringe against no added lower-lash color. The result is a shortlist to try, not evidence that a formula will behave in a particular way.
Lower lash mascara changes one part of the frame
Look at your face from conversational distance before deciding what is missing. Are the upper lashes already the strongest feature? Do you want a slightly more enclosed eye outline, or do you like the open-looking space beneath the eye? Describe the difference in visible terms. “A few separated dark hairs below the iris” is a more useful brief than “bigger eyes,” because it names a change that can actually be inspected.
Lower lashes vary in direction, length and visibility, including between your two eyes. Keeping them bare does not mean leaving the makeup unfinished. Equally, defining them is not automatically too heavy. The relevant question is whether the extra emphasis supports the look you want while remaining manageable with your real brush. Avoid adding lower shadow or liner during this first decision: either would introduce another source of darkness and make the mascara comparison less clear.
Check the real brush before planning the result
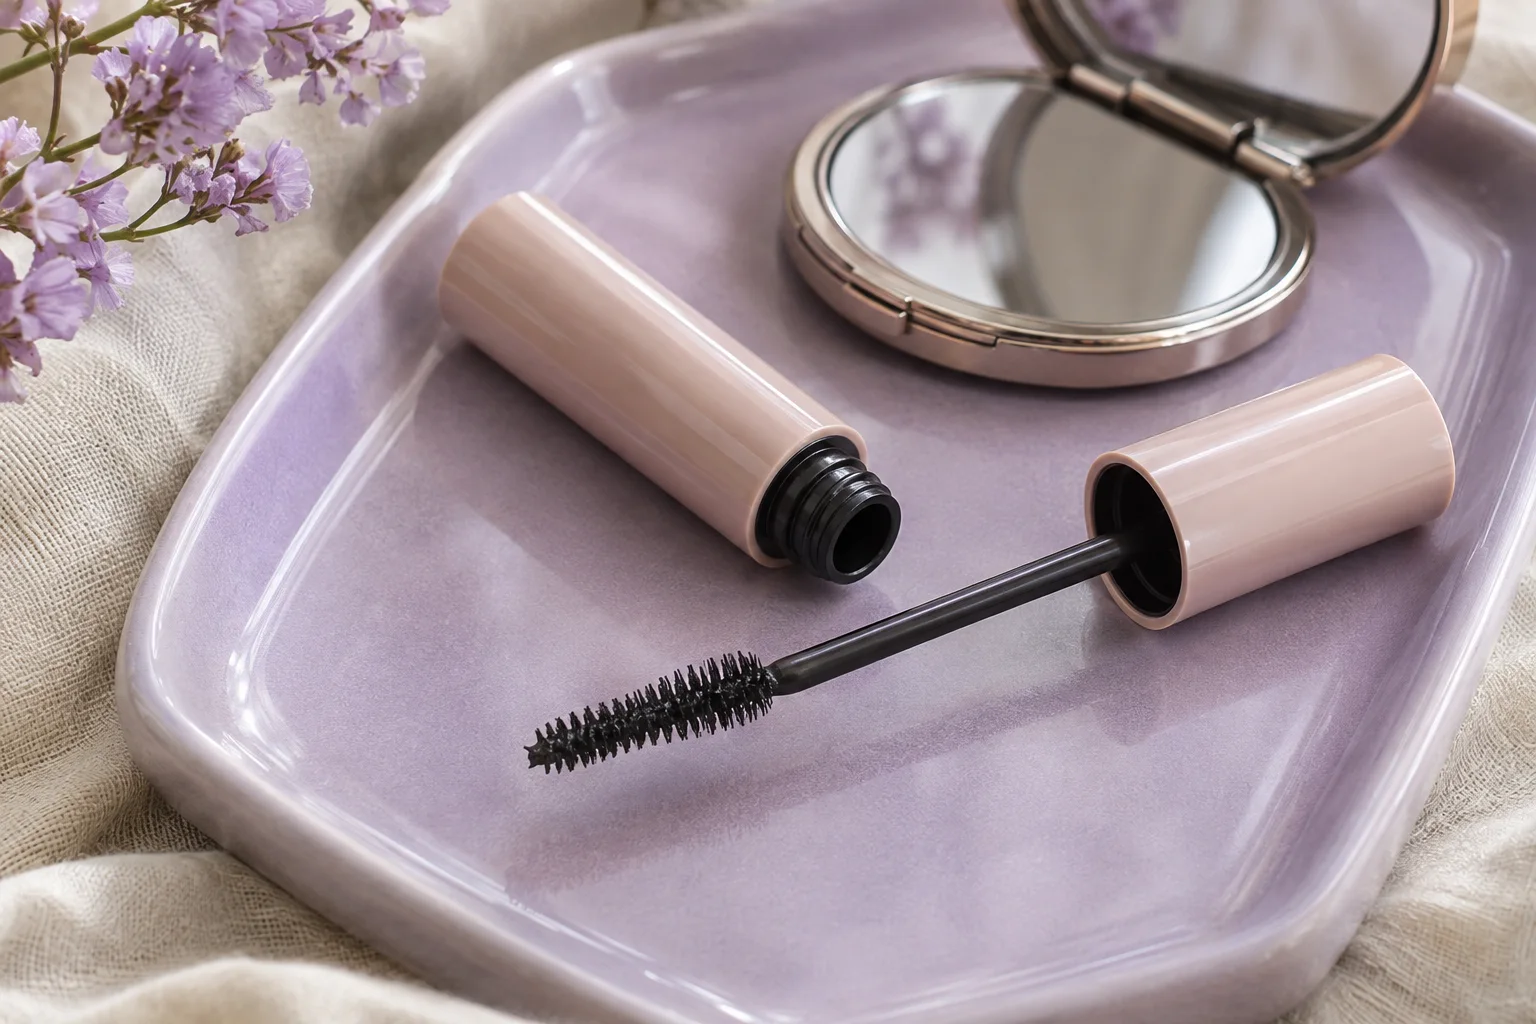
Open your own mascara only when you are ready for a trial. Inspect the brush size, its shape and the amount of formula it carries. A brush that feels comfortable on upper lashes may be awkward on short lower hairs. That does not require a new purchase; it may simply make bare lower lashes the more practical choice for this particular routine. Never trim the brush or substitute a sharp household tool.
Follow the actual product directions and keep the applicator personal. The FDA eye-cosmetic guidance recommends clean handling and stopping products that irritate. A preview cannot assess comfort or hygiene. Do not add water to an old tube to make the formula easier to spread. If the product or applicator is unsuitable, postpone the experiment rather than forcing the imagined effect with something you cannot control.
Take a portrait that shows the lower fringe
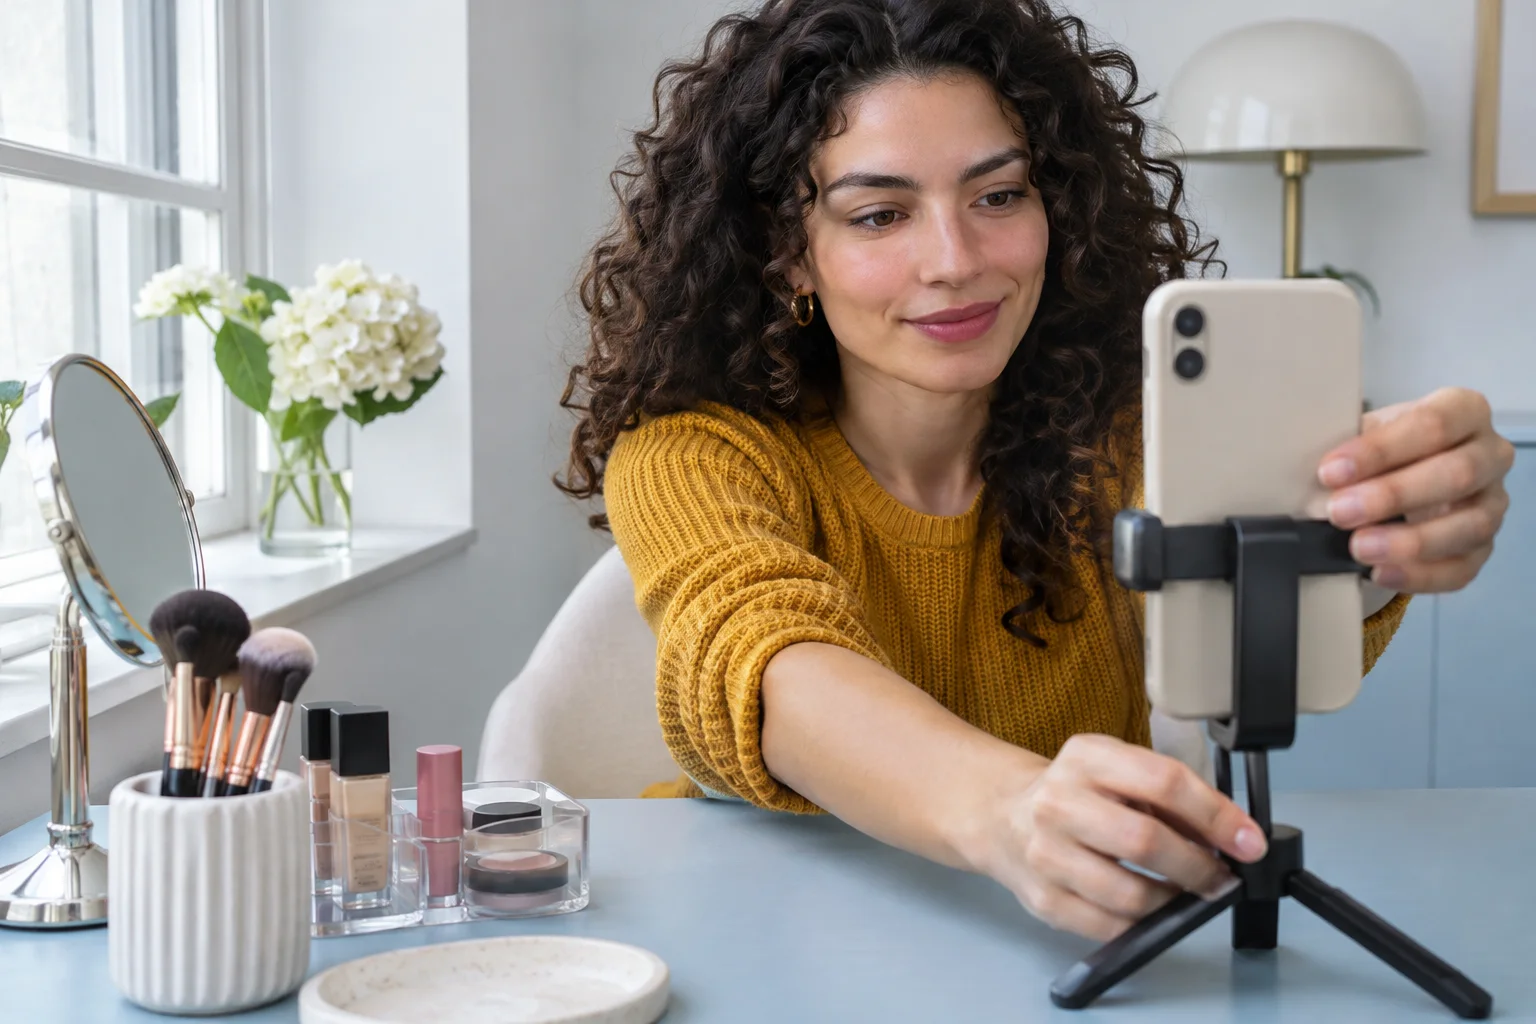
Use a clear, front-facing photograph in soft, even light. Hold your normal expression, keep the camera around face height and leave enough space beneath both eyes to see the lower lashes. Remove a distracting beauty filter and avoid a downward camera angle that hides the fringe. A sharply tilted head can make one side look denser even before any makeup change has been made.
If you already have a suitable photograph, reuse it for both options. Otherwise, our portrait preparation guide explains how to make a useful source image. You do not need studio equipment. A steady phone, an uncluttered background and an expression you recognize are enough for this decision. Save the unedited source separately so you can return to it when a proposed result appears to have changed the eye, skin or face itself.
Compare bare lashes with a restrained coating
In Hair Muse, explore the lower-lash emphasis while asking to retain the upper makeup, iris, eye shape, lighting and complexion. Use a concise description: natural upper-eye makeup, no lower eyeliner, and a light separated lower fringe. Compare that idea with the same portrait without additional lower-lash emphasis. Reject a result that changes lash length dramatically, creates new hair clusters or reshapes the eye instead of changing the intended makeup.
Judge the face at ordinary viewing size before zooming in. A small close-up can make a delicate detail feel much more prominent than it does in a complete look. Zoom afterward to inspect whether the proposed effect is still recognizably individual hairs rather than a continuous dark border. If you cannot isolate the change well enough, stop the digital comparison and use a short real-product trial. Do not invent precision that the preview has not provided.
Choose a small shortlist with useful notes
Keep no more than two ideas: the bare lower fringe and the light coating. Record what you prefer about each, such as clearer definition beneath the iris or less visual weight at the outer corner. These notes should describe appearance, not a promised lifting, widening or anti-ageing effect. A preference may also depend on the rest of the makeup, so name the upper shadow and liner you held constant.
Separate “I like this picture” from “I can reproduce this routine.” Ask whether you have enough time, a brush you can control and a removal method compatible with the actual mascara. If you want to translate the chosen picture into a practical plan, our guide to a wearable routine helps organize those decisions. The saved idea is only a visual reference; it does not choose an exact product shade, texture or application technique for you.
Try a modest amount on actual lower lashes
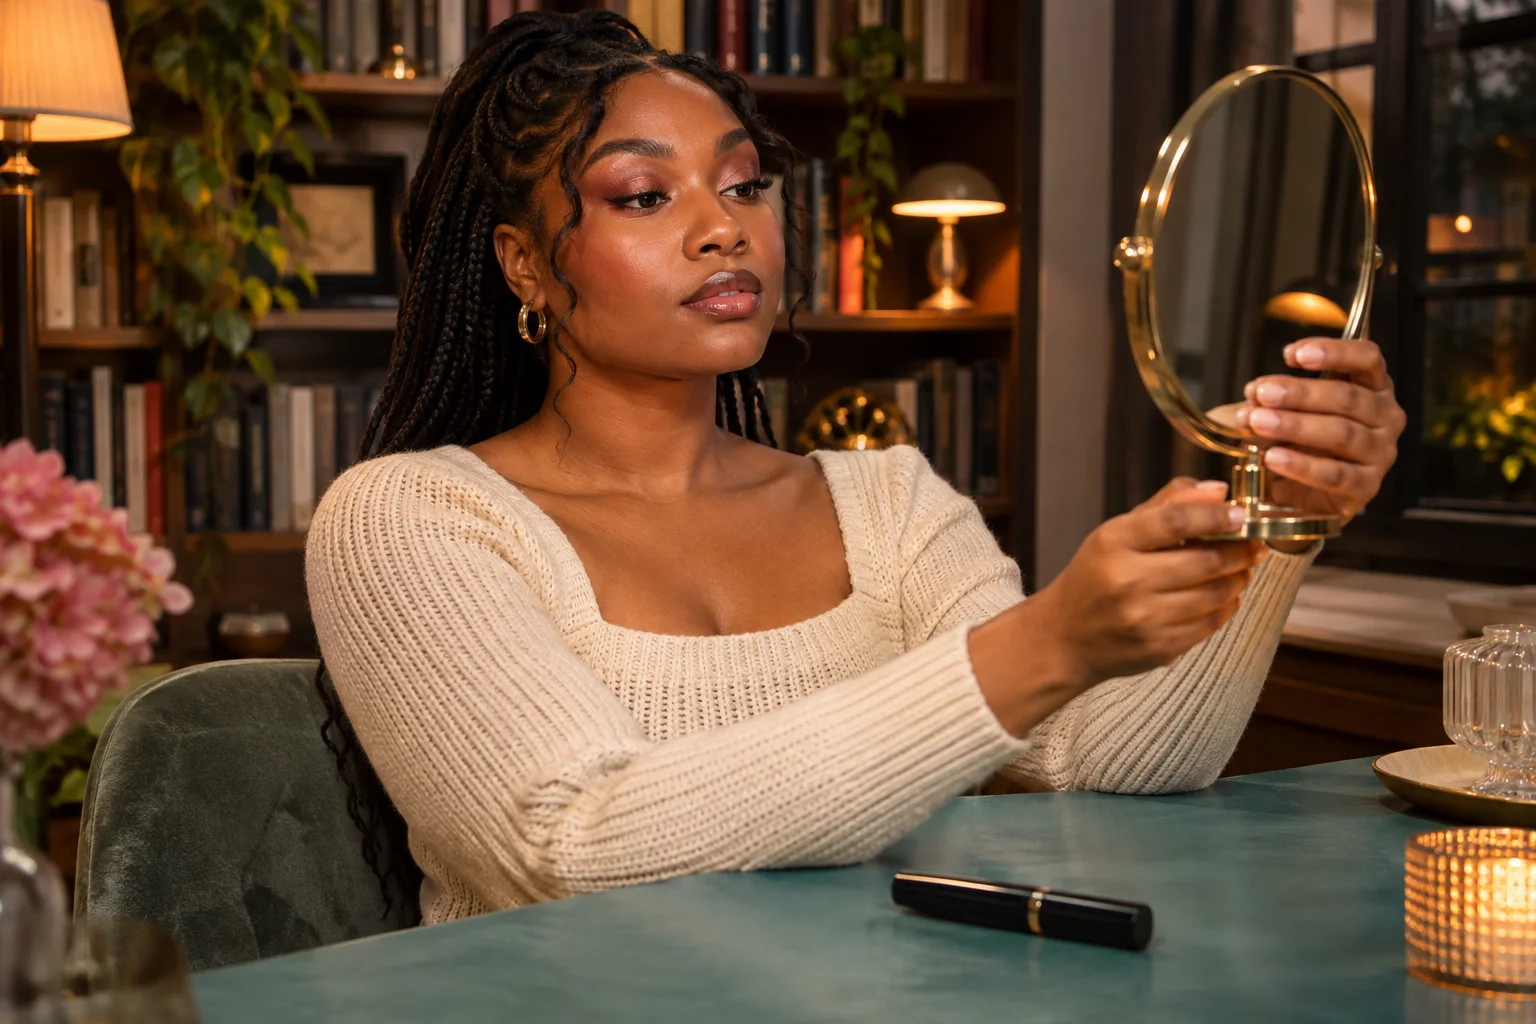
Sit still with a stable mirror and adequate light. Make sure you can see the lash hairs without stretching the eyelid or working against an uncomfortable angle. Use the product as directed, bringing the brush toward the external lashes with a small controlled movement. Keep it away from the wet rim and the eye itself. You can stop after a few reachable hairs rather than pursuing every tiny lash near the corners.
Inspect the first contact before repeating it. If several hairs have joined together, adding more mascara is unlikely to clarify whether you prefer a delicate fringe. Stop and reassess the load or remove the attempt according to the product directions. Do not bring pins, tweezers or improvised separators near the eye to repair the result. A comfortable light trial gives better information than struggling to recreate a digitally neat lash pattern that your own lashes do not naturally form.
Review both eyes without demanding identical hairs
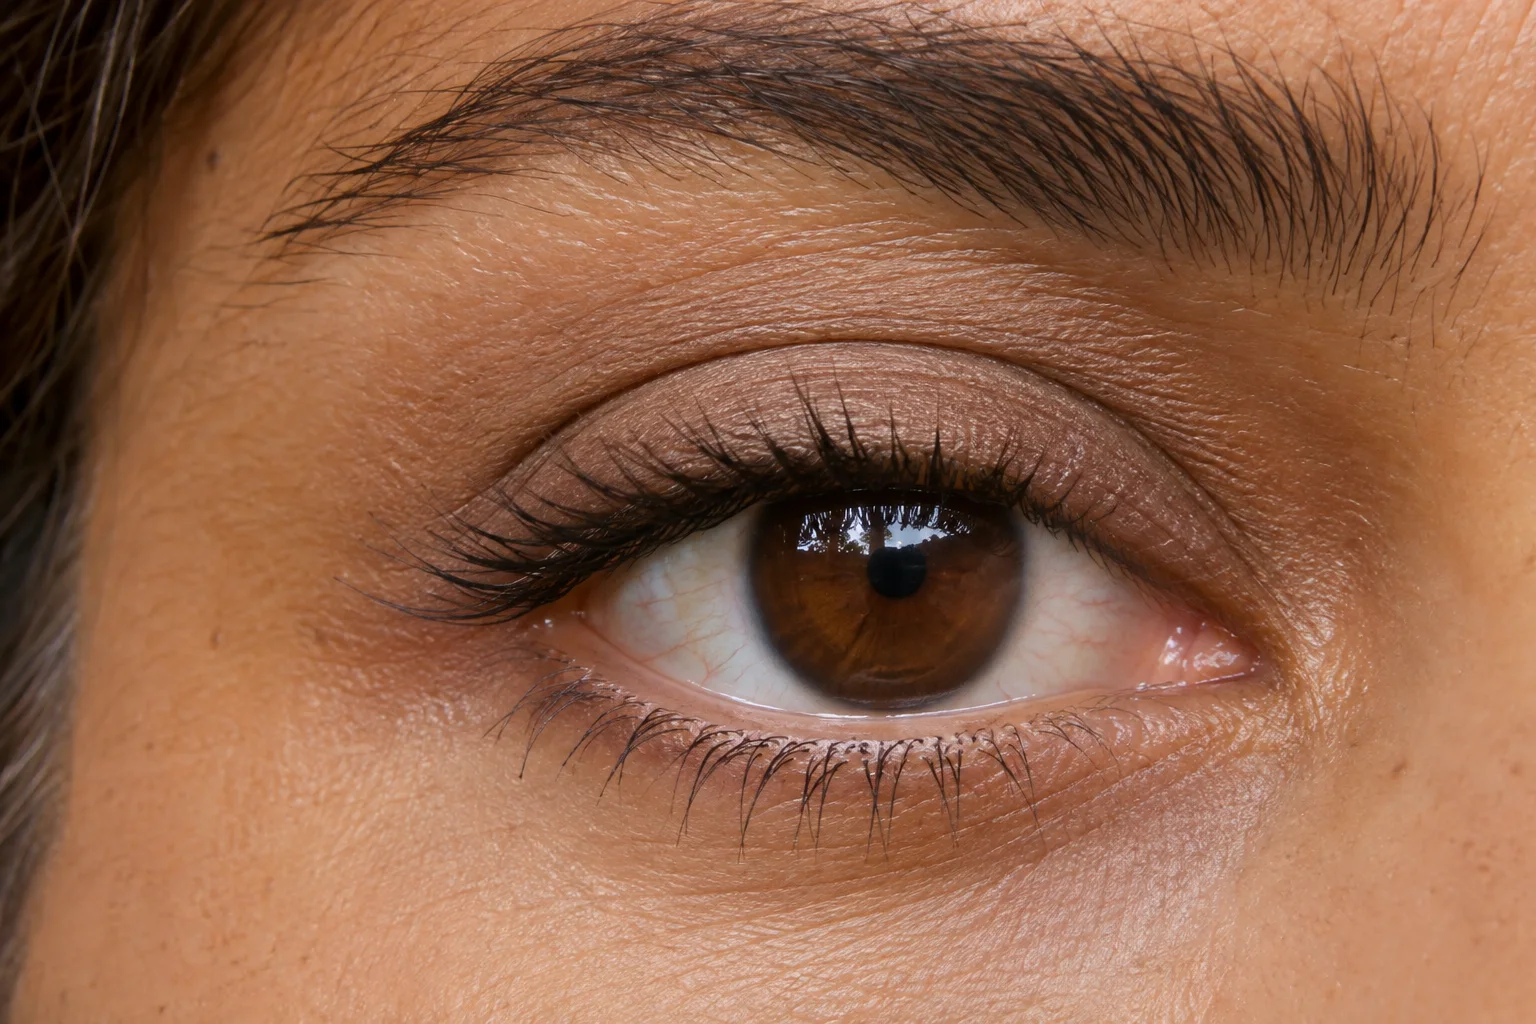
Step away from the mirror and look straight ahead. Compare the amount of darkness beneath each eye, the outer ends and the relationship with the upper lashes. One eye may have fewer or differently directed lower hairs. Try to balance the overall emphasis rather than painting additional marks on the skin to imitate missing lashes. Natural differences can remain visible in a finished look.
Blink normally and check the effect in conversation, not only with eyes held wide for a photograph. A nearby mirror is useful for detecting accidental skin marks, but it should not be the sole judge of the whole look. If a mark appears, use a removal method suitable for the actual product and area; avoid rubbing repeatedly or covering an unstable smear with more concealer. You may decide that bare lower lashes are preferable even when the light coating looks appealing in a still image.
Separate appearance from transfer and comfort
Check the trial in the light where you expect to wear it, then once more after ordinary activity. A darker room can hide a lower fringe that looks distinct by a window. Conversely, an overhead light can create shadows beneath the eye that are unrelated to mascara. Keep the camera and exposure reasonably consistent if you take notes with photographs. Do not interpret a lighting change as proof that the formula has faded.
A digital comparison cannot predict smudging, flaking, contact with skin, removal effort or irritation. Observe those separately with the real product, and stop if wearing it is uncomfortable. There is no need to declare a formula universally good or bad from one attempt. Your useful conclusion might be narrower: a small amount works with this upper-lid look for a short outing, while bare lower lashes are easier for a longer day or with a particular concealer.
Save a decision you can repeat
Finish with a practical note containing the mascara, approximate brush load, lashes you chose to emphasize and the lighting in which you checked them. You can describe the application as a few light contacts rather than counting individual hairs. Add whether you kept the corners bare and whether the coating remained comfortable during your actual trial. That gives a future attempt a clear starting point without turning it into a rigid prescription.
Keep the bare-lash option alongside the coated one. A change in liner, glasses or occasion may make it the better choice another day. Washable or water-resistant formulas, different applicators and a newly opened tube can all change handling, so repeat the physical check when the product changes. The goal is a lower-lash decision that fits your own face and routine, with enough detail to repeat it and enough flexibility to leave the fringe alone whenever that feels right.