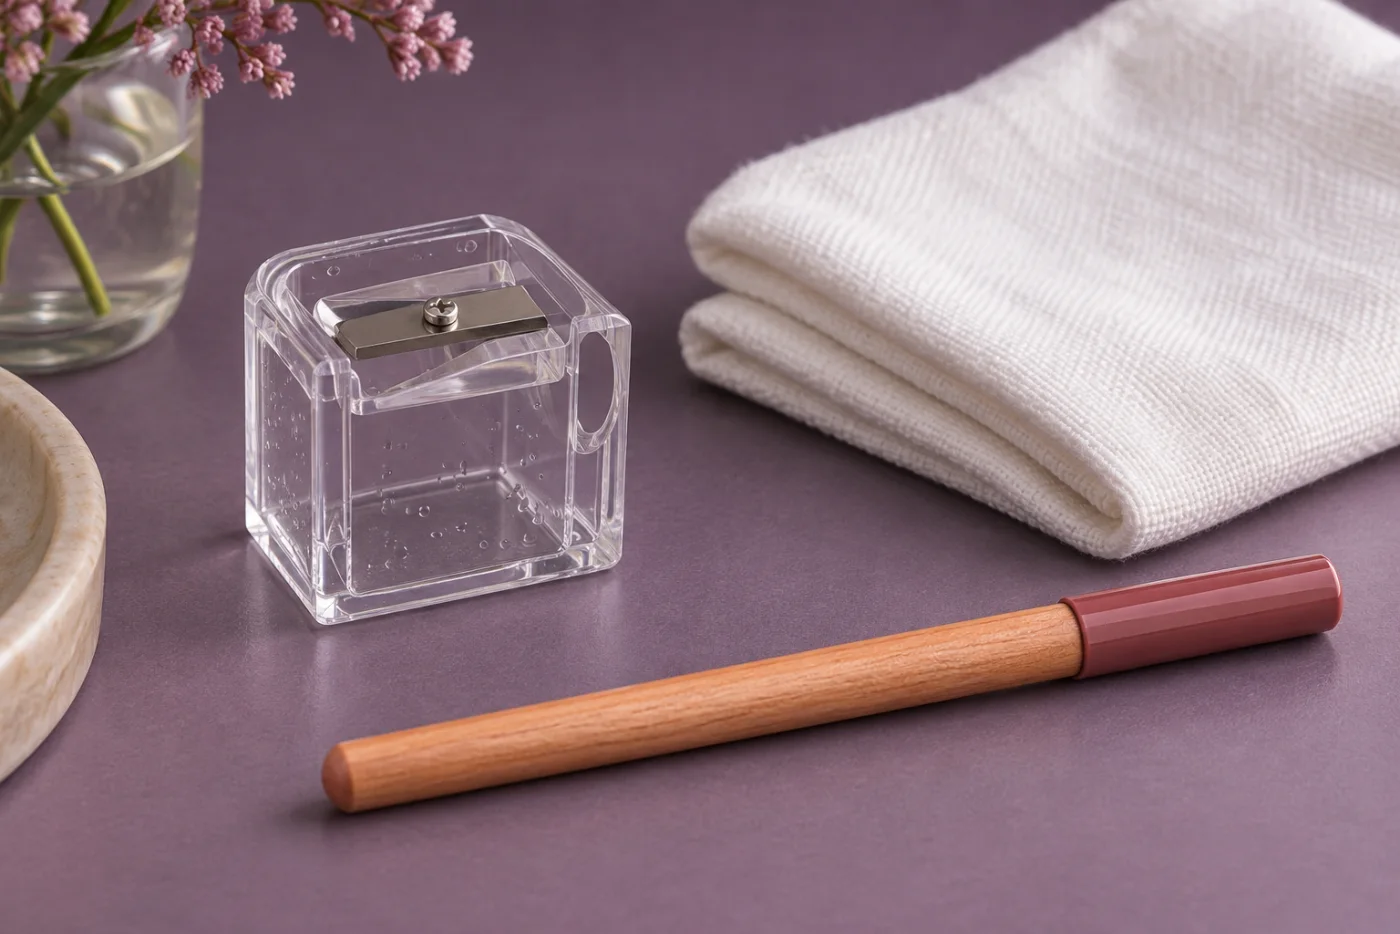
Lip liner
How to sharpen lip liner for a smooth outline
Choose the right cosmetic sharpener and check the line before removing more product.
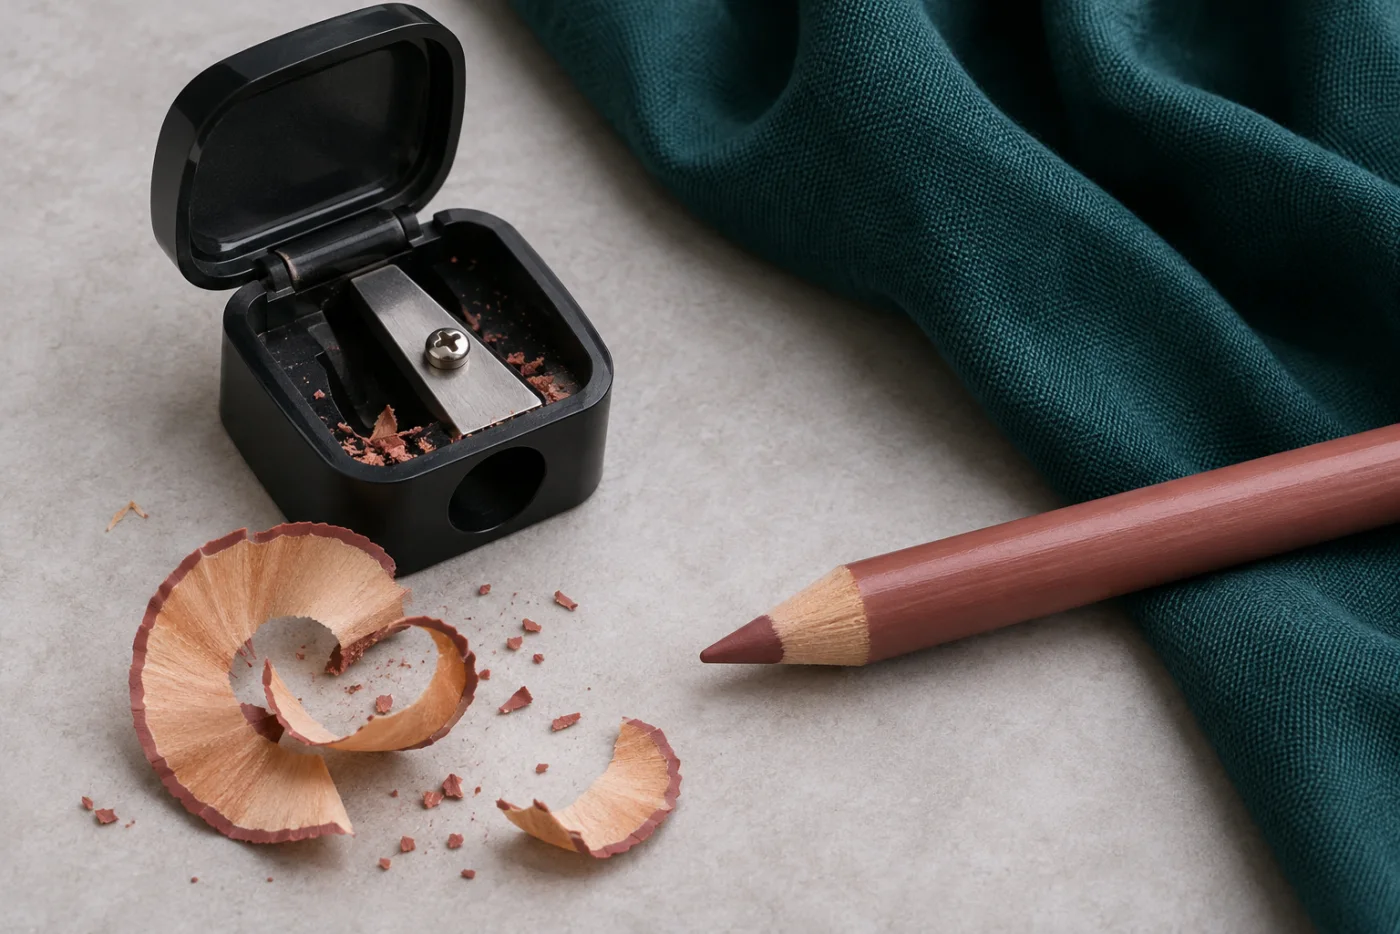
Learning how to sharpen lip liner starts with checking the pencil itself. A traditional pencil needs a compatible cosmetic sharpener, while a retractable liner may need only a small turn at the base. Once you know the design, expose just enough color to draw a short, even line. Stop when the tip makes the kind of mark you want. A long, needle-like point wastes product if a shorter tip works just as well.
How to sharpen lip liner without guessing the mechanism
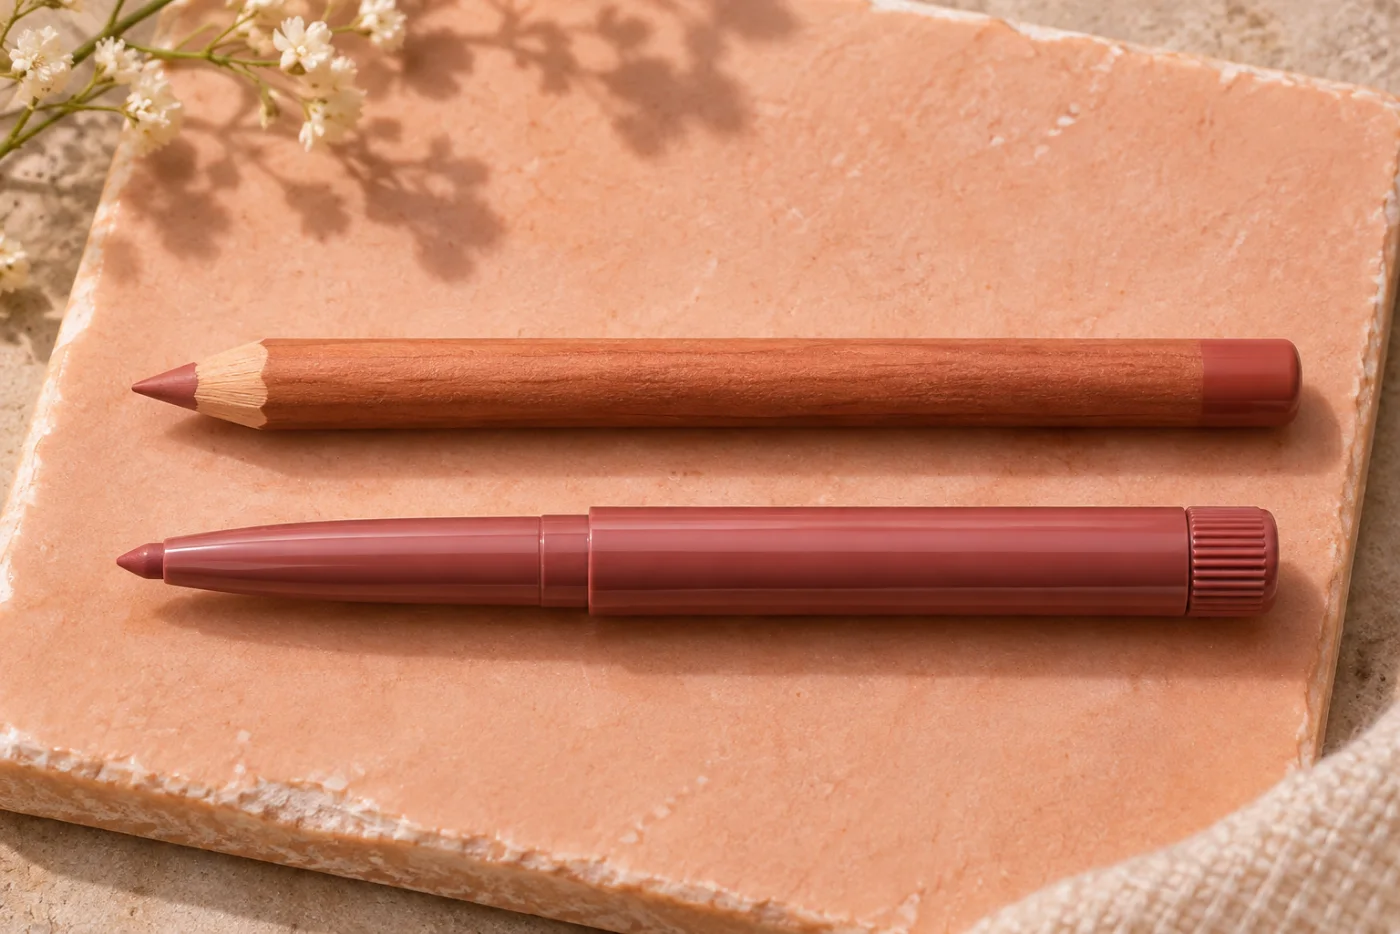
Look at the packaging or the maker’s instructions before putting the pencil into a sharpener. A visible ring of wood usually indicates a sharpenable pencil. Some sharpenable barrels look like plastic, though, so the material alone is a poor test. A seam near the bottom or a rotating base may suggest a retractable design. Turn it gently only if the instructions identify it as a twist-up. A base that will not move with light pressure is a reason to check the directions, especially if the pencil is new to you.
Some mechanical liners come with a small tool in the cap or at the base. That accessory may shape the exposed core while leaving the barrel intact. Follow the specific instructions for that model. Putting the entire barrel into a conventional sharpener could damage the mechanism. If the maker describes the pencil as sharpenable, check whether it specifies a particular sharpener or diameter. Similar-looking pencils can require different openings.
Match the opening to the pencil
Find a cosmetic sharpener that fits the barrel. The pencil should enter straight with very little side-to-side movement. If it stops before the blade or needs force to fit, try the appropriate size. If it wobbles in the opening, the blade can take more material from one side. A slanted cut leaves one side of the core unsupported, which can make the tip break as soon as you trace a curve.
Check the sharpener in good light. Compact scraps from an earlier use can block the opening or get pressed into the new tip. Empty the shavings catcher if there is one and remove loose residue according to the sharpener’s instructions. If the blade looks damaged, rusty, or loose, use a different tool. It is easier to replace a worn sharpener than to keep cutting the pencil down after every uneven result. A school pencil sharpener may look similar, but use the tool intended for cosmetic pencils and the size your product requires.
Use small turns and inspect the cut
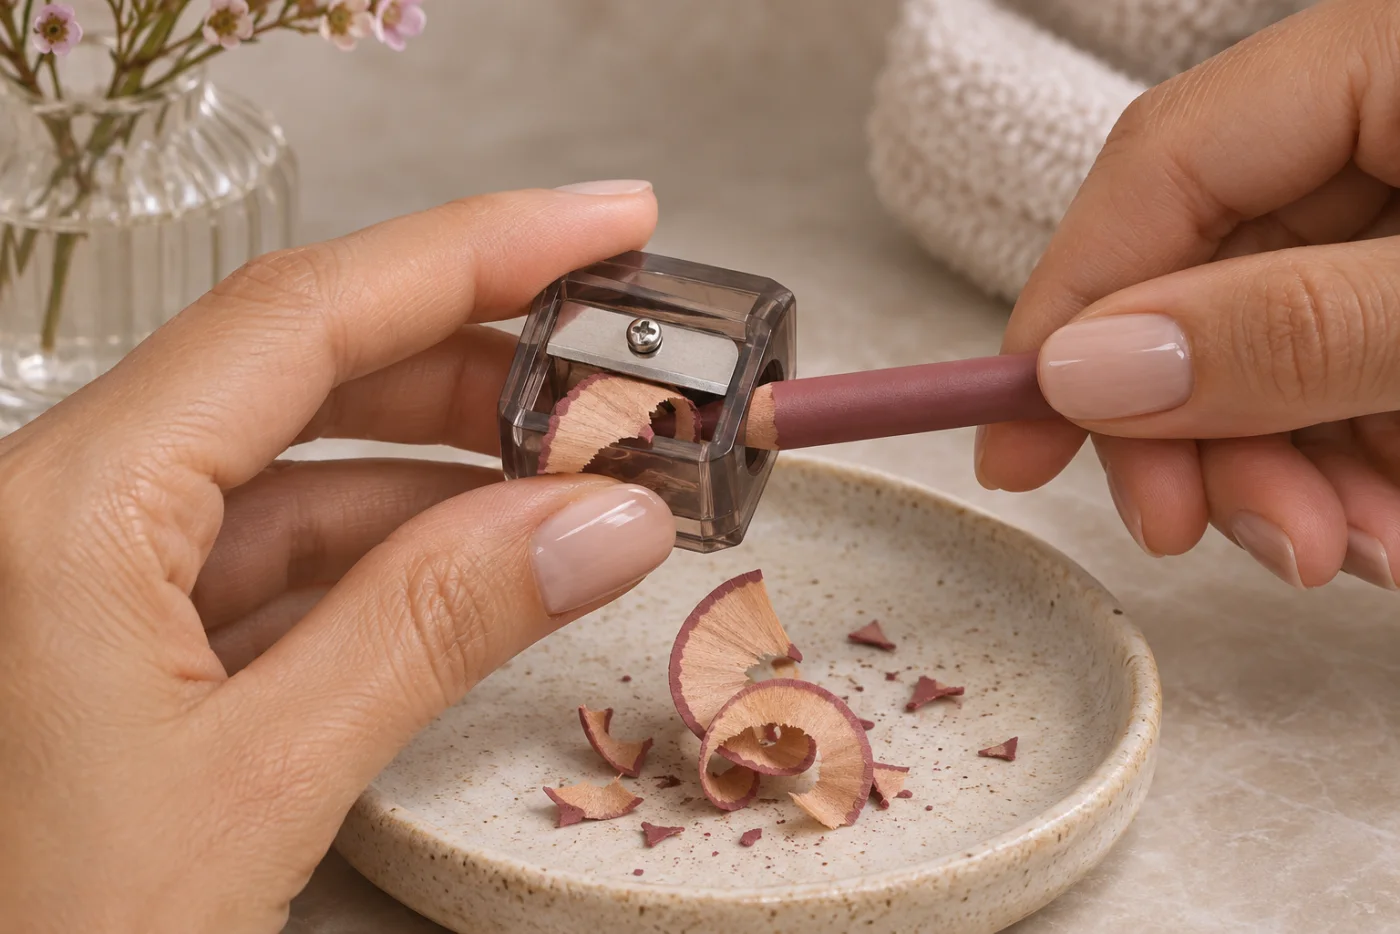
Remove the cap and hold the pencil close to its end so you can keep it straight. Position the sharpener over a tissue or shallow tray. Insert the pencil just far enough to meet the blade and make a small, gentle turn. Pull it out and check how much color is exposed. You may only need another partial turn. A pencil that was already close to the right shape rarely needs several complete rotations.
Keep the pressure even. If the shavings come off mostly on one side, check the fit and your angle before continuing. If the color smears against the opening, take the pencil out and look for buildup. A soft core can become harder to handle after sitting in a hot bag. Let it return to room temperature and try again with a clean tool. Avoid forcing the pencil or scraping the point with a blade by hand. The goal is a clean cut that leaves the color supported by the surrounding barrel.
Decide how much point you actually need
For a thin, defined line, look for a short point with smooth sides. For shading just inside the lip, a gently rounded tip may give you more control. Test it on clean skin with the pressure you would use on your lips. Make a short straight mark, then a small curve. If the color goes on evenly and the tip turns comfortably, you can stop. A good result is about the line you can draw, even if the end of the pencil looks less sharp than a fresh one from the box.
Check how the wood or casing meets the color. If a rough edge extends farther than the pigment, it can catch on the lips. Refine it with one light turn using the correct sharpener and test again on your hand. If the tip feels too sharp for a soft outline, make a short test stroke to take down the point. Avoid using pressure on your lips to break it in. For a softly blurred finish, use the side of the exposed color once you know it glides smoothly.
Fix the cause of repeated breaks
If the core keeps breaking at the same point, stop and look at what you can observe. A blade that tears the casing instead of slicing it cleanly can pull at the color. A too-wide opening can let the barrel tilt. If both look fine, try turning with less pressure. Change one thing at a time so you can tell what improved the cut. Repeatedly sharpening at the same angle can remove a lot of pencil while leaving you with the same fragile tip.
A pencil that has fallen onto a hard floor can have a damaged core, but a break alone cannot tell you that for certain. If a fresh, compatible sharpener still produces loose fragments after a careful attempt, cap the pencil and consult the maker’s advice. If the barrel itself is cracked or the product looks or smells different, set it aside. Cosmetic safety guidance from the FDA covers clean handling and when to stop using a product. Follow the care instructions for the pencil and the sharpener.
Advance a retractable liner only a little
For a liner that twists up, reveal just enough color to keep the casing from rubbing the skin. A long exposed section has less support. It can bend or snap as you go around the corner of the mouth. Make a small test stroke before adding more. If the pencil advances but does not retract, extending it gradually also keeps you from closing the cap on a protruding tip. Check the directions if you feel resistance, especially if you have reached the end of the mechanism.
When a retractable liner becomes flat, try drawing with the corner of the flattened surface first. Rotate it slightly as you work so the same edge does not take all the pressure. If your exact model includes a shaping tool, use it as directed. A flatter tip may still be useful for shading, while a slimmer tip gives you more precision near the lip peaks. You can choose a different technique based on what the product can do comfortably.
Test your outline before reaching for lipstick
Use the newly prepared tip for a short mark near a part of the lip you can see clearly in the mirror. Keep your mouth relaxed and use the same light hand you tried on your skin. If the line skips, check whether the tip is catching or whether a layer of balm is making the color slide. In either case, sharpening again is only one possible fix. If the line goes on cleanly but looks darker than you wanted, soften the edge before adding more liner.
Look at the outline from ordinary conversation distance before filling in. A tiny irregularity can look larger in a magnifying mirror than it does when you step back. If you plan to add a shiny lipstick, take another look once the shine is on. It may change how clearly you see the border. Our comparison of matte and glossy lipstick can help you decide how much definition you want. If the outline is already visible at that distance, leave the pencil as it is.

Put the pencil away ready for next time
Empty the sharpener and follow its cleaning and drying directions. Keep the pencil capped and store both items somewhere dry. A shavings cover can protect your bag from scraps, but it also makes it easy to forget that the chamber is full. Check it before your next use, especially if you have just sharpened a darker pencil. If the cap no longer fits securely, keep the pencil out of a loose bag where the tip may collect lint or get crushed.
For a quick touch-up, inspect the tip before you leave. If it still draws a smooth mark, you can use it as it is. A spare compatible sharpener is useful when you regularly use a wooden pencil away from home. A retractable one may need only a small turn. When you get home, remove the lip product with your usual gentle method. If you need a starting point, see the guide to removing lipstick. The next time you reach for the liner, check the shape with one short stroke before deciding whether it needs another turn.
If you share a makeup space with other people, keep your own liner and sharpener together. That makes it easier to use the right opening and to notice when either item needs cleaning before it touches your lips.