
Powder foundation
Apply powder foundation with a smaller first load
Build foundation coverage with small tool loads, check each deposit and add powder only where you need it.
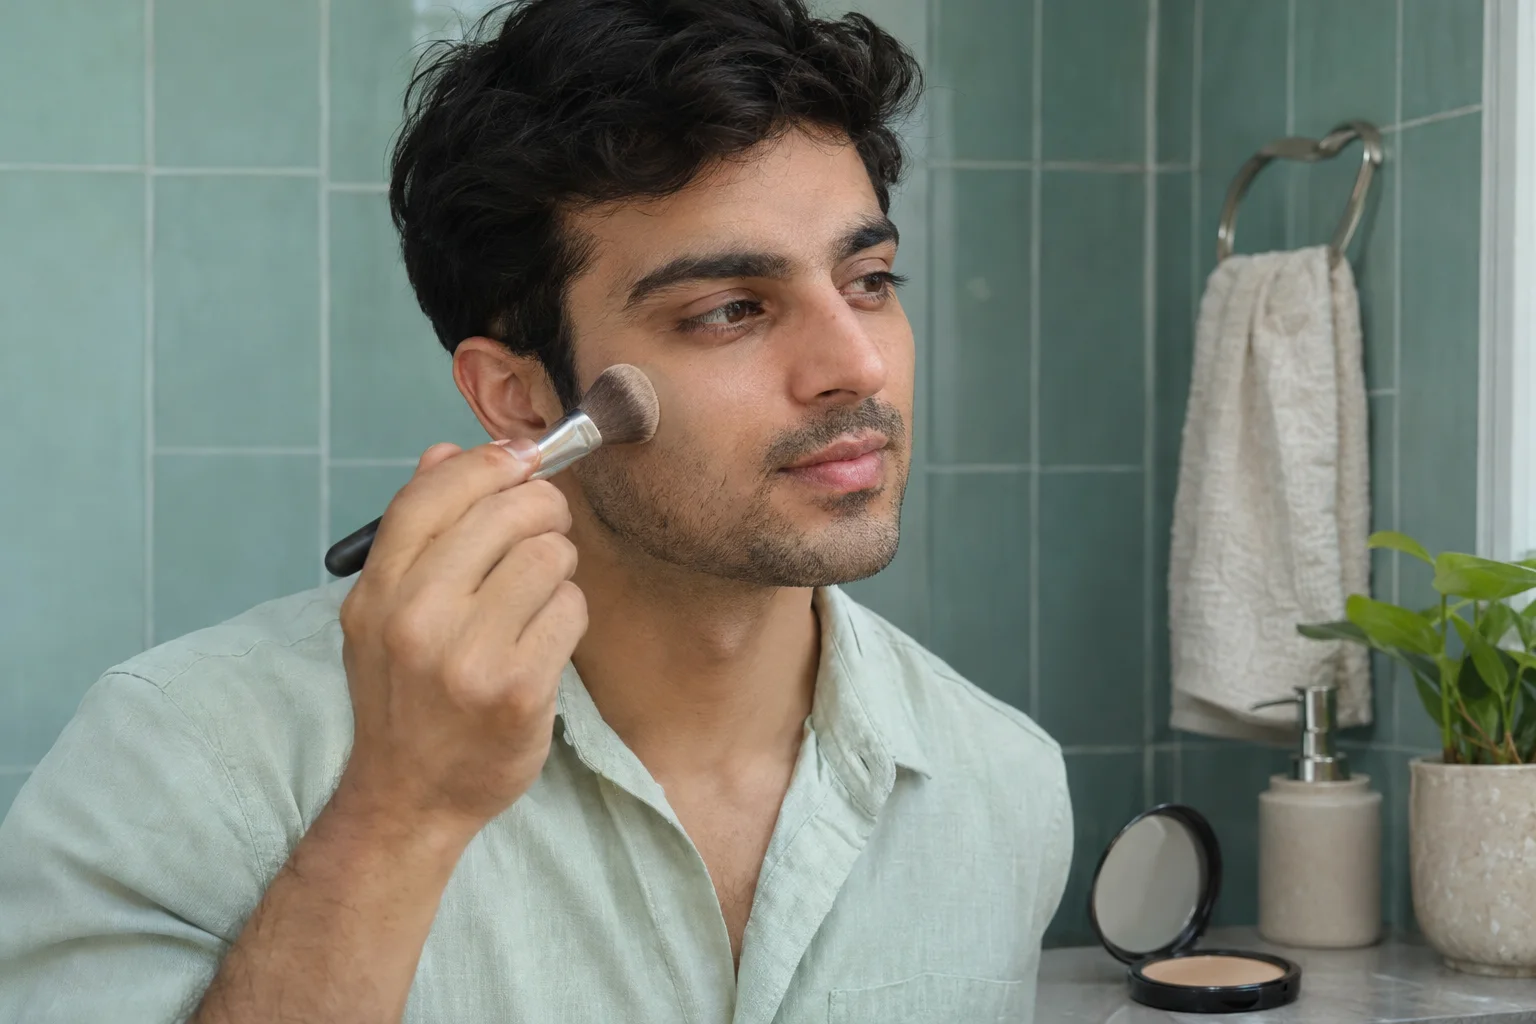
Apply powder foundation by building the coverage you need in small areas, rather than loading the whole face at once. Identify the product and its permitted application method, prepare your usual base layers, then start with a modest amount on a clean compatible tool. Look at the first deposit before returning to the compact. Some areas may need another little pass; others may already have enough color. A controlled starting layer makes that difference easier to see.
This MaqAI guide covers the physical application of powder used as foundation, with dry tools when the product permits that method. It does not rank compacts or promise a particular wear time. You can complete the process with your own mirror, product directions and ordinary light. Hair Muse can help with visual inspiration, but a picture cannot determine the correct load, the feel of a powder or its actual color on your skin.
Apply powder foundation for coverage, not an automatic extra layer
Check that the product is intended to provide foundation coverage. A finishing powder, a setting powder and a powder foundation can look similar in a compact while having different jobs. Some products have several permitted uses; follow the directions for the job you are choosing today. If you already have the coverage you want from another foundation, decide whether you need this additional colored layer before you start sweeping it everywhere.
Set a specific goal, such as softening visible color variation on the cheeks while leaving the outer face lightly covered. Full coverage is an option, not a required endpoint. Keep the product shade stable while learning the amount. If the color looks clearly wrong at a thin application, piling on more powder will not solve that separate decision. Our foundation and concealer direction guide helps organize a real shade check without treating a preview as an exact match.
Let the underlying routine settle before testing powder
Use the preparation that is suitable for your own products and skin, following their instructions. You do not need to add a primer simply because the foundation is in powder form. Look at the surface you have actually created. A layer that still feels very wet, slippery or sticky can make the first powder contact hard to control. There is no universal waiting time that works for every preparation and every room condition.
Test a small visible area before committing to the whole face. If the tool drags, skips or picks up the layer underneath, pause and assess the combination instead of adding more powder to cover the movement. Keep the preparation stable during this trial so you can identify what changed. Do not mix skincare directly into the compact or turn a dry-only formula into a paste. This guide's dry application is not permission to wet a product whose maker has not allowed it.
Choose a tool you can control in the actual area
Use a clean brush, puff or sponge that is compatible with the foundation's instructions. A broad soft brush can make a large first contact; a small surface can give you more control near a nose edge. Neither automatically guarantees light or full coverage. Density, pressure, powder pickup and repeated passes all affect what you deposit. Choose one tool for your first trial and learn its behavior before comparing several applicators on different parts of the face.
Inspect its working surface. Bristles should be intact and the puff should not have a thick old layer of makeup on it. The FDA guidance on using cosmetics safely supports following directions and clean handling; it does not validate a particular brush technique. If the tool needs washing, use its appropriate care method and let it dry fully before a dry-powder application. Do not assume that a sponge kept inside a compact is automatically ready for repeated use.
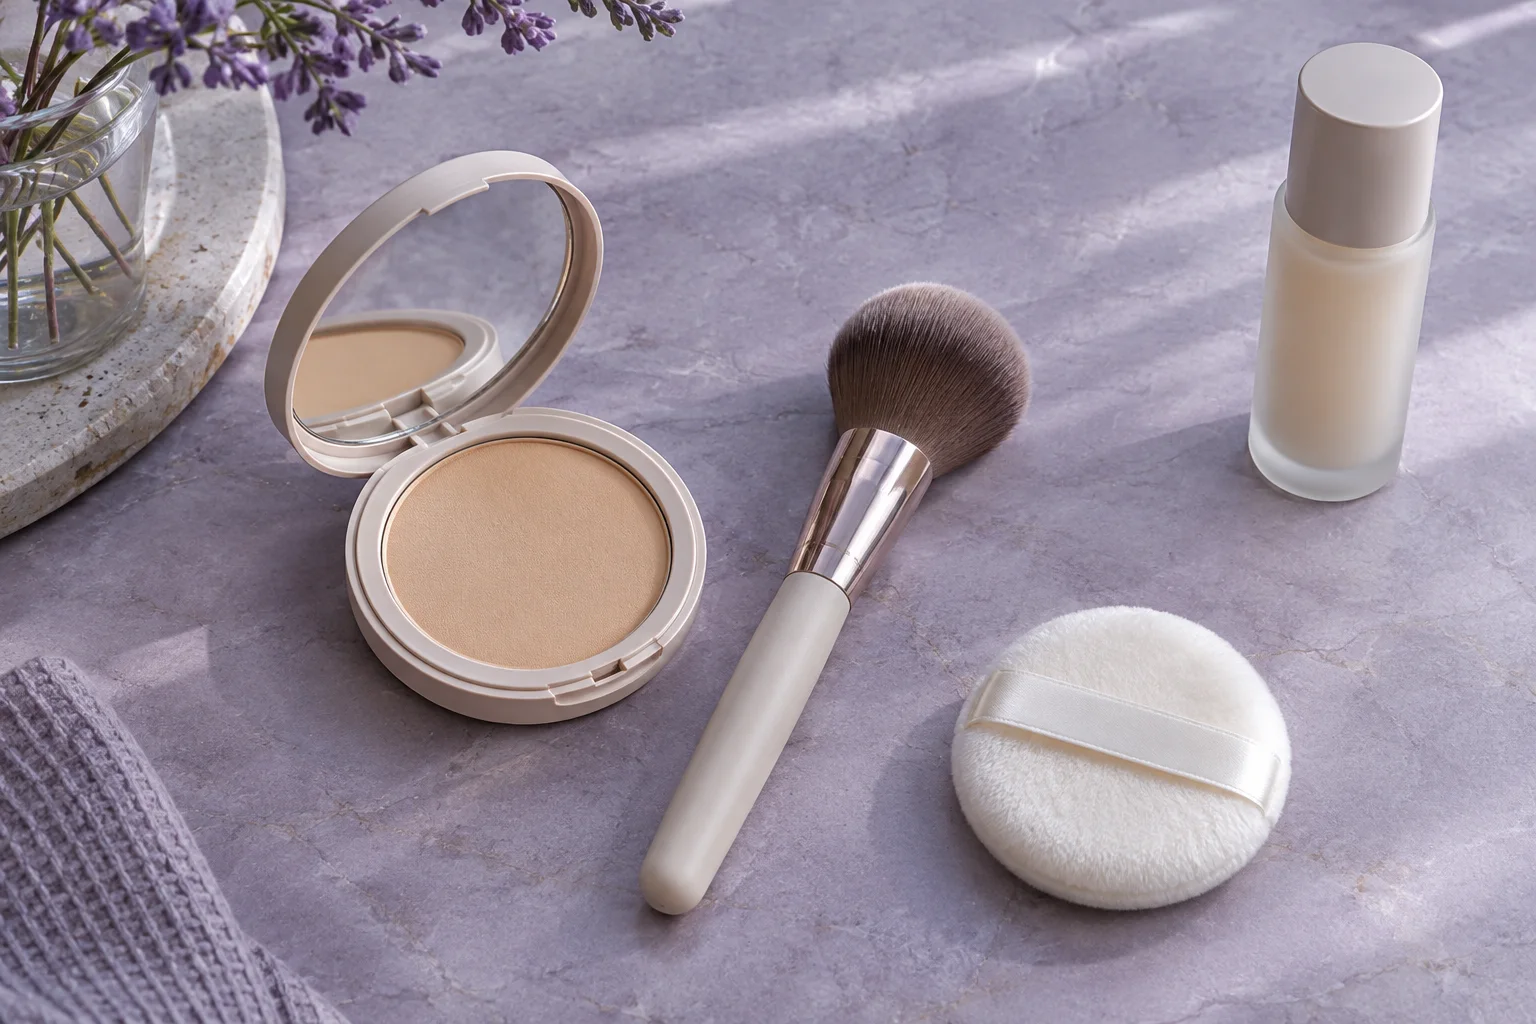
Pick up less than you expect to need for the whole face
Make a light contact with the powder rather than repeatedly grinding or circling the tool in the pan. Inspect what is on the fibers or puff. You are preparing one manageable deposit, not collecting the entire application's supply at once. If there is obvious excess, follow the product's directions for managing it away from your face. Avoid creating a powder cloud or blowing onto the compact, and keep the pan on a stable surface while you work.
The amount that looks modest on one brush can be substantial on another. Use the first application as feedback rather than deciding that every tool needs the same number of swirls. A hard surface on an old compact can also affect pickup, but scraping it aggressively or adding liquid is not a universal repair. Check the actual product's condition and care directions. If the compact or tool cannot be used as intended, resolve that problem before testing how much coverage it can provide.
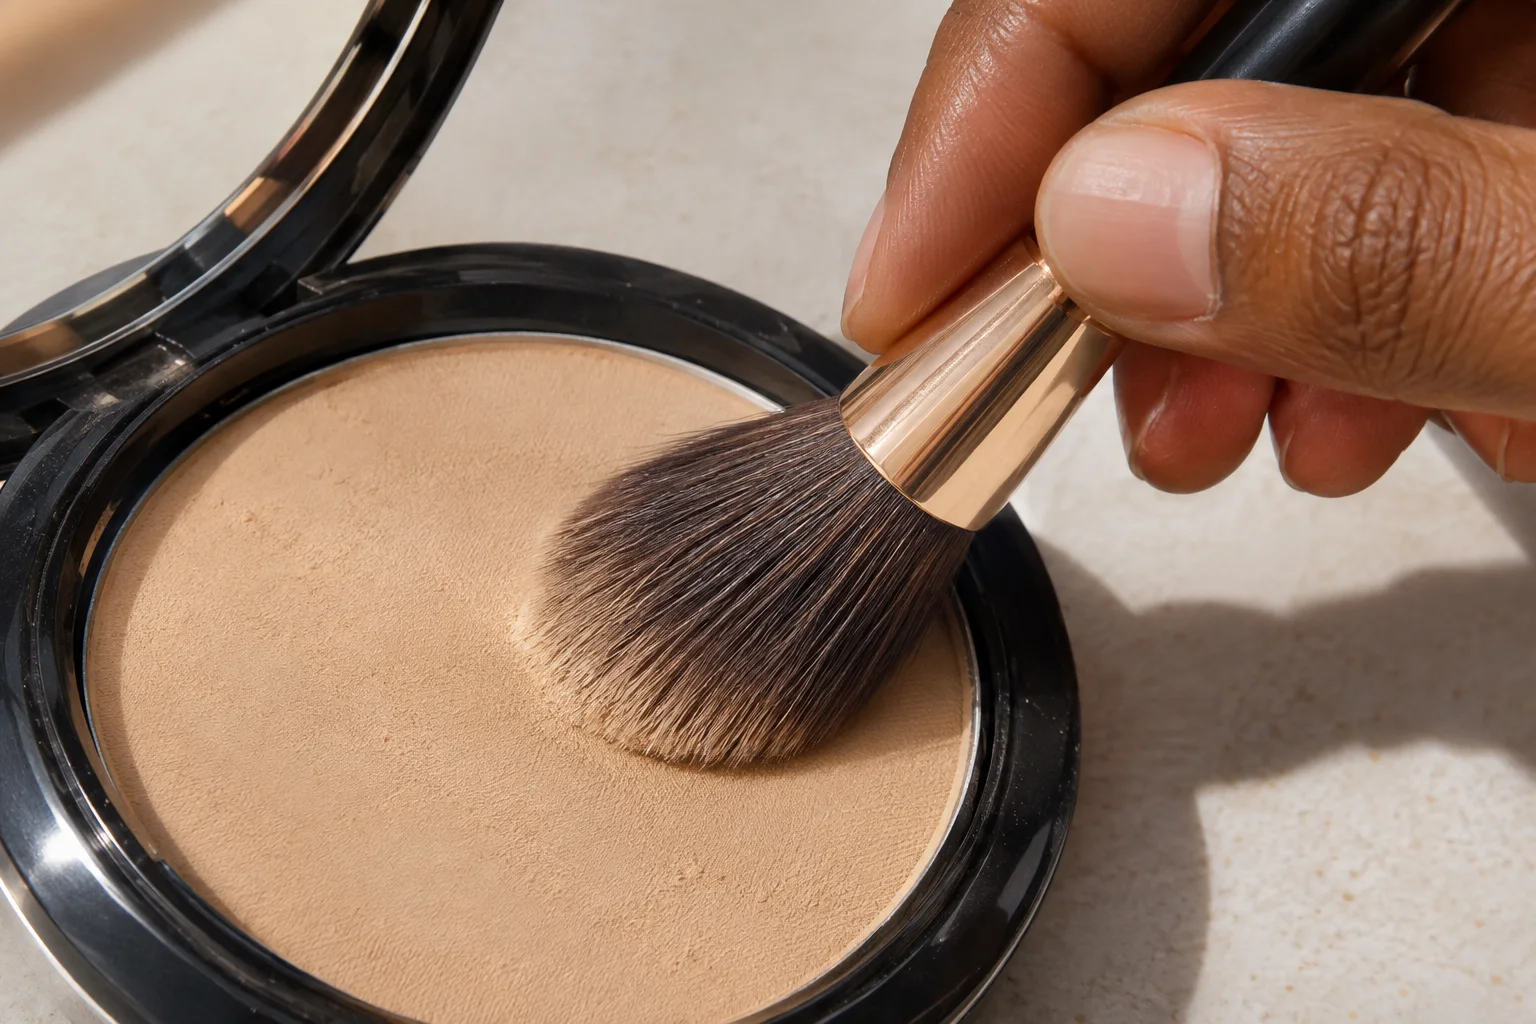
Make one small first application and inspect it
Begin where you actually want coverage, on an external face area where you can see the contact clearly. Use gentle pressure and the movement suitable for the product and tool. With a brush, avoid pressing until the bristles splay hard against the skin. With a puff, try a small controlled contact rather than dragging a heavily loaded surface across the whole cheek. Pause after that first deposit instead of immediately returning to the powder.
Look for the result of the contact: how much color arrived, whether the underlying layer stayed in place and whether the edge is visible. You may need less pressure, a smaller load or a different permitted movement. Change one of those at a time. If the first patch is already thicker than you wanted, do not distribute it everywhere simply to make the face uniformly heavy. A small unsuccessful area is easier to reassess than a full application that has moved the entire base.
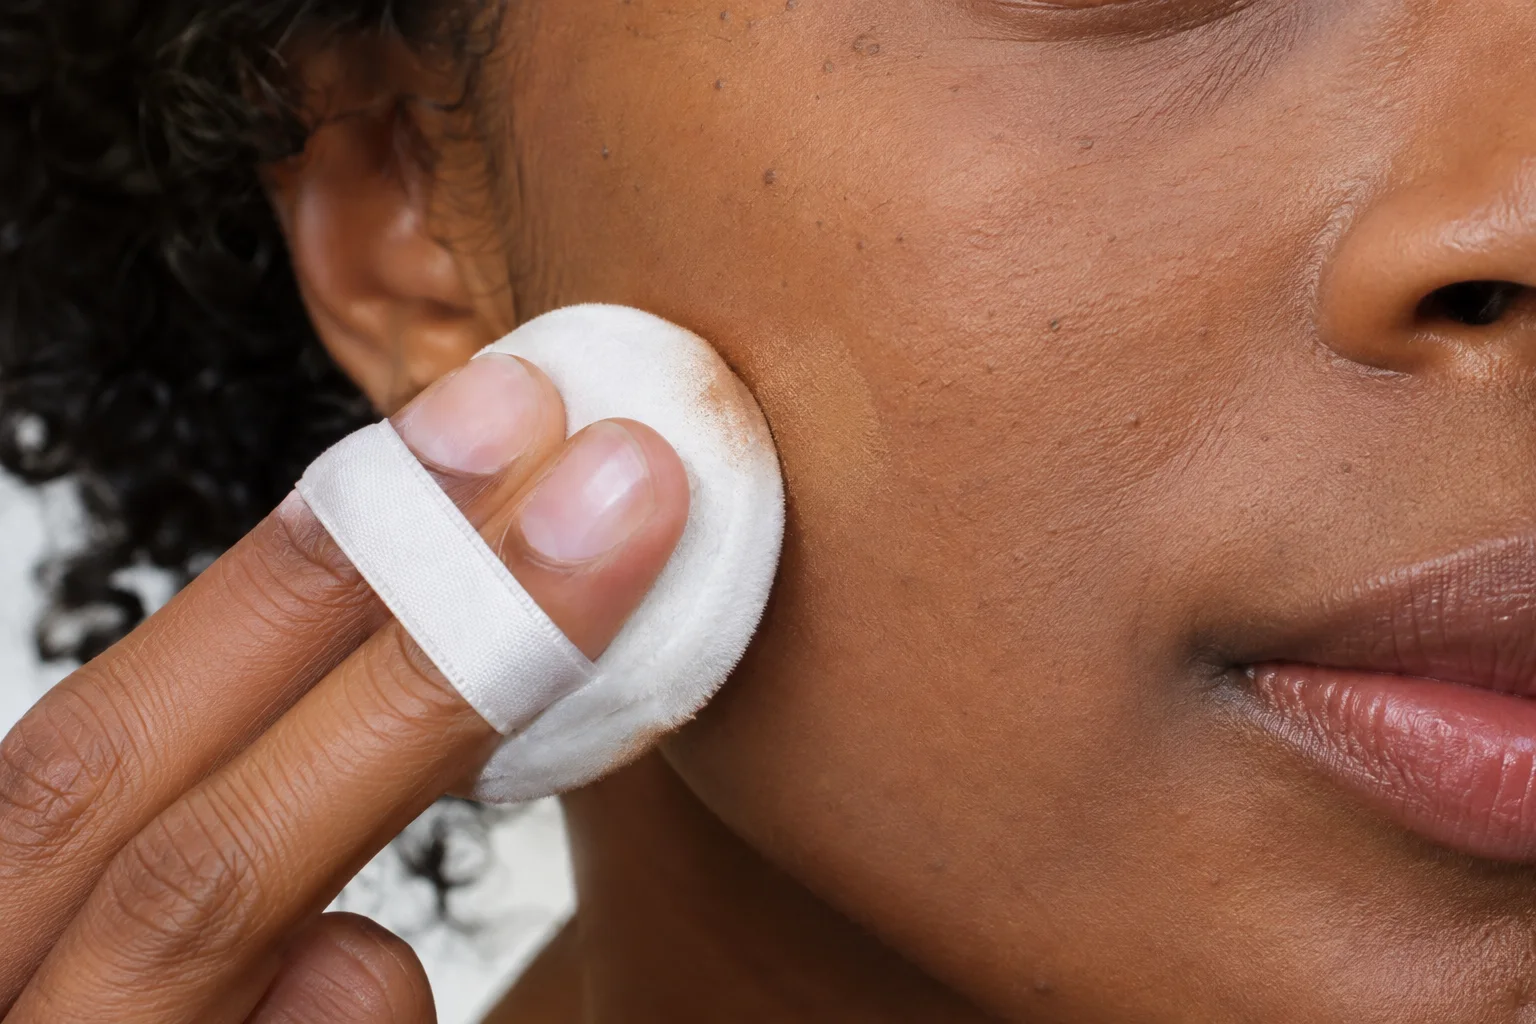
Connect neighboring areas without repeatedly polishing them
Work outward from the areas you chose to cover, using the remaining product on the tool when it is enough. Let neighboring deposits meet without repeatedly scrubbing the same join. The aim is a continuous-looking transition, not the removal of every natural skin detail. Check close to the nose, along the hairline and at the jaw, where an obvious change in color or density can become easier to see than it was in the center of the cheek.
Reduce the tool's working area near boundaries rather than forcing a large loaded brush into a narrow space. Keep powder away from openings and areas excluded by the product directions. If you have facial hair, look at the actual hairs as well as the skin between them; catching a heavy coat on them may change the effect. You do not need to extend foundation far down the neck just to hide a poor color match. Stop at an intentional, checked boundary and reassess the shade if necessary.
Add coverage only where the first layer needs it
Step back before adding more. Name the small area that still needs coverage and decide whether another powder deposit is the right solution. Keep the next load modest and assess the result locally. Do not give an already-covered forehead another pass simply because the cheek needs a little more. A repeatable foundation routine can contain different amounts in different zones while still looking coherent from conversational distance.
If a spot requires more coverage than the powder can comfortably provide, you may choose a compatible separate correction or accept some visible variation. Avoid escalating into several thick passes merely to reproduce a smoothed photograph. Fine texture can remain visible in a successful result. If the film begins to look unstable or the application feels uncomfortable, pause. Selective removal or restarting that small area with the correct method can be more useful than layering over a problem you have not identified.
Check the real color, texture and movement in useful light
Inspect the face in front light at normal distance, then look closer only where you need to understand a boundary. Turn your head and use ordinary expressions. Check whether the foundation reads as the intended color beside uncovered skin and whether repeated contact has created a denser patch. Our makeup lighting guide helps organize a second useful light check without treating one photograph as a complete description of the result.
A product may look different as the underlying routine and the powder settle together. Observe the actual application rather than promising that every powder changes in the same way. A photo or app preview cannot predict oxidation, texture, comfort, creasing, transfer or wear. If you want to assess those, keep the first routine reasonably stable during an ordinary trial and note what you see. Do not add spray or another powder automatically; that would introduce a new variable and may obscure which layer needs attention.

Keep the compact, tools and next application manageable
Close the product after use and store it according to its instructions. Keep a used applicator from carrying moisture or heavy residue back into the pan. Clean tools with the method for their materials and leave washable ones to dry appropriately before returning them to storage. If your compact has a separate applicator compartment, use it as intended rather than compressing a damp sponge against the powder. A tidy working surface makes the next load easier to judge.
Record the product, tool, preparation and the areas where you added a second small pass. Include the light you used and whether you left any zones barely covered. That note is more helpful than a fixed instruction to make the same number of movements over every face. When changing the foundation, applicator or preparation, repeat the small first trial. The useful endpoint is an amount you can control, a color and texture you have checked in real conditions, and a routine you can stop once it has done the job you wanted.