
Complexion guide
How to use a preview when choosing foundation and concealer
Use AI for coverage and finish direction, then move the actual shade, undertone, oxidation, and wear decision onto real skin.
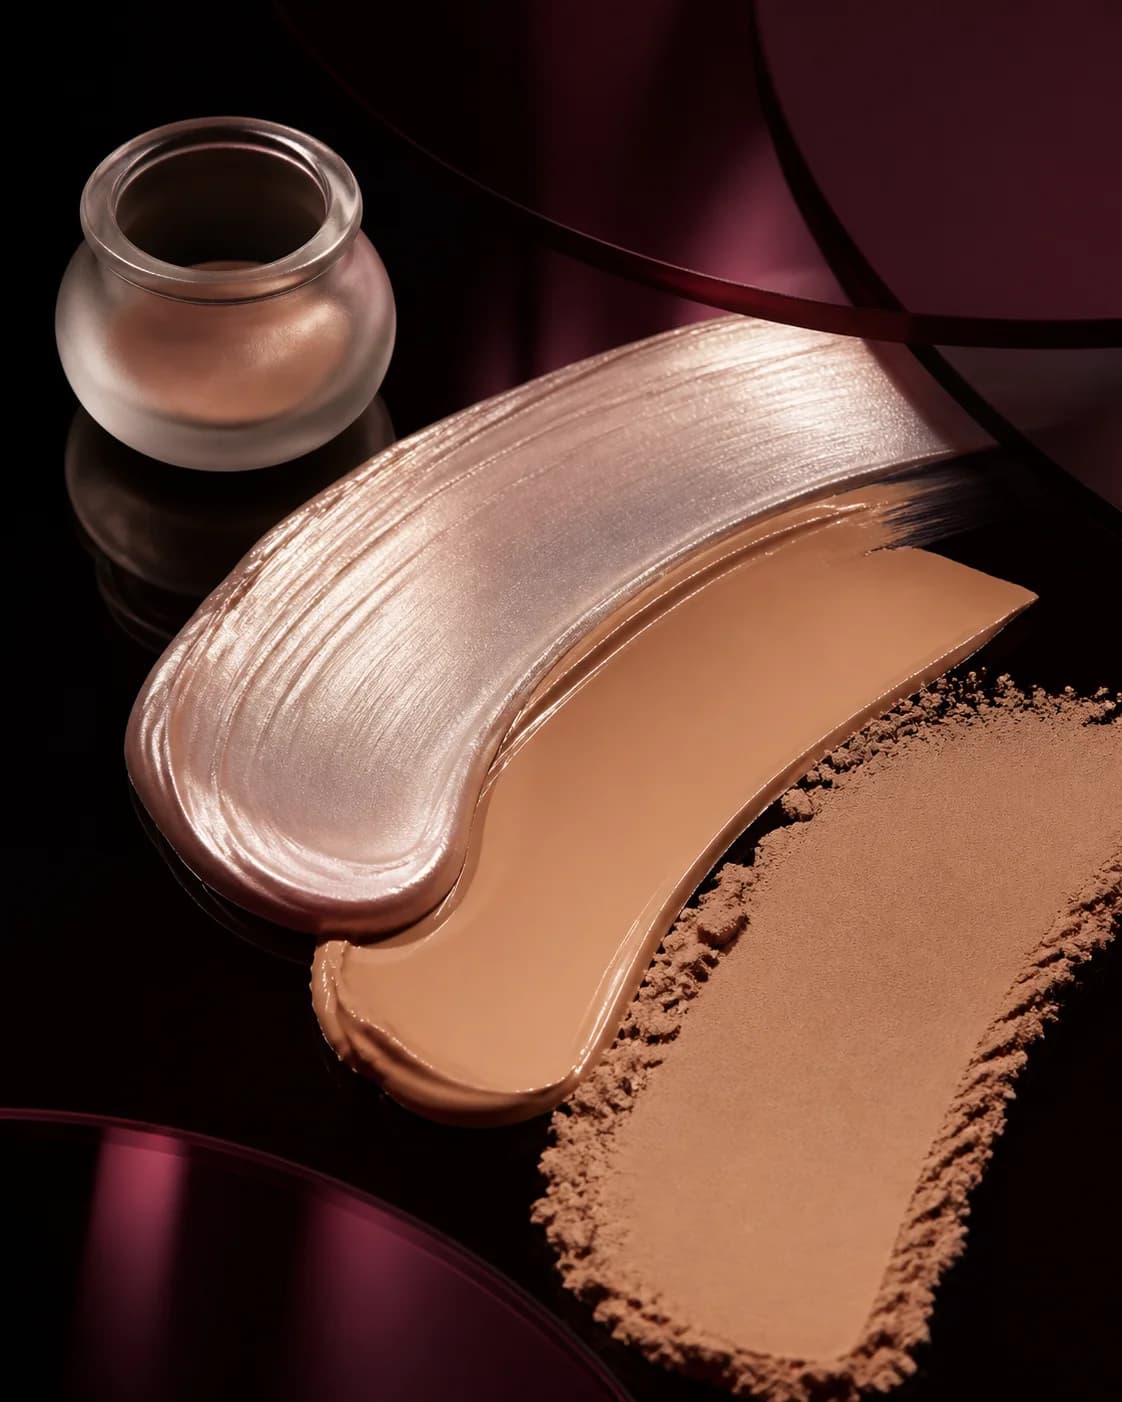
Complexion products sit directly on skin and interact with preparation, texture, oil, dryness, pigmentation, lighting, and time. A generated preview can visualize the intended polish, coverage pattern, and finish, but it cannot match or test a formula.
Use MaqAI to decide what you want the complexion to do. Use real swatches and wear tests to decide which product can do it.
Separate shade, coverage, and finish
Shade describes color relationship, coverage describes how much visible variation remains, and finish describes light reflection. A preview often changes all three at once unless you evaluate them deliberately.
Choose the intended coverage and finish first: sheer luminous, targeted natural, medium satin, or more polished soft matte. Then test real shades within that plan.
Map where coverage is actually needed
Instead of treating the face as one uniform surface, notice where you want evening, brightening, spot concealing, or no additional coverage. A strategic map usually looks more realistic than increasing opacity everywhere.
For concealer, distinguish under-eye brightness, discoloration correction, and blemish coverage. They may require different shades, textures, and placement.
- Center-face evening
- Targeted redness or discoloration
- Under-eye correction and brightness
- Areas left with natural skin visible
Do not read an exact shade from the screen
Source white balance, device display, surrounding colors, existing makeup, and generated color can all shift the apparent complexion. A convincing preview is not an exact foundation match.
Swatch potential products along the relevant face-to-neck area in neutral light, allow them to settle, and compare after the formula has had time to change if it oxidizes.
Test texture and wear in reality
A generated image cannot predict pilling, separation, creasing, flashback, transfer, comfort, or how coverage behaves over your skincare. Those outcomes come from the real product and application sequence.
Wear the candidate in ordinary light and relevant event conditions. If a product irritates your skin, stop using it and seek qualified advice rather than relying on appearance guidance.
Preview the complexion goal. Swatch and wear-test the actual formula.
Translate the chosen direction into a brief
Describe coverage by zone, intended finish, where light should remain, and how much natural variation you want visible. That brief can guide a store test, makeup artist, or your own routine.
Photograph the real test in daylight and normal indoor light. Use those results—not a generated screen color—to choose the product.