
Blush
How to apply powder blush with a light hand
Use a light brush load and compare both cheeks in front light.

Learning how to apply powder blush gets easier when you pay attention to what happens the instant the brush lands. That first touch usually leaves the strongest color. If it lands in the wrong place or deposits more than you wanted, every stroke afterward becomes an attempt to move or dilute the mark. Start with a smaller load than you think you need, put the first touch where you want the center of the color, and look at both cheeks before loading again.
How to apply powder blush over your base
Look at the cheek area before opening the compact. If you just applied foundation, check whether it has settled enough that the brush can travel without dragging. A cheek can look luminous and still feel reasonably set. A tacky area can catch more powder than the surrounding skin, creating a dark spot even with a light brush. Give the base a little time. If one area remains sticky, try setting that small area with a fine veil of your usual face powder. A heavy blanket of powder can make the layers more visible, especially beside the nose where the skin moves as you talk.
On bare skin, the same principle applies after sunscreen or moisturizer. Finish applying the product according to its label and allow it to settle before putting makeup on top. Keep your other steps consistent the first time you try a new blush. If you change your sunscreen, foundation, brush and blush on the same morning, you have little evidence about which change caused a patch. Start with the base you already know and note how the brush feels on contact.
Pick a brush by its footprint
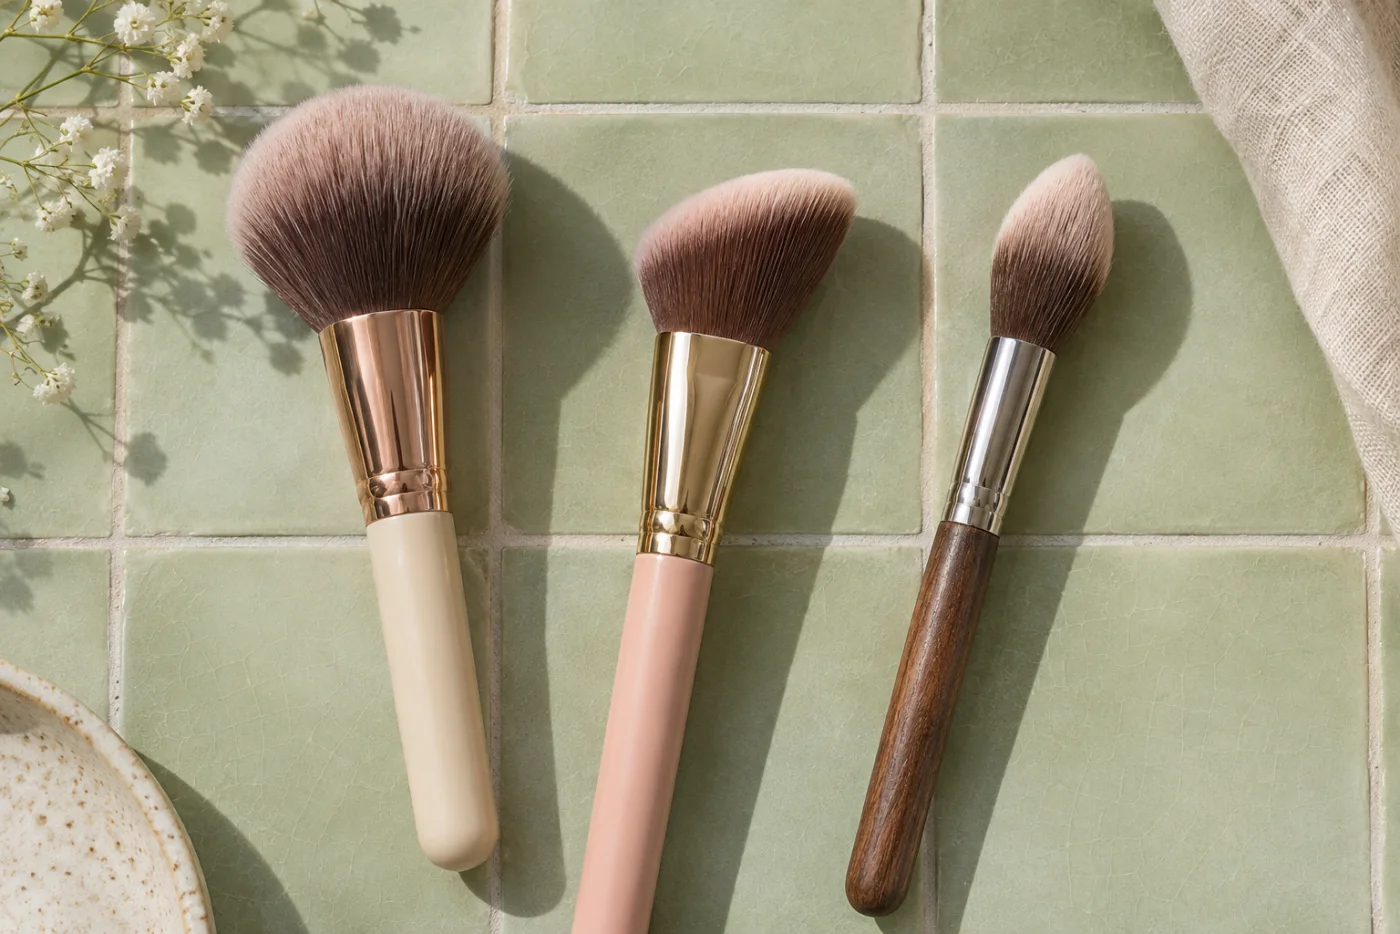
Hold the brush beside your cheek and look at the width of its tip. If the bristles cover the entire area you want to color, use a smaller head or apply with just the side of the brush. The width matters because you need space around the first mark to soften it. A fluffy brush with flexible bristles gives you room to adjust the pressure. A short, dense brush can work when a powder is difficult to pick up, but it is easier to leave a solid stamp when the pan releases a lot of pigment.
A clean, fully dry brush also makes the amount easier to judge. If yesterday’s blush is still visible on the bristles, you are mixing two shades before you can see how either one looks by itself. For washing and drying, follow the American Academy of Dermatology’s brush care guidance. If you have a second clean brush, keep it nearby for softening the perimeter without adding more color. You can also turn the application brush and work with a part of the head that never touched the pan.
Load one edge and check it
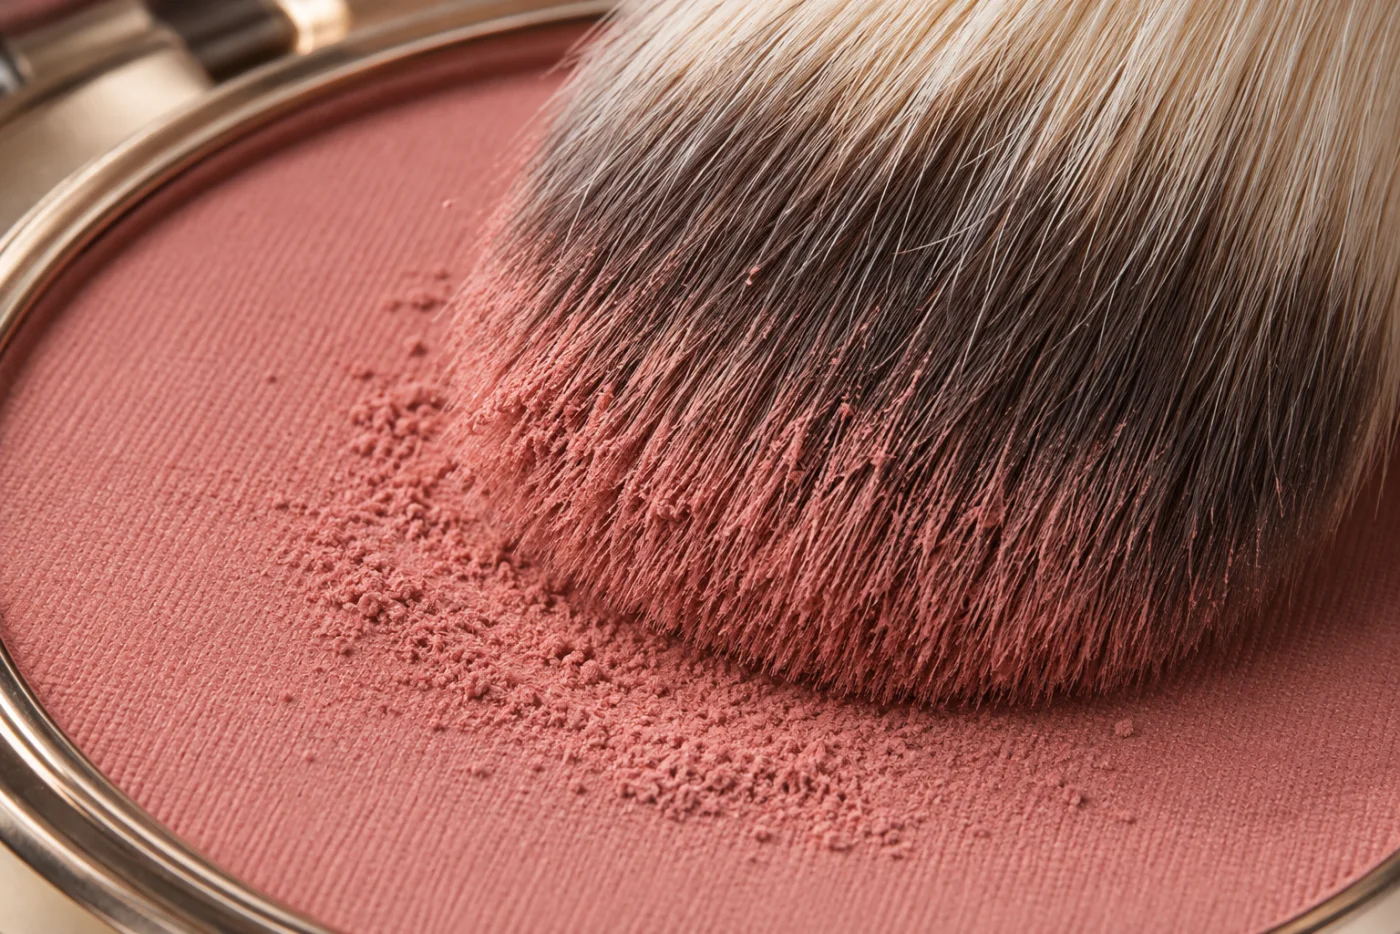
For a pressed powder, touch the outer tips of the brush to the pan once. A soft product can leave plenty of powder with a single light pass. Tap the handle gently over a tissue if you see loose particles sitting on top. Avoid pressing the whole head down to make the pickup look even. The center of the brush can hold more than you expect, and you may release it only when you press the brush harder against your face.
You can check the load on the back of a clean hand if the blush is unfamiliar. Use the same pressure you intend to use on your cheek. You are checking whether the brush makes a faint haze or a strong dot, and how much remains for a second touch. The hand will not tell you exactly how the shade looks on your face. Your cheek may have more redness, and the base underneath can change how the particles spread. The check is simply a way to avoid discovering a heavily loaded brush on top of finished makeup.
Choose the first point with your face relaxed
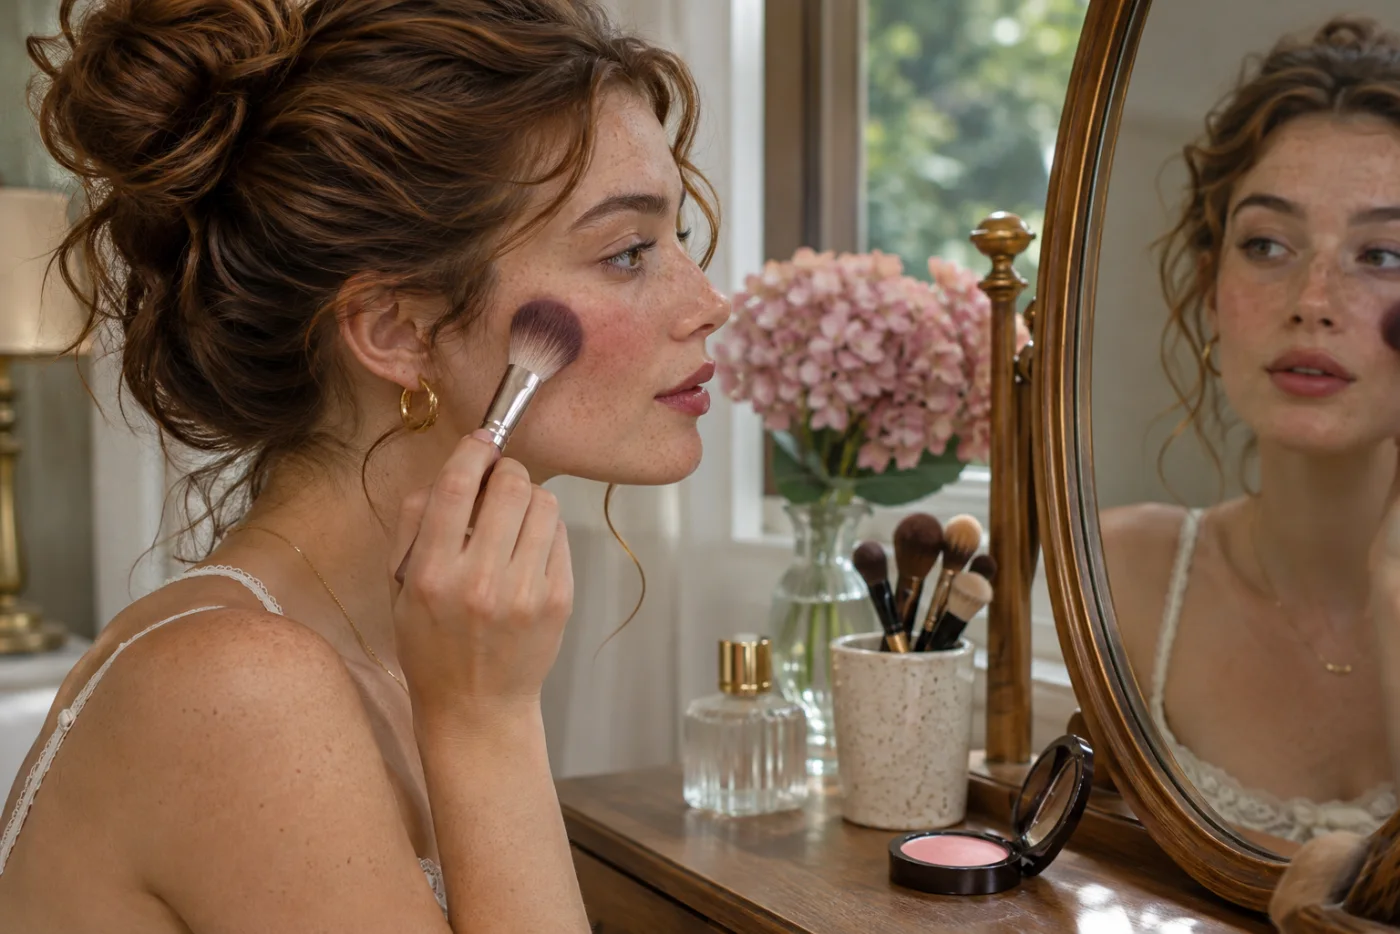
Look straight ahead and choose the small area you want to carry the strongest color. For a rounded effect you might start on the outer part of the cheek’s fullest area. If you prefer a color that runs higher, start farther out on the cheekbone and soften it toward the temple. You can smile to locate the cheek, then relax before making contact. This lets you see where the color will actually sit for most of the day. A first touch too near the nose leaves very little space to diffuse the inner border.
Hold the handle farther from the bristles to make a lighter touch easier. Set the tips down briefly and lift. Look straight ahead before sweeping. If the spot looks darker than you expected, use the empty edge of the brush to move a little pigment outward. If the first touch is almost invisible, make a second one just beside it with the product still in the brush. You will get more information from those two touches than from a wide circular motion that puts color over the whole cheek at once.
Connect the marks without widening the blush
Use small overlapping strokes inside the shape you chose. Then skim the border with the tips, keeping your pressure light enough that the bristles barely bend. Work a little at a time around the perimeter. A hard border at the upper edge needs attention there, even if the rest of the cheek already looks soft. Continuing to buff the middle can enlarge the area of color and disturb your foundation without fixing the edge you noticed.
If a spot still looks strong, step away from the mirror before doing anything else. Up close you can distinguish individual powder particles and fine skin texture. At the distance you would stand from someone in conversation, you can see whether the spot actually reads as a separate patch. If it does, use a clean brush and make a short pass across the edge of that spot. For a visibly heavy application, use the guide to softening too much blush before deciding whether you need to redo the base.
Match the second cheek by looking straight ahead
Give the second cheek its own small load. The brush will have released much of its first load on the first cheek, so simply switching sides often makes the second application weaker. Start at the equivalent point while looking straight into the mirror. Check the distance from the side of the nose and the height relative to the outer corner of the eye. Those landmarks help when you keep turning your head to get a better view and accidentally compare two different angles.
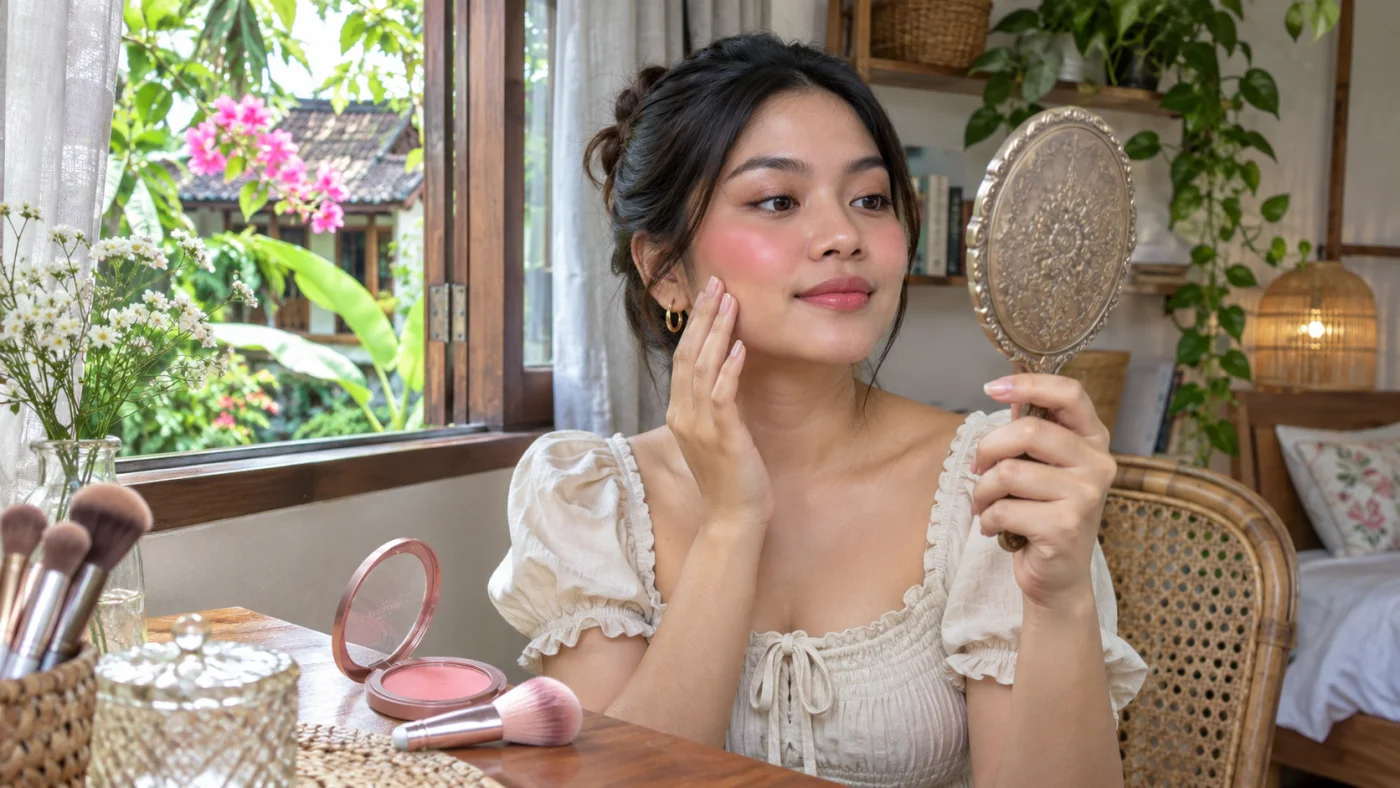
Compare both sides under light that reaches the front of your face. A light coming only from one side can make one cheek look softer because it is in shadow. Face a window or move the mirror so both cheeks receive similar light. If one side still looks weaker, add one light touch to that side, then reassess. Differences in cheek shape and natural redness can make perfectly symmetrical placement look uneven. Aim for similar visual weight from the front and a soft edge on each side. Take a look from an angle only after the straight-on check.
Adjust for the powder you already own
If a blush reads strong from one light contact, pick up less and apply with the side of a flexible brush. When the formula barely shows, make two thin passes and check the first cheek before trying a third. Pressing harder can disturb what is underneath and make an otherwise subtle product look streaky. A pan with a reflective finish is worth checking with your head turned slightly. A side light may reveal a strip of shine that you could not see facing the mirror. If you like the effect, keep it. If you want a softer edge, work only on that strip with the clean side of the brush.
When a blush repeatedly looks patchy, try changing the tool before changing the shade. Use the same base and pan the next day, but swap a dense brush for a more flexible one. If both brushes leave the same dark spot in the same location, examine how the base settles there. If the result changes with the brush, the amount you picked up or the pressure you used is a better place to start. If you are deciding which texture fits your usual base, compare the handling differences in the cream versus powder blush guide.
Stop at a result you can repeat
Before adding another layer, finish the part of your makeup that changes the balance most, such as lip color or brow definition. A cheek that seemed pale while you worked on it may look right once the rest of the face is complete. Check near a window and in the room where you will spend the next part of the day. If the edges look smooth and you can see the color at ordinary distance, put the brush down.
Remember the brush, the amount you picked up and where you first touched each cheek. For example, you might use the edge of your tapered brush, one touch in the pan and a first mark just outside the fullest part of the cheek. That is enough to repeat tomorrow. If you want more intensity next time, keep the first point and the tool the same and add a second light pass after the front-light check. You will be able to judge the extra color without having to rebuild the entire routine.