
Cheek makeup
Too much blush? Rescue the color in small steps
Check light and surface first, then reduce surplus color with clean tools, a small local correction and a clear stopping point.
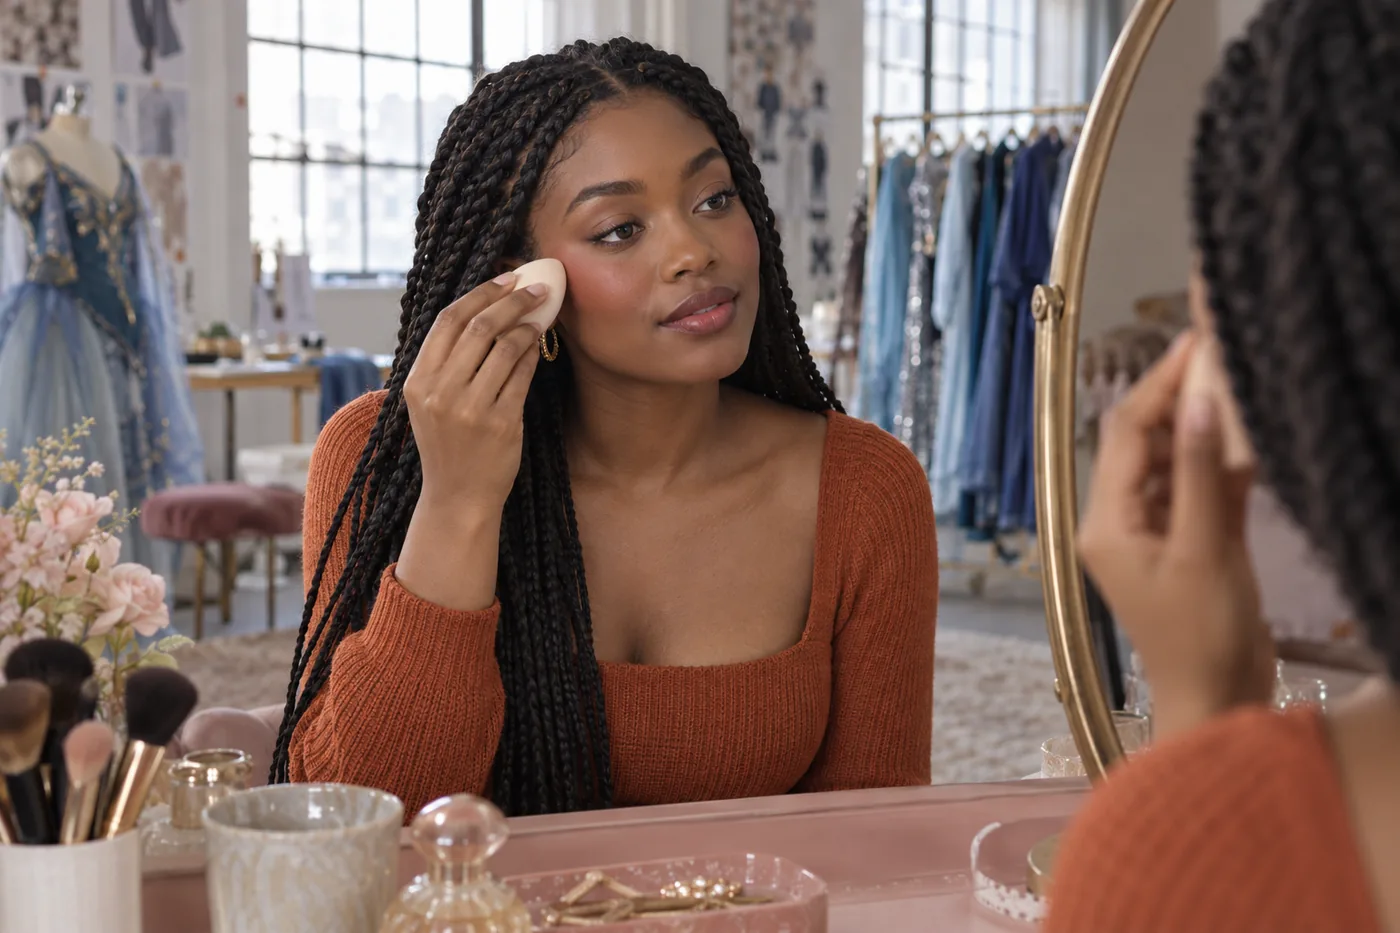
Too much blush can mean more color than you intended, not a mistake everyone else gets to define. A bold cheek may be exactly the look you want. This guide is for the moment when you prefer less intensity, a smaller area or a softer boundary and would like to keep the rest of your makeup. Pause before adding more powder or rubbing the cheek: first decide what needs to change and whether the base underneath is still intact.
Work from the smallest useful intervention toward a local restart only if needed. Check the light, use a clean tool, try one limited correction and look again from normal distance. Powder, cream and liquid blush do not all respond to the same touch, and the particular formula matters more than its category alone. No technique can promise to preserve every layer. The aim is an acceptable, comfortable result with fewer corrective layers, rather than a perfectly erased cheek followed by another full application.
Too much blush: check the light before the color
Move away from the close mirror and look at your whole face in the light where you expect to wear the makeup. A warm bulb, a strongly tinted wall or a phone camera can change your impression of the cheek. If possible, also look in indirect daylight, keeping the same relaxed expression. Avoid comparing a brightly lit cheek with the other side of the face in shadow and assuming that one needs more product to become equal.
Name the unwanted difference before touching it: too saturated in the center, spread beyond the intended area, or a distinct edge. These lead to different repairs. A visible boundary may need a tiny amount of blending without lowering the center color. A large area can remain large after repeated circular brushing. If you actually like the intensity once you see the whole look, stop here. You do not have to make blush subtle to make it acceptable. The linked lighting guide can help distinguish a light change from a change you genuinely want in the makeup.
Find out whether the surface is stable
Consider what is under the blush and what has already happened to it. Is the base a settled thin layer, a fresh slippery film or bare skin? Has the blush dried into a coating, or can a light touch still move it? You can observe a tiny inconspicuous edge with an appropriate clean tool; you do not need to rub a whole cheek to learn the answer. Check the product directions for setting, blending and tool preparation. A liquid label does not mean that it remains blendable indefinitely, and a cream label does not guarantee a forgiving correction.
Also distinguish excess color from bare patches or rolled product. If you already see exposed foundation gaps or small cosmetic rolls, aggressive blending is unlikely to solve the original intensity problem. That surface needs a limited reset rather than more circular motion. The linked cream-versus-powder guide explains how format and the underlying layer affect application choices. Here the question is narrower: what can be reduced now without making the existing surface worse? Do not add another formula until you know whether you are working over an intact layer or trying to hide a damaged one.
Put the loaded brush down and choose a clean tool
The brush that created the strong color may still contain enough pigment to intensify every corrective pass. Set it aside. Choose an appropriate clean, soft brush or a clean sponge, depending on the product instructions and surface. If you cannot tell what is on a tool, choose another. Check that a brush does not shed and that a sponge has no rough or damaged area. Prepare only the tools needed for the first small test.
Wash your hands and follow the cosmetic labels. The FDA’s safe-use guidance supports clean handling, not sharing cosmetics and keeping containers clean. These general precautions do not establish that any particular repair will work. Do not blow on tools, add saliva or improvise a mixture inside the original product container. If the skin feels irritated, stop the correction rather than trying to blend the discomfort away. This is a makeup repair, not a treatment for redness or sensitivity. Cleanliness and a light touch matter more than a special rescue kit.
Reduce loose powder without spreading it everywhere
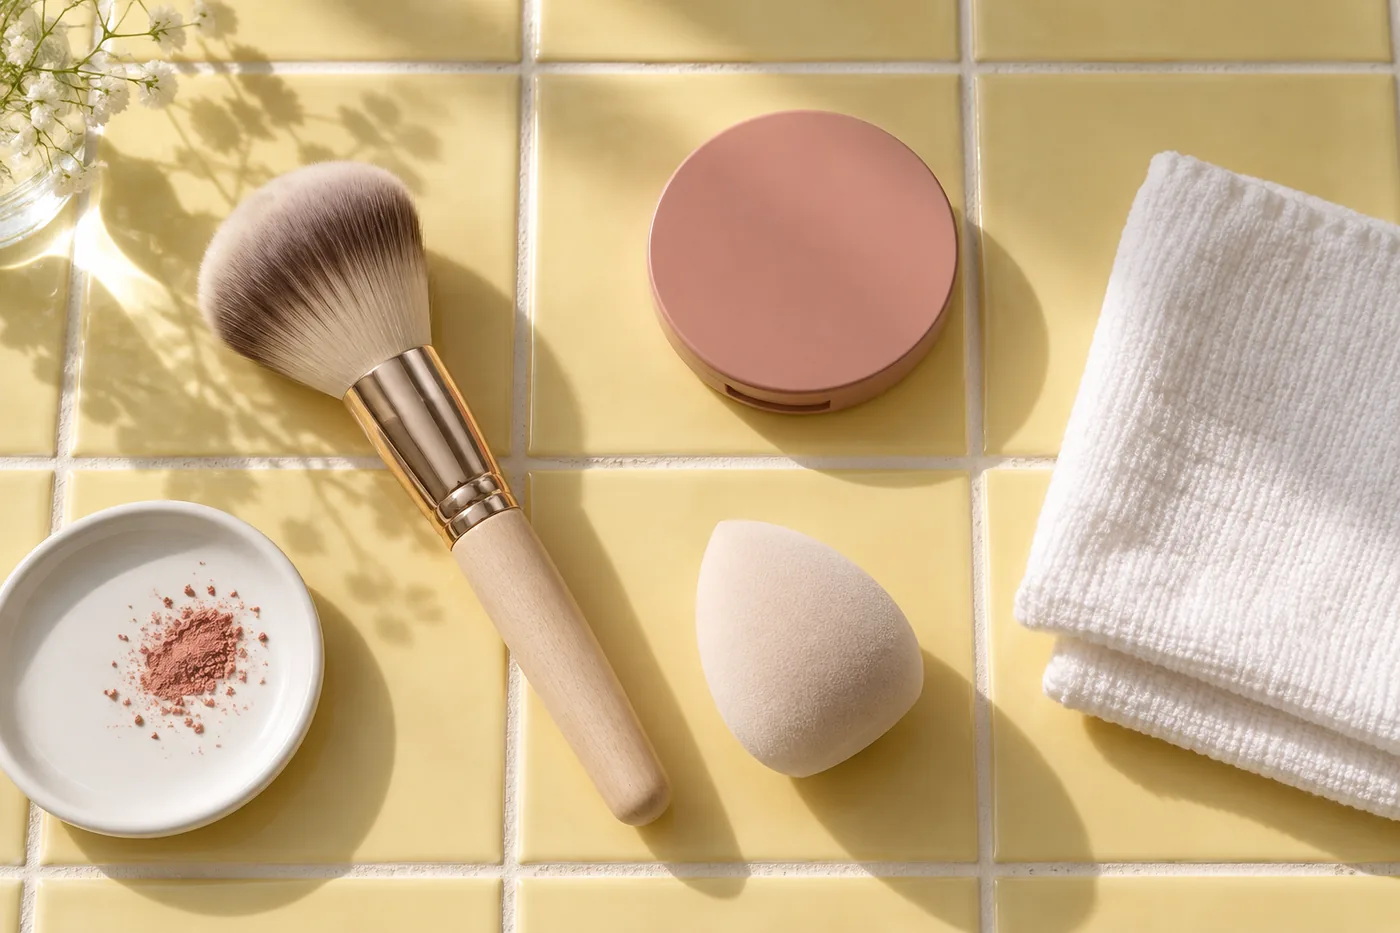
For a stable powder surface, begin with a clean soft brush and no added product. Make a few small light passes through the area that is stronger than intended, then lift the brush away. Check the result before repeating. The purpose is to soften or collect a little surplus, not to push the color across the nose or down the face. If the brush immediately picks up substantial pigment, clean or change it before another pass. Otherwise the tool may simply redeposit the same color somewhere else and widen the footprint you wanted to reduce.
Use a restrained motion at the boundary if only the edge looks abrupt. Watch the surrounding skin, not just the brightest center. Stop when the edge is acceptable or when the base begins to look disturbed. A layer that is firmly attached may not lift with a dry brush, and more force is not an improvement. You can leave the center somewhat brighter, consider a tiny familiar complexion layer later or choose a local restart. Loose powder over the entire cheek is not an automatic next step: it may change finish and texture while leaving much of the unwanted color visible.
Lift movable cream or liquid with light contact
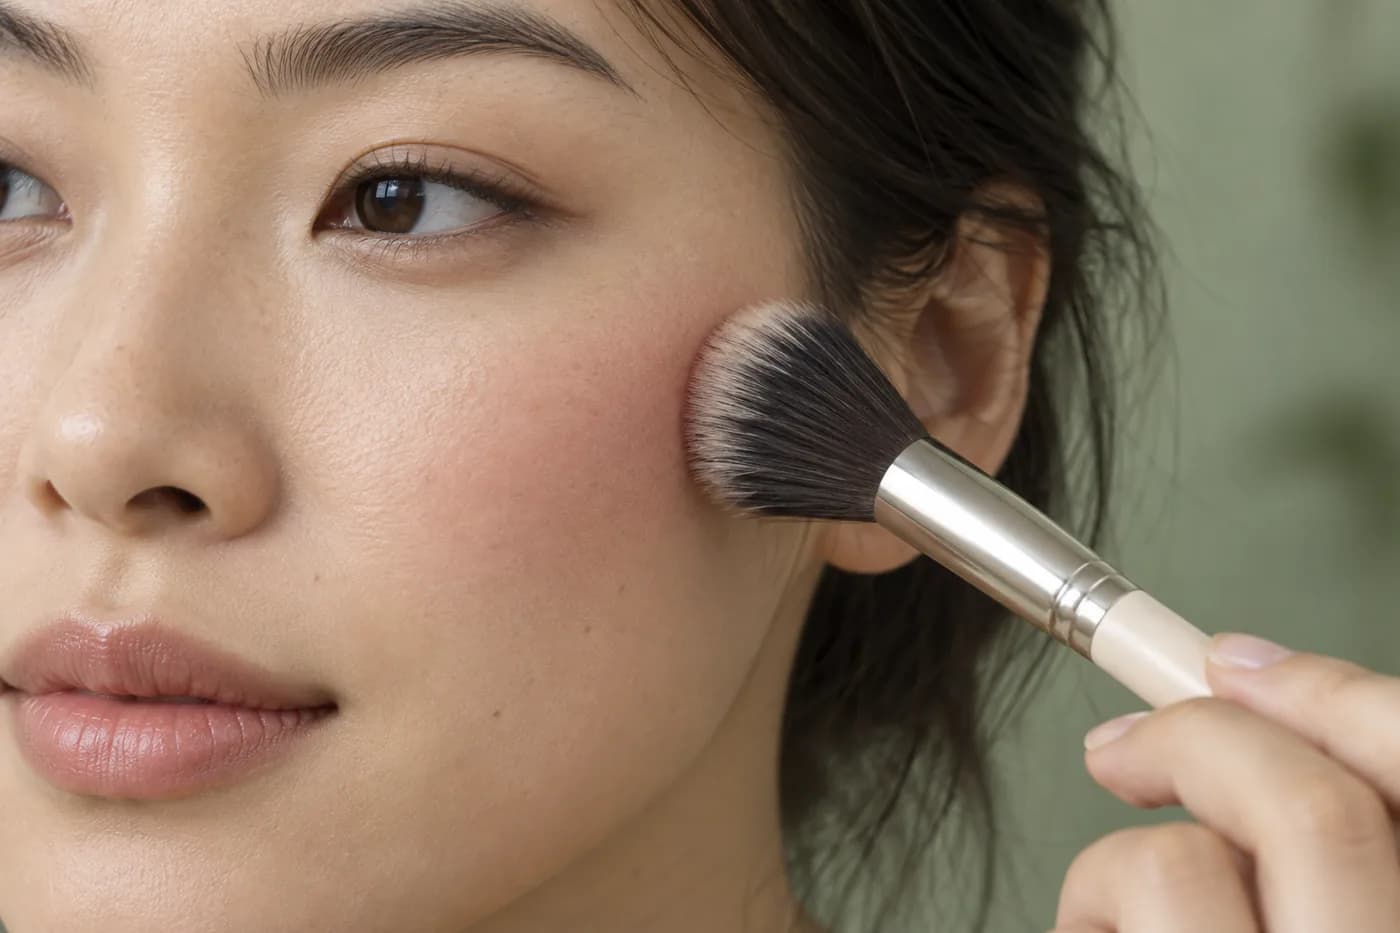
If the formula is still workable and the surface is intact, a clean sponge may pick up a little surplus through brief light contact. Follow its preparation instructions; do not assume it needs to be wet. Touch a small section, lift completely and examine the sponge and cheek. Use a clean part for the next touch if pigment transfers. Pressing repeatedly with the same colored surface can return the product to the skin. Keep the motion small and avoid dragging the cheek color into the under-eye area or toward a boundary you already liked.
Judge both color and base coverage after the first attempt. If the sponge removes foundation as well, do not keep pressing until a broad pale patch replaces the strong blush. If the blush has already set, a method that worked immediately after application may no longer be suitable. Respect that change. Do not dissolve the layer with an improvised spray. Choose the next step according to the actual surface: a thin local veil may be enough on intact makeup; broken or uncomfortable layers are a reason to stop and reset only the affected zone.
Use a small familiar base layer only when it helps
When the color remains stronger than wanted but the surface is smooth, consider a very small amount of your familiar complexion product. Use a shade that already matches the surrounding base, not a markedly pale concealer intended to illuminate another area. Put a small amount on a clean palette or clean hand as appropriate, take very little with a suitable tool and press a thin veil over the specific area. Start at a boundary if that is the problem. This is a compatibility trial, not a rule that every foundation can be applied successfully over every blush.
Look before adding a second veil. Some combinations may become patchy, change reflection or look thicker than the original cheek color. If the first touch breaks up the surface, stop layering. Do not automatically add powder, more blush and more foundation in a cycle: it becomes difficult to know which layer caused the change. A transparent powder can alter shine, but it is not an eraser and need not make a saturated pigment disappear. Prefer the smallest correction whose texture you can live with. If the color is now acceptable and the cheek still moves comfortably, leave it alone.
Restart one zone when correction stops being useful
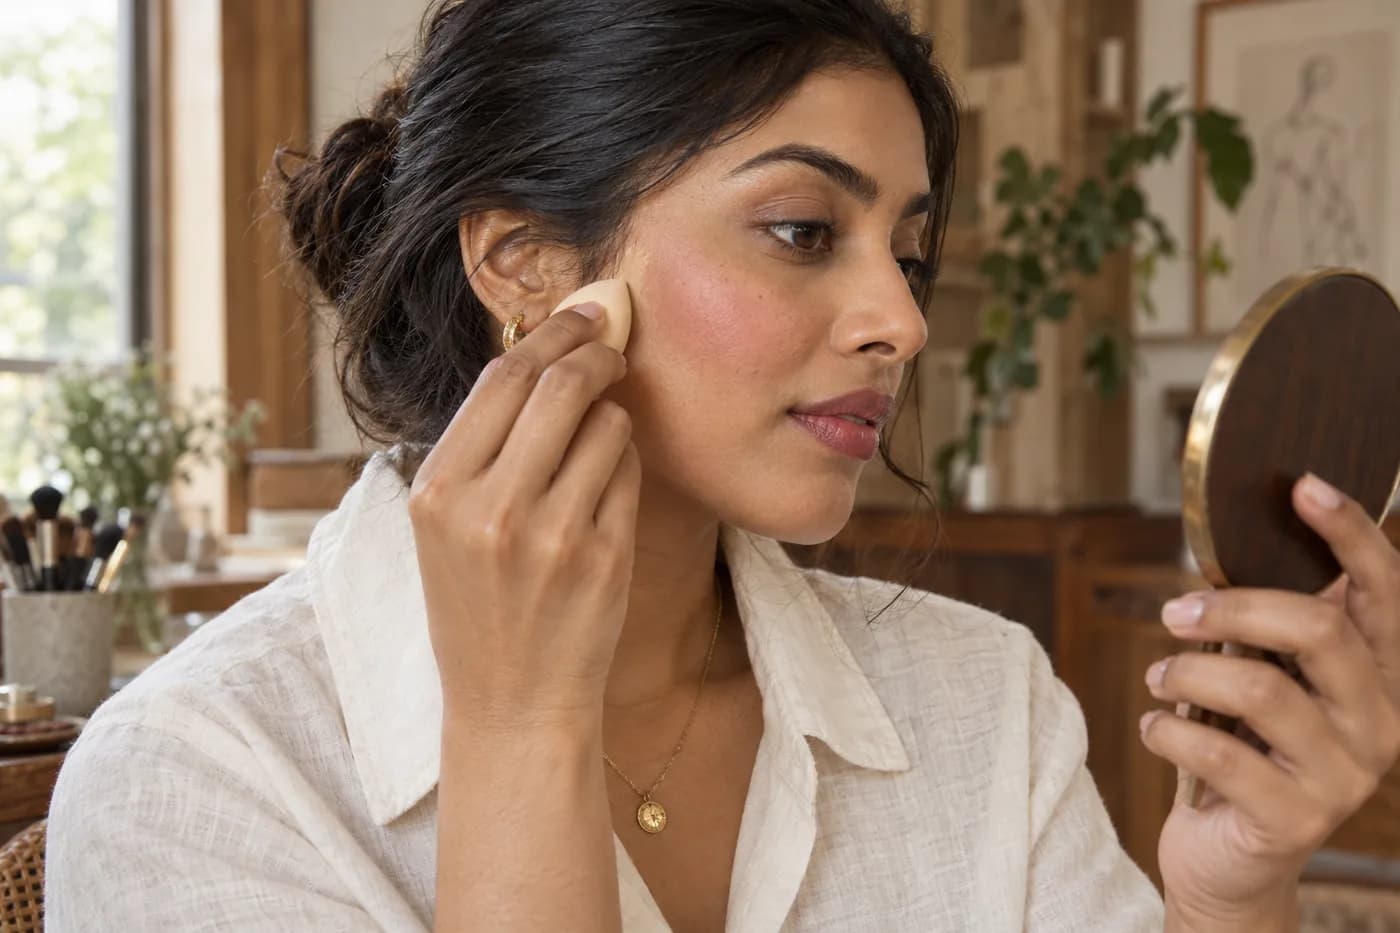
A small local restart can be more practical than another series of uncertain layers. Choose it when repeated touches expose gaps, the product rolls, or the texture has become difficult to manage. Use your normal suitable remover according to its directions on the affected cheek area. Keep handling gentle and avoid flooding adjacent finished eye or lip makeup. You may lose a little more base than expected; do not promise yourself a perfectly sharp removal boundary. It is often easier to rebuild a softly edged small zone than to preserve a narrow ring of damaged foundation around it.
Once the area is ready according to your usual product routine, restore only the coverage you need in thin amounts. Let each applicable layer settle as instructed. Reintroduce blush with a lower starting load, placing it inside the area you want rather than on the whole cleared patch. You do not have to reconstruct the previous intensity. If time is limited, a quieter corrected cheek can be enough. If the skin remains uncomfortable, leave further makeup off that zone instead of treating coverage as compulsory. A successful rescue preserves your options; it does not require completing every original step.
Check the complete face before balancing the other cheek
Step back again and use the same ordinary light you chose at the beginning. Turn the face slightly in both directions and return to a relaxed front view. A cheek facing a window will not look exactly like one turned away from it. Compare the intended color area and the overall balance without expecting identical photographic brightness. You may discover that one small correction was sufficient. Resist adding blush to the other cheek simply because it is easier than removing a little from the stronger side. That can move both cheeks farther from the look you actually wanted.
Check a closer mirror view for lifted base or a sharp new repair edge, then return to conversation distance. The useful result needs to work as a whole face, not as an enlarged patch inspected endlessly. A phone photo can be an extra note, but automatic processing and exposure can change the apparent intensity. Do not let that image overrule the real light without understanding the difference. Decide on a stopping point: color within your preferred range, a manageable boundary and a surface that feels comfortable. More work after that point can undo the repair rather than refine it.

Change the starting load next time
Record what happened in a short practical note: the product, underlying layer, loaded tool, first strong area and correction that actually helped. This is a personal observation, not a controlled product test. If the original brush held too much pigment, reduce the starting load on the next suitable occasion. If the color spread too far while blending, begin in a smaller area. For liquid or cream formulas, use an appropriate small portion outside the main container when the directions permit, so you can pick up less instead of committing a large deposit directly to the cheek.
Build only after viewing the first application from normal distance. You can keep a bold result when that is your intention; the point of a lower starting amount is control, not a universal preference for pale cheeks. Separate color intensity from footprint and finish so that the next adjustment stays understandable. When the same simple application produces a result you like, keep that routine. The real cheek, the actual light and the amount of correction you are willing to do supply the evidence that matters for this small daily decision.