
Cheek makeup
Cream vs powder blush: 5 checks before layering
Choose a blush format by checking your base, brush load, blending, powder placement and everyday light with the products you actually use.
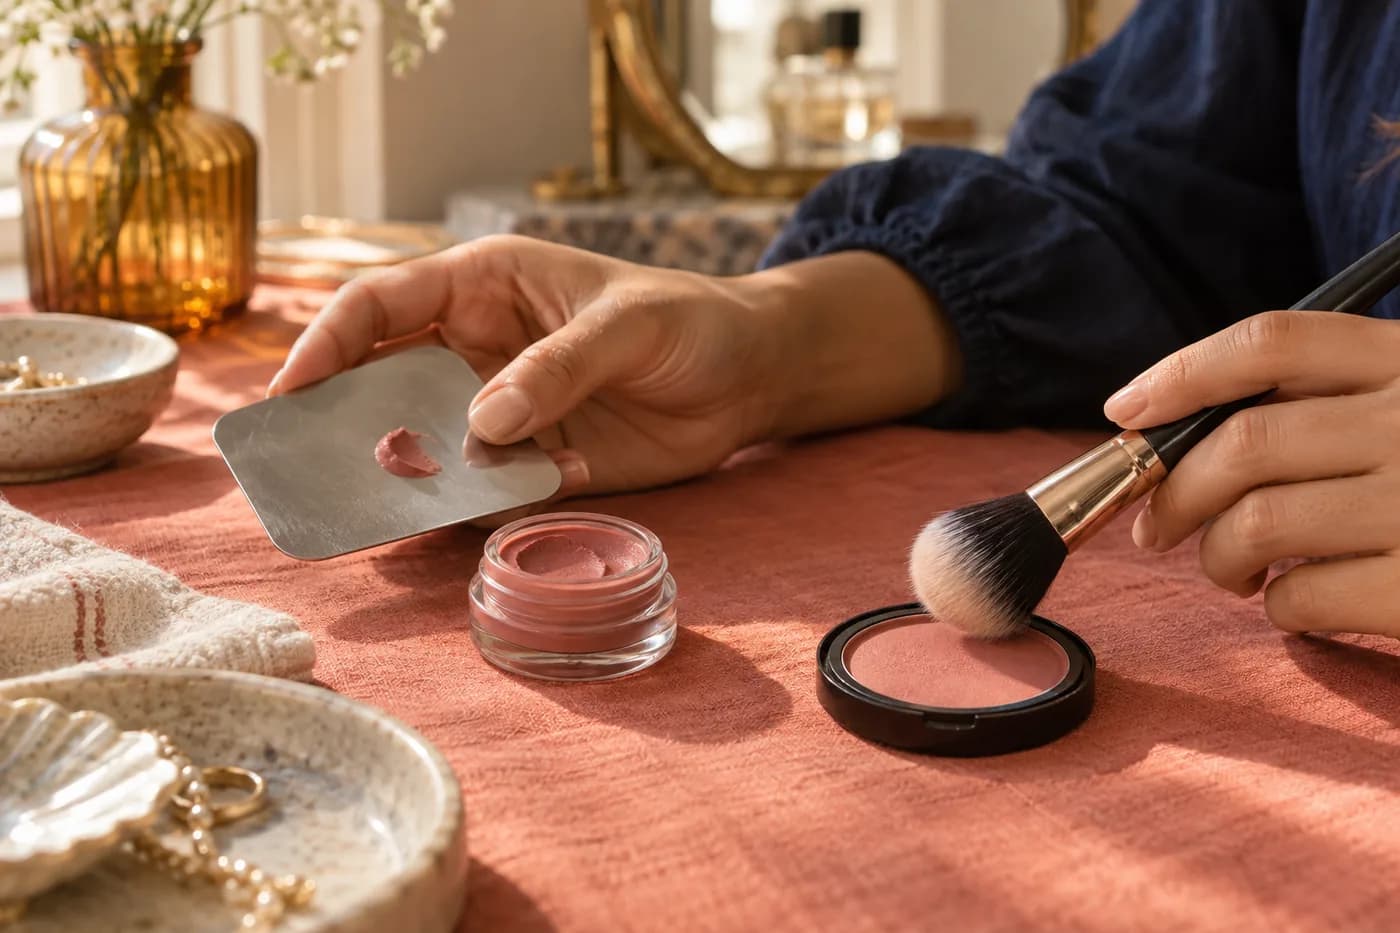
Cream vs powder blush is easiest to decide with a small cheek test, not a rule that assigns one texture to your skin type forever. A cream may spread beautifully on bare skin yet move the foundation underneath it. A powder may give you a soft edge with one brush and a dense patch with another. The useful question is which actual product fits the base, tools and amount you use on an ordinary morning.
Keep a familiar color family and placement, then work through five checks: the surface underneath, the amount on your tool, the first blend, any added powder, and the result in everyday light and wear. You can do this with products you already own when their condition and instructions allow. You do not need to stack both formats or rebuild the rest of your face. The aim is a comfortable, repeatable application rather than a universal winner, a product ranking or a promise that one format always lasts longer.
Cream vs powder blush: separate format from finish
Cream and powder describe how the product is supplied and handled. They do not tell you everything about the finish. A cream can leave a restrained, relatively matte result; a powder can contain a visible sheen. Color depth, opacity and reflective particles also affect the impression. If you compare a bright coral cream with a muted rose powder, your preference might be about color rather than texture. Choose two broadly similar directions so you can notice handling instead of being distracted by a different palette.
Before testing, check the product's condition and follow its instructions. The FDA advises clean hands and containers, no sharing, no added water or saliva, and storage according to the manufacturer. Do not thin a pot of cream to make it spread like a different formula. If a product has changed noticeably or its history is uncertain, resolve that question before comparing it. A clean setup makes the trial easier to repeat, but it does not turn your personal experience into a controlled laboratory test or prove that an entire product category is better.
Check 1: keep the cheek surface steady
Start with the base you normally wear, applied in your usual light layer. If you wear no foundation, test on your usual prepared skin. Let the surface settle according to the products' directions and observe whether it feels wet, tacky, smooth or already heavily powdered. Those descriptions are more useful than assuming that every foundation accepts every cream or that powder must always sit on a dry face. You are checking a particular combination, not a category of skin.
Use the same preparation for each candidate. Testing cream over a rich fresh base and powder over a fully set base changes two things at once. On separate ordinary days, keep skincare, foundation amount and placement similar, then change the blush. A side-by-side cheek trial can offer a quick first impression, but natural differences between the cheeks and light direction limit the comparison. If the result matters for a long event, repeat it with your normal complete routine. Record the starting surface so you can identify whether trouble begins before the blush touches it.
Check 2: control what reaches your tool
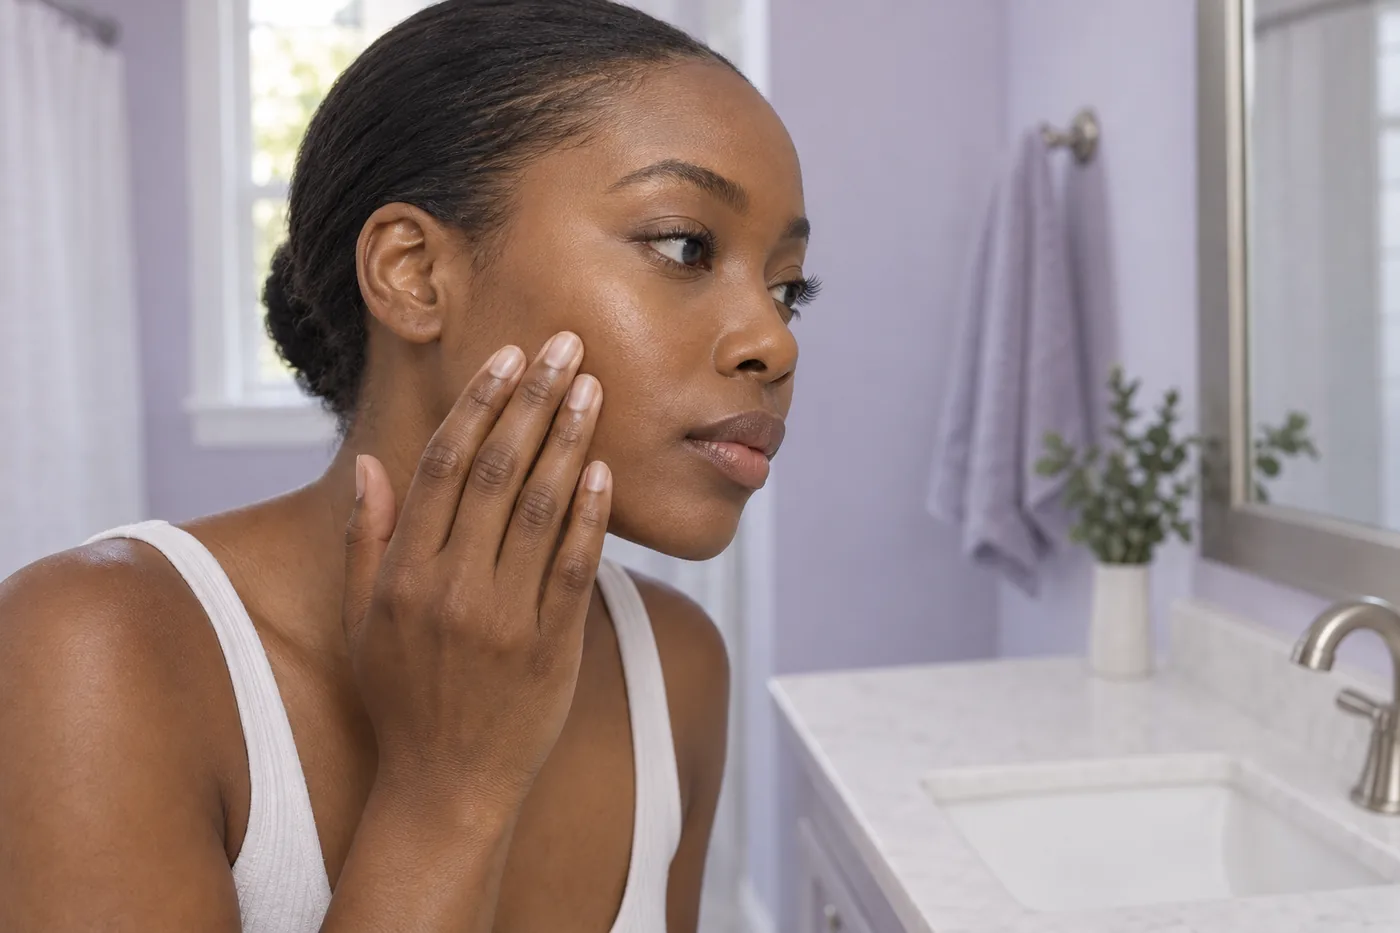
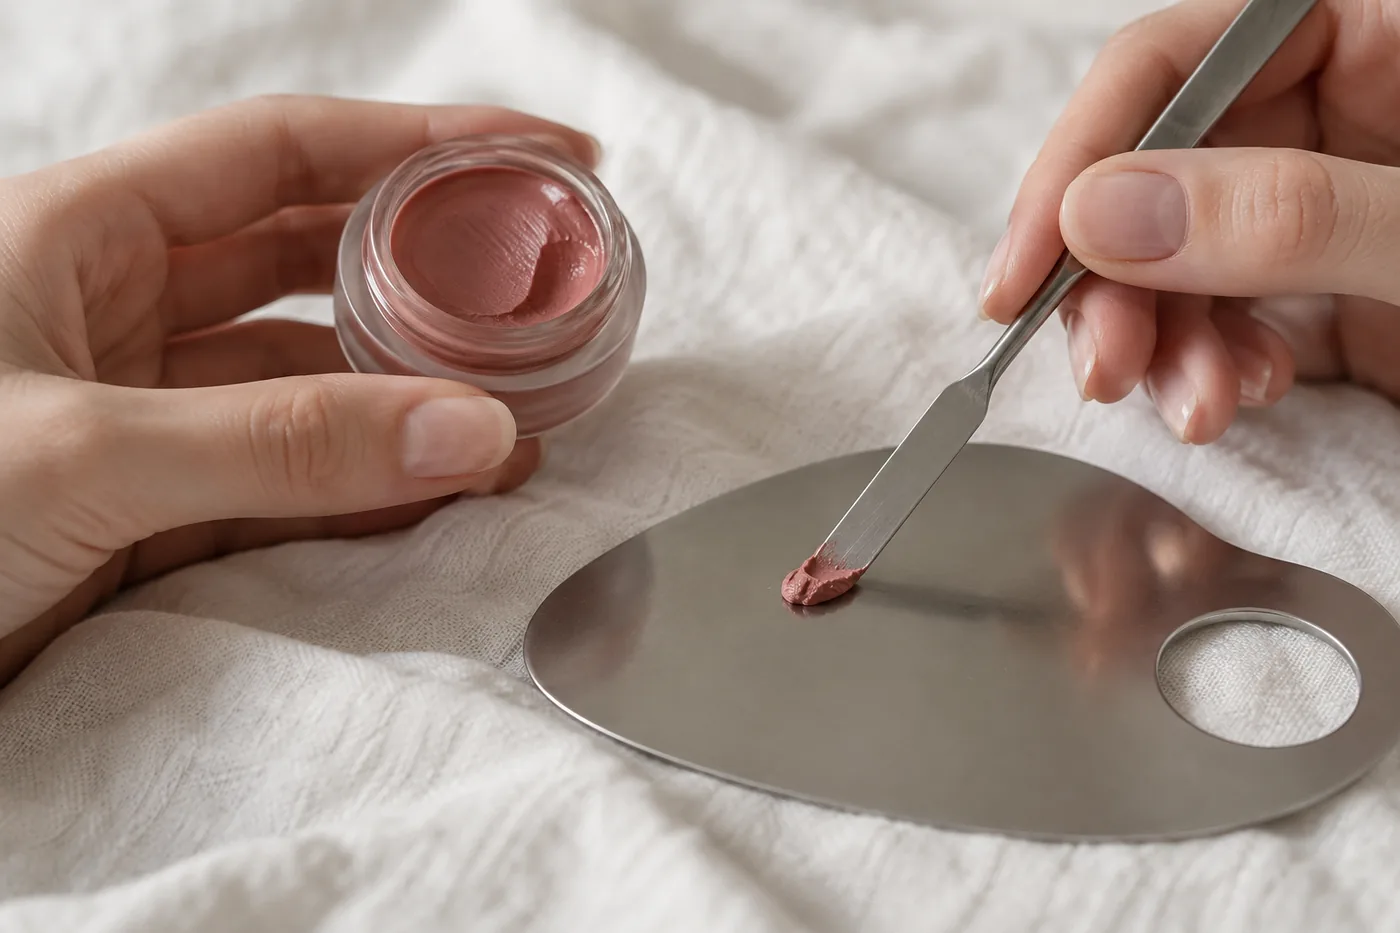
Begin with less pigment than you think you need. With cream, take a tiny portion onto a clean surface or use the product as directed, then distribute it lightly on clean fingertips or an appropriate brush. A large dot placed directly on the cheek can require more blending than a small controlled pickup. If you use a stick, avoid drawing a broad stripe just because the format makes that convenient. The amount matters more than copying a gesture from a short video.
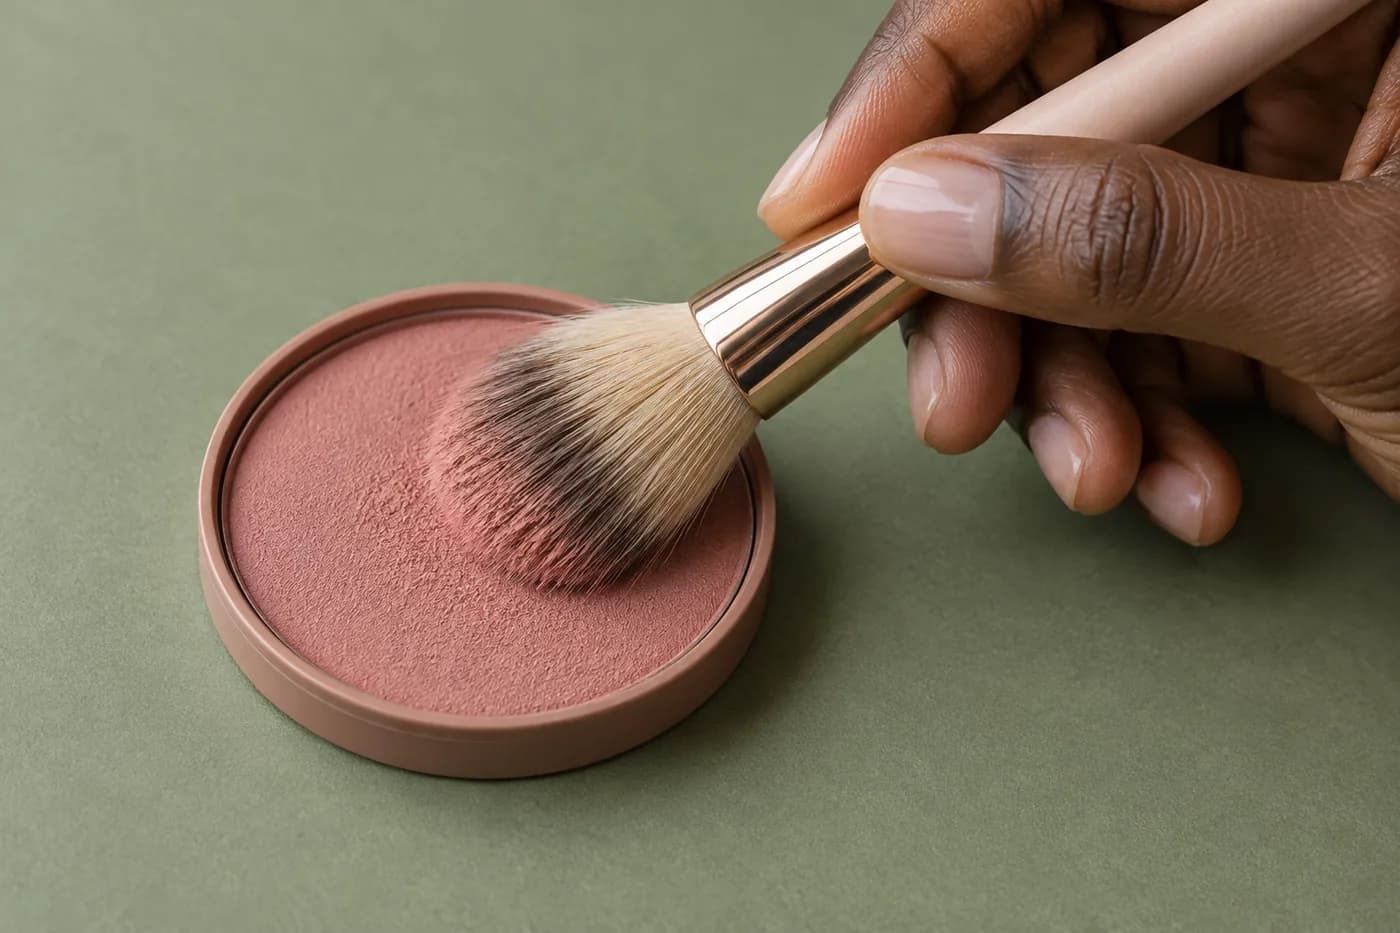
For powder, lightly pick up color with a clean brush and remove loose excess in a controlled way. Do not repeatedly dig into the pan to make the brush visibly pink before the first pass. Brush size, density and pressure can make the same powder feel very different. Aim for a small comparable starting effect rather than identical product weight, which you are unlikely to measure accurately at home. Note the tool used with each formula. If one format requires more passes, that can be a practical consideration without being evidence of lower quality or weaker pigment.
Check 3: blend without chasing the whole cheek
Place the first small amount inside the area you actually want colored. Work outward gently from that starting zone instead of spreading a large deposit across the face and trying to erase its borders afterward. With a cream that suits your base, light pressing or short controlled movements may be easier than broad rubbing. With powder, use light strokes and stop to inspect before repeating them. Follow the particular formula's directions rather than assuming that every product likes the same brush motion.
Watch the layer underneath. If foundation starts to lift, smear or expose a bare spot, more blending is unlikely to make the comparison clearer. Pause and note the moment it happened. On the next trial, reduce the amount or pressure while keeping other conditions steady. If the placement itself feels wrong, treat that as a separate question; the linked placement guide helps you define the area before choosing the format. The goal is a soft usable edge, not an invisible cheek texture. Normal pores and movement remain visible in both cream and powder routines.
Check 4: add powder only for a specific reason
First assess the blush without automatically topping it with another layer. Some routines benefit from selective setting; others become heavier when every cheek product is followed by more powder. If you want less shine or a drier surface, identify the exact zone before adding anything. A small amount of your familiar setting product may be enough to investigate that need. Follow its instructions and avoid treating powder as a guarantee against all transfer or fading.
If you want to combine cream and powder blush, give the second product a defined role. It might add a little color or alter the surface appearance. Keep both layers thin and check whether the hue becomes darker or more saturated than intended. Combining two formats also means your original cream-versus-powder comparison has ended: you are now evaluating a layered routine. That is a legitimate choice, but record it accurately. Do not add a powder blush solely because a general tutorial says every cream must be sealed. The best next step is the smallest change that answers a visible issue in your particular base.
Check 5: look at ordinary light and later wear
Step back to conversation distance and look at the whole face. Check beside a window and under the indoor lighting you normally use, keeping the amount unchanged. A bright close mirror can encourage you to chase tiny edges that are barely noticeable at normal distance. A warm bulb can also make the color seem different from its appearance near daylight. The lighting guide helps separate those environmental changes from an actual problem with the product or placement.
After a normal part of your day, return to the same viewing conditions where possible. Observe whether the color is still where you placed it, whether the surface has become shiny or dry-looking, and whether touching or clothing contact affected it. Do not assume that a more vivid starting layer has better staying power. Comparing a thick cream application with a thin powder veil cannot establish a format-wide wear rule. Your useful result is more modest: this amount of this product, over this base, stayed comfortable and readable for the routine you actually followed. Record what changed first.

Read skin-type advice as a starting point
Recommendations often describe cream as a choice for dry skin and powder as a choice for oily skin. Those broad labels can start a conversation, but they do not specify the actual formula, preparation or amount. A cream may set down more than its appearance in the pot suggests. A powder may contain reflective particles that add sheen even when the cheek feels dry. Your face can also have different needs in different zones or on different days.
Use the observation from your trial to guide the decision. If the cheek looks dry before blush, putting more color over it does not resolve the starting surface. If a comfortable base moves under a cream, inspect amount and handling before changing all your skincare. If a powder builds an edge too quickly, try a lighter pickup with the same placement. None of those outcomes proves that a texture is unsuitable for everyone with a similar skin description. Stop using a product that causes discomfort instead of interpreting irritation as a blending problem or a sign that you need more setting powder.
Repair one small area instead of stacking layers
If a cheek becomes too intense during application, stop adding color. Use a clean suitable tool to soften the outer edge gently, avoiding repeated rubbing that disturbs the base. If the center is already dense, consider lifting a little product carefully or redoing that small area with your familiar base method. A blanket of setting powder may change the finish without actually removing the excess color. It can also make the eventual routine harder to reproduce.
For later fading, look at the remaining pigment before topping up. If the base still looks even, add a small amount only where color has gone. If the foundation has moved as well, restore that local surface first rather than pressing more blush into an unstable patch. Keep touch-up tools clean and follow product instructions. There is no need to repeat the full morning application at every check. A routine that permits one manageable local repair may suit you better than a dramatic initial layer intended to prevent every possible change through the day.
Keep the routine that is easiest to repeat
Choose the format that gives you a useful amount of color with manageable handling and a comfortable finish. It may be cream on days without a powdered base and powder on days when your familiar foundation is already set. It may be one formula most days, or a thin combination for a particular occasion. You do not need one permanent answer for every season, skin state and makeup look. What matters is knowing why a routine works under the conditions you actually use.
Keep a short note with the product, starting base, tool, first amount, placement and any setting step. Add the light check and the first later change you noticed. On the next attempt, repeat that sequence before altering anything. If you want a different result, change one detail you can describe, such as brush pressure or a smaller cream portion. A practical decision is complete when the application feels predictable enough for your morning. It does not require a flawless close photograph or a claim that one blush format performs better on every face.