
Complexion guide
Bronzer vs contour: choose warmth, depth, or both
Separate warmth from sculpting, compare placement on one portrait, and turn the best direction into a light-handed routine.
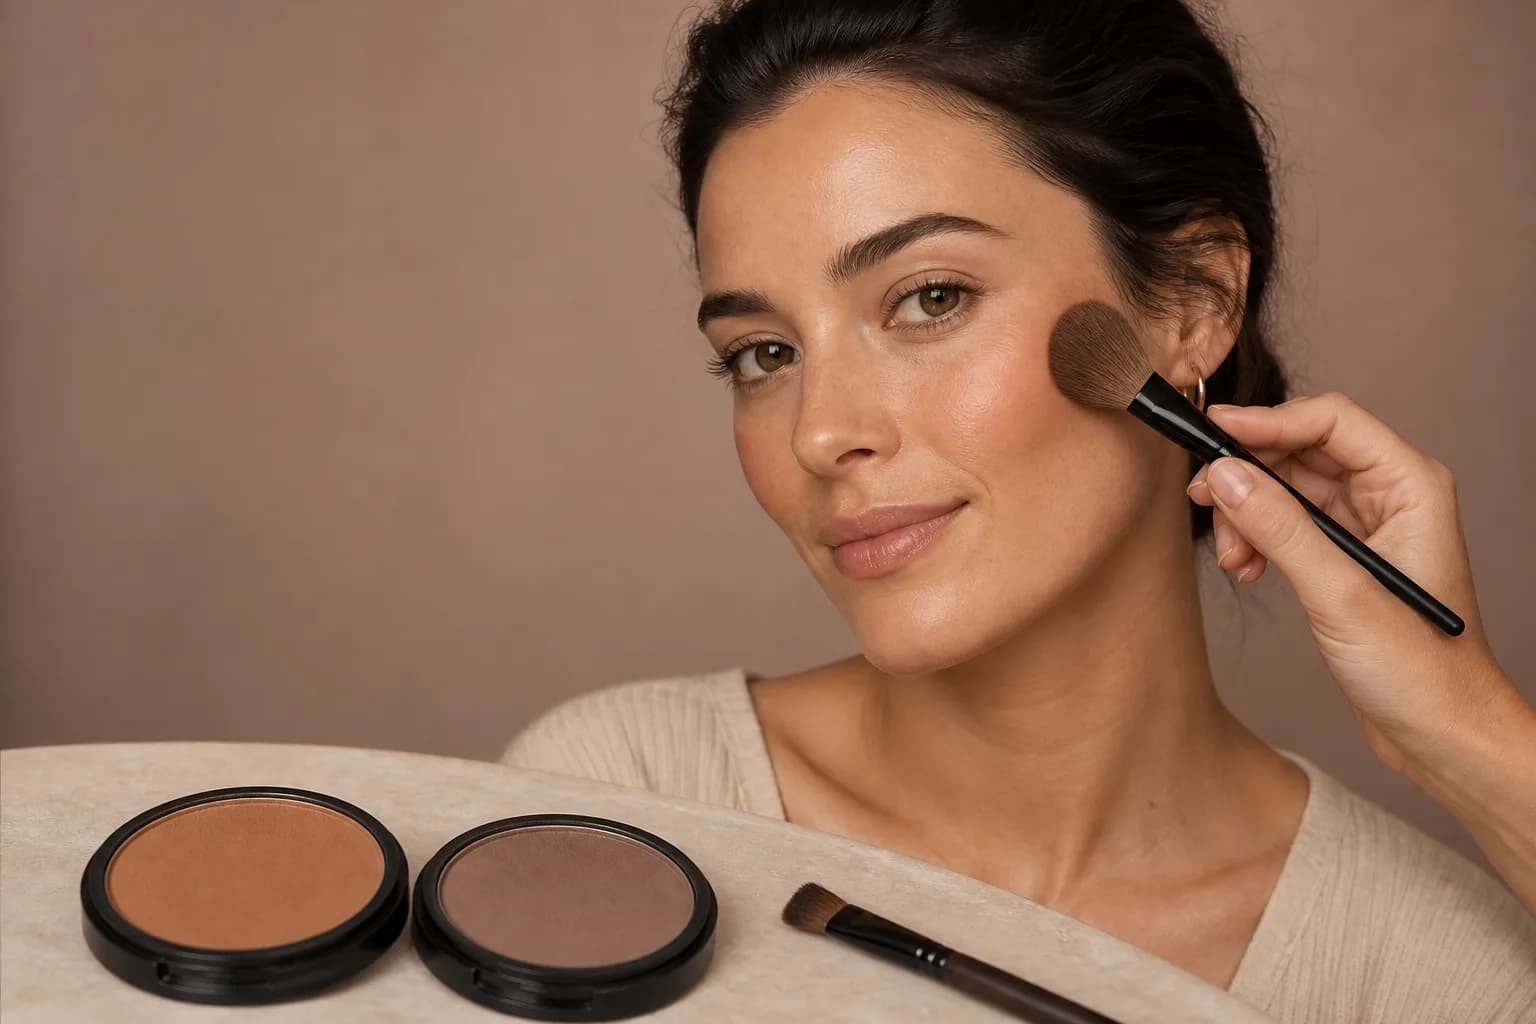
The difference between bronzer and contour is the job each product performs. Bronzer adds the impression of warmth and sun-touched color; contour creates controlled depth that can make an area recede. You can wear either one alone, layer both, or skip both. The useful question is not which product is universally better, but whether your look needs warmth, structure, or a little of each.
Packaging is not a reliable rule. A bronzer can be neutral, golden, red-brown, luminous, or matte, while a contour is usually more muted in relation to the complexion it is used on. Read the visible effect, undertone, depth, and finish together rather than assuming every bronzer must be orange or every contour must be grey.
Bronzer vs contour starts with purpose, not a shade name
Bronzer restores or adds color across broader areas of the face. It often sits where light would naturally warm the skin: the upper outer cheek, temples, and sometimes the perimeter of the forehead. The edge is usually diffused so the warmth connects with the rest of the complexion.
Contour imitates a believable shadow. It is generally placed more selectively beneath a cheekbone, along part of the jaw, at the temples, or around the nose when that detail supports the intended look. A contour should read as dimension at normal distance, not as a separate stripe.
Warmth makes the complexion look more sun-touched; depth changes how light and structure are perceived. Those effects can overlap, but they are not identical.
Choose bronzer for warmth and contour for targeted depth
Use bronzer when the base has made the face look flat, when the neck and face need a more coherent warmth, or when the mood calls for a healthy golden, rosy, or neutral-brown cast. Keep the sweep broad and sheer, then build only where the warmth still looks intentional.
Use contour when the look needs a clearer cheek, jaw, temple, or nose shadow without adding obvious warmth. Start with one area. Many everyday looks need only a small amount beneath the outer cheekbone rather than a complete map around the face.
- Warmth only: bronzer with soft edges and no sculpting stripe
- Depth only: a muted contour placed in one or two targeted zones
- Both: contour first for structure, then bronzer slightly higher and wider
- Neither: keep the complexion open and let blush, eyes, or lips lead
Match temperature, depth, and finish to the effect
A useful bronzer is visible without turning disconnected from the neck and chest. On some complexions that means golden warmth; on others, red-brown, olive-neutral, or deeper neutral warmth looks more believable. Test relative to your skin rather than following a universal warm-versus-cool chart.
A contour usually looks more subdued than the surrounding skin because a natural shadow loses brightness and saturation. It still needs enough depth to register, and its hue must remain believable on your complexion. Matte finishes are easier to read as shadow, while sheen pulls an area forward and is normally better reserved for bronzing or highlighting.
Place by visual goal instead of rigid face-shape rules
For warmth, begin on the upper outer cheek and blend toward the temple. Add a small amount around the forehead only if it connects naturally with the first placement. For depth, locate the hollow that appears when the face turns slightly and keep the product above the deepest part rather than dragging it toward the mouth.
Face-shape diagrams are starting points, not obligations. Bone structure, fullness, hairstyle, lighting, and the desired mood change how placement reads. Step back to conversation distance after each thin layer; a close mirror can make subtle shadow seem weaker than it is.
- Use a larger, softer brush for a broad bronzer veil
- Use a smaller or pinched brush for controlled contour placement
- Keep bronzer slightly higher and wider than contour when layering
- Blend the edge without spreading pigment across the whole cheek
Compare bronzer and contour directions with MaqAI
Use one neutral, front-facing portrait in MaqAI and build three versions: warmth only, depth only, and a restrained combination. Keep foundation, blush, eyes, lips, crop, expression, and lighting fixed so bronzer versus contour is the main visible variable.
Look first at the whole face. Does warmth support the eye and lip colors? Does contour improve definition or make the expression look harder? Does the combined version still look natural at normal screen size? Save the strongest direction and describe the placement in plain language before reaching for products.
MaqAI is a planning aid, not proof of an exact shade or formula. A preview cannot predict undertone shifts, oxidation, texture, brush behavior, flash, or wear. Confirm the direction with real swatches and a thin application in the light where you will wear it.
Build the real routine in thin, testable layers
If using both, place contour first so its structure stays controlled, then add bronzer above and around it without covering the shadow completely. Cream products can be placed before powder; powder versions can refine a set base. Product order matters less than preserving distinct jobs and avoiding repeated heavy layers.
Photograph the result in window light, indoor light, and from conversation distance. If the face looks muddy, reduce overlap before changing the shade. If warmth turns orange, test a more neutral or red-brown family. If contour looks ashy or like a stripe, adjust hue, depth, placement, or blending one variable at a time.
The best bronzer or contour is the one that creates the intended effect in real light with the smallest useful amount of product.