
Eye shape planning
Halo eye makeup: a compact center or a wider band?
Plan a lighter middle between two darker lid areas, then check the chosen layout with real eye cosmetics and your relaxed expression.
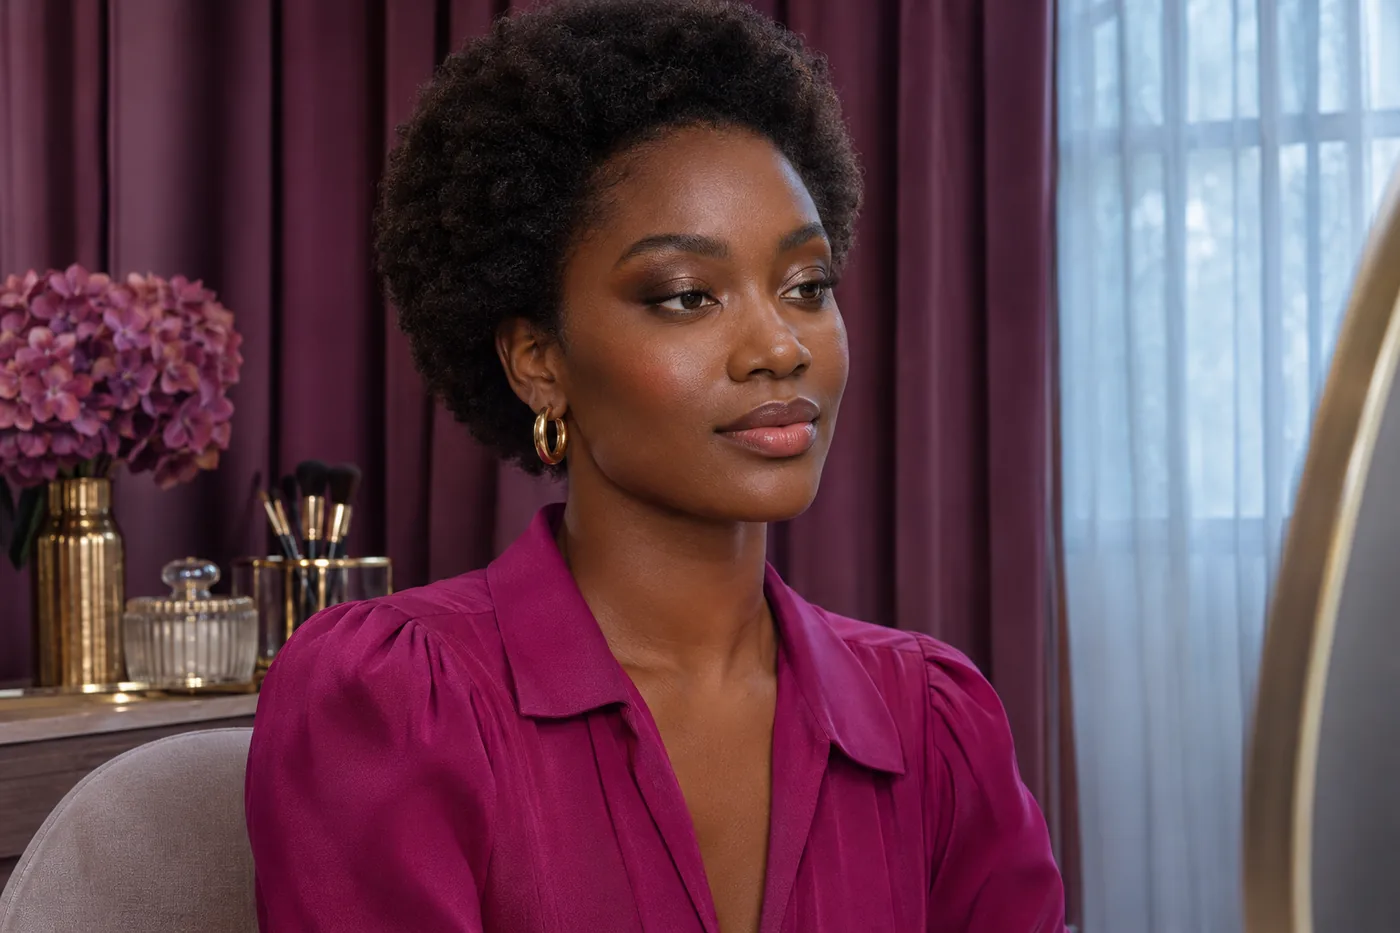
Halo eye makeup places a lighter area between two darker parts of the upper lid. The practical question is how much of that center you want to see when your eyes are relaxed and open. A narrow accent and a wider light band can create different compositions without changing the overall eyeshadow footprint. You do not need a new eye shape, a brighter iris or an exaggerated sparkle to make the idea readable.
MaqAI publishes this guide as the makeup inspiration website. Hair Muse is the app for exploring visual makeup ideas on a portrait. Here, you compare two center widths on one clear photograph, keep the palette and outer boundary steady, save a small shortlist and then test appropriate real eye cosmetics. A generated portrait cannot prove placement accuracy, formula compatibility, comfort or wear. The physical trial remains the deciding step.
Halo eye makeup: define the center and its neighbors
Think of the upper mobile lid as three adjoining color areas: a darker inner portion, a lighter center and a darker outer portion. The word inner describes external lid skin nearer the nose, not the tear duct or waterline. You can keep a comfortable distance from sensitive edges and still explore the composition. This guide does not require a dark line around the whole eye or a matching lower-lid treatment.
Choose a modest palette you can describe, such as soft brown depth and a lighter bronze center. Darker and lighter are relationships within your chosen colors, not compulsory black and white. A center can stand out through brightness, reflection or both. For this first comparison, keep its reflective finish similar in the two versions so that width remains the question you are trying to answer.
Separate the internal design from the overall footprint. If you extend the outer shadow in one image and raise the upper boundary in another, you are comparing several shapes at once. Write a short brief that holds those boundaries steady. The change belongs to the space between the two darker neighbors, not to an automatically larger or more lifted eye.
Use real products intended for the eye area
For the later trial, choose eye cosmetics suitable for the intended external lid area and follow their actual directions. A shiny face highlighter or craft glitter is not automatically an eye product. Keep hands and personal tools clean, avoid sharing eye cosmetics and stop using a product that causes irritation. These narrow handling points are supported by the linked FDA eye-cosmetic guidance; it does not certify the halo design or promise a particular effect.
Do not attempt the trial while moving, traveling in a vehicle or rushing with a pointed tool near the eye. A steady seat and a comfortable mirror position make the application easier to control. If the eye area is already uncomfortable, postpone the makeup experiment rather than trying to make it resemble a polished reference. The photograph cannot tell you whether a formula feels suitable.
Consider the texture of your real products before planning elaborate layers. A powder and a cream may not behave the same way over your usual preparation. You do not need to mix them or add a wetting product to complete this comparison. Use a familiar, permitted combination first, and leave product-format changes for a separate trial.
Prepare one relaxed portrait
Take a front-facing photograph in even light with both eyes comfortably open. Do not lift your brows or stretch the lid to display more shadow space than you normally see. Include enough of the face to understand how the eyes relate to the brows, cheeks and lips. Avoid a strong colored light or a filter that changes the eye contour or smooths away the fold.
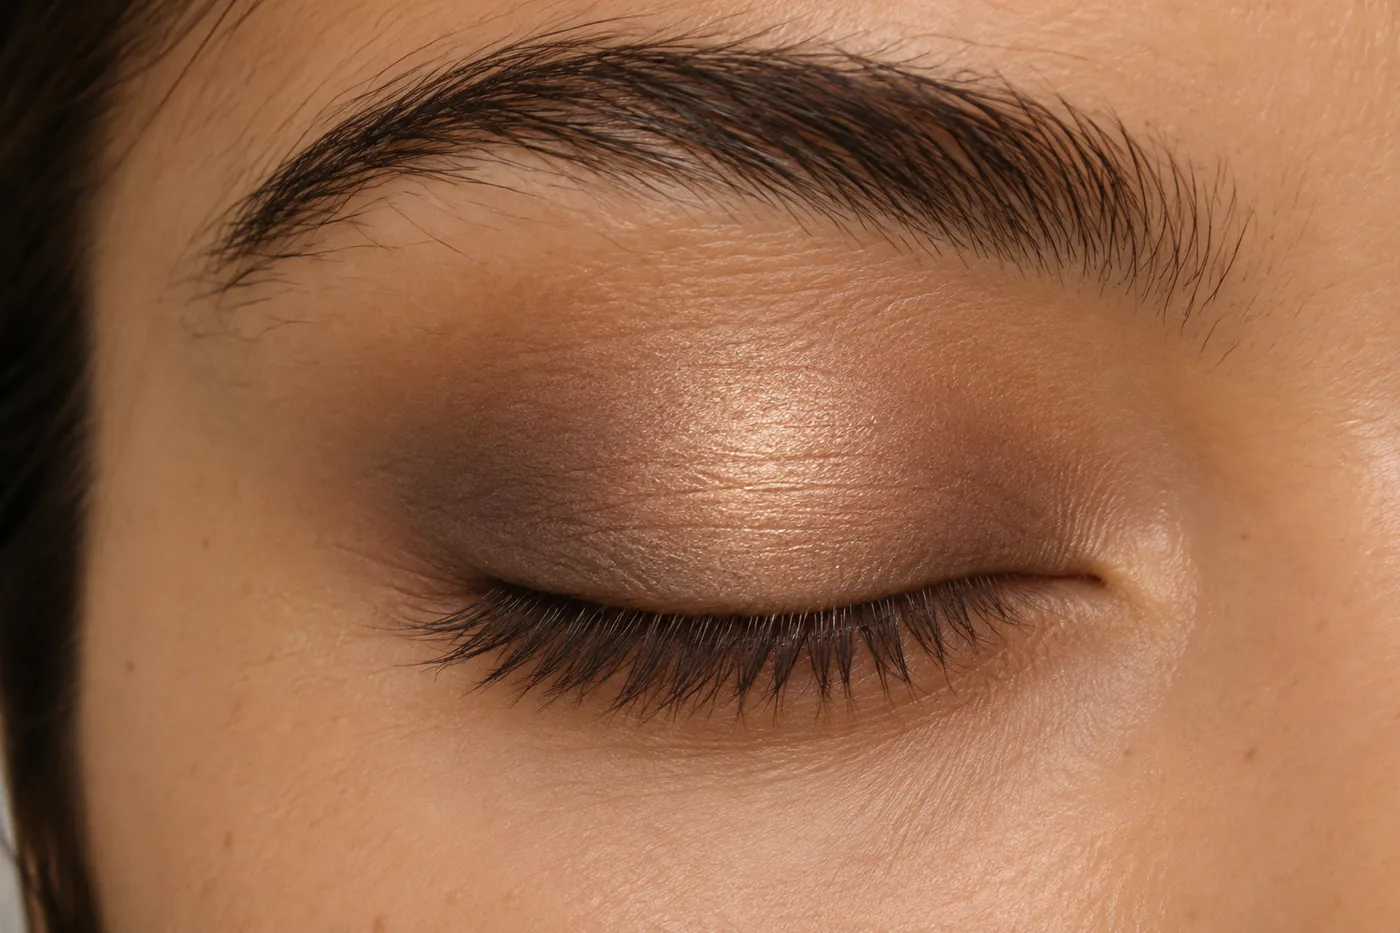
Keep that original photograph. A second image with closed eyes can help you observe the physical lid later, but it should not replace the common source for one half of the visual comparison. A flattering pose on one side and a relaxed expression on the other would make the choice misleading. The linked portrait guide covers the broader setup and lighting considerations.
In Hair Muse, use the same source for both ideas. Check the unedited reference beside the results, particularly the lid fold, eye opening and brow position. If the app changes those features, the apparent visibility of the center may come from altered anatomy rather than your chosen makeup. Reject that version instead of treating it as an instruction to change your real face.

Compare a compact center with a wider band
Create one idea with a compact lighter center and another with a moderately wider center. Keep the brown depth, bronze direction, approximate reflection and outer shadow boundary similar. Ask for the same natural expression, face proportions and surrounding makeup. These are review criteria, not a guarantee that the app will isolate width perfectly. Inspect the results before drawing a conclusion.
A wider band necessarily leaves less room for its darker neighbors within a fixed footprint. That relationship is useful information, not a mistake to conceal by expanding the whole design. Look for a readable lighter middle that still has darker areas on both sides. If one result becomes a single bright lid or one continuous dark wash, it may no longer answer the comparison you intended.
Avoid generating many slight variations before deciding what the first two show. Name the versions compact and wider, without assigning an exact product or a measurement in millimeters. A portrait cannot determine the amount your brush will deposit. If the pair changes the palette, iris, lashes or eye shape substantially, simplify the request or move directly to a restrained real trial.
Judge the design with your eyes open
First view the full portraits at ordinary face size. Ask whether the center remains visible in the relaxed expression and whether you like its relationship with the darker sides. Neither version must make the eye appear rounder, larger or younger. You are choosing a composition you enjoy, not correcting an anatomical category or satisfying a universal rule about who can wear a halo.
Then look more closely at the transitions. A soft border can connect the colors while preserving the light middle. Blending everything into one tone loses the feature you set out to compare. Conversely, an abrupt stripe may be intentional or may feel disconnected to you. Decide which relationship you want before assuming that every boundary needs further smoothing.
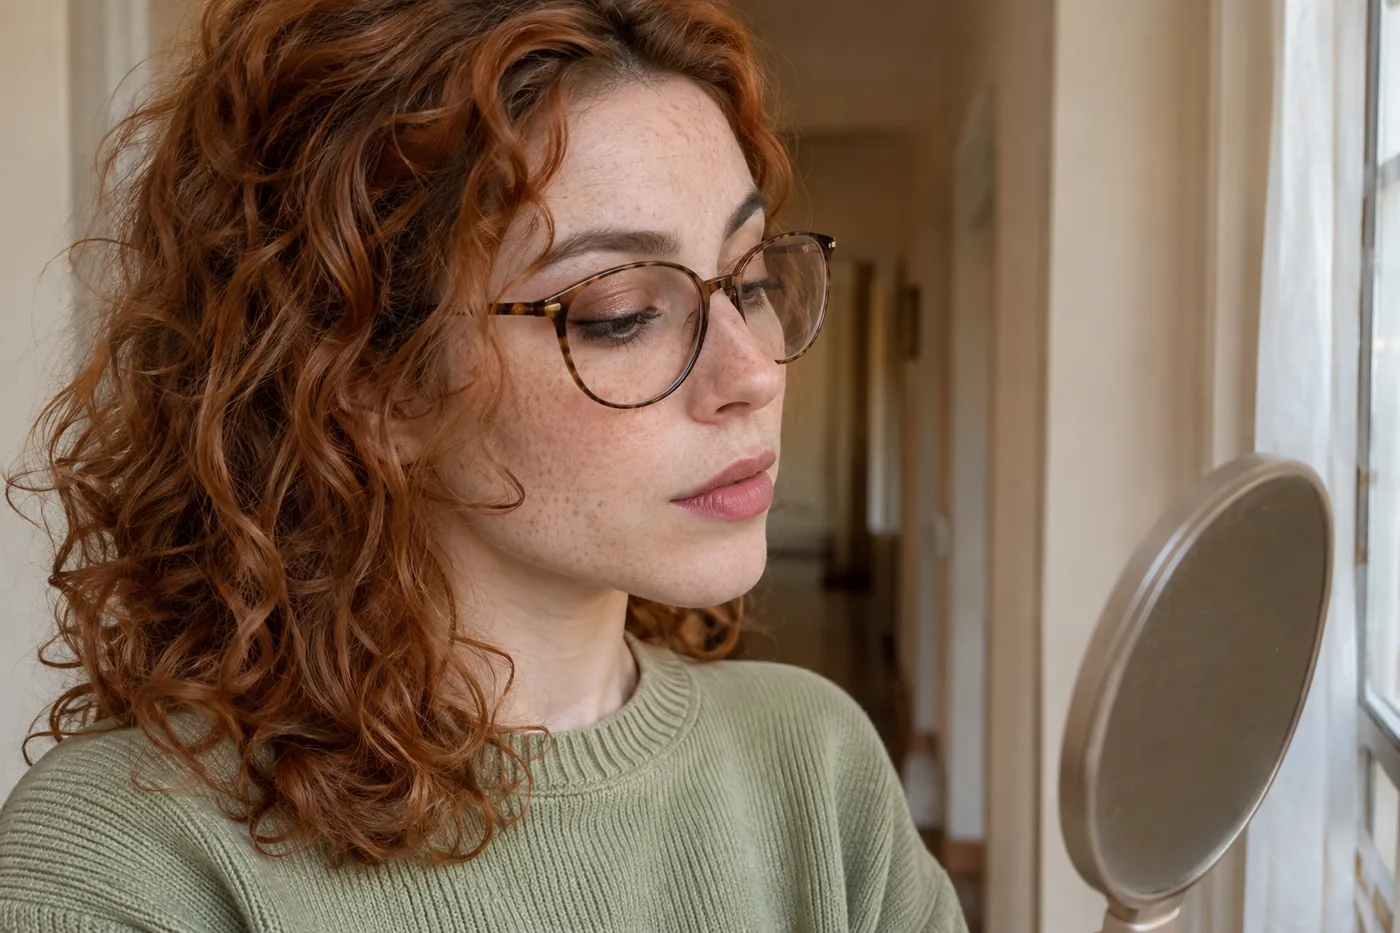
Keep the rest of the face visible during the decision. A stronger lip or cheek can coexist with this eye design, but changing those features halfway through makes the center-width choice harder to read. If you wear glasses, review the idea with your actual frames later. Do not infer the effect of real lenses from a generated image of glasses.
Make a small physical version of the chosen idea
Save at most two useful references and write down the palette, center width, overall boundary and desired transition. The linked routine guide explains how to separate a visual idea into practical product decisions. Treat the reference as a brief rather than a product list: a bronze-looking patch does not identify a pigment, formula, tool or exact shade available to buy.
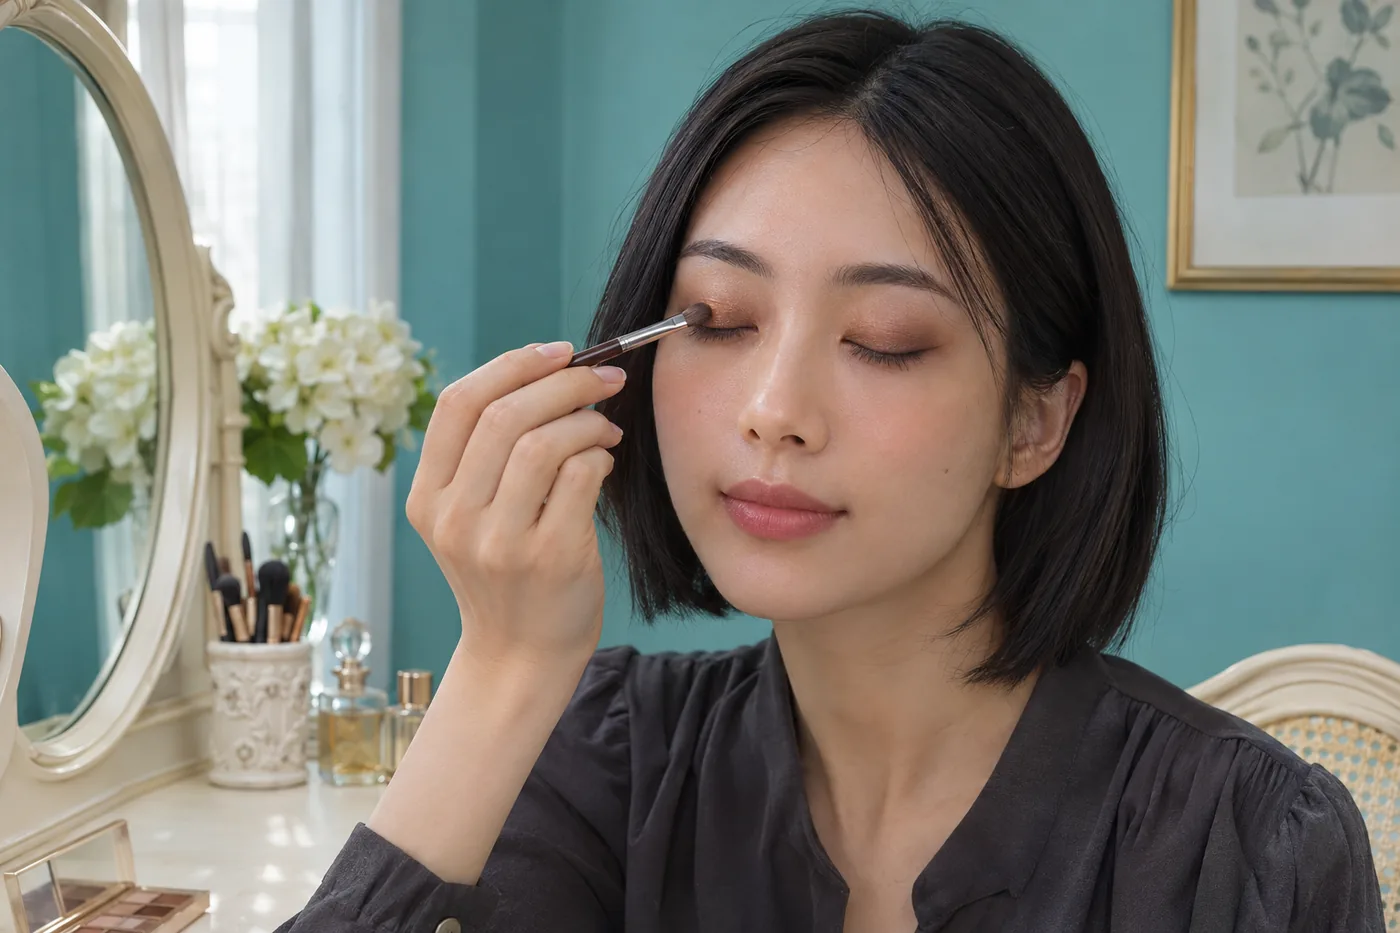
Use suitable personal brushes and a small initial load. With your chosen products and their directions, place restrained darker areas on the external mobile lid while leaving the intended center available. Avoid carrying the inner area into the tear duct or making the outer area larger simply because the tool has excess product. You can use a smaller footprint than the preview if that is more comfortable and manageable.
Add the lighter center with a controlled contact and inspect before collecting more. Follow the specific formula's application method; do not press harder to force brightness or wet a product without permission. A center that appears subtler than the image can still be a useful outcome. First establish a clean, comfortable arrangement, then decide whether another permitted light layer serves a real purpose.
Preserve the middle while softening the joins
Work on the joins locally instead of sweeping one loaded brush across the whole lid. A small amount of blending at each transition may be enough to connect the areas. Repeated broad strokes can move the darker color into the center or spread the reflective product beyond the boundary. Watch what the actual formula does rather than following a fixed number of strokes.
Pause with your eyes comfortably open. The visible design may differ from the closed-lid view because the lid moves and folds normally. Do not stretch the skin to maintain the same appearance in both positions. If the center disappears in your ordinary expression, you can choose a different modest placement in a later separate attempt, or decide that this particular design is not worth the extra work today.
If one side becomes muddier than intended, identify whether the problem is excess load, transferred color on a tool or overworked edges. Avoid covering it immediately with several more formulas. A gentle local removal according to the product directions, followed by a later restart, can be clearer than continuing to build thickness. Stop if the area feels uncomfortable.
Review light, movement and the rest of the eye
Check the actual makeup in even daylight and in the indoor light where you expect to wear it. Turn your head slightly; a reflective center can brighten or quiet down with the angle. A photo records one of those moments, not the entire moving appearance. Keep the observation practical and do not chase a permanently glowing patch that looks identical under every light.
Blink, smile and speak normally. Assess comfort, visible boundaries and whether the arrangement remains one you like. If you add liner or mascara, treat them as separate product steps and preserve the center comparison rather than automatically drawing a thick dark border. No lower-lid line or waterline application is required for the upper-lid idea to count as a complete experiment.
Observe the real result later instead of assuming that the denser or more reflective version will last longer. Creasing, fallout, transfer and changes in reflection are different observations. Record what happens to this particular combination before altering several layers. A preview offers no evidence that one palette or center width will resist those changes throughout your day.
Keep a repeatable brief instead of a perfect screenshot
Record the actual products, shades, preparation, tools and first loading actions. Add where the center sat with your eyes open and what changed in another light. One useful sentence about a join that needed less blending will help more next time than a folder of nearly identical images. Keep only references that preserve your real eye shape and explain a choice you would use.
Your conclusion can remain modest: a compact bronze center gives you the separation you wanted, or a wider band feels more connected to the full look. It can also be that the physical application takes more effort than you want. There is no obligation to purchase another palette, copy a lower-lid treatment or make the two eyes mechanically identical before deciding the experiment is finished.
For the next attempt, change one meaningful detail. You might retain the center width and explore a less reflective finish, or keep the palette and simplify the darker sides. Do not change every feature merely because the first result differs from a generated portrait. The useful outcome is a design you can describe, test with appropriate products and reproduce on your own moving face.