
Blush technique
Free patchy blush guide: smooth color without streaks
Diagnose the base, formula, tool and pressure behind uneven blush, then repair the finish without piling on more pigment.
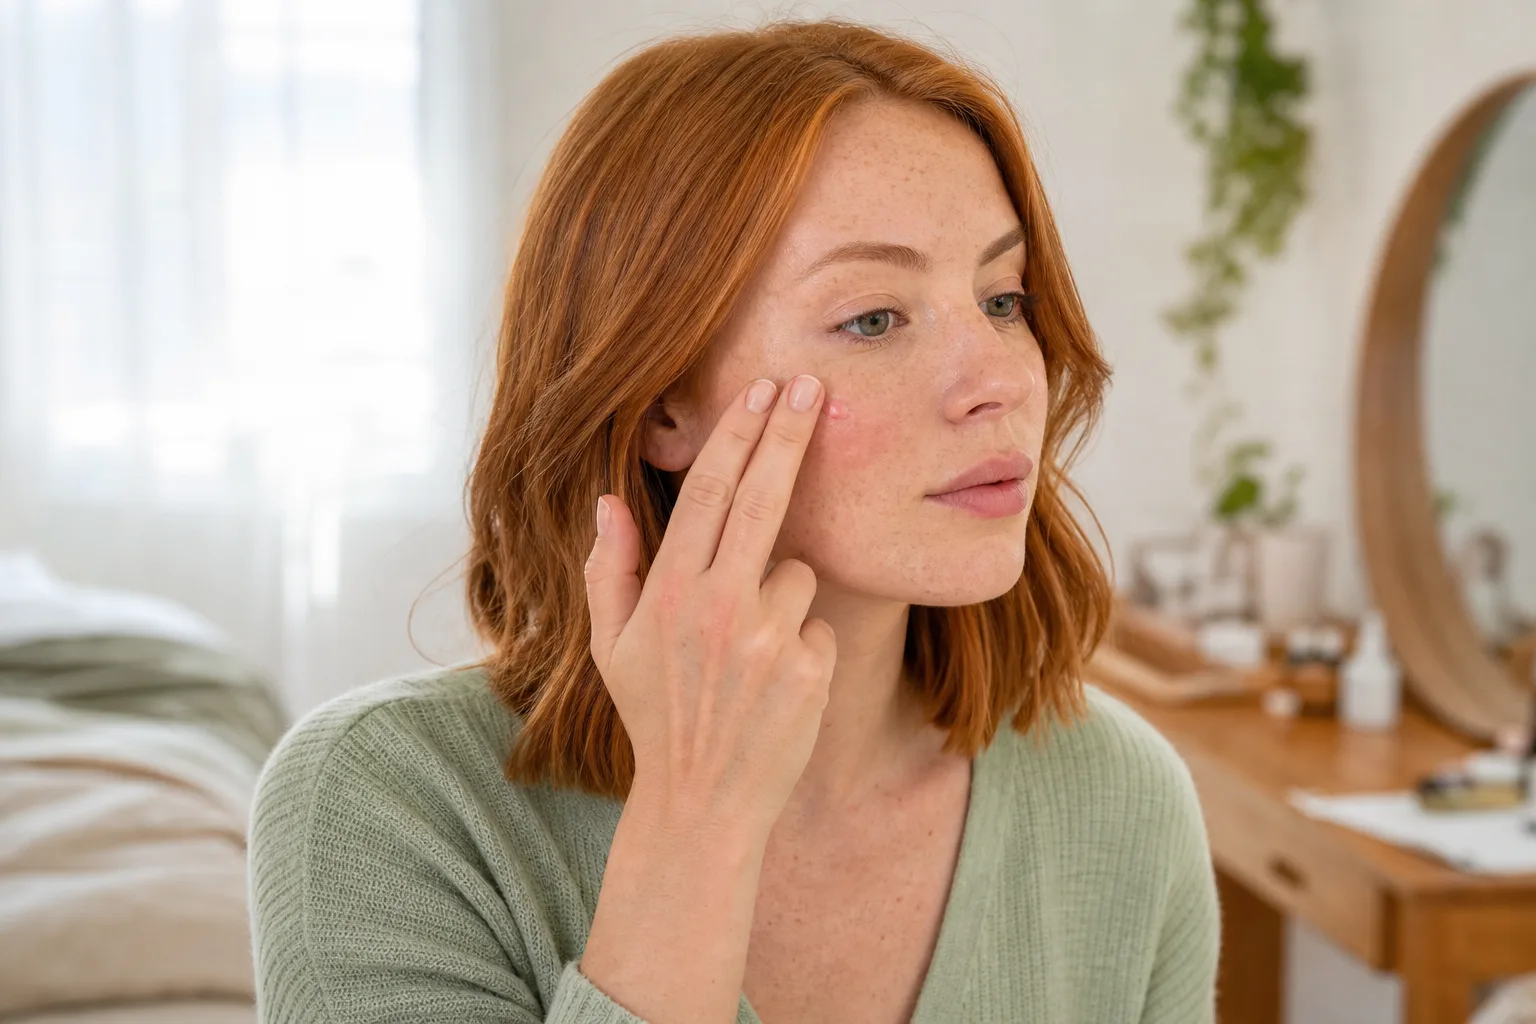
A cheek can look smooth before blush and suddenly develop a dark island, a bare gap or a streak that refuses to blend. Adding more color usually makes the contrast stronger. This free patchy blush guide treats uneven application as a small diagnosis: first identify whether the base, formula, tool, pressure or timing caused the break, then change one factor. The method works for cream, liquid and powder blush and does not require replacing an entire routine.
Patchiness is not one single failure. Pigment may catch on dry texture, lift foundation that has not set, skip across a slippery base, collect where a liquid dot began, or cling to residue in a brush. Natural pores, peach fuzz and skin variation remain visible in real life; the goal is not a filtered surface. A good result is an intentional wash of color with soft transitions, no isolated deposits and no need to scrub the cheek until the base disappears.
Use clean hands and tools, follow each product label and stop if the skin burns, swells or becomes unusually irritated. This is a cosmetic application guide, not treatment for persistent dryness, dermatitis or another skin condition. When discomfort or a rash continues, remove the products gently and seek advice from a qualified health professional rather than testing more makeup over the area.
Read the shape of the patch before you touch it
Look at the cheek in diffuse daylight and name what you actually see. A concentrated dot often means too much liquid or cream was placed directly on one spot. A pale hole surrounded by pigment can come from lifting the base during blending. Fine scattered specks may be powder catching on a damp or textured surface. A hard outer edge usually points to too much product, too little working time or a tool that deposited color before it could diffuse.
Check whether both cheeks fail in the same place. One-sided patchiness may follow hand pressure, the direction of facial hair, a dry area, a phone touching the cheek or more skincare on one side. Symmetrical failure suggests a shared layer or method: foundation that remains mobile, powder applied unevenly, a very pigmented blush, or a brush loaded only on one edge. This distinction stops you blaming the shade when the shade is not the problem.
Take one ordinary photo from conversation distance. Close mirrors exaggerate pores, while a beauty filter hides the pattern you need to diagnose. Decide whether the issue is truly uneven color, an abrupt placement edge or simply more texture than expected. Do not buff automatically; friction can turn one recoverable spot into a stripped patch of foundation.
Diagnose first: concentrated deposit, lifted base, dry catch, slippery skip or hard edge.
Match the blush texture to the surface underneath
Cream and liquid blush generally move most predictably over a flexible, lightly set base. Powder blush usually distributes more evenly over a surface that is dry to the touch. Neither rule is absolute, but texture conflicts are common: a dry powder can grab a tacky sunscreen or foundation, while a wet cream can disturb a thick layer of powder. Test the pairing on one cheek with a small amount before committing to the full intensity.
Pay attention to the finish rather than the marketing category. A balm-like cream stays mobile longer than a fast-setting liquid; a baked powder may behave differently from a very matte pressed formula. Give skincare and sunscreen time to settle according to their directions. If the base pills when you lightly tap it with a clean finger, blush will not make it more stable. Remove the unstable area and rebuild thinly instead of sealing loose rolls beneath pigment.
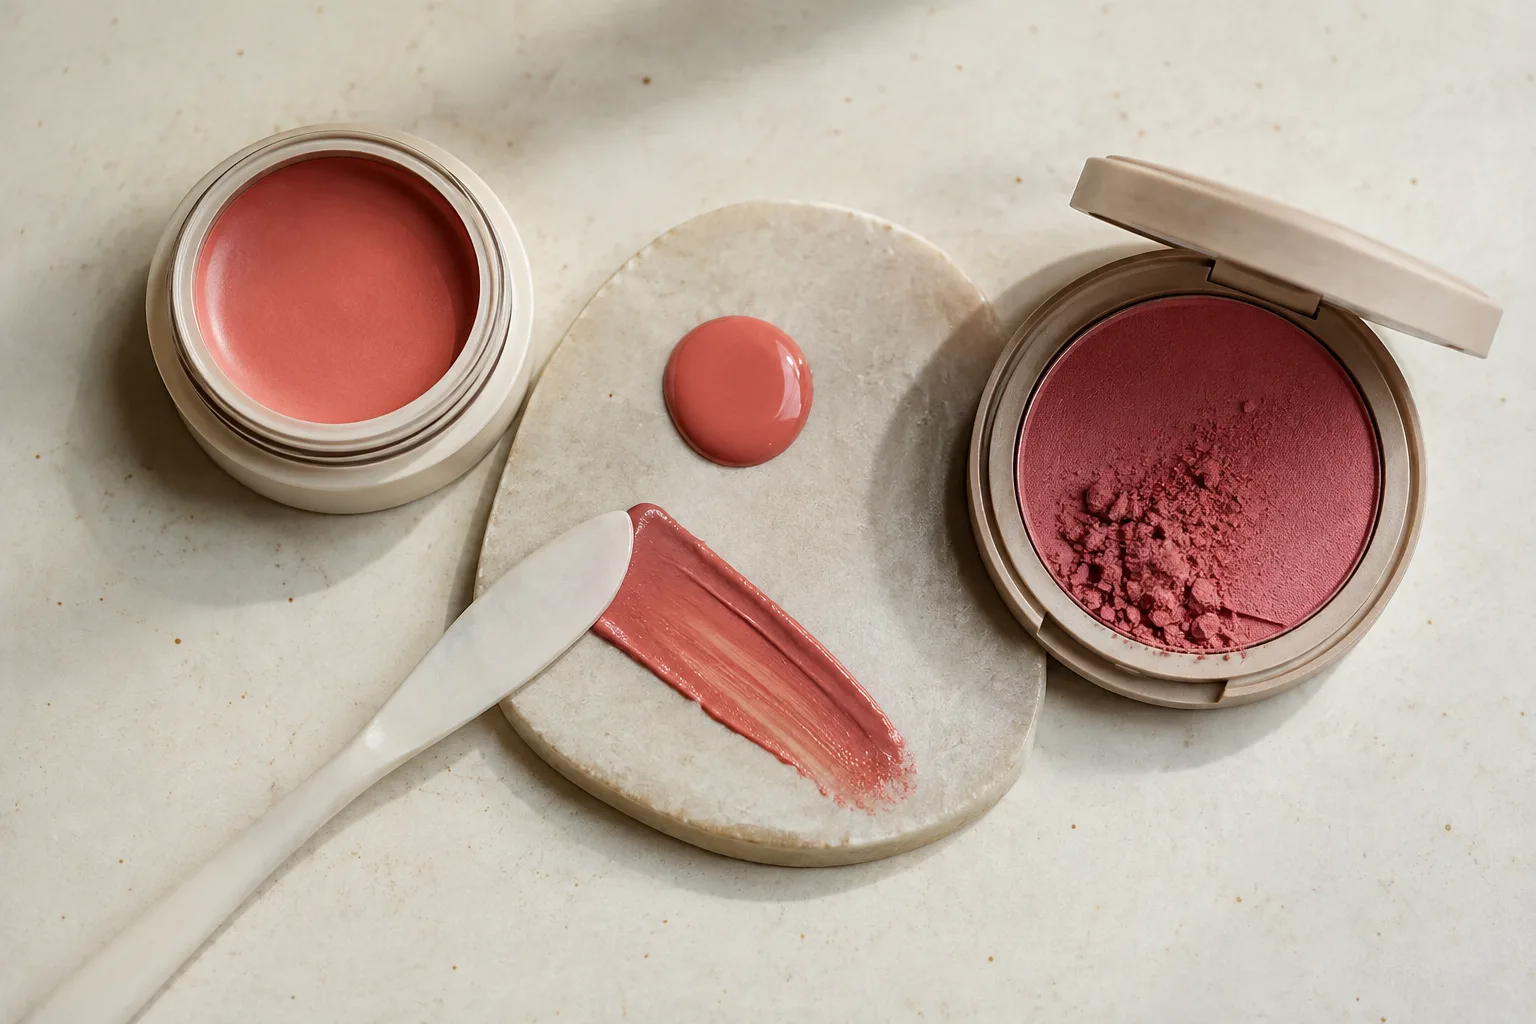
The three textures in the image are not interchangeable just because their colors are related. Choose the formula whose working time fits your speed and whose surface fits the layers already on your face. If your favorite shade exists only in a difficult formula, transfer a tiny amount to the back of a clean hand or palette first. This lets you control the load before the strongest deposit reaches the cheek.
Prepare skin without creating another slippery layer
Dry, uncomfortable skin deserves appropriate care, but last-minute overloading can make makeup slide. Use a familiar routine suited to your skin, apply thin even layers and allow each one to settle. The American Academy of Dermatology recommends gentle, fragrance-free care and suitable moisturizers for dry skin; persistent cracking, stinging or a rash is a reason to seek professional help. Makeup should not be used to push through active irritation.
Before base makeup, press a clean fingertip onto the cheek. The surface may feel comfortable and flexible, but it should not leave a wet film on the finger. Blot only obvious excess rather than rubbing away hydration. Apply foundation or concealer in the minimum areas needed and keep the blush zone light. A thick attempt to erase every freckle or natural redness creates more material for a brush or sponge to lift later.
If you wear no complexion product, the same principle applies: let skincare and sunscreen settle, then test the blush lightly. Natural skin is not uniformly absorbent. Areas near the nose may be oilier while the outer cheek feels dry. Place less product first and build where it releases evenly. The base-preparation check is complete when tapping does not create rolls, bare tracks or a visible fingerprint in the layer.
Read dermatologist guidance for relieving dry skinBuild a lighter base when foundation already looks heavy
Use the free patchy blush guide to control the first deposit
The first contact determines most of the result. For a liquid or highly pigmented cream, avoid painting several large dots directly onto the cheek unless the formula instructions specifically support that method and you know its working time. Put a small amount on a clean palette or the back of a clean hand, spread it into a thin patch, then pick up color evenly across the tool. Fingers can work too, but distribute product between two fingertips before touching the face.
For powder, swirl or tap the brush lightly, then remove excess and work the pigment into the bristles on a clean surface. A brush loaded on one side stamps a crescent of color. Begin where you want the most saturation, using small presses rather than a long aggressive sweep. Diffuse the remaining product outward after the center looks balanced. Return for a second light layer instead of trying to place the final intensity in one pass.
Use less pressure than feels necessary. Pressing a dense tool into the face can shift foundation and squeeze pigment toward the edge. Keep the wrist loose and let the surface of the brush or sponge meet the skin. If the formula sets quickly, complete one cheek before starting the other, but use the same measured amount. Count the taps or note the pickup so the second side is a repeat, not a guess.
Choose stippling, pressing or sweeping for the formula
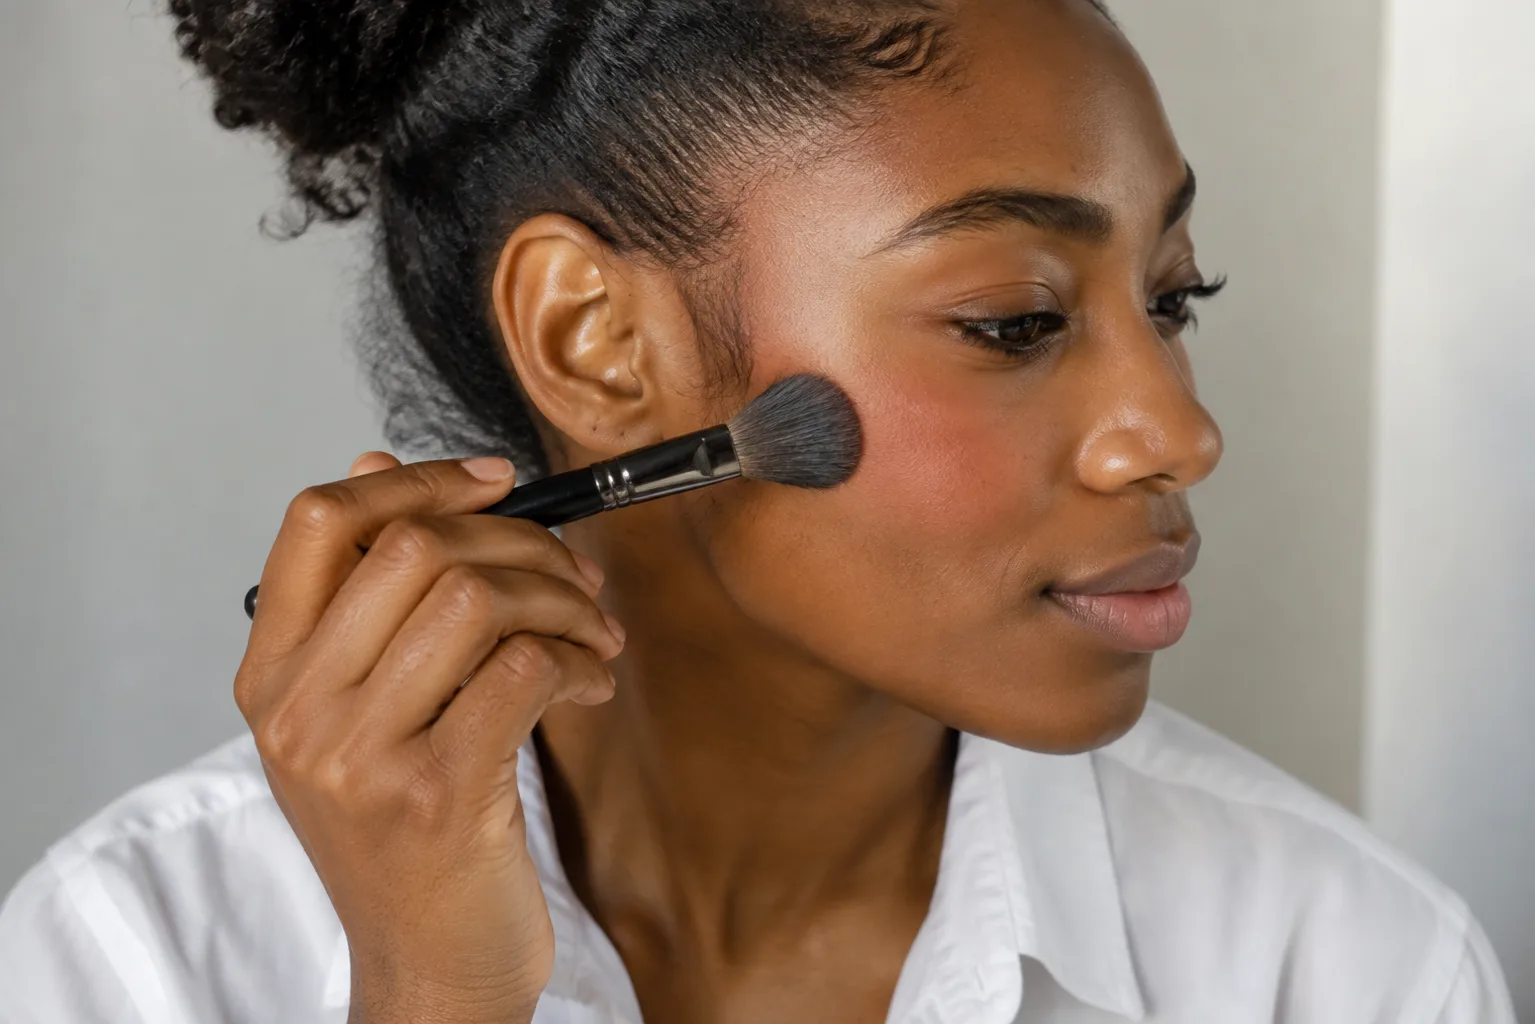
Stippling means placing and lifting the tool without dragging it far. It is useful when the base is delicate or a cream needs to remain where it was placed. Pressing with a damp sponge can merge a flexible formula into a compatible base, but the sponge should not be dripping and should not contain old foundation or blush. Sweeping is best reserved for powder over a stable dry surface, and even then the movement should stay light and controlled.
Change direction at the edge. Work the center with the loaded tool, then use the remaining pigment or a clean soft tool to feather the perimeter. Circular buffing can look seamless on a stable surface, but it is not a universal solution. If every circle reveals more bare foundation, stop. The base is moving, and more buffing will increase the damage. Press a tiny amount of base back into the gap, let it settle, and rebuild color with taps.
Repair patchy blush without covering it with more blush
Stop adding pigment as soon as a patch appears. First use a clean edge of a slightly damp sponge to press around the deposit, not scrub through its center. This can lift a small excess and soften the transition. If the base remains intact, use a clean fluffy brush with no extra product to blur only the perimeter. Check after a few taps. The purpose is to redistribute what is present, not polish the cheek indefinitely.
For a bare gap where the base lifted, place a pin-size amount of the original complexion product on a clean palette. Tap it into the center of the gap and feather outward. Let it settle, then add a veil of blush picked up evenly on the tool. For powder that has grabbed a damp spot, do not immediately add more powder. Give the area time to set, press gently with a clean puff if appropriate, then bridge the edge with a minimal amount.
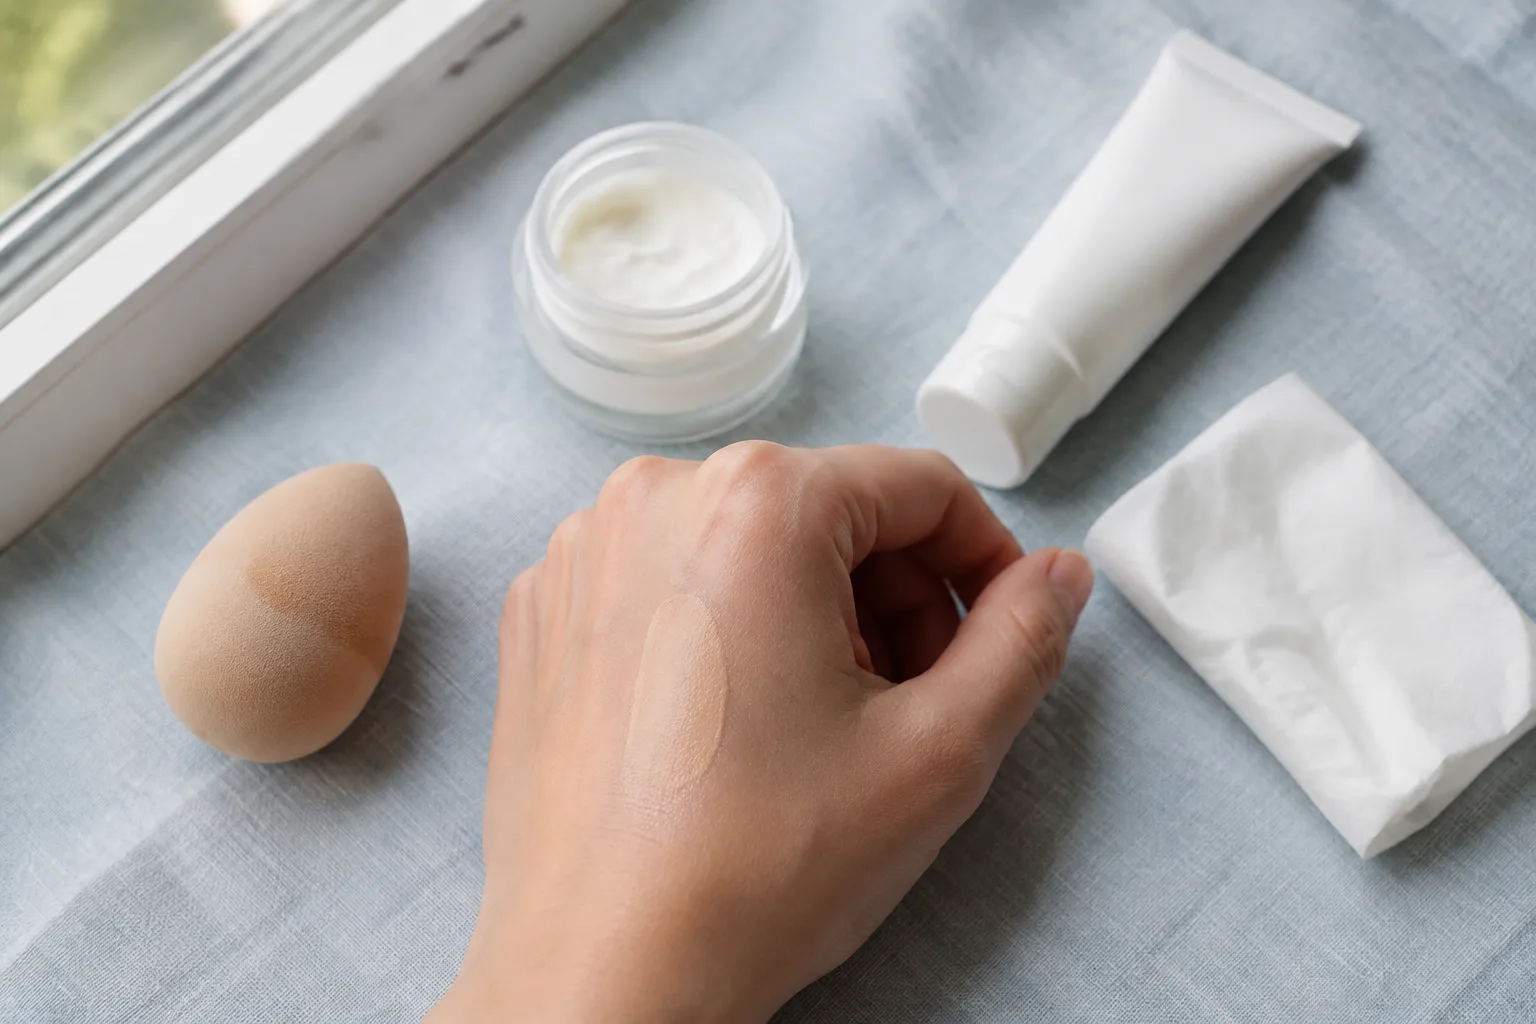
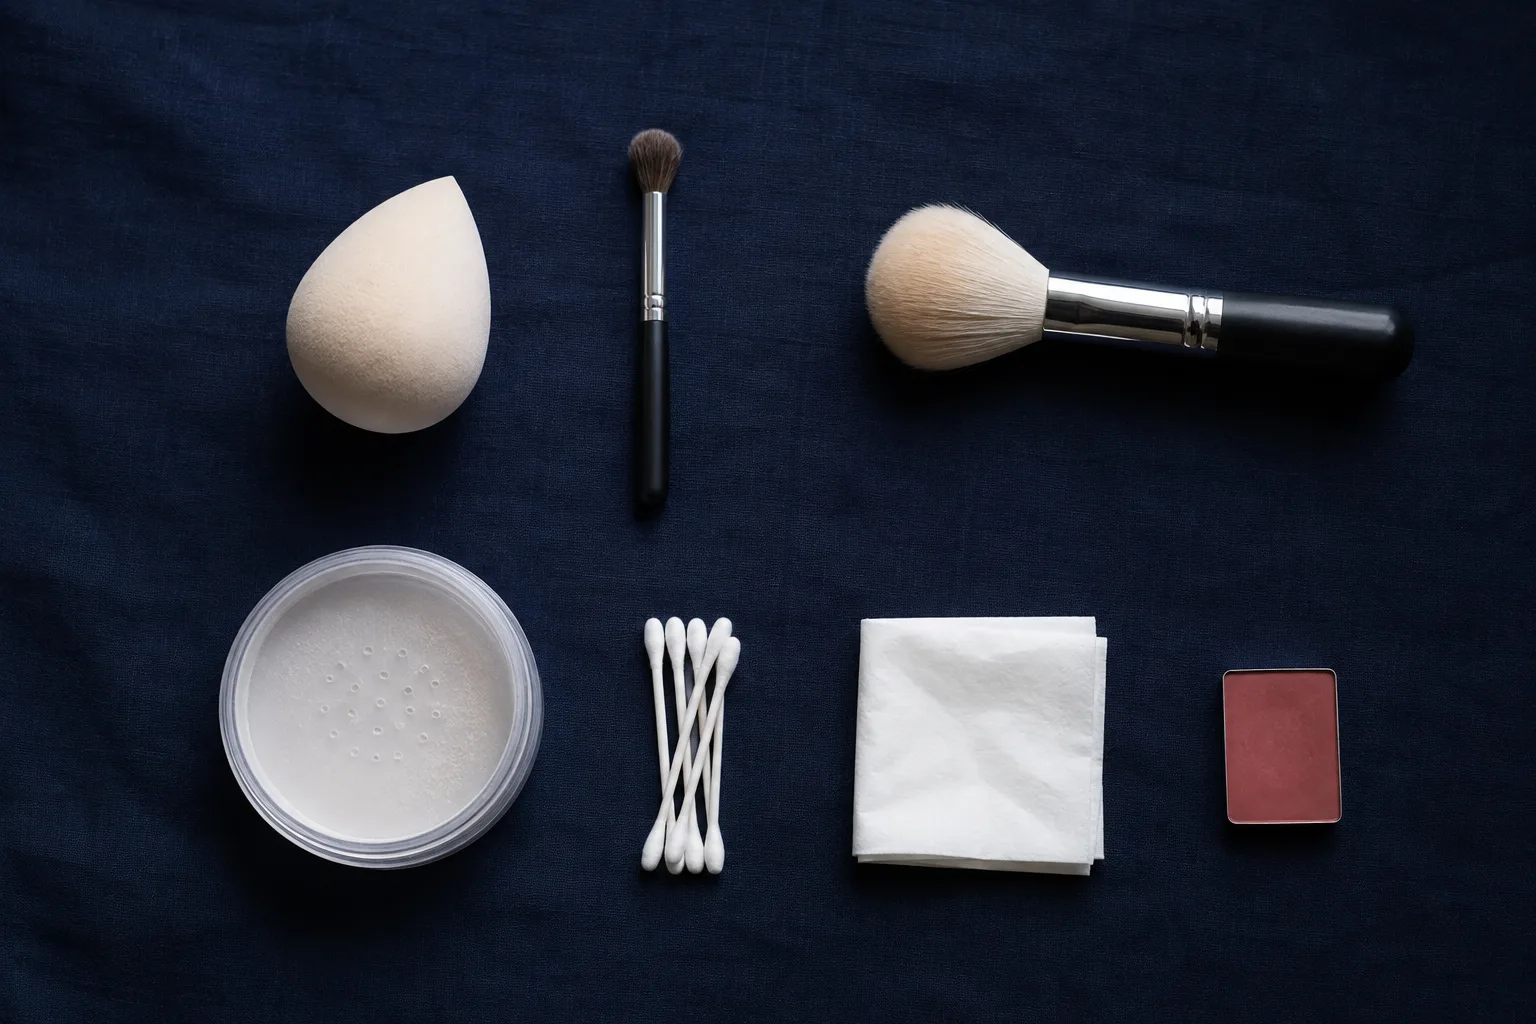
If the cheek has become thick, grainy or irritated, removal is the cleaner repair. Gently take down that area, repeat the familiar skin preparation, rebuild only the necessary base and apply less blush. Starting one cheek again is faster than stacking foundation, powder and color over a broken surface. The rescue kit shown here is deliberately small because each extra layer creates another interaction that can fail.
Test one variable on each cheek
When the cause is unclear, turn the next application into a controlled test. Keep skincare, sunscreen, base, shade and placement the same. Change only one useful variable: sponge versus brush, direct dots versus palette pickup, cream over unset base versus cream after settling, or powder on bare foundation versus a lightly set surface. Use a small wearable amount on both sides and photograph the result in the same daylight.
Write down the first deposit, blending time, pressure and condition after one hour. A side that looks smoother only because it carries half as much color is not a fair tool comparison, so aim for similar final intensity. Repeat the winner once before changing the routine. Skin condition and weather vary; a single good cheek can be luck, while the same method working twice is more useful evidence.
If you use MaqAI to explore blush placement or color direction, keep that decision separate from formula performance. A preview can help compare a higher, central or softly draped color area, but it cannot guarantee an exact product shade, oxidation, texture, wear, skin response or final result. Make the real application test with the products, preparation and lighting you will actually use.
Keep the method that stays even after an hour
The mirror immediately after application is only the first checkpoint. Recheck in neutral light after the layers have warmed and moved with the skin. Look for fading in the center, pigment collecting near texture, a perimeter that becomes darker, or foundation separating below the cheek color. Note whether glasses, a phone, hair, hands or clothing touch the area.
A hardened powder surface, separated cream, changed smell or persistent texture change deserves caution. The US Food and Drug Administration explains that air, moisture, heat and time can change cosmetics and advises keeping containers and applicators clean. Follow the manufacturer’s storage guidance; do not add water or improvised ingredients to restore a changed product.
Record the successful sequence in plain language: preparation, settling time, base amount, formula, pickup method, tool, pressure, number of layers and rescue if needed. The useful outcome of a free patchy blush guide is not a promise of poreless skin. It is a repeatable application in which color builds gradually, the edge stays soft and any problem can be traced to a specific step instead of hidden beneath more pigment.
Review FDA information about cosmetic shelf life and storage